Showing posts with label 5892 - Easter S2 Paper Pack. Show all posts

Thursday, March 26, 2026

Chicks Bookmark card by Dori Mendiola

 Happy Thursday AI Friends!

We definitely are getting to enjoy the Spring air here and just in time for Easter.  Yay!  However, I'm hearing that it's suppose to change next week.  Let's hope the weathermen are wrong.  Fingers crossed!  

Maybe my card for today will inspire the nice Spring weather to continue.  🤞

I created a comical corner bookmark that slides over the card.  When removed it reveals the "Spring is in the Air" sentiment from the #5867 - Mini Easter Sentiment set.  This bookmark is sure to give someone a chuckle every time they open their book.  I just love him and the funny saying!  I hope I don't offend anyone with that sentiment, but it just fit this image perfectly.  😁

The polka dots on the egg was a Sharon inspiration.  Thank you Sharon for the cute idea!


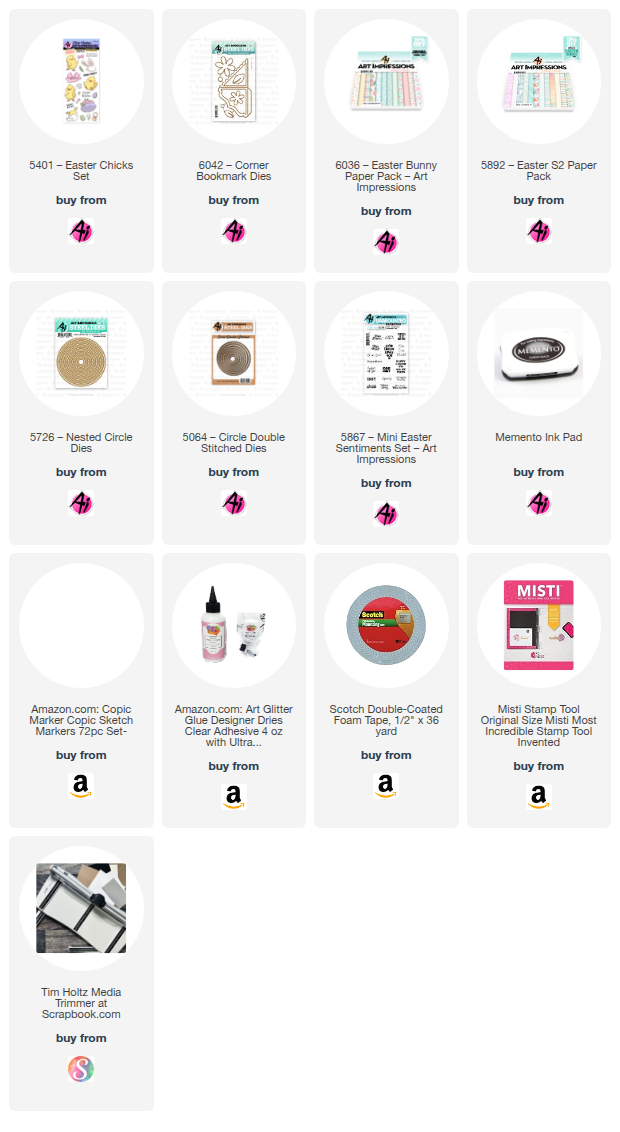
I used the #5401 - Easter Chicks stamp set for the images and the #6042 - Corner Bookmark die set for the detachable bookmark.  I stamped the images onto copic friendly paper and colored with my copic markers listed below.  The images were then cut using the coordinating dies within the set.


For the pattern papers, I used the #6036 - Easter Bunny PP and the #5892 - Easter S2 PP.  The Art Impressions paper packs coordinate well together.   I cut several circles using the #5064 - Double stitched circle dies and also the #5726 - Nested Circle dies.


I started with a base card panel made with heavy cardstock and cut to an A2 size - 5 1/2 x 4 1/4.  I then created a smaller card (size 4 3/4 x 3 3/8) that will be adhered to the front.  I layered the mats and pattern paper panels to the base and also to the front of the card.  I then layered the circle panels and adhered the images to the top layers.  I popped up the bottom chick but not the one on the bookmark.  I didn't want to add any more bulk to the bookmark.  I placed the bookmark onto the card corner and adhered the egg chick panel to the bookmark.  I then adhered the other chick panel to the card base.  The last circle panel was adhered to the card base, lining it up directly under the circle of the bookmark.

I attached the card to the base, lining up to the bottom edge so that the card will stand up on its own.

That's it for me today!  Thanks for joining me and I hope you have a wonderful day!
Keep creating!

Copics used:  Y13, Y15, Y17    R20
YR61, YR65, YR68
G20, G21, G24
R81, R83, R85

Tuesday, May 27, 2025

Happy Wedding Day Tara! by Reneé Matarese

 Hello Ai fans!

My niece is getting married soon and she'll be married at a castle.

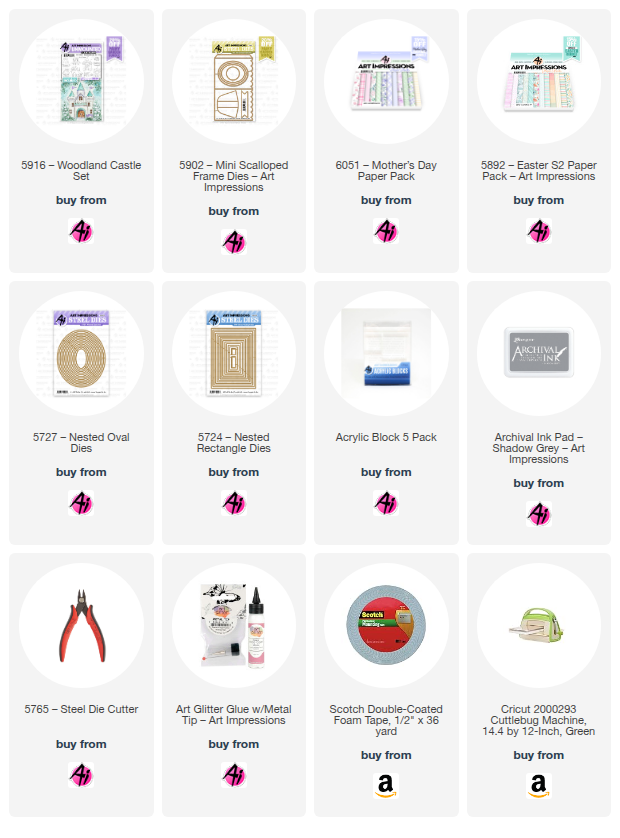
My first thought was to use 5225 – Castle Cubbies, which is a favorite of mine, but then I remembered 5916 – Woodland Castle Set, and although I think I've used it several times, I don't think I've used the castles.


I'm very happy with how it turned out. She is very into flowers and I tried to incorporate all of the colors in her bouquet.

This card took a complete turn as I was creating it. I initially set out to use the 5902 – Mini Scalloped Frame Dies as intended, with a window and maybe something to pull out. For some reason I switched gears and decided to cut off the little flap and just use it as a mini card. The

May all your wishes -Come True- 

sentiment is from the discontinued Art Impressions/Hobby Lobby exclusive 5438HL Fairy Cubbies Set.

I didn't use a wedding sentiment on it but I don't think it needs it. I think these verses are perfect and I can handwrite a wedding wish when I fill out the card.


I apologize that I don't have marker colors for this. This was my 3rd attempt and I had such a pile of markers that I don't know which ones I used for this final copy.

Don't forget to enter the current We 💚 Dads! Challenge 
for your chance to win a free stamp set.

Thursday, May 1, 2025

May 2025 Monthly Challenge with Guest Designer Sara Furr

 Hello Ai fans and welcome to our May Monthly Challenge.

These monthly challenges will have no theme. It's just fun to create something using Art Impressions products and then possibly win some free stamps!

May is Sara Furr's turn to be our Guest Designer.


Before we see Sara's incredibly adorable cards, let's see who won our April Monthly Challenge.
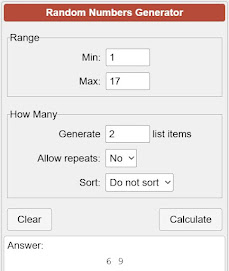


#6 came up first so Lisa J. wins a free stamp set from Art Impressions.

Please contact Leah at Feedback@artimpressions.com
to claim your free stamp set.
---------------------------------------------------------------------------------------------------------------------
The second number selected was #9, so Rachel B. wins a freebie stamp from me. 
Please contact me at Renee@artimpressions.com with your address.
I'll let you know what freebies I have available for you to choose from.

Congratulations to both artists and I hope you enjoy your new stamps!
---------------------------------------------------------------------------------------------------------------------

In case you're new here, you may be wondering...

How do you win free stamps?

Add your creation (it doesn't have to be a card) using Art Impressions products below, for your chance to win a free stamp set from Art Impressions or a freebie from me. (US addresses only for my freebie...The free stamp set from Ai is open world wide) See the inlinkz below to enter.

Now, let's see what Sara has created to inspire you this month.


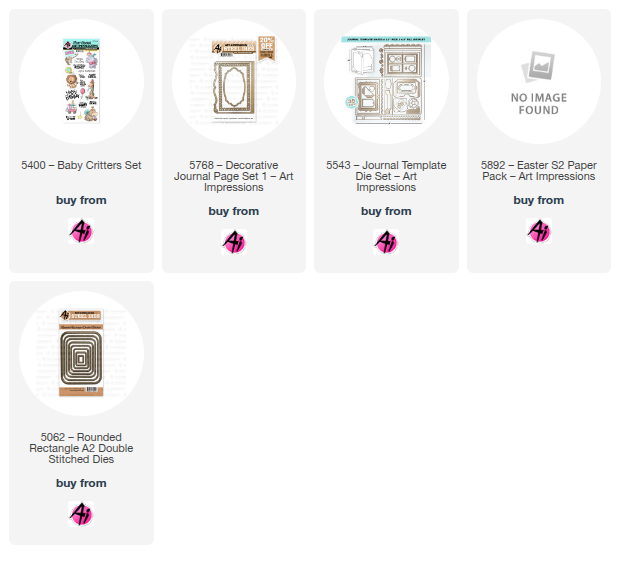
Happy day to you my dear Art Impressions fans, I am so happy to be back here on the Art Impressions blog! Today, I have 2 for 1 birthday cards for you featuring the #5400 - Baby Critters stamp and die set. I don't know about you, but I love to get a good bang for my buck by cutting out die cuts hidden behind layers of other die cuts or cardstock. 


My first card features several layers of die cuts and pattern papers. To start with my focal point, I stamped my baby elephant image on watercolor paper with Versafine Onyx black ink and watercolored him with Stampin Write markers in Smoky Slate, Bermuda Bay, Pool Party, Daffodil Delight, Pumpkin Pie, and Blushing Bride. I cut him out with the coordinating dies and applied foam tape to the back. I cut out the white frame from #5768- Decorative Journal Page 1 die set and put a light wash of blue and gray down for shadows behind my elephant and a bit of yellow down for the light of the candle, and then I popped my baby elephant up on top. I applied foam tape behind that frame as well. I cut the Teal decorative frame die, also from the same die set and layered that behind the white frame. I cut a "Rounded Rectangle" #5062 panel from the Teal leaf print pattern paper from #5892- Easter S2 PP making sure to save the leftover scrap piece for my second card. I also cut a strip of the rainbow pattern paper and the large panel of light blue striped pattern paper, all from the same pack, and layered them behind the focal image as well. I distressed the edges of the blue striped panel and the next layer of gray cardstock with the edge of my scissors to rough up the edges. I stamped the sentiment "age is irrelephant" on white cardstock and cut it out 3x with a banner die from #5543- Journal Template Die set layering them together to make a strong sentiment strip that I applied foam tape just to the left side of so it matched the height of my focal panel.


 I cut out 12 layers of the button die from that set and layered 4 together to create each of 3 buttons. (These were all cut from the layer of gray cardstock hidden behind the blue stripped pattern paper! Waste not, want not, right?! Hehe) I added pink embroidery floss for stitching on 2 of the buttons and glued them down on the upper left side to balance out my composition. I saved the 3rd button for my second card. I created a double loop bow of gray polka dot grosgrain ribbon and adhered that to the bottom left corner for a touch of elegance. 


I stamped my sentiments on the inside using Stampin' Up! Pool Party and Bermuda Bay inks. 


My second card is a shaker card filled with iridescent silver stars that catch the light beautifully. My card base is another 6x6 white textured cardstock with the edges inked with Pumice Stone Distress Ink. Then,  a layer of gray textured cardstock, and then the layer of pattern paper that I saved from my first card with the rounded rectangle cut out of it. I inked and distressed the edges of all those panels and then I added a piece of acetate to the die cut window and added foam tape around the edges of the die cut to create the shaker frame. I added my stars to the center of the gray panel and then popped my shaker window on top pressing down firmly so everything was sealed and no stars could escape. 


I stamped out my baby hippo, also from the Baby Critters stamp set, onto watercolor paper with Versafine Onyx Black ink and water colored him with the same Stampin' Write markers I used on the baby elephant, but I added in Sweet Sorbet for the red cherry and the streamers on the party hat. I stamped out the balloon on white cardstock and again on the red polka dot pattern paper also from the same Easter paper pack. I paper pieced the polka dot balloon to the string and applied a foam square behind it. I cut the white decorative frame and the teal decorative frame again using the Decorative Journal Page 1 dies and applied Pumice Stone Distress ink to the edges. I adhered the teal frame to the top of the shaker window and then popped up the white frame on top of that. I again applied a light wash of gray for the shadow on the white frame, and popped up my baby hippo on top with his little cuppy-cake and party balloon. I stamped the sentiment on one of the tags from the Journal Template die set with Bermuda Bay ink, inked the edges, and tucked that behind my focal image to the bottom right. 
Remember that 3rd button? I inked the edges of it, and glued that down just under the cupcake.
 As a final touch, I added a tattered white polka dot satin ribbon to add some softness.


I again added sentiments on the inside stamped in Pool Party and Bermuda Bay inks.

And that finishes my 2 for 1 cards. I love creating coordinating cards with hidden die cut pieces! Next time you go to create a card, see how many "hidden" pieces you can cut to create a second coordinating card!

 This stamp set is so versatile! One would look at it and think it is only for babies or kids, but I think that I have shown here that you can create cute adult cards too! I hope you had fun and are inspired to create some "2 for 1" cards. 

  Many Creative Blessings to you All!!

           Love,  

Sara Furr- The Crafty Farm Chick

**Please look for me on Facebook and Instagram if you like my cards. I share crafty inspiration almost every single day.**
Thank you so much Sara for such fun inspiration and for the wonderful paper saving tips!
Who doesn't want to stretch their dollar? Plus, it reduces the weight of the card for mailing, saving you even more money. These two cards are so beautiful! Remember, there is no theme, so your projects don't need to match Sara's. We can't wait to see what you make. Good luck to you all!

You are invited to the Inlinkz link party!

Click here to enter

Tuesday, April 22, 2025

Just a Mermaid and Her Treasures! by Reneé Matarese

 Hello Ai fans!

I've loved this little mermaid since the moment I saw her.

How precious is this card for a little girl's birthday?

Or a big girl...we can all love mermaids!


I know we often hear about octopuses collecting little trinkets and sparkly things but I kind of feel like mermaids probably do that too. I made sure to deck out her space with all sorts of shells and treasures.


Even though my card has a lot going on, I feel like she is still the star. The dies that come with this set cut a little opening in her arms to hold her beloved conch shell or treasure chest or anything else you might think she'd enjoy.


I recently did an Easter craft at school and took one of my chalk palettes. It reignited my interest in them. I used them to add some subtle color to my embossing folder and die cuts.


Do you repurpose items from around your house for your cards? For the fish netting here, I used a sleeve that 3 heads of garlic came in.


This last photo is just for fun. When my daughter saw my card she remarked that it looked like our tissue box.  LOL! Maybe Joel uses Kleenex too and was inspired by the box for his paper! 


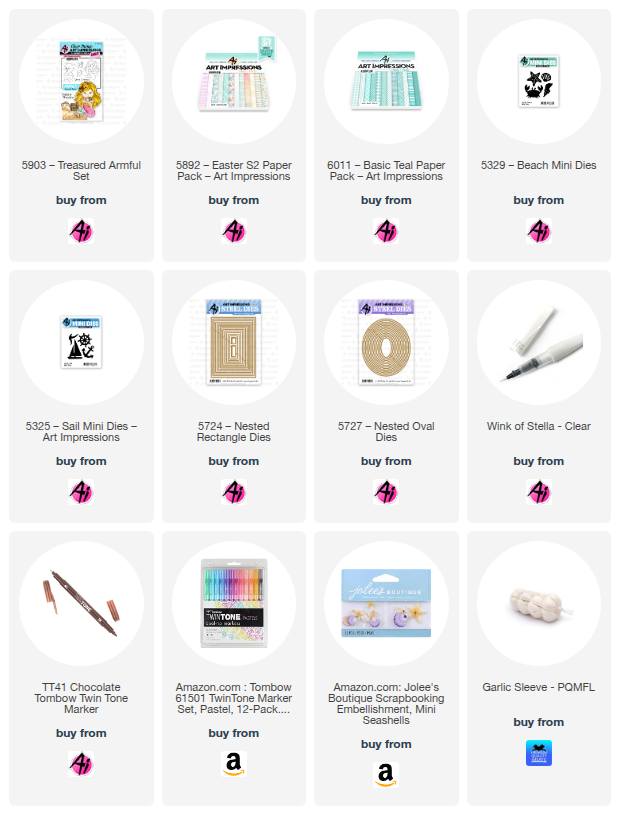
P.S. Let me tell you! I DID NOT SPEND ALMOST $9.00 on this tiny bag of shells that I added to my card. Over 10 years ago, these were gifted to me by a co-worker. I can't believe they're still available and I can't believe how expensive they are. Thank goodness for Art Impressions VERY reasonably priced 5329 – Beach Mini Dies. I can color those however I like and make as many as I want.

I made a second, slightly different version because I remembered that I had the nautical wax melt stamper and wanted to add that. I like this version too.


Copics used:

G40, BG02, BG07, E34, RV42, RV52, R000, R85, Y04, Y15

Marvy LePlume:

R810 IVORY, R812 APRICOT, OR821 BEIGE

Thursday, April 10, 2025

Easter Card and Treat Containers by Dori Mendiola

 Happy Thursday AI Friends!

Today I have a couple of fun Easter items for you.  I was having too much fun and got carried away which is so easy to do with all of the fun AI Easter stamps sets.

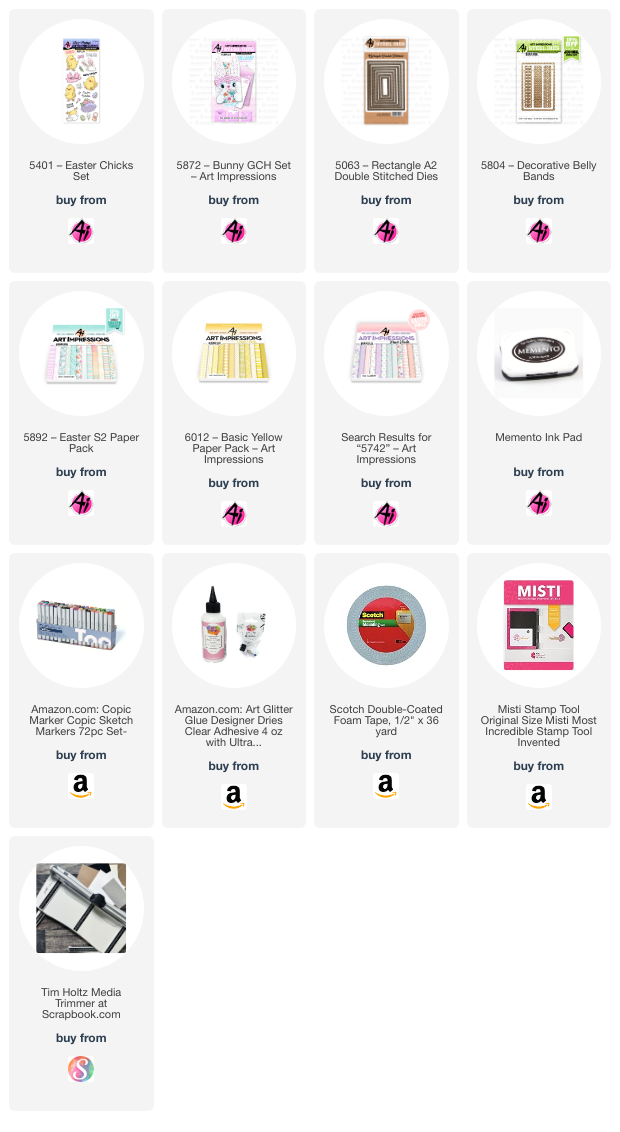
  Let's start with my Easter card using the #5401 - Easter Chicks set.  The images, sentiment and the little Easter accessories come with this set as well as the dies.  The interactive slider was created using the Lawn Fawn Magic Picture Changer die.  The pattern papers are from the #5892 - Easter S2 and the #6012 - Basic Yellow Paper packs.  


 For the other Easter project, I got carried away with the #5872 - Bunny GCH set and the #5742 - Easter Journal Paper Pack.  I decided to make treat containers and this was sooo much fun.  One I made as a box for treats and the other is a shaker, but I used small jelly beans to fill it.  It opens so the candy can be eaten.  However, you could use shaker bits and glue it shut.

For the treat box, I cut a 6" x 6" piece of heavy cardstock.  I scored it at 2" and 4" then turned 1/4 turn and scored again at 2" and 4".  On one side, cut the two score lines to the first fold.  On the opposite side, cut the two score lines to that first fold.  You should have three connected squares on the left of first cut score line and three on the right of the second cut score line.   Fold in the middle pieces and then fold in the sides and glue down each flap.  Your open box is ready.  I then cut a panel of pattern paper to cover the sides as well as a belly band using the #5804 - Decorative Belly Bands die.  For the back side of the bunny, I cut two extra paws for the back feet.  I used the eye die to cut the bottom of the paw and a hole punch for the toes of the paw and glued a solid pink paw to the bottom.  I also used a small white pom pom for the bunny tail.

For the second treat container, I used a round container from the Dollar Tree (or you can use condiment cups).  I cut the bunny face from a nested circle die vs. the square die included in the #5872 - Bunny GCH die set.  I also altered the headband to fit the circle face.  I adhered the top of the container to the back of the bunny face with strong adhesive.  I decorated the bottom of the container with the paws and tail prepared the same as above.  I filled the cup with the desired candies and sealed the lid to close.  The candy cup is complete and ready for your little one.

I hope you enjoyed my projects today.  Have a great day and keep creating!!

Copics used on card:  T0, T2, R30
YR12, YR14, YR18
Y13, Y15, Y17
G40, G43, G46
B000, B00, B01

Thursday, March 27, 2025

"UGH" Aging by Dori Mendiola

 Happy Thursday AI Friends!

A new release came out yesterday and boy, is it a good one!  Okay, let's be honest, aren't they ALL?  This one included new alphabets and numbers, a new Easter stamp set and papers as well as a set of belly bands.  Make sure to check out the Art Impressions website.  Lots of fun new items!

My card today features the new #5910 Large Alphabet letters.  Have you ever purchased word dies only to wish you could adjust them by adding another letter or making up your own word?  Well, these letters are the perfect size to create your own word or spell it the way you want to.  Actually, I should have put another couple of G's to emphasize the word "UGGGH".


I started out by stamping the image from the #5518 - Hot Mess Laugh Lines set onto copic friendly paper with Memento black ink.  I then colored with my copic markers listed below.  I stamped the image again on a piece of pattern paper from the #5892 - Easter S2 PP and fussy cut the chair so that I could paper piece onto the image.  I cut the image with a circle die from the #5726 - Nested Circle die set and matted onto a scallop circle die I had in my stash.  I die cut 2 of each of the letters U, G, H and the exclamation mark from yellow cardstock.  I layered each of the letters together for added dimension.  I stamped the sentiment from the #5278 - Dance It Out set and cut with a banner die I had in my stash.  I mounted the banner sentiment onto a piece of yellow cardstock and fussy cut it for a matted banner.  I then took a 5.5" square piece of pattern paper (stripe) and mounted it onto yellow cardstock.  I did the same for the top layer 4.5" square piece of pattern paper.  I then assembled the card together and staggered and overlapped the letters to add more fun to the card.

I hope you enjoyed my card today!  
Have a wonderful day and keep creating!

Copics used:  E000, E01, E11, E51, E53, E55, E57
C00, C01, C03, C05
B00, B01
Y04, Y21, YG61, YG63

Thursday, March 20, 2025

Crazy Garden Lady by Dori Mendiola

 Happy Thursday AI Friends!

Today I have a fun birthday card featuring the #5000 Gotta Garden set.  A friend of mine loves to garden so this image was just perfect for her birthday card.  I definitely would not call her crazy but she is crazy about gardening.  LOL!

I stamped the image on copic friendly paper with Memento black ink and colored her with my copic markers listed below.  I just love the expressions on all of Bonnie's people stamp sets.  They just exude fun and laughter!  


I die cut the image panel with one of the #5063 Rectangle A2 Double Stitch die and then placed onto a pattern paper panel from the #5892 Easter S2 PP.  I then matted it with orange cardstock.  I die cut each of the sentiments, that also came in this stamp set, with a tag die from the #5132 Tag Stitched die set.  I partial cut the tag and then used the same die to also cut off the flag portion and leave the stitch pattern.
I used a scallop edge die from my stash to cut the narrow strips on each side and placed a long narrow strip of orange cardstock over the seams of the pattern paper and the scallop border.  Placed some enamel dots on the card to finish it off. 

I hope you enjoy my card today.
Have a wonderful day and keep creating!
Copics used:  N1, N3, N4
E000, E01, E11, E21, E23
R20, R24, G43, G46
B000, BG32, BG34
Y21, Y23, Y25, YR12, YR14

Saturday, March 8, 2025

Light & Salvation

I so appreciate the stamps Art Impressions carries in their store that are Christian themed. Last spring,  5895 - Palm Sunday Set was released and I used that set for my card today. The image I chose represents Communion with bread and wine. I stamped it on a diamond shaped piece of cardstock. Ash Wednesday's alter cloths are purple and I wanted to mimic that by coloring the negative space in with purple Copic ink. Then I took gold and purple glitter pens to draw in the pattern. 

This card also fits the current challenge theme on the blog, CASE that card! The acronym means Copy And Share with Everyone. I CASE'd a card with a totally different theme created by Cassie Trask below. My card is a different twist but the feature of having a diamond shape span edge to edge in the same color as the card base is the same. I liked Cassie's use of shapes and the wide card mat around the edges as well. Below was her card which inspired my design.

Instead of stamping the background like Cassie did, I chose instead to use pieces of cardstock from 5892 - Easter S2 PP. I felt I needed more interest than a single pattern, so I layered a floral scrap piece from the same pack in the middle. Then I added skinny blue glitter washi tape strips to hide the raw edges. This change draws your eyes to the image in the diamond nicely. I added a sentiment from the 5069 - My Fortress Set and matted it on a rectangle I cut with a scalloped blade. I haven't done that for a while and it was nice to use it. Finally, I added three blue crystals in opposite corners of the card.  

Please visit our CASE that Card! Challenge Blog Post and link up your own card for the theme. You could win a free stamp set by playing along! I hope the CASE this Card! challenge will encourage you to look at ideas from other card makers and inspire you to make them your own. It's really fun!

Thanks so much for joining me here at the blog. As always, please visit the Ai Store for the products I used and all the things you need for your card, journal, and tag making projects. Happy creating!

Janet YouTube - Blog - Facebook - Instagram - Pinterest