Hello, and Welcome to
Watercolor Weekend! The last threads of
summer are just about over and fall is settling in. We are still having some warm days but have
seen our first frost here.
Hello, and Welcome to
Watercolor Weekend! The last threads of
summer are just about over and fall is settling in. We are still having some warm days but have
seen our first frost here.
Hello Ai fans. If you come here enough, you will know that I favor bright and bold colors. Today is a perfect example of it. Color makes me happy and somehow pastels and light shades alone rarely work for me. It's true from wardrobe, my home, and my artistic card making. Today's card once again showcases a dark fuchsia that's tamed down by some quiet yellow, cream and kraft cardstock choices.
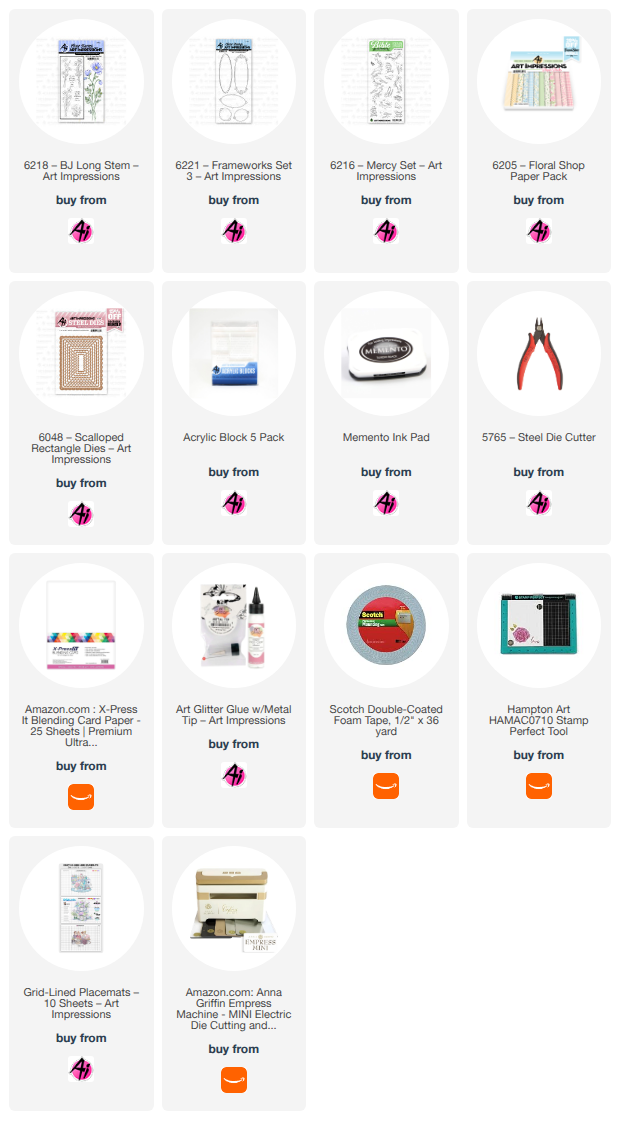
To create my project, I started by stamping an oval frame from the 6221 - Frameworks Set 3. Then I stamped in the poppy flowers using one of the floral images in 6218 - BJ Long Stems. I colored the poppies and the frame in reddish orange colors with Copic markers. I also colored a light blue background into the blank space in the frame. I stamped another round frame from the same set and stamped a sentiment from the 6216 - Mercy Set. I colored the background in blue here as well. Once complete, I fussy cut the frames and set them aside.
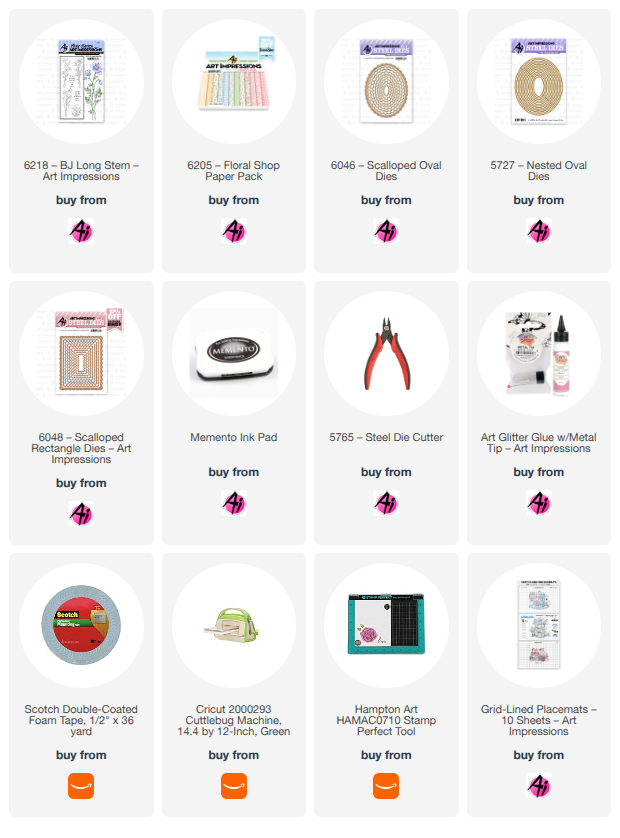
The next step was to use two dies from the 6048 - Scalloped Rectangle Dies. The inner mat was cut out of a nice pale yellow and cream striped paper design found in the 6205 - Floral Shop Paper Pack. The exterior scalloped frame was cut from from Stardream Metallic cardstock in Jupiter. I stacked these two mats on top of a kraft A2 card base. Then I mounted the two frames on the card. To add a delicate touch and additional texture, I included a cream chiffon bow enhanced with a cream ribbon rose.
While this card has a strong burst of color, it doesn't take away from the flower image and sentiment. In fact, it enhances the colors in the poppy and ties the entire card together. I hope you agree that the neutral cardstock colors play nicely with the dark fuchsia cardstock and reddish orange hues.
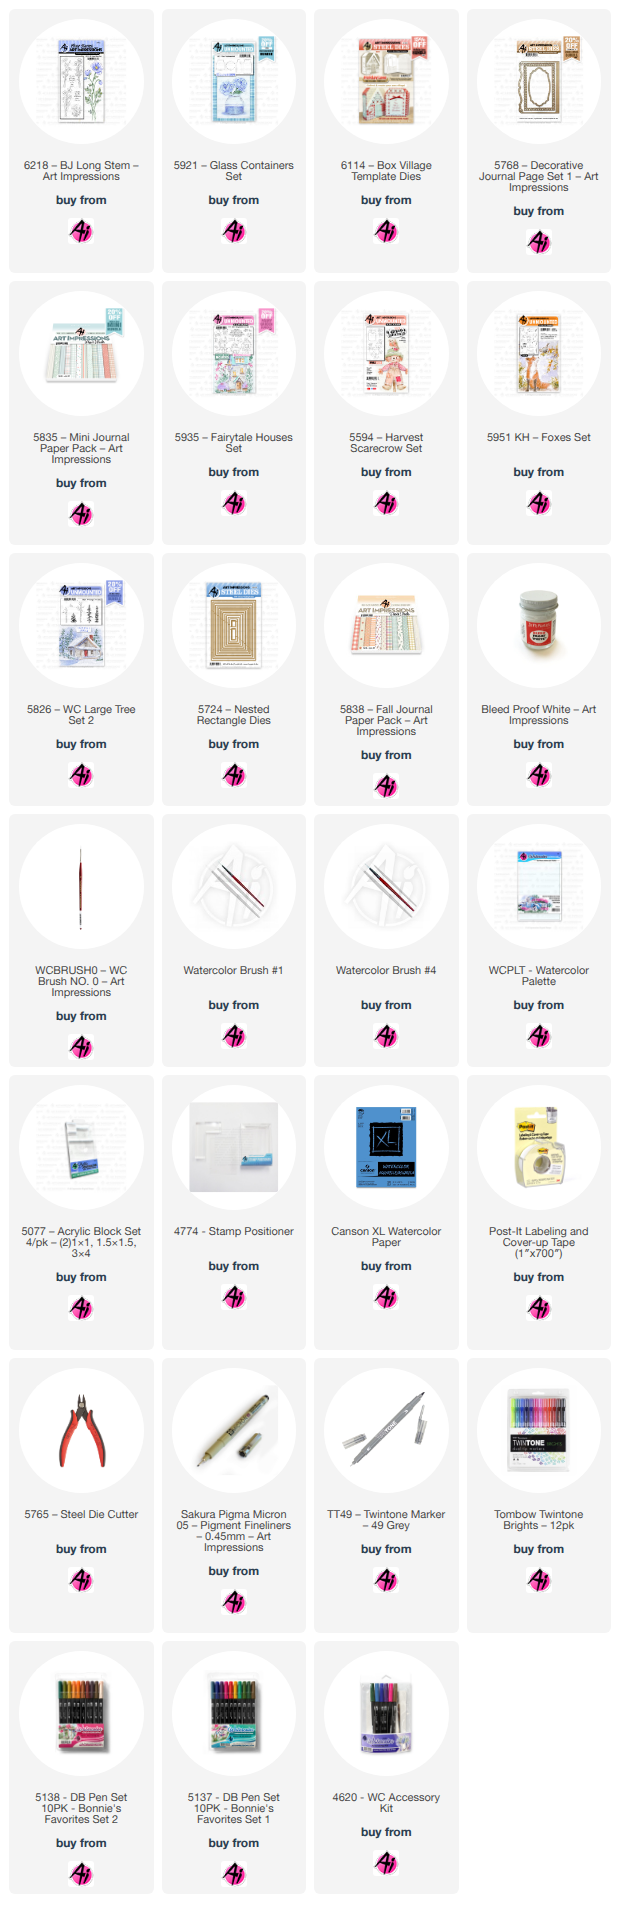
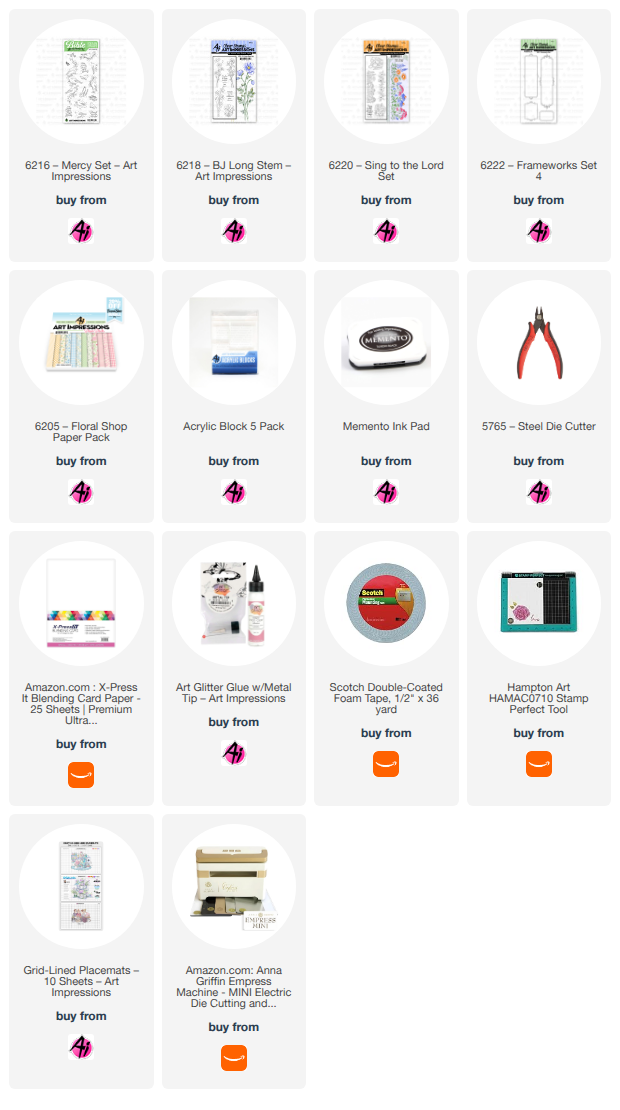
Thanks for stopping by and spending time with me and Art Impressions today. Please visit the Ai store to pick up your favorite stamps, dies, papers, accessories, and supplies, including all the supplies I used in this card.
Happy Crafting!
Hello Ai fans and welcome to the weekend and the Ai blog! Today's project features several new sets now available at the store. It shows off images from several sets and how they can be combined to create pretty collages and scenes.
My card starts with an aqua A2 card base. I cut a slightly smaller rectangle out of the 6205 Floral Shop PP. Then I used a die from the 5727- Nested Oval Set to cut out a frame which nests all my card elements nicely. I used a punch to the shaped corners on the soft striped paper which I mounted with foam tape on the blue card base.
Next I stamped and colored the flower image from the 6220-Sing to the Lord set. I colored the flowers to resemble one of my garden favorites, blue hydrangeas. I stamped the bible verse from the 6218-BJ Long Stems set in a frame found in the 6222-Frameworks Set 4. Then I colored a bird from the 6216-Mercy Set. I fussy cut all the images and arranged them in the oval window. As filler, I added a few silk leaves and a matching bright blue and white polka dot bow. Finally a few blue glitter enamel dots were added as accents.
This card is full of dimension, pretty colors, nature images and a reminder of God's role in making all things in the world including the earth's bountiful and beautiful natural birds and fauna.
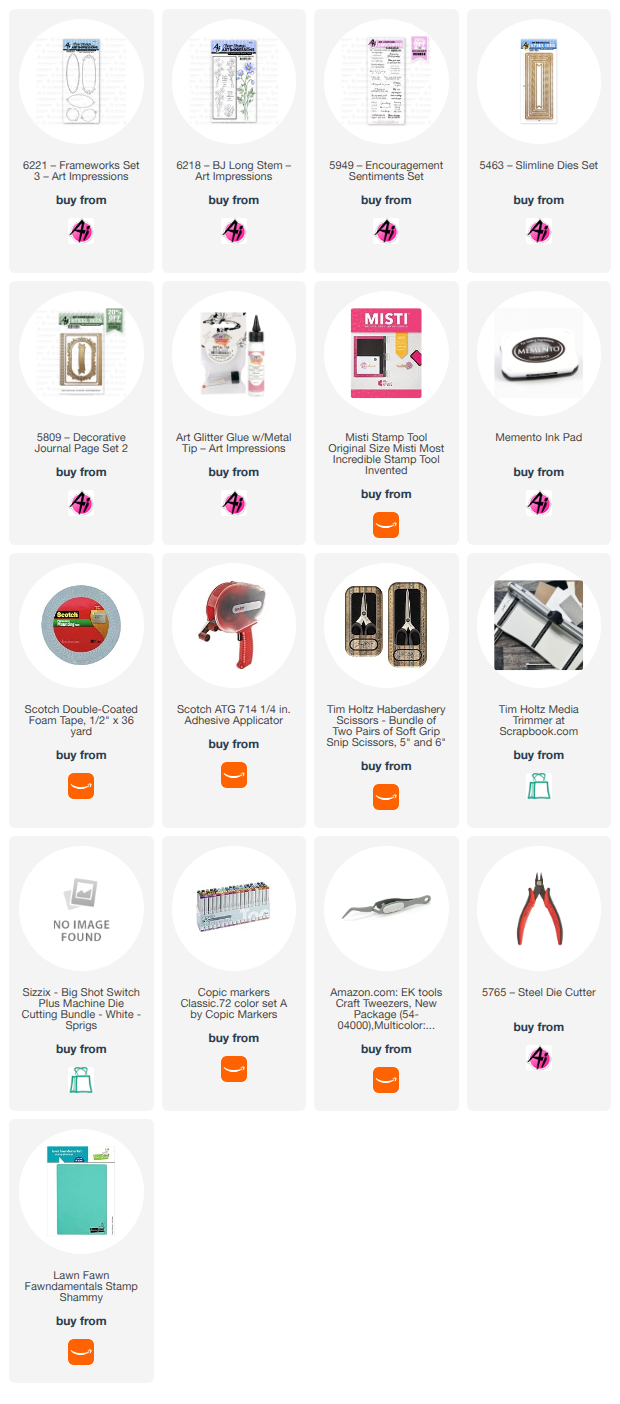
Thanks for stopping by and spending time with me and Art Impressions today. Please visit the Ai store to pick up your favorite stamps, dies, papers, accessories, and supplies, including all the supplies I used in this card.
Hello AI Fans!
My card today features a couple of new releases by Art Impressions, #6221 Frameworks Set 3 & #6218 BJ Long Stem flowers. I have always loved daffodils (maybe because they're yellow?? LOL), so I was excited to see these! I thing the flowers fit beautifully inside the new frames, so they're a perfect match in my book! I stamped them onto a Copic friendly cardstock using Memento Tuxedo Black ink and then colored them up. I used one of the slimline dies to die cut it as I love the stitched edges. For the sentiment, I used the beautiful banner from the Decorate Journal Page 2 set.
That's it for me today! Thanks so much for stopping by for a visit and until next time - stay crafty!
Hello Fellow Crafters!
For today’s card, I wanted to create something soft and elegant with a touch of vintage charm. I love how a simple floral image can be transformed with a little watercolor, texture, and a few special details.
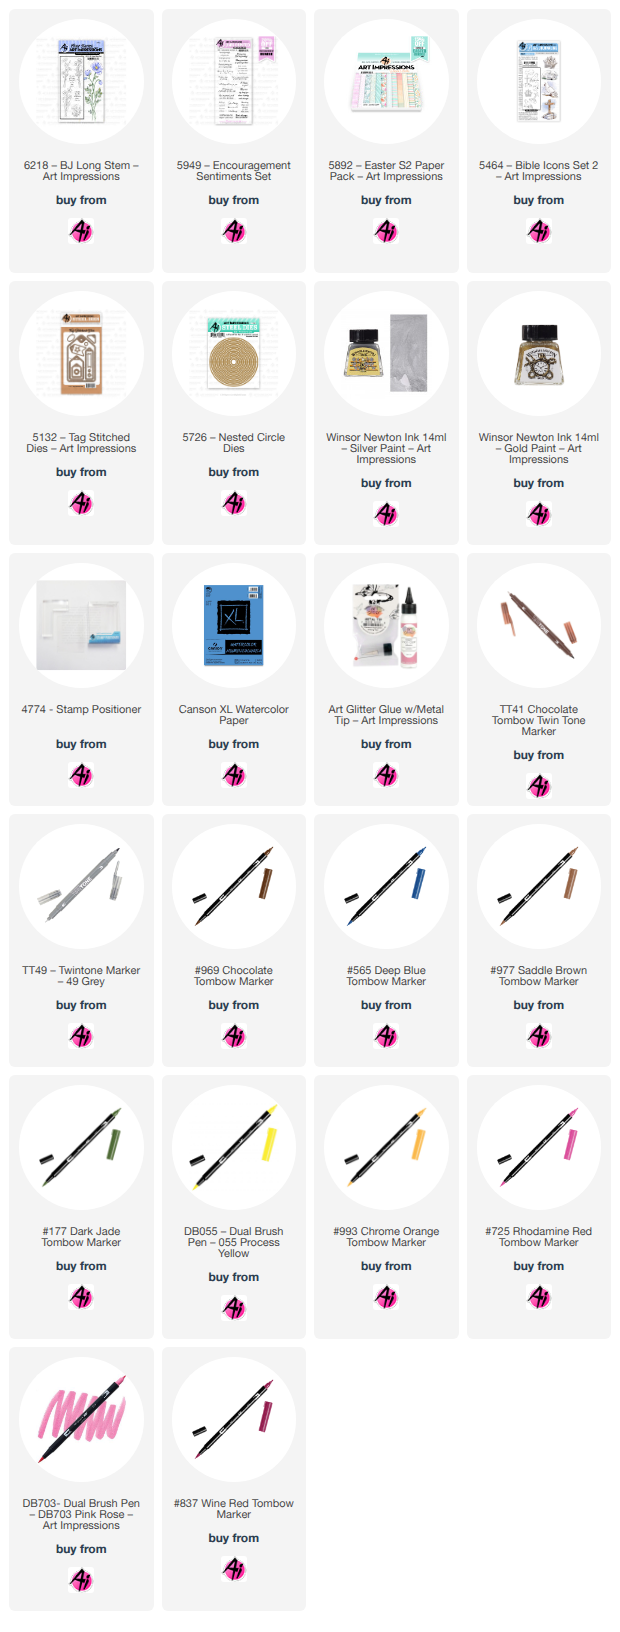
Using Canson Watercolor Paper, I stamped the image using N95. I colored the stems and leaves first with 177. Then I colored the flower, starting with 985. I used 055 to add highlights to the bloom and 933 in the center of the flower. I used 526 around the flower to add a soft touch of color to the background.
Once the coloring was dry, I splattered some Winsor & Newton Gold paint over the flower for a little extra shimmer. I then used the Antique Frame Die (from a different company) to cut out my panel.
Using Memento Toffee Crunch, I distressed the edges of the panel to enhance the vintage look. Next, I stamped my sentiment using Versafine Clair Nocturne.
I then selected a frame that would fit around the sentiment from the Frameworks Set 4 and stamped it using Memento Toffee Crunch. Using a small brush, I painted over the stamped frame with Winsor & Newton Gold paint to add a subtle metallic accent.
I felt the card still needed a little something extra, so I used a textured stamp with Distress Ink Antique Linen and stamped it randomly over the card panel. This added just the right amount of texture and finished off the vintage feel of the card.
Stamps & Dies
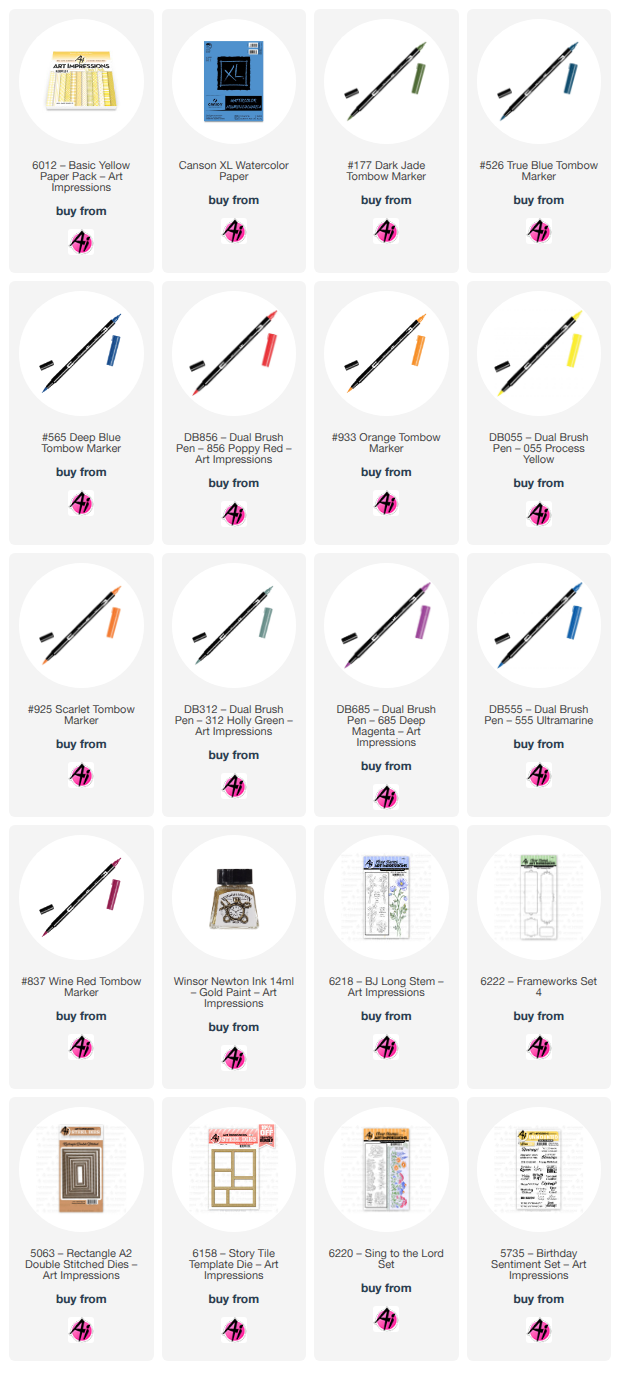
• 6218 – BJ Long Stem
Set
• 6222 – Frameworks Set 4
• 5063 – Double
Stitched Rectangle Die (Largest)
Paper
• Canson Watercolor Paper
Inks & Mediums
• Distress Ink –
Antique Linen
• Memento Toffee Crunch
• Versafine Clair
Nocturne
• Winsor & Newton Gold Paint
Tombow Markers
• N95 – Stamped Image
•
985 – Flower
• 055 – Flower Highlights
• 933 –
Flower Center
• 177 – Stems & Leaves
• 526 –
Background
For my second card, I used the Story Tile Die to cut a piece of Canson Watercolor Paper. I then arranged my flowers onto each section and stamped the images using Distress Ink Antique Linen.
Once the images were stamped, I colored each section using the Tombow markers listed below. I then cut another frame from patterned paper and adhered it to the watercolor frame. After attaching the layered frame to my card base, I glued each watercolor tile back into place to complete the card.
Stamps & Dies
• 6158 – Story Tile Die
• 6220 – Sing to the Lord
• 6218 – BJ Long Stem
• 5735 – Birthday Sentiments Set
Paper
• 6012 – Basic Yellow Patterned Paper
• Canson Watercolor Paper
Inks & Mediums
• TwinTone Marker – Purple
• Pitt Artist Pen – Black
• Versafine Clair Nocturne
• Distress Ink – Antique Linen
Tombow Markers
• 177, 985, 025, 925, 526 – Tulips
• 606, 177, 526 – Petunia
• 856, 177, N15, 526 – Poppy Flower
• 312, 685, 837, 985, 856, 555, 565, 177, 526 – Wildflowers
Thanks for stopping by, and happy crafting!
Happy Friday Art Impressions friends!
Tasha here sharing a card inspired by the current Floral Frenzy Challenge. Art Impressions has so many beautiful floral sets, and I had fun combining two new sets to create this colorful design.
I started with one of my favorite dies, the 6158-Story Tile Template Die, and selected flowers that would fit perfectly into each tile. The floral images I used are from the 6218-BJ Long Stem Set and the 6220-Sing to the Lord Set. Both sets include so many pretty flower stamps, and they work beautifully together!I love how the mix of flowers and little birds created a cheerful card full of color and springtime inspiration. Thanks for stopping by, and I hope you are inspired to create something beautiful for the Floral Frenzy Challenge!
Hello, and welcome back for Watercolor Weekend!
Hello, my Ai Watercolor friends and fans! Today I’m
sharing two projects featuring stamps and dies from three of the newest
releases: 6218 – BJ Long Stem, 6220 – Sing to the Lord Set, and 6209 – Corner
Bird Bookmark. I used the first set to create the Spotlight Daffodil Card, and
combined the second and third sets to make the Floral Corner Bird Bookmarks.
Spotlight
Daffodils Card:
I just love daffodils—their structure is so elegant, and they come in so many beautiful colors. My favorites are the bright yellow ones. Using the spotlight technique allowed me to highlight those beautiful yellow blooms and really draw the eye to the focal image.
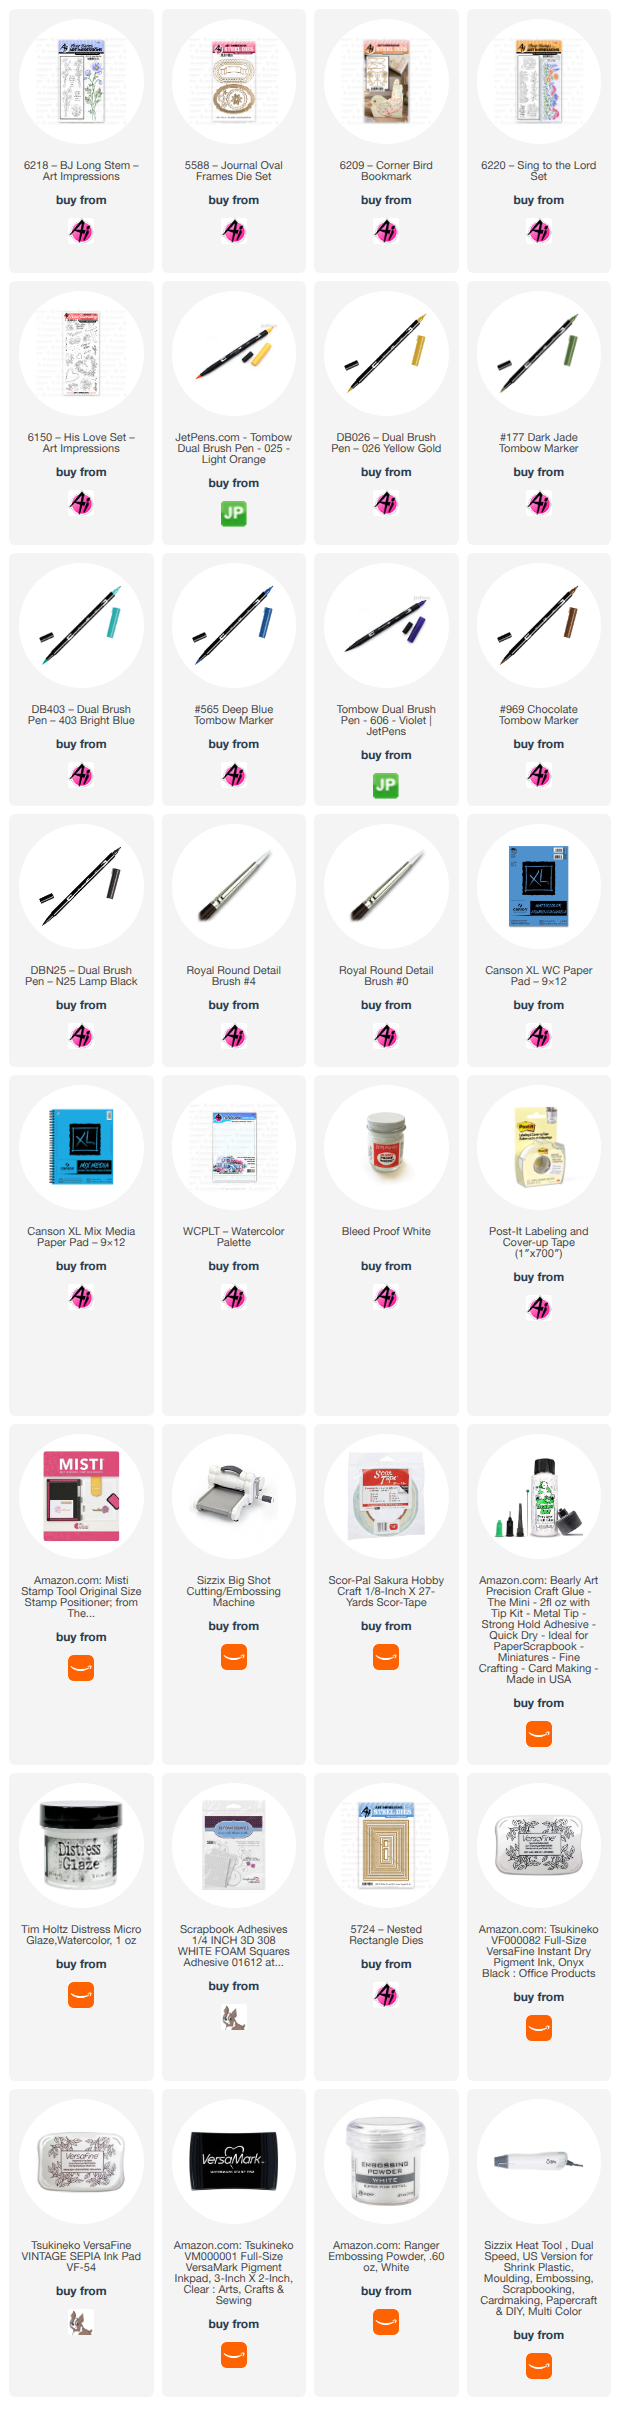
Colors and Supplies Used
Paper: Canson XL Watercolor Paper
Cardstock: Black
Brushes: No. 4 round brush, No. 0 round brush
Stamps & Dies:
Ink for stamped images: Versafine Onyx Black Ink,
Versamark
Tombow Dual Brush Pens: 025, 026, 177, 403
Other: Foam squares, Ranger Super Embossing Powder –
White, Dr. Ph. Martin’s Bleed Proof White, Heat Embossing Tool
Creating the Background
Using a stamp platform, I stamped each long‑stem
image in Versafine Onyx Black to build the background. I made sure to position
the daffodil exactly where the spotlighted oval would later be placed.
For the spotlight image, I inked the petals with 026
and the leaves/stems with 177, stamped onto Canson XL watercolor paper, then
pulled the color from the lines with a damp brush. I brightened the petals with
025 and deepened the shadows with more 026. The stems were shaded with a mix of
177 + 565.
For the background wash, I brushed a watery mix of 403
around the flowers using a No. 4 round brush. A few highlights were added with Bleed
Proof White.
Assembly
I die‑cut the stamped background using the Nested Rectangle
Dies (5724) and adhered it to an A2 black cardstock base. Next, I die‑cut the
painted daffodil image with the oval from Journal Oval Frames (5588) and die-cut
the scalloped oval from black cardstock. After layering them, I added foam
squares and aligned the spotlight image over the background.
For the sentiment, I stamped the greeting from 6218 in
Versamark clear
embossing ink on black
cardstock and heat‑embossed it with Ranger Super Fine White Embossing Powder. To complete the card, the
sentiment was attached with foam squares.
I really enjoyed making this project. The simple black‑and‑white
stamped background creates the perfect foundation for the spotlight technique.
I can’t wait to try this approach with more Art Impressions images.
Floral
Corner Bird Bookmarks:
The new 6209 – Corner Bird
Bookmark die is such a delight to use—and these bookmarks come together
quickly. You can absolutely make them with cardstock and patterned papers, but
I decided to create my own patterned papers using images from 6220 – Sing to
the Lord and 6150 – His Love.
Colors and
Supplies Used
Paper: Canson
XL Mix Media Paper
Cardstock: Purple
Brush: No. 0 round brush
Ink for stamped images: Versafine Vintage Sepia
Tombow Dual Brush Pens: 177, 606, 026, 969, N25
Stamps & Dies:
Stamping & Painting
I began by die‑cutting the tail, wings, and chest
pieces from Canson Mix Media Paper.
Using Versafine Vintage Sepia, I stamped the floral
vine from 6220 repeatedly across the tail and wings. For the chest, I stamped
the mini hearts from 6150 to fill the shape.
The images were painted with 177 and 606, deepening
the flower centers and leaves with additional layers. The eye was painted with 969,
with a dot of N25 for the pupil. The beak was colored with 026.
Two Ways to Build the Bookmark
The standard construction (shown in the bottom-left
finished sample) slides onto the bottom corner of a page.
To create a version that sits at the top of a page,
follow these steps:
1.
Glue the folded cardstock body piece together.
2.
Attach the tail feathers to the outside, facing downward, gluing only at
the top so the feathers remain open to slide over the page.
3.
Die‑cut two extra chest pieces from purple cardstock to extend the body
and glue them over the tail feathers.
4.
Add the wing, chest, beak, and eye pieces as usual.
Now you have a second way to enjoy these adorable
bookmarks!
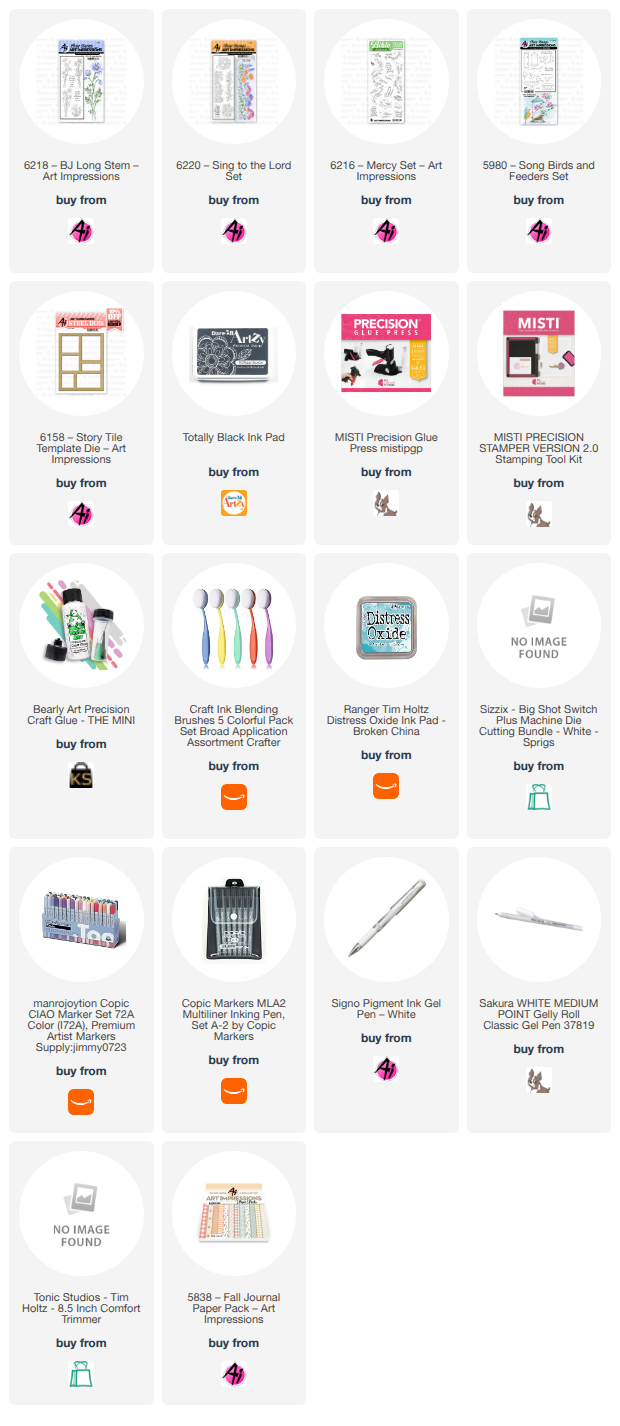
Thank you so much for spending a little creative time with me today. I can’t wait to see what you create with these new sets—be sure to tag us on social media. Until next time, Happy Painting!