Showing posts with label 5726 Nested Circle Die Set. Show all posts

Sunday, August 9, 2026

Circles of Creativity with a Shaker and a Baby Shower card by Neema


Hello Ai Friends

I can't believe August is already here; July went by so fast! It was a busy month for me because I participated in World Watercolor Month, creating a daily video featuring stamps from Art Impressions. You can watch the entire series on my YouTube channel, Crafts and Designs by Neema: https://youtube.com/@craftsanddesignsbyneema?si=Pjt4hG9TRIHgFmBf

This week, I took a break from videos to paint a few pictures and create the two cards I am sharing with you today.


Card 1: Easy Shaker Card
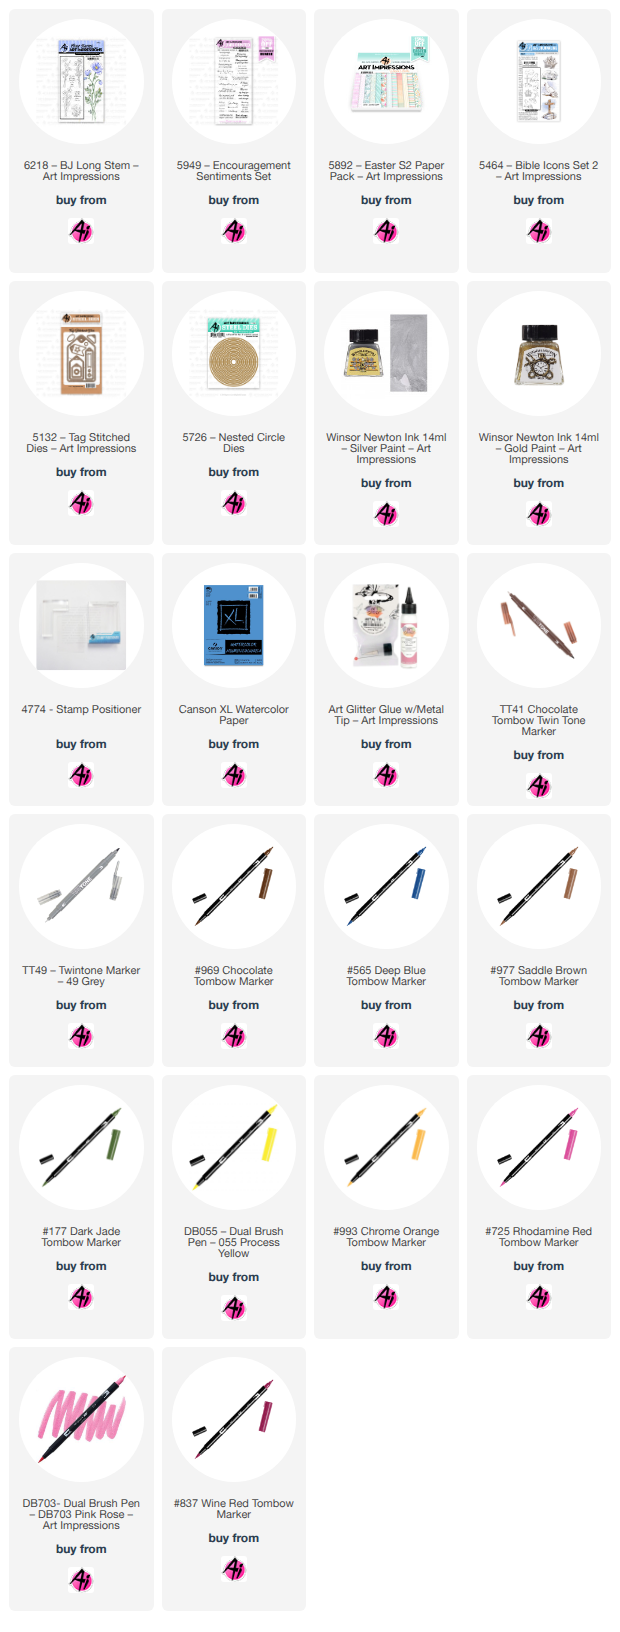
I love shaker cards because they are fun, elegant, and perfect for any celebration. For this card, I used a flower from the newest release, 6218 BJ Long Stem Set. However, you can easily customize this project by using a different focal point, shape, color scheme, or shaker bits.

Step-by-Step Guide:

1.  Cut an A2-size card base (4 1/4" x 5 1/2") and another layer of the same size from patterned paper.
2.  Cut a front panel from watercolor paper to 3 3/4" x 5".
3.  Select a circle die for your shaker opening and lightly trace the circle with a pencil.
4.  Flex the long-stem flower stamp to create a curved shape that fits along one side of the circle, then stamp the image. I used Archival ink, Shadow gray.


5.  Color the stamped image. I used Tombow markers, but you can use any medium.
6.  Use a partial die-cutting technique to cut the circle up to the point where the stamped image begins by positioning the upper cutting plate only over the area you want to cut. Fussy cut the flower side on the inner circle.


7.  Cover the back of the opening with acetate, then frame it with foam tape.
8.  Place your shaker bits on the card and adhere the front panel to the card base.


9.  Decorate the card by adding a few golden dots and a bow to the flower stem. Finish by adding a strip sentiment.


Card 2: Simple and Sweet Baby Shower Card
Note: For this card, I used the Artistro Watercolor Paint Set.


Step-by-Step Guide:

1.  Cut an A2-size card base (4 1/4" x 5 1/2") and another layer of the same size from watercolor paper.
2.  Create the background by layering dark blue paint (Midnight Blue, Cobalt, and Azure) on the watercolor paper, letting each layer dry before applying the next. Once completely dry, add splatters using Windsor & Newton silver ink.
3.  On a separate piece of watercolor paper, stamp a little lamb toward the center, leaving enough space for the moon.
4.  Use a 3" circle die to draw around the stamp, then draw a crescent moon using a smaller circle die as a template. Paint the moon using different shades of yellow (I used Artistro colors: Pineapple, Yellow Tulip, and Apricot). Once dry, use the 3" die to cut around it, and fussy cut the crescent moon and the lamb. Paint the border of the moon with the Windsor & Newton gold ink (do not paint around the lamb).
5.  Paint a piece of paper with Windsor & Newton gold ink, cut out a star, and tie it to the moon using embroidery floss.
6.  Assemble the card by gluing the moon down. To create dimension, add a cardstock layer under the moon, leave the star hanging freely, and add your sentiment.

I hope you enjoy my cards and get inspired to make your own. Don't forget to visit my YouTube channel and check out the videos for the July World Watercolor Series. In the meantime, here are some pictures of the 31 little paintings.


Happy crafting,

Neema
Friday, April 17, 2026

Have a Magical Day! Card by Tasha

 Happy Friday, Art Impressions friends!

Tasha here sharing a new shaker card inspired by the current “I See Right Through You” challenge. This one was really fun to put together with all the soft, magical touches.

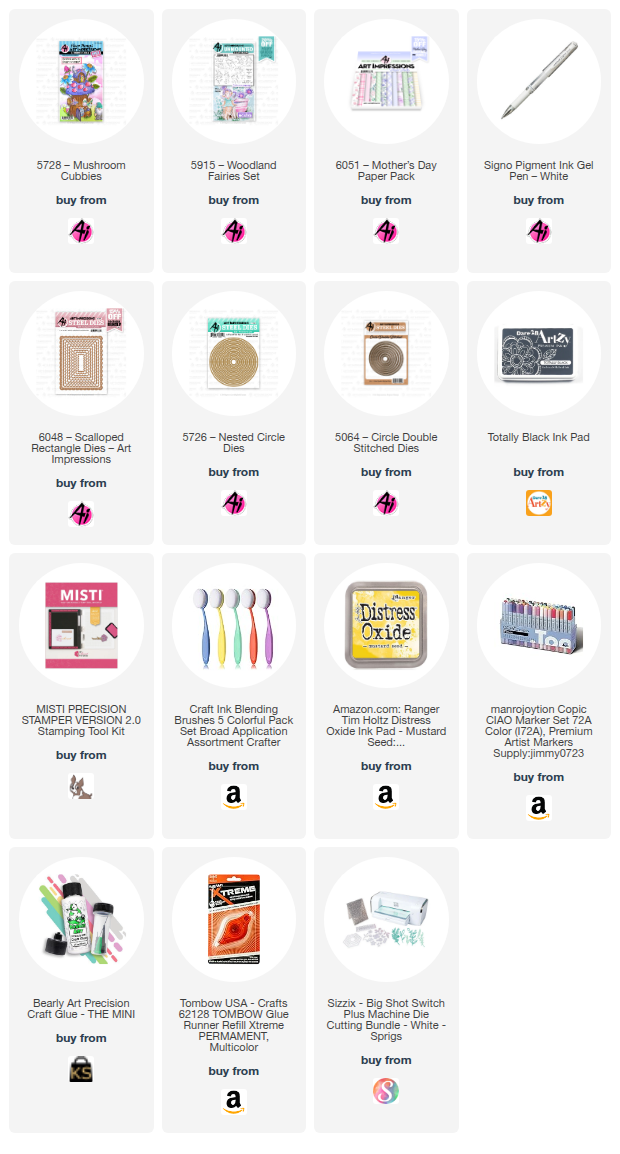
I started by stamping one of the sweet fairies from the 5915 Woodland Fairy Set. I used the coordinating dies to cut her out before coloring. I colored everything with Copic markers, keeping the colors light and whimsical.

For the shaker, I used circle dies to cut out the center window, then used two different circle dies to create the frame. I love the sparkly paper for this part since it adds just the right amount of shine.

For the greeting, I stamped “Hope Your Day is Magical” onto white cardstock and added two butterflies from the 5728 Mushroom Cubbies Set. I lightly ink blended around the sentiment with yellow ink to add a soft glow.

Inside the shaker, I used a mix of pastel hearts, stars, and sequins. The mix works really well with the fairy theme and adds a fun, playful look.

To finish the card, I used scalloped rectangle dies to cut layers of pastel purple cardstock and floral patterned paper. I also added layers of white, blue, and pink cardstock to complete the design.

Thanks so much for stopping by today. I hope you enjoyed the card and will join in the challenge!


Thursday, April 9, 2026

I See Right Through You Challenge #425 Week #1

 Hello Ai fans and welcome to our

"I See Right Through You" challenge.

We want to see your cards that you can "see through."
Cards with cut outs, cards with acetate, snow globes and shakers...
Window cards
(Windows you can't actually see through are fine...Windows to the World)
Anything you can see through.

I'm the Featured Designer this week and I created a snow
globe card that you can see all the way through.

I've been wanting to try this for a while and I have a picture tutorial 
for how I created it. Have a look and then,
check out who won our last challenge.


I tried my best with the photos.
It's difficult to photograph the snow globe domes without a glare.

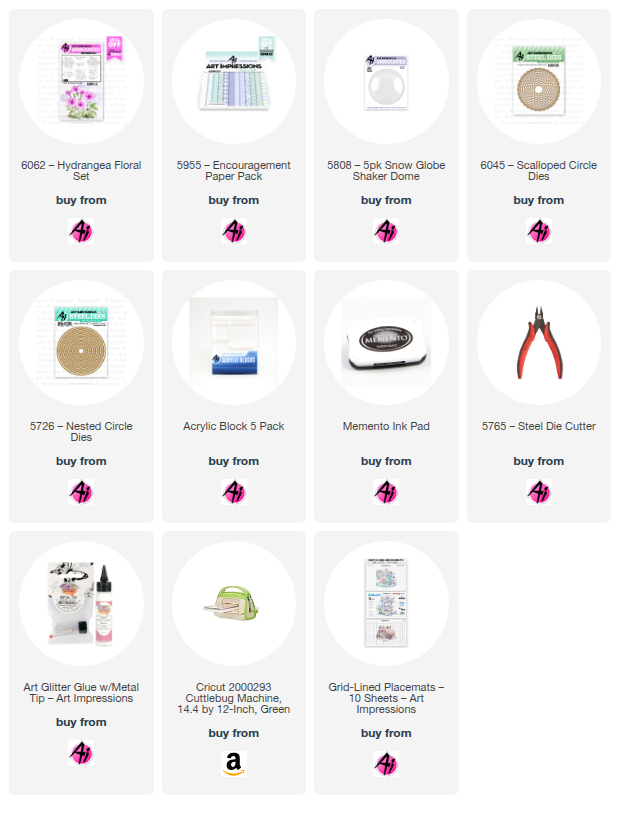
I started by cutting the rings that will go outside of the dome on the front of the card.
Next, I lined up the inside and outside Designer Paper with the card front and ran it
through my Cuttlebug so that all three openings would line up perfectly.


Next, I glued the inside piece with the cut out, the paper for the right side and I 
stamped the flowers and cut their mats out. Next I distressed the two pieces for
the front. You can see how I cut the purple piece in a later
photo so that I didn't have to worry about lining up one more circle.


My next step was to color the flowers and mount them on the circle mats. (not photographed)
Then, I lined up the flowers with the window and glued it onto the inside panel. After that,
I glued the acetate over the window opening.


After gluing the acetate on I added the purple panel. You can see that I cut a rectangle out of it.
This gave me a panel to use on a future card, cut down on the weight of this card and allowed
me not to have to worry about lining up another circle. After that, I dropped a few fun bits on
the acetate and adhered the snow globe dome. Be sure to peel of the protective plastic on it first.


Now we're ready to put the front paper on and then add the circles around the dome.


You can see what it looks like from the inside.


I love the tiny little leaves inside the dome. They remind me a bit of hydrangea leaves.


All of my printed papers are from the same paper pack which makes them super easy to coordinate.


Copics used:

YG23, YG45, V0000, V01, BV11, B0000, B000, B91


I hope you've enjoyed my card and that you'll give our challenge a try.
I can't wait to see what you make.


Now, let's see who won our Round & Round challenge.

 For our Top Spot we selected: Cynthia O.


Please contact Leah at Feedback@artimpressions.com
to claim a free stamp set of your choice!!

Be sure to grab your winner's badge to display on your social media.


Our Lucky Random Winner was: #17 Dawn W.


Please contact Leah at Feedback@artimpressions.com
to claim a free stamp set of your choice!!

Be sure to grab your winner's badge to display on your social media.

Congratulations to both of our winners!
We love how funny Cynthia's card is and how beautiful Dawn's glass vases are!


Now for our new challenge!

 ✻ Please make a new card or handmade crafty creation using either stamps, dies and or designer paper from Art Impressions. You can make any item you wish; this is not limited to cards! (unless specified)

✻ Limit two submissions per person.
✻Top Spot Winner and Lucky Random Winner each receive a free stamp set from Art Impressions
 ✻Please include your first name and last initial on your submission. You may include your entire last name, but it's not necessary.
✻We love to comment on your entries, but keep in mind if you use a private group or a platform that you need to sign up for, we probably won't be able to.
✻ The Ai Challenge is open to everyone, international submissions are welcome!
✻ Include a link back to the Ai Blog or grab our button on the top right of our sidebar!
✻ Share the Ai love if you can, by clicking and commenting on your fellow crafters.
✻ Make sure to get your link up by the deadline to enter your creations.
✻ Good luck and happy stamping! 

You are invited to the Inlinkz link party!

Click here to enter

Monday, October 27, 2025

Trick or Treat by Sharon Caudle

 Hello AI Fans!! 

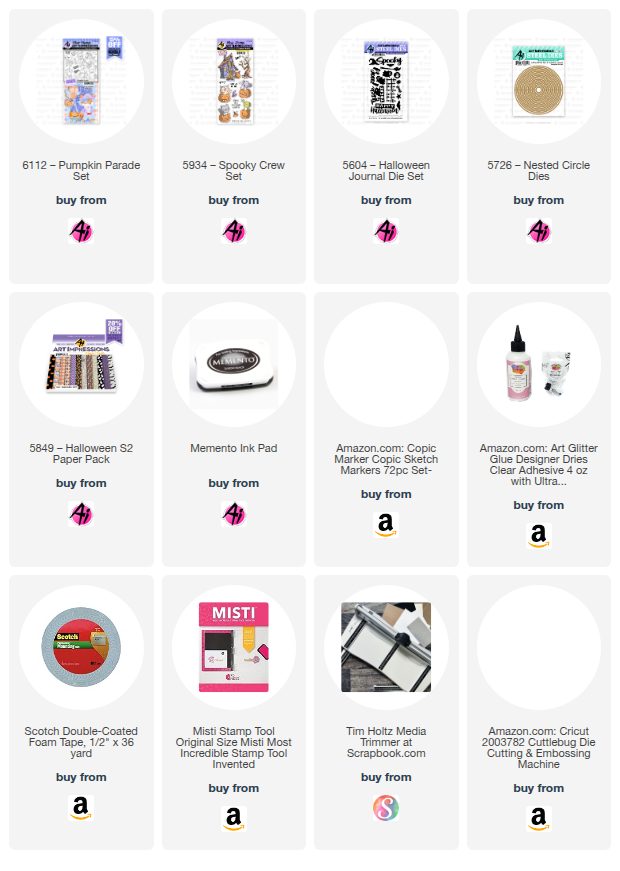
BOO!! Did I scare you? LOL! Halloween is such a fun time of year! I watch spooky tv shows all month long! I've got a fun card to show you today that features the new #6112 Pumpkin Parade and a couple older sets as well. That cute house is from #5934 Spooky Crew Set and the fun ghosts and bat are from #5604 Halloween Journal Die Set. I stamped the images onto a Copic friendly cardstock and then colored them up. I truly do love having the dies to cut the pieces out so it makes it so easy to create a scene like this! The fence in front of the house is also from the Halloween Journal Die Set. For the sidewalk, I just took a scrap piece of gray cardstock and drew in some lines. SUPER easy and grounds our little Trick or Treating fox as he makes his way down the street. For the moon, I simple cut out a piece of cardstock using #5726 Nested Circle Dies. 


So that's it for me today! Thanks so much for stopping by for a visit and I hope to see you again soon! Until next time - stay crafty!!