Hello Ai fans and welcome to the August Monthly Challenge.
Our Guest Designer for August is Sara Furr and she has two GORGEOUS cards for you.
After enjoying Sara's cards and learning her Faux Watercolor Technique, be sure to scroll down to see who our July winners were.
Here's Sara....
Greetings from the Farm, crafty AI fans! I am Sara Furr, The Crafty Farm Chick, and I am so happy to be back here on the blog with you today.

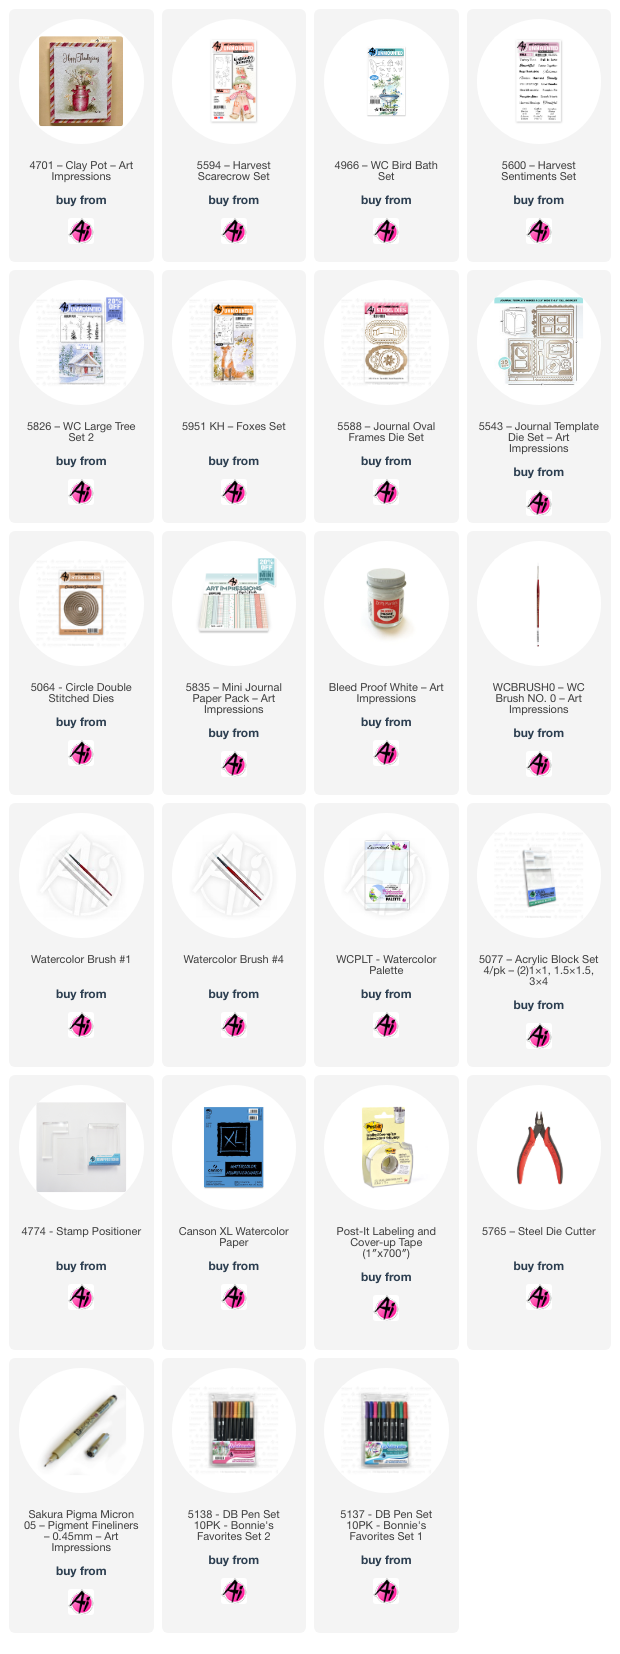
My first card is a Shabby Chic religious creation. These are the supplies that I used:
#6025- Fear Not stamp set
#4051- Foliage set 1
#6082- Bible Journal series 1 paper pack
#5543- Journal Template Die set
#5768- Decorative Journal Page 1 Die set
Memento tuxedo black ink pad
Versafine Onyx Black ink pad
Dye ink markers
Alcohol ink markers
Tumbled glass distress ink
Blending brush
Seam binding ribbon and Lace
Foam tape
Adhesive
Glue dots
Scissors- to Distress the edges of my cardstock and dsp
Post it tape- for masking sheep
Post it tape- for masking sheep

I colored my image using my "hybrid faux watercolor technique". Several people have asked me to do a tutorial for this technique and so I am including it here today.

To start, I stamped my sheep image from the "Fear Not" stamp set in Memento tuxedo black ink so that I can color the image with alcohol markers.
I colored the face and legs of my sheep with a black alcohol marker and added little swirls in a light gray ink to mimic the curly wool on the sheep. I also added a touch of pink inside of his ear.

Next, I stamped the tufts of grass, from the "Foliage Set", in 2 different shades of green dye based ink markers under his feet.

Then, I stamped the flowers and foliage with dye ink markers in the right hand corner.

I created a mask for my sheep's wool and stamped the floral vine image behind his back with Momento ink.

**Here is a tip** if you are unsure about how an image will look before you stamp it, just use a piece of window sheet over your image and stamp it so that you can see how it will look before you actually stamp it! *this is what is shown here*

I then removed the window sheet and leaving just the floral vine stamp in place, I did the actual stamping behind the sheep with Momento Black ink. (I washed and removed the sentiment)

I then colored the floral vine with alcohol markers, but I added in the definition in the flowers with the fine point of a dark blue dye ink marker.

I then went in with a light green alcohol ink marker and blended out my grasses and where my sheep is standing. It is this blending of the dye ink by the alcohol ink marker that creates a sort of "faux watercolor" look!

Now, to create my sky I added the metal die back to my die cut and ink blended Tumbled Glass Distress ink around the inside perimeter of the die. The die acts like a mask!

Now, remove the die and voila! A perfectly masked and blended sky! ( you're welcome! 
 )
)
)
I stamped the sentiment in Black Versafine Ink and then assembled the front of my card.
I followed the same process to stamp and color the image on the inside.


For my second card I followed the same technique process on the Decorative Journal Page 1 die, except this time I blended my sky first with a blender brush and the Tumbled Glass Distress Ink. Then I did all my other stamping and blending.
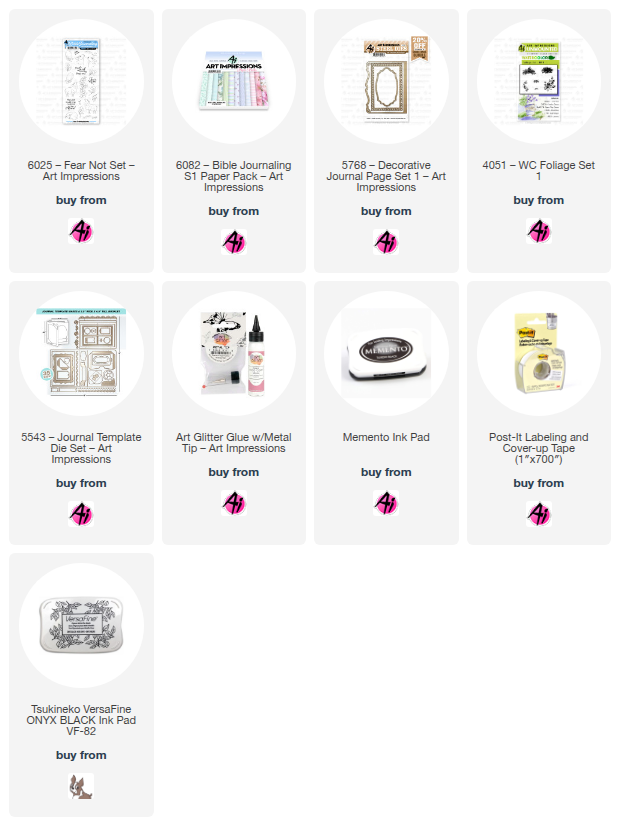
These are all the supplies I used:
#5543- Journal Template Die set
#5768- Decorative Journal Page 1 Die set
#5063- A2 Double Stitched Rectangle dies
#6082- Bible Journal series 1 paper pack
#4964- WC Branches set
#5009- WC Mini Flower set
#5007- WC FOLIAGE set 3
#4966- WC Bird Bath set
#4873- WC Cats set
Momento Tuxedo Black ink
Alcohol ink markers
Dye ink markers
Window sheet
Liquid glue that dries clear
Foam tape
Scissors- to Distress the edges of my dsp and to cut out my kitty
Blender brush
Tumbled Glass Distress Ink
Stamp positioning tool
Stylus and Foam mat- used to curve my cat

I stamped and colored my kitty and cut her out. I colored her gray to look like my kitty, "Mouse". She is this beautiful lavender gray color, so I did a mix of light grays a very light purple ( all Alcohol ink markers). Once she was cut out I flipped her over and put her onto a foam mat and rubbed over the center of the image with a stylus to round the body so she looks domed. Then, I added two thin pieces of foam tape and set her aside.

To create my window, I first cut three layers of the window from the Journal Template die set. I adhered two layers together with a thin layer of liquid glue, then I cut a piece of window sheet the same size as the window frame and adhered that to the back of the window, and then added the third layer of the window frame to the back so that the window sheet was sandwiched between the layers, creating an actual look of a window pane. I then adhered the window over my stamped panel and added my popped up kitty on the ledge looking at her snack up in the tree!
I then adhered the whole decorative window panel to a double stitched A2 rectangle die cut out of white card stock, and then adhered that to my beautiful designer paper from the Bible Journal paper pack with foam tape. I distressed the edges of my designer paper with a scissors, and added adhesive to the back, and then added it to my card base. I didn't add any sentiment because I thought it was perfect the way it was

I hope you liked my cards and that you got inspired to create something pretty, with a little bit of shabby chic! If you have any questions about my "hybrid faux watercolor technique" please don't hesitate to ask!
Blessings to you all and thank you so much for stopping by!
Now let's see who the two Lucky Random Winners were for our July Monthly Challenge.

The winner of the free stamp set from Art Impressions was Rachel Bankes.
Please contact Leah at Feedback@artimpressions.com
to claim a free stamp set of your choice!!

The winner of a freebie from me was Kathy R.
Please email me at Renee@artimpressions.com with your full name and address and I'll send you a photo of the freebies I have available for you to choose from.
Please email me at Renee@artimpressions.com with your full name and address and I'll send you a photo of the freebies I have available for you to choose from.

Welcome to the August 2025 Monthly Challenge! There is no theme but you MUST use something from Art Impressions on your project. (Stamps, dies and or paper) First name and last initial is appreciated on your entry. You are allowed 2 entries. Both winners are chosen randomly. The first winner receives a free stamp set from Art Impressions and a random winner with a U.S. address will win a freebie from me. (Renee)