Showing posts with label 5543 Journal Template Die Set. Show all posts

Monday, June 29, 2026

For a special friend by Sharon Caudle

 Hello AI Fans!

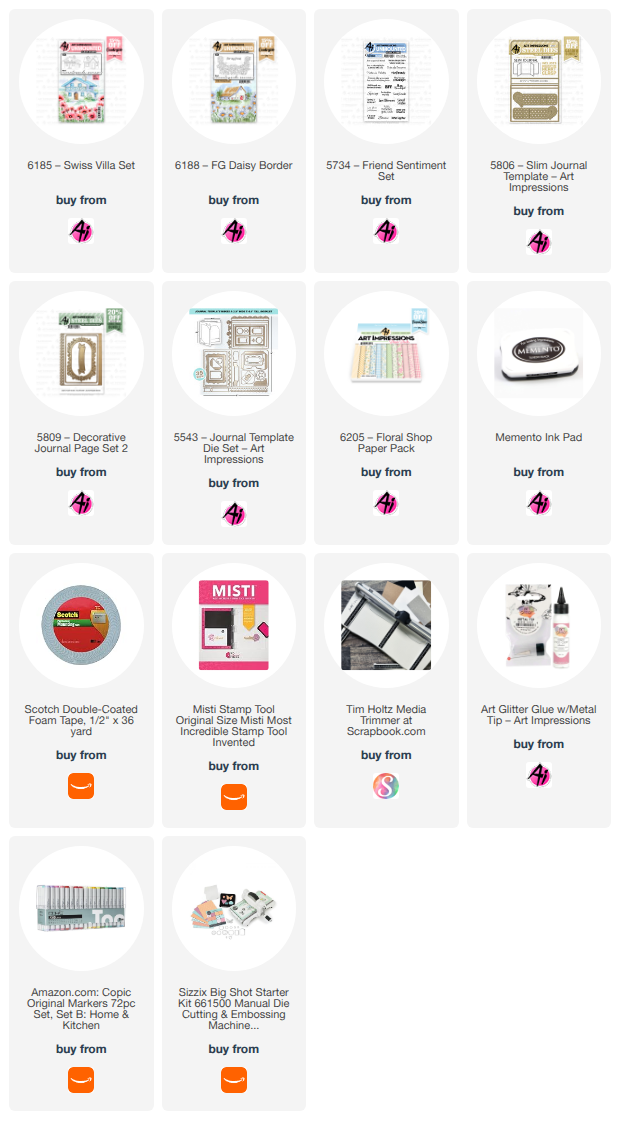
Today I have a card to show you that works perfectly for our current challenge #430 Artful Architecture. I wanted to create a window scene, but I also wanted to be able to sign the inside of the card without seeing it through the window. The solution? #5806 Slim Journal Template Die Set! I just used one inside page and it was exactly what I was looking for! I cut the window out of the front panel of the card using the window die from #5543 Journal Template Die Set. The window curtain was cut using a die from my stash that I got from Amazon, and it was a little too short for the window size. It was a perfect spot to put my sentiment banner! I just love that banner die from #5809 Decorative Journal Page 2. I use it ALL the time! TIP! If you have a curved die you want to use for your sentiment set and you have a Misti or similar stamp platform, here's a tip for you. Tape the actual die to the outside top of your stamp platform, then open up the platform. Take your stamp and stick it to the inside of your stamp platform, curving it to match your die. Voila! You can then stamp and die cut your sentiment and it will match the curve of your die exactly!  Forgot to mention the papers I used are from #6205 Floral Shop PP. They're so gorgeous! I just realized I didn't put a single bow on this card! What is wrong with me??!!  LOL!!! 


 For the center page, I stamped and colored a house from #6185 Swiss Villa Set and the Daisy border came from #6188 FG Daisy Border. I die cut a piece of grass and stamped the sentiment from #5734 Friends Sentiments Set. 


And for the back page, I just matted it with more paper from #6205 Floral Shop PP and added another sentiment. to finish it off. 


So that's it for me today. Thanks so much for stopping by for a visit and until next time - stay crafty!!


Thursday, June 4, 2026

Tulip Frog Frame and Box by Dori Mendiola

 Happy Thursday AI Friends!

The frogs are a croaking in our backyard, which means summer is here!  We have just the cute little ones, so I can handle them.  It's the big ones that are yucky!  😝  In celebration of summer, I went frog crazy and made a cute little frame as well as gift boxes that housed a cute little porcelain frog.

  Both fun little projects!

Let's start with the mini frame:
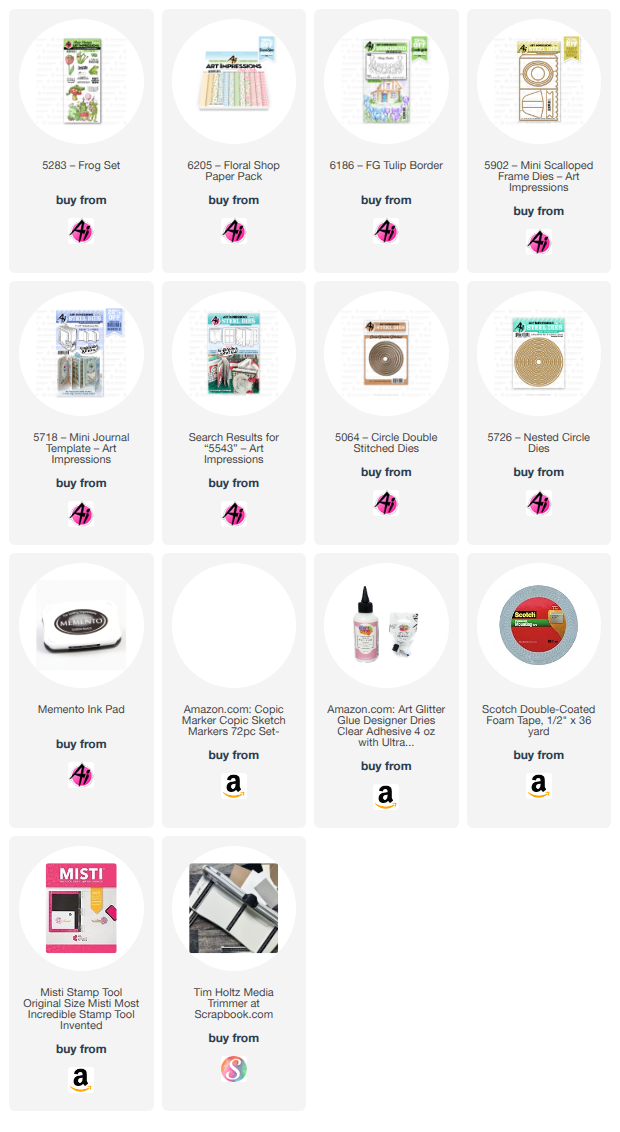
    I cut the scallop frame using the #5902 - Mini Scallop Frame die with a piece of pattern paper from the #6205 - Floral Shop PP.  I die cut an oval frame to cover the opening.  The poppies are from the new countryside series set #6187 - FG Poppy Border and the frog in the tulip is from the #5283 - Frog set.  I stamped these images onto copic friendly paper with Memento black ink and colored with my copic markers listed below.  I then fussy cut these images and popped up inside the frame.  I stamped the sentiment and die cut with the small scallop die from the #5543 - Journal Template die set.  Lastly, I added a bow and an easel piece for the back of the frame. 

For the box:
    This is made from a 6 x 6 piece of paper.  Final dimensions are 2 1/4"W by 2"D x 2 1/8"H.  
    Place your 6 x 6 piece of pattern paper diagonally onto your scoreboard at the 6" mark.  Score at 5" and 7".  Turn your paper 1/4 turn and score at 4 7/8" and 7 1/8".  Burnish all of the score lines.  Cut along score lines on both sides of two ends to make tabs.  See picture below.  Score at the top of each pointed end where the triangle meets the square.  Fold up the edges and place glue on the tabs and line up nicely to form the box.  


  Using the scraps that you cut off to make the tabs and the die from the #5718 - Mini Journal Template (see pic below), I die cut decorative edges for each pointed end.   I had to cut one side and then the other and piece them together onto the box (one on outside and one on inside).  This will add strength for the ribbon closure.   Lastly, I cut a 1/4" hole for the ribbon.  Fill the box with your treat or gift and tie up with your ribbon.


Thanks for joining me today!  Hope you have fun making these gift boxes and frames.

Have a great day and keep creating!

Copics used:  R24, R27, R81, R83, R85
B000,    G40, G43, G46
Y32, Y35, Y38

Tuesday, May 12, 2026

Pretty Little Flower Shop by ReneΓ© Matarese

 Hello Ai fans!


I created this card for our current Mix & Match challenge.
Use at least two different stamp/die sets on your card.


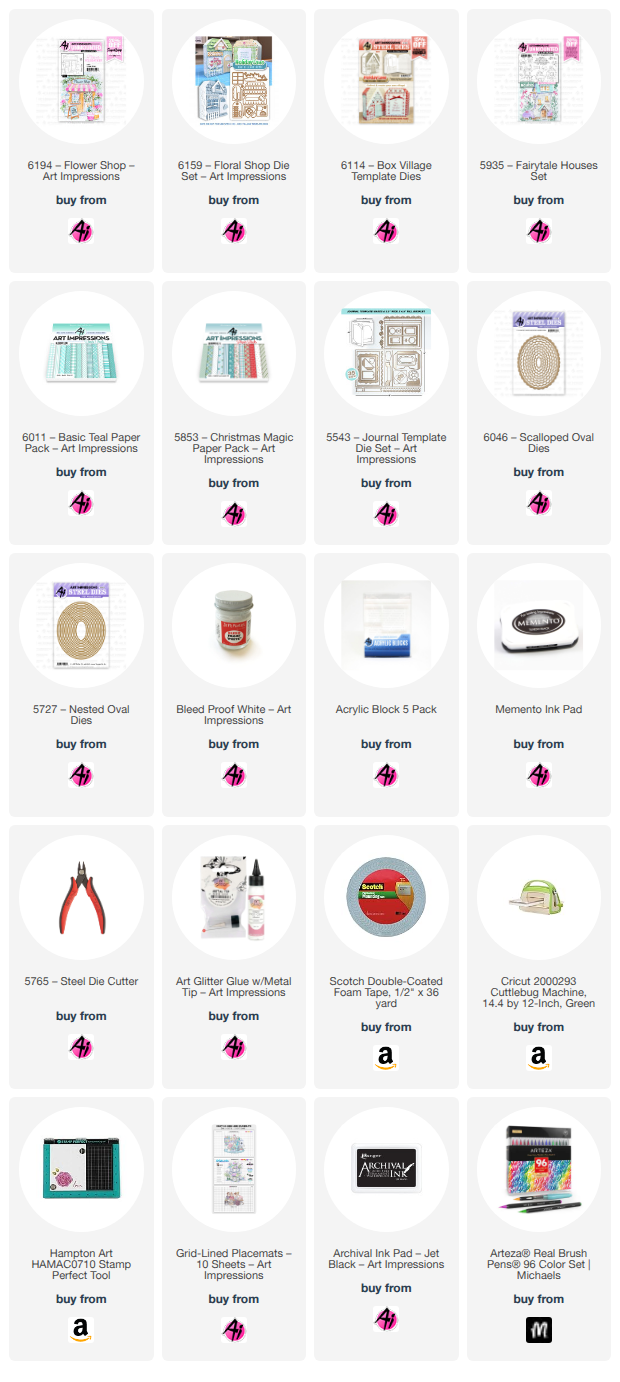
I used 2 stamp sets, 5 die sets and 2 paper pads on my card.
Variety is the spice of life, right?

I used my Arteza Real Brush Pens which are sort of between a marker and watercoloring the Art Impressions way.  Since I don't watercolor often, I decided to use die cut flowers and flowers painted with Dr. Ph Martin's Bleed Proof White Paint. I like the way they turned out.


The 6194 – Flower Shop is part of the new Holiday Lane series.


Arteza Real Brush Pens:

Sapphire Blue
Spearmint Blue
Turquoise
Pea Green
Tawny
Ginger
Honey
Currant Red
Ice Blue
Smoke Gray


Thursday, May 7, 2026

3D Tunnel card by Dori Mendiola

 Happy Thursday AI Friends!

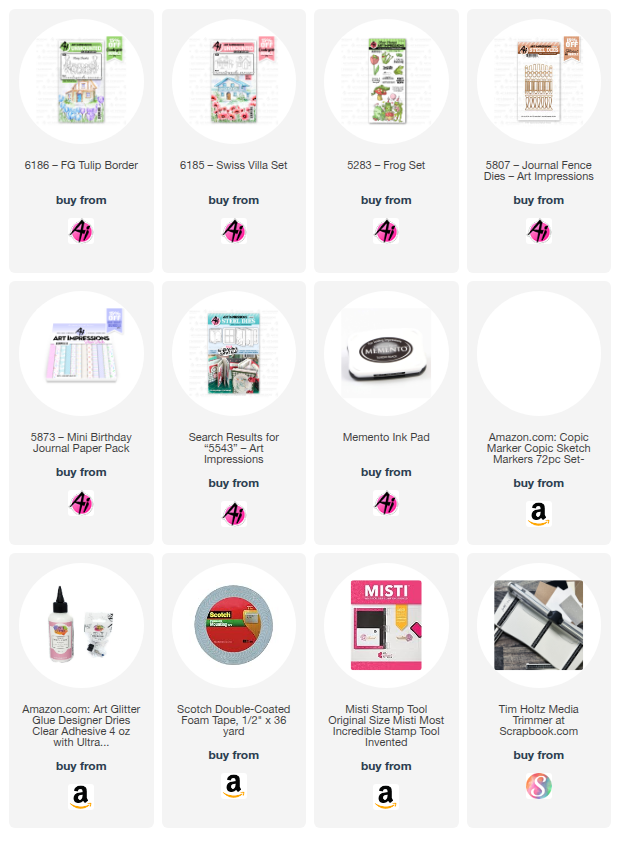
Today I’m sharing a 3D tunnel card featuring two of the newest Countryside series stamp sets: #6186 – FG Tulip Border and #6185 – Swiss Villa.  This beautiful release includes four cottages and three floral borders, all designed to mix and match for creating layered scenic cards.  Each of these images also works wonderfully on its own, making it easy to craft a simple yet striking card with just a single image.  Be sure to check out the sample projects posted on the website under each set.

To create this tunnel card, cut two 2 1/4" x 5" pieces of heavy cardstock.  Score and burnish along short side at 1/2", 1", 1 1/2", and 2".  Fold to create a tube and adhere the 1/4" tab to the inside of the tube. See pic below.  

Cut two 1 1/2" x 8 1/4" pieces of heavy cardstock and score along the long side at 1", 4", 5" and 8".  Fold (all valley) and burnish.  Adhere the 1/4" tab to the inside of the 1" tab.  Glue the two tubes inside one of these tower panels, centering within the 1" sides.  See pic below.  Flatten the card back and forth to adhere the glue in place.  Take the other tower panel and glue the bottom of the two tubes to the inside of this panel.  Make sure to line up so that the card will lay flat, by folding the card back and forth.

Cut pattern paper pieces to fit each of the outer edges and the inside tubes.  Cut arches or ovals using nesting dies to create the tunnel effect.  I also cut a fence using the #5807 - Journal Fence set and layered that between the cottage and the floral border layer.  


I stamped the images onto copic friendly paper with Memento black ink and colored with my copic markers listed below.  I fussy cut both the cottage and the flower border.  I adhered the floral border to the front oval die and the cottage to the back panel made up of the inside oval piece and cloud pattern paper.  I added the sentiment onto a banner die from the #5543 - Journal Template die set.  Lastly, I added some grass die cut pieces, a frog from the #5283 - Frog set, and the sun die from my stash.

This card will fit nicely into an A2 envelope when flat.

I hope you enjoyed my card today and I thank you for joining me.

Have a great day and keep creating!

Copics used:  E51, E53, E55
Y13, Y15, Y17
B21, B24
G20, G21, G24

Tuesday, April 14, 2026

To the Best Mom! by ReneΓ© Matarese

Hello Ai fans!

I had fun with the "I See Right Through You" challenge.
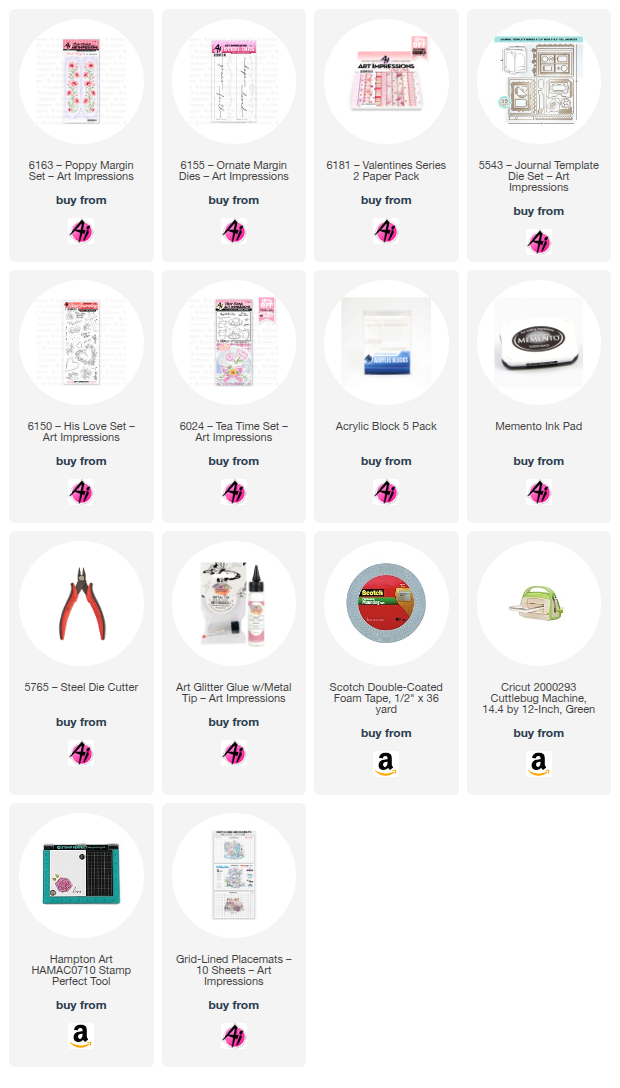
For this card, I used an acetate panel combined with the new Margin Dies
to create a see through card front.


I added some tiny gems that look like they're floating which is a cool effect.


The flowers are trimmed out from the larger stamp.
I thought they went well with the beautiful paper.


I hope you're inspired to try the challenge. Your card doesn't have to be see through.
You just need to have something see through on your card, even a window or a clear vase.


Monday, February 16, 2026

Happy Spring Train by Sharon Caudle

 Hello AI Fans!

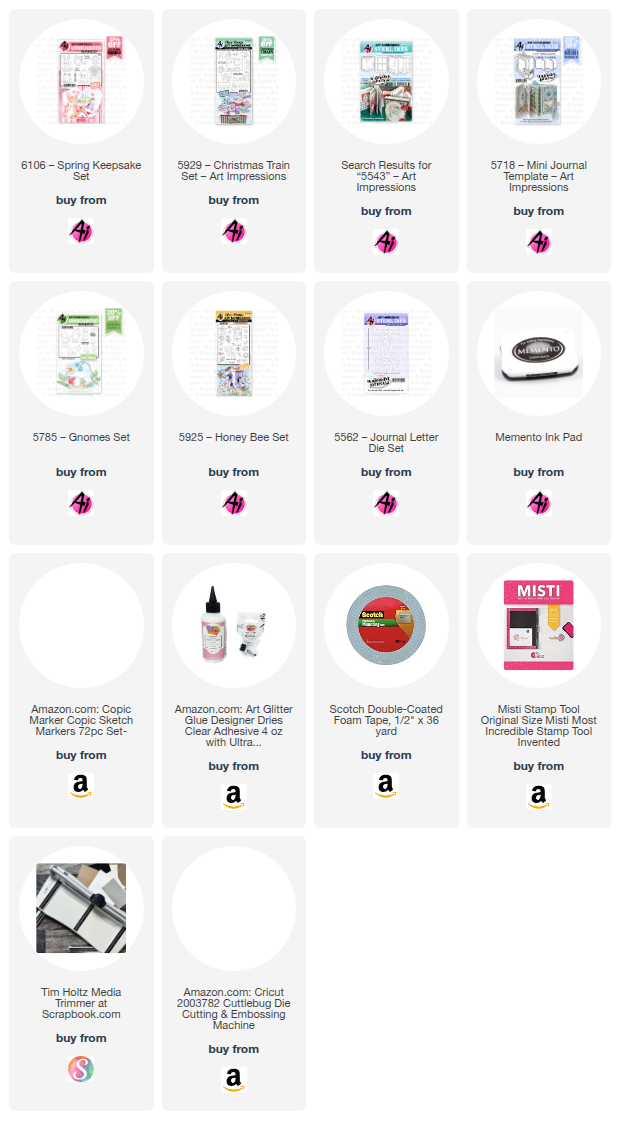
No...it's not spring yet, but it will be here soon! I hope that helps you feel a little better if you're suffering terrible winter weather right now. We are supposed to get a bunch of snow over the next day or two. UGH! I've been wanting to use #5929 Christmas Train Set for something other than Christmas for a long time, and I finally got my chance! With the release of the adorable new #6106 Bloom and Grow set, I wanted to create a train that could be used for either Spring or Easter. So this was the result of my thought. Since Bonnie didn't put any specific decorations on the train cars, you can decorate them any which way you wish! I love that!! I simply colored them in more spring like colors and then added a die cut star. The letters I used on a slimline banner die from my stash are from #5562 Journal Letter Die Set. 


Sorry, I didn't realize this was blurry until I no longer had the card. 


So that's it for me today! Thanks so much for stopping by for a visit and until next time - stay crafty!!

Copic markers used:
E000, 00, 11, and 35
B41 and 45
YR02, 04, and 07
C1, 2, 3, 4, and 5
R00, 11, and 12
YG01, 03, and 05
Y13, 32, 35, and 38
BV00, 01, and 02


Monday, August 18, 2025

Vacation Vibes by Sharon Caudle

 Hello AI Fans!

I know I probably sound like a broken record, but oh my gosh...I can't believe August is more than half way through! To me it feels like summer has just begun but the kids are already back in school! Wow! My card I'm showing you today fits right in with the current challenge "Sports and Leisure". I'm featuring #6075 Cruisin' Carol.  I stamped her with Memento Tuxedo black ink onto a Copic friendly cardstock and then colored her with the markers listed below. Do you love staycations as much as I do? Carol is definitely on a staycation in her own backyard in this card! That's me...give me a cocktail and my awesome patio, and I'm in heaven just relaxing in my chair! This was so easy to make! I just inked a cloudy summer sky using a stencil and then added a strip of die cut grass. Unfortunately, my fence kind of blends into the sky, I should have used a different color of cardstock instead of white. 


So that's it for me today! Thanks so much for stopping by for a visit and until next time - stay crafty!!

Copic markers used:
E000, 00, 04, 11, 33, 50, and 53
R01, 02, 35, 81, 83, and 85
B000 and 00
BG11, 13, 15, 45, and 49
YG13 and 17


Monday, August 11, 2025

Swingin' Through Retirement by Sharon Caudle

 Hello AI Fans!!

I sure hope you're enjoying your summer! The weather here has been remarkable and I have truly loved sitting outside and enjoying the breezes!! The card I've got for you today is for those golfers we have in our lives. I am very recently retired, so I am just getting to realize the joy that comes with it. I will say though, that the days just seem to fly by!! Nothing like when I was working and the work day seemed to be two days long! LOL!  I used one of the brand new AI People #6080 Birdie Betty!! I can't even begin to tell you how much I ADORE Bonnie's characters!! She amazes me with her talent! I am having soooo much fun coloring up these beauties!!  I stamped her onto a Copic friendly paper and then colored her up with the markers I've listed for you below. I then cut her out using #5727 Nested oval dies and then matted that with #6046 Scalloped Oval Dies.  The sentiment was stamped onto white cardstock cut out using #6045 Scalloped Circled Dies and then mounted onto a mat cut with the same set. I added the striped panel matted with a piece trimmed using the scalloped edge die from #5543 Journal Template Die Set. I almost forgot to let you know that I used #5955 Encouragement PP. Isn't this paper just gorgeous??!! 


So that's it for me today! Thanks so much for stopping by for a visit and until next time - stay crafty!!

Copic markers used:
E000, 00, 02, 04, 11, 13, 53, 55, and 57
BV000, 00, 01, 02, and 04
BG13, 15, and 18
R20
Y26
V04
C1, 2, and 3
N2, 3, and 6


Monday, August 4, 2025

Lying about your age? by Sharon Caudle

 Hello AI Fans!!

Ok, who is really honest about how old they are? I must admit, I am. LOL! I've earned every one of my gray hairs in my 68 years on this earth and I'm proud to say it.  I love Bonnie's funny stamps and sentiments and used a great one for my card I'm showing you today. It also happens to fit right into the new challenge Stitches and Scallops! I started with #5114 Never Too Old set from Art Impressions Laugh Lines. After stamping her with Memento Tuxedo Black ink, I colored her with Copic markers which I've listed for you below. At the end of this post, you will find a list of links to the products I used to create the card. It's kind of hard to see, but I swirled my Copic blending pen around on her dress to try and make it look like a brocade. I just thought she looks like she would wear a brocade dress. :) 


So that's it for me today. Thanks so much for stopping by for a visit and until next time - stay crafty!!

Copic markers used:
E000, 00, 11, 21, and 23
B00, 93, 95, 97, and 99
R02, 20, 81, 83, and 85
YG61 and 63
W3, 4, and 5


Friday, August 1, 2025

August 2025 Monthly Challenge with Sara Furr

Hello Ai fans and welcome to the August Monthly Challenge.
Our Guest Designer for August is Sara Furr and she has two GORGEOUS cards for you.

After enjoying Sara's cards and learning her Faux Watercolor Technique, be sure to scroll down to see who our July winners were.

Here's Sara....


 Greetings from the Farm, crafty AI fans! I am Sara Furr, The Crafty Farm Chick, and I am so happy to be back here on the blog with you today. 


My first card is a Shabby Chic religious creation. These are the supplies that I used:

#6025- Fear Not stamp set
#4051- Foliage set 1
#6082- Bible Journal series 1 paper pack
#5543- Journal Template Die set 
#5768- Decorative Journal Page 1 Die set 
Memento tuxedo black ink pad
Versafine Onyx Black ink pad
Dye ink markers
Alcohol ink markers
Tumbled glass distress ink
Blending brush
Seam binding ribbon and Lace
Foam tape
Adhesive
Glue dots
Scissors- to Distress the edges of my cardstock and dsp
Post it tape- for masking sheep


I colored my image using my "hybrid faux watercolor technique". Several people have asked me to do a tutorial for this technique and so I am including it here today. 


To start, I stamped my sheep image from the "Fear Not" stamp set in Memento tuxedo black ink so that I can color the image with alcohol markers.
  I colored the face and legs of my sheep with a black alcohol marker and added little swirls in a light gray ink to mimic the curly wool on the sheep. I also added a touch of pink inside of his ear. 


 Next, I stamped the tufts of grass, from the "Foliage Set", in 2 different shades of green dye based ink markers under his feet. 


Then, I stamped the flowers and foliage with dye ink markers in the right hand corner.


 I created a mask for my sheep's wool and stamped the floral vine image behind his back with Momento ink. 


**Here is a tip** if you are unsure about how an image will look before you stamp it, just use a piece of window sheet over your image and stamp it so that you can see how it will look before you actually stamp it! *this is what is shown here*


 I then removed the window sheet and leaving just the floral vine stamp in place, I did the actual stamping behind the sheep with Momento Black ink. (I washed and removed the sentiment)


 I then colored the floral vine with alcohol markers, but I added in the definition in the flowers with the fine point of a dark blue dye ink marker. 


 I then went in with a light green alcohol ink marker and blended out my grasses and where my sheep is standing. It is this blending of the dye ink by the alcohol ink marker that creates a sort of "faux watercolor" look! 


 Now, to create my sky I added the metal die back to my die cut and ink blended Tumbled Glass Distress ink around the inside perimeter of the die. The die acts like a mask! 


Now, remove the die and voila! A perfectly masked and blended sky! ( you're welcome! πŸ˜‰πŸ˜)


 I stamped the sentiment in Black Versafine Ink and then assembled the front of my card.

I followed the same process to stamp and color the image on the inside.


For my second card I followed the same technique process on the Decorative Journal Page 1 die, except this time I blended my sky first with a blender brush and the Tumbled Glass Distress Ink.  Then I did all my other stamping and blending.
These are all the supplies I used:
#5543- Journal Template Die set 
#5768- Decorative Journal Page 1 Die set 
#5063- A2 Double Stitched Rectangle dies
#6082- Bible Journal series 1 paper pack 
#4964- WC Branches set
#5009- WC Mini Flower set
#5007- WC FOLIAGE set 3
#4966- WC Bird Bath set
#4873- WC Cats set
Momento Tuxedo Black ink 
Alcohol ink markers 
Dye ink markers 
Window sheet
Liquid glue that dries clear
Foam tape 
Scissors- to Distress the edges of my dsp and to cut out my kitty
Blender brush 
Tumbled Glass Distress Ink 
Stamp positioning tool
Stylus and Foam mat- used to curve my cat


I stamped and colored my kitty and cut her out. I colored her gray to look like my kitty, "Mouse". She is this beautiful lavender gray color, so I did a mix of light grays a very light purple ( all Alcohol ink markers). Once she was cut out I flipped her over and put her onto a foam mat and rubbed over the center of the image with a stylus to round the body so she looks domed. Then, I added two thin pieces of foam tape and set her aside.


To create my window, I first cut three layers of the window from the Journal Template die set. I adhered two layers together with a thin layer of liquid glue, then I cut a piece of window sheet the same size as the window frame and adhered that to the back of the window, and then added the third layer of the window frame to the back so that the window sheet was sandwiched between the layers, creating an actual look of a window pane. I then adhered the window over my stamped panel and added my popped up kitty on the ledge looking at her snack up in the tree! πŸ˜


 I then adhered the whole decorative window panel to a double stitched A2 rectangle die cut out of white card stock, and then adhered that to my beautiful designer paper from the Bible Journal paper pack with foam tape. I distressed the edges of my designer paper with a scissors, and added adhesive to the back, and then added it to my card base. I didn't add any sentiment because I thought it was perfect the way it was😁


I hope you liked my cards and that you got inspired to create something pretty, with a little bit of shabby chic! If you have any questions about my "hybrid faux watercolor technique" please don't hesitate to ask!
Blessings to you all and thank you so much for stopping by!


Now let's see who the two Lucky Random Winners were for our July Monthly Challenge.


The winner of the free stamp set from Art Impressions was Rachel Bankes.

Please contact Leah at Feedback@artimpressions.com
to claim a free stamp set of your choice!!


The winner of a freebie from me was Kathy R.
Please email me at Renee@artimpressions.com with your full name and address and I'll send you a photo of the freebies I have available for you to choose from.


Welcome to the August 2025 Monthly Challenge! There is no theme but you MUST use something from Art Impressions on your project. (Stamps, dies and or paper) First name and last initial is appreciated on your entry. You are allowed 2 entries. Both winners are chosen randomly. The first winner receives a free stamp set from Art Impressions and a random winner with a U.S. address will win a freebie from me. (Renee)

You are invited to the Inlinkz link party!

Click here to enter