Showing posts with label 5768 Decorative Journal Page Set 1. Show all posts

Tuesday, May 5, 2026

Focus on Faith Bright Butterflies! by Sara Furr

 Blessings, my dear AI friends!

Welcome to the first edition of "Focus on Faith", for the month of May. 


Today, I have a bright and colorful creation using an alcohol ink background that I created like 2 years ago and never used, so I pulled it out and decided to have a play with it.
 I can't tell you what exact colors I used here, because it was so long ago, but I can tell you that I used Tim Holtz Alcohol inks in a Blue, yellow, and blue, and blending solution on Yupo paper. You just apply some blending solution to the Yupo paper here and there,  and then add drops of alcohol ink here and there,  and let it spread on its own, or you can use a blower tool to push the ink around,  or just keep turning your cardstock side to side to keep the ink moving until it dries. So much fun!

Once my alcohol ink blending was all dried, I applied alcohol lift ink through a stencil, and then wiped off the ink with a paper towel, and it lifts off the alcohol ink and leaves behind the stenciled image.


 I took that background, and I strategically placed the butterflies from the "Butterfly set" on the lighter areas of my background and then stamped out the butterflies and greeting with black Archival ink. I thought these butterflies were perfect for this because they are bold images.


I distressed the edges of the Yupo paper and then I die cut the pretty eyelet border rectangle from the Decorative Journal Page 1 die set and I cut it in half and used it on either side of my stamped panel to add a decorative border. I added some sequins to the panel and added foam tape to the back. I created a 6x6 card base from black cardstock and a matting frame also. I used the black to mat my piece of neutral dsp from the Father's Day Paper pack, and distressed the edges of both and adhered them together and popped them up on my card base with foam tape. To create my decorative strip, I used a piece of white scalloped edge lace and machine stitched a strip of the mint green stripe dsp, also from the Father's Day Paper pack to it, and adhered it to my matted dsp and then popped up my focal panel over top.


Have you ever played with alcohol inks? They are so much fun to play with, and they create something totally unique! If you don't have alcohol inks, you could try something similar with watercolors or dye inks on watercolor paper. You would just have to use bright or strong colors as your base, and make sure it is completely dry before trying to lift the ink through a stencil with a damp paper towel.

Please let me know if you like this technique. Thank you so much for stopping by and I hope you got inspired to have a play with your alcohol inks or if you don't, to try them.
Many blessings my dears, 
Sara Furr- The Crafty Farm Chick

These are all the supplies I used: Links to Ai products are below.

Art Impressions products:
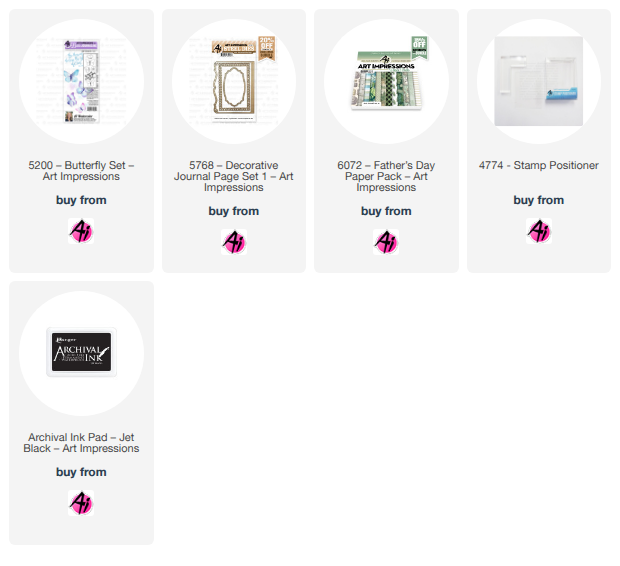
#5200- Butterfly Set
#6072- Father's Day Paper pack
#5768- Decorative Journal Page 1 Die
4774-Stamp positioner
Archival black ink

Other products used:
-Alcohol inks in pink, blue, and yellow.
-blending solution 
-air blower
-Yupo paper
-stencil
-alcohol lift ink
-Paper towel
-scissors to Distress cardstock edges
-white scalloped lace
-sewing machine
-sequins
-die cutting machine
-foam tape, adhesive
Tuesday, April 7, 2026

Focus on Faith Ornate Gatefold Card by Sara Furr

Blessings Crafty Friends, and welcome to my Focus on Faith.
I can't believe it is April already!
Christ is Risen, and Spring is finally here!
Hallelujah!


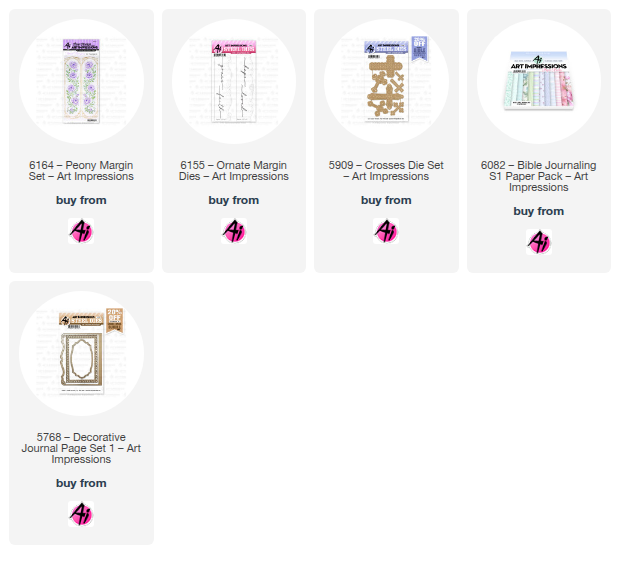
Today, I have a pretty gatefold card for you using the brand new "Ornate Margin Dies"
and the new "Peony Margin Set" along with some older Art Impressions products.


I started out by creating my Gatefold card base. I cut a white base 10x7in. and then scored at 2.5in from each end (Landscape) to create the 2 side flaps that fold in. I then 2 pieces out of white cardstock that were 2 1/4x6 3/4in., and on those 2 I stamped the Peony Margin stamps in Gold metallic Encore ink, after treating my cardstock with an antistatic powder to prevent getting embossing powder where I didn't want it. I then applied my gold embossing powder, tapped off the excess, and heat set it with my heat tool. Once cooled, I distressed the edges of both panels and adhered them to the 2 flaps of the Gatefold card base with tape runner.


Next, I created my center panel with a bottom layer of gold mirror cardstock, then a layer of white, and then a layer of the gorgeous purple floral dsp from the Bible Journaling S1 paper pack. Before I adhered them I took the gold mirror cardstock and from the center of it I die cut my 3 words "Faith", "Hope", and "Grace". No sense in wasting more expensive cardstock when I can use the real-estate hidden behind other layers of cardstock, right? Waste not, want not!
I then distressed the edges of the white and dsp layers with the edge of a scissors to give them that frayed edge look to give them some lovely texture. I then adhered them together with tape runner, then down to the center of the Gatefold card base.

I then created a focal point layer that will be popped up in the center. Starting with another layer of gold, then white, and then a purple and teal cross and finally the gold "grace" die cut that I cut from the gold Base. I adhered those all down with a thin layer of liquid glue to the white panel and then distressed the edges, and adhered that panel to the gold, and then popped up that whole focal piece with foam tape in the center of the pretty dsp panel.


I then created a Bellyband for my card to keep it shut and make the front look pretty. I cut two of the "Ornate Margin dies", (the one without the heart) and glued them together just slightly overlapping, and then cut them down to be 5in. I used the left over strip of my pretty floral dsp that was absolutely perfect to fit in the center. I cut that down to 5in also and distressed the edges and adhered it in the center of the 2 Ornate Dies to hide the seam! Clever right? Haha. I then made a bellyband that wrapped around my card and joins in the back behind the die cut focal piece. I cut 2 more Crosses and adhered them down with liquid glue and then added the gold die cut word "faith". 


As a bonus project, I created a book mark out of the Decorative Journal Page 1 die set cut from white cardstock. I added another purple cross with a bookmark tassel at the top, and then I added the last gold die cut word "hope".
I hope you will try a Gatefold card if you never have. They are super easy, and fun to make. They stand up nice and look beautiful on display!


Thank you for joining me today. I hope you enjoyed my project and are inspired to create a Faith filled project of your own!

With love and crafty blessings,
Sara Furr- The Crafty Farm Chick 


Art Impressions supplies:
6155- Ornate Margin Dies
6164- Peony Margin Set
5909- Crosses Die Set
6082- Bible Journaling S1 paper pack 
5768- Decorative Journal Page 1 Die Set

Other supplies:
Misti Stamping Tool
Die cut machine
Antistatic powder
Gold embossing powder
Heat tool
Gold Mirror cardstock
White cardstock
Purple cardstock
Teal fine glitter cardstock
Scissors
Bookmark tassel
Liquid adhesive 
Tape runner

Tuesday, March 17, 2026

Focus on Faith Easter card with Sara Furr


Blessings Ai Friends, and welcome back to another edition of "Focus on Faith" with me, Sara Furr! I am so glad you are here with me today! Here were are in the middle of March already, with Easter coming just around the corner, so I knew I wanted to create a pretty Easter card for you today! I hope you like it as much as I enjoyed creating it!


I started my project by pulling out my floral dsp from Art Impressions, and I chose a pretty blue floral and a blue gingham from the "Bible Journaling S1" paper pack. I already had a cross cut from the "Crosses" die set, so I pulled that out as well. I cut a fancy white panel from the "Decorative Journal Page" Die set and used all of those elements to start building my card.

I decided to use some of the pretty florals from the "Water of Life" stamp set. I began by placing my cross die cut,that I had cut from a fine glitter paper, in the center of my white die cut panel, and decided how I wanted to arrange my florals coming off either side of the top and bottom, behind the cross. I set the cross aside, and I began
stamping the outline posies and also one of the leaf branches in Black Momento ink, and I colored the florals with alcohol markers in a very light blue and green. Then, I went into each floral and added in details with the fine point of a dye ink marker in 2 darker shades of blue. I then added some foliage and flowers in the background stamped using dye ink markers. To blend and add in some blue shading, I used a very light greenish blue alcohol marker. Once I was happy with my background florals, I glued down my cross die cut. 
Next, I stamped the Hallelujah from the "Frameworks Sentiments" stamp set onto a piece of white scrap cardstock with Black Versafine Ink, let it dry a bit, and then fussy cut it out with my detail scissors, and popped it up with tiny pieces of foam tape. I applied foam tape to the back of that focal panel and set it aside.


I distressed the edges of both the gingham panel and the floral panel, and added foam tape to the back of the gingham panel and adhered that to the floral panel on the right side. I wrapped and tied a crinkle bow off to the left hand side with a white button tied to the middle of the bow. That whole panel was adhered to my white card base. Lastly, I adhered down the popped up focal panel with my pretty floral spray and cross with the Hallelujah sentiment. 


And that finishes my card for today. I hope you like it and that maybe you got inspired to create some pretty Religious Easter creations as well. I wish could have gotten the Religious Easter sets, as there are so many that I would love to get, but I just don't have the money, so I made do with what I have. After all, you can't go wrong with pretty florals and Crosses, right?! Haha.
I hope you all have a very happy and Blessed Easter with your family, and I will see you back here on the Tuesday just after Easter. 

Wishing you all many Blessings, 
Sara Furr- The Crafty Farm Chick 


Here is a list of all the products I used:

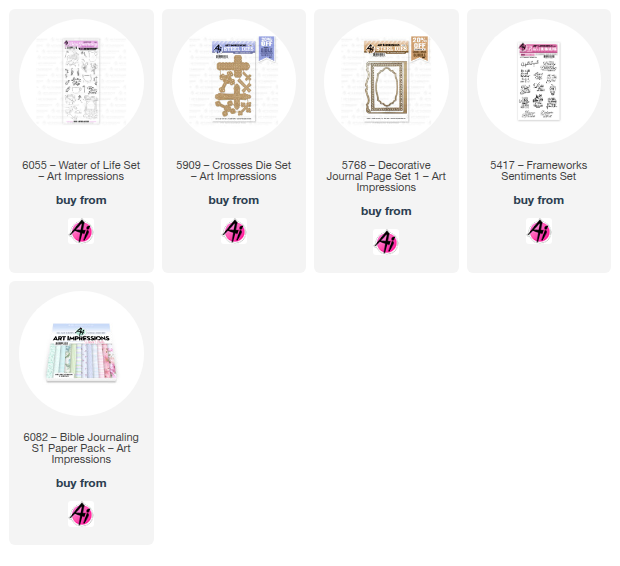
#5909 Crosses die set
#5417-Frameworks Sentiments set 
#5768- Decorative Journal Page 1 die set
#6055- Water of Life set
#6082- Bible Journaling S1 paper pack


Monday, January 19, 2026

Sending a little hello by Sharon Caudle

 Hello AI Fans!

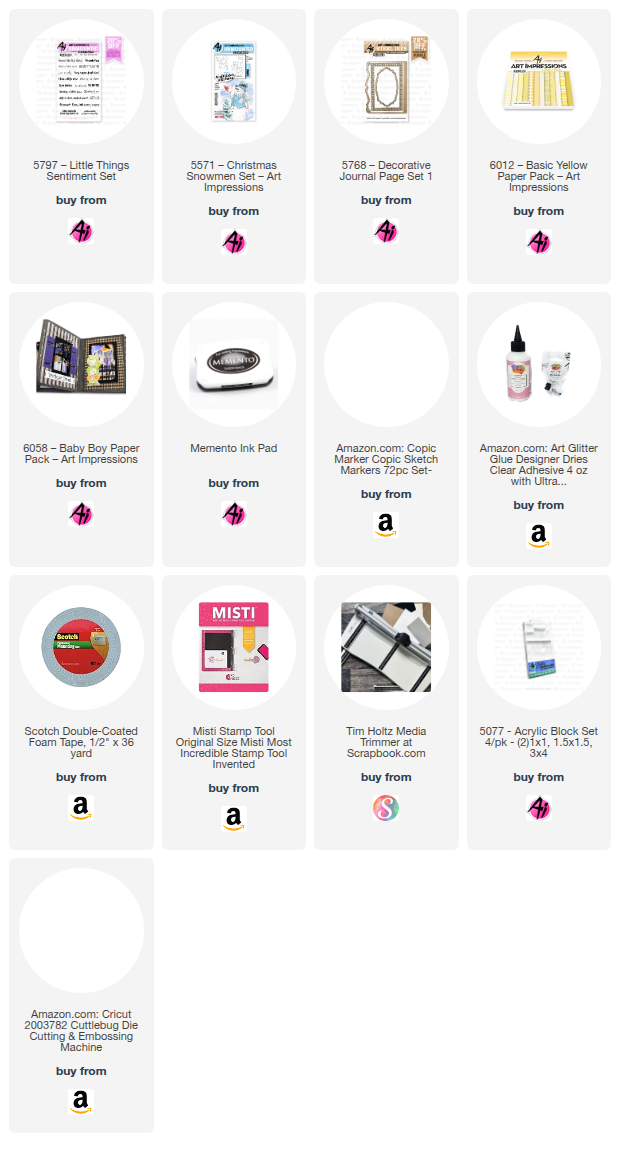
I have a simple little card for you today that fits in with the new challenge Pocket Full of Sunshine! Now if you know me, you know my favorite color is yellow, so I was super stoked to be able to create a card for this challenge! I love shaped cards, and while flipping through my die sets, I saw #5768 Decorative Journal Page 1 and I just loved the decorative edge on it. So I grabbed it to make a card. It's super simple to do this, all you have to do is create your folded card base, but when you go to place your die on it to cut, make sure you put the cutting edge of the die off of the fold of your card base. Make Sense? I then cut two more pieces, one out of my pattern paper and another layer of just white cardstock. I trimmed down all the sides of the pattern paper so the card base would be a mat for it. Then I tore the white piece (tearing towards myself) to make the layer that looks like a snowy hill. I grabbed a tree die and sun die from my stash to finish off the card. A cute sentiment from #5797 Little Things Sentiment Set finished it off. 


So that's it for me today! Thanks so much for stopping by for a visit and until next time - stay crafty!!


Copic markers used:
Y13, 15, and 18
E33, 35, 95, 97, and 98
C4, 5, and 6
YR04, 07, 61, and 65
G82 and 85


Friday, August 1, 2025

August 2025 Monthly Challenge with Sara Furr

Hello Ai fans and welcome to the August Monthly Challenge.
Our Guest Designer for August is Sara Furr and she has two GORGEOUS cards for you.

After enjoying Sara's cards and learning her Faux Watercolor Technique, be sure to scroll down to see who our July winners were.

Here's Sara....


 Greetings from the Farm, crafty AI fans! I am Sara Furr, The Crafty Farm Chick, and I am so happy to be back here on the blog with you today. 


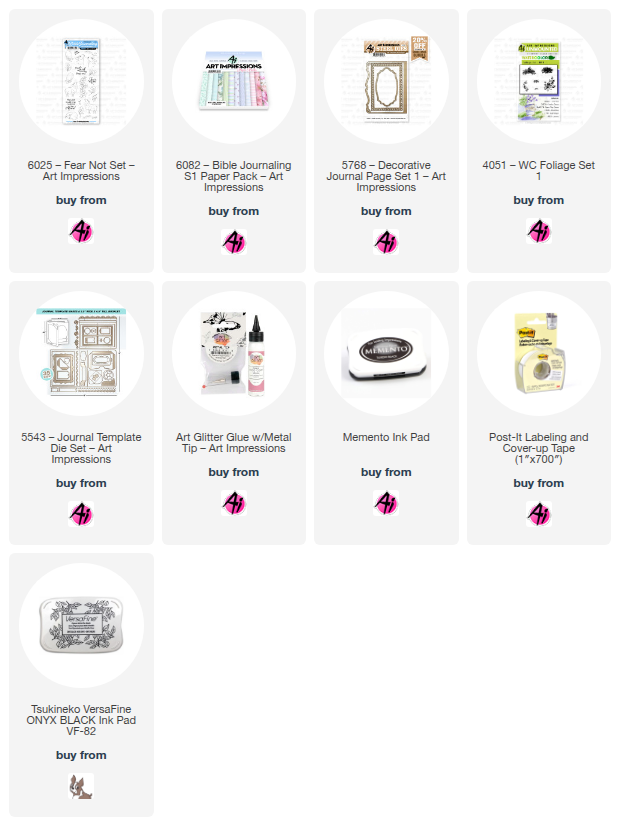
My first card is a Shabby Chic religious creation. These are the supplies that I used:

#6025- Fear Not stamp set
#4051- Foliage set 1
#6082- Bible Journal series 1 paper pack
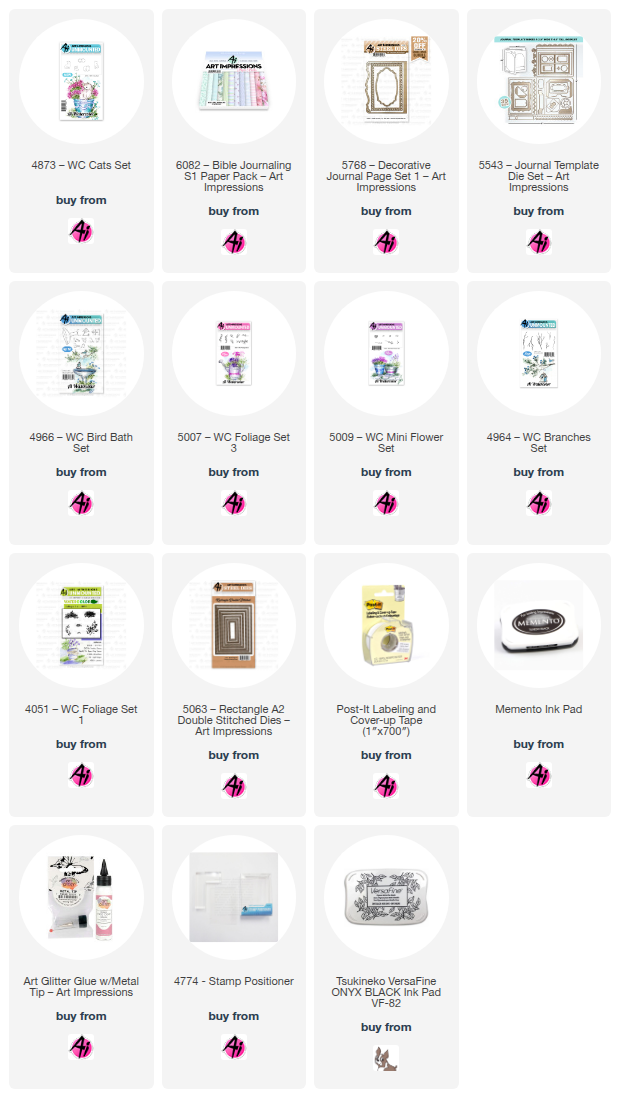
#5543- Journal Template Die set 
#5768- Decorative Journal Page 1 Die set 
Memento tuxedo black ink pad
Versafine Onyx Black ink pad
Dye ink markers
Alcohol ink markers
Tumbled glass distress ink
Blending brush
Seam binding ribbon and Lace
Foam tape
Adhesive
Glue dots
Scissors- to Distress the edges of my cardstock and dsp
Post it tape- for masking sheep


I colored my image using my "hybrid faux watercolor technique". Several people have asked me to do a tutorial for this technique and so I am including it here today. 


To start, I stamped my sheep image from the "Fear Not" stamp set in Memento tuxedo black ink so that I can color the image with alcohol markers.
  I colored the face and legs of my sheep with a black alcohol marker and added little swirls in a light gray ink to mimic the curly wool on the sheep. I also added a touch of pink inside of his ear. 


 Next, I stamped the tufts of grass, from the "Foliage Set", in 2 different shades of green dye based ink markers under his feet. 


Then, I stamped the flowers and foliage with dye ink markers in the right hand corner.


 I created a mask for my sheep's wool and stamped the floral vine image behind his back with Momento ink. 


**Here is a tip** if you are unsure about how an image will look before you stamp it, just use a piece of window sheet over your image and stamp it so that you can see how it will look before you actually stamp it! *this is what is shown here*


 I then removed the window sheet and leaving just the floral vine stamp in place, I did the actual stamping behind the sheep with Momento Black ink. (I washed and removed the sentiment)


 I then colored the floral vine with alcohol markers, but I added in the definition in the flowers with the fine point of a dark blue dye ink marker. 


 I then went in with a light green alcohol ink marker and blended out my grasses and where my sheep is standing. It is this blending of the dye ink by the alcohol ink marker that creates a sort of "faux watercolor" look! 


 Now, to create my sky I added the metal die back to my die cut and ink blended Tumbled Glass Distress ink around the inside perimeter of the die. The die acts like a mask! 


Now, remove the die and voila! A perfectly masked and blended sky! ( you're welcome! πŸ˜‰πŸ˜)


 I stamped the sentiment in Black Versafine Ink and then assembled the front of my card.

I followed the same process to stamp and color the image on the inside.


For my second card I followed the same technique process on the Decorative Journal Page 1 die, except this time I blended my sky first with a blender brush and the Tumbled Glass Distress Ink.  Then I did all my other stamping and blending.
These are all the supplies I used:
#5543- Journal Template Die set 
#5768- Decorative Journal Page 1 Die set 
#5063- A2 Double Stitched Rectangle dies
#6082- Bible Journal series 1 paper pack 
#4964- WC Branches set
#5009- WC Mini Flower set
#5007- WC FOLIAGE set 3
#4966- WC Bird Bath set
#4873- WC Cats set
Momento Tuxedo Black ink 
Alcohol ink markers 
Dye ink markers 
Window sheet
Liquid glue that dries clear
Foam tape 
Scissors- to Distress the edges of my dsp and to cut out my kitty
Blender brush 
Tumbled Glass Distress Ink 
Stamp positioning tool
Stylus and Foam mat- used to curve my cat


I stamped and colored my kitty and cut her out. I colored her gray to look like my kitty, "Mouse". She is this beautiful lavender gray color, so I did a mix of light grays a very light purple ( all Alcohol ink markers). Once she was cut out I flipped her over and put her onto a foam mat and rubbed over the center of the image with a stylus to round the body so she looks domed. Then, I added two thin pieces of foam tape and set her aside.


To create my window, I first cut three layers of the window from the Journal Template die set. I adhered two layers together with a thin layer of liquid glue, then I cut a piece of window sheet the same size as the window frame and adhered that to the back of the window, and then added the third layer of the window frame to the back so that the window sheet was sandwiched between the layers, creating an actual look of a window pane. I then adhered the window over my stamped panel and added my popped up kitty on the ledge looking at her snack up in the tree! πŸ˜


 I then adhered the whole decorative window panel to a double stitched A2 rectangle die cut out of white card stock, and then adhered that to my beautiful designer paper from the Bible Journal paper pack with foam tape. I distressed the edges of my designer paper with a scissors, and added adhesive to the back, and then added it to my card base. I didn't add any sentiment because I thought it was perfect the way it was😁


I hope you liked my cards and that you got inspired to create something pretty, with a little bit of shabby chic! If you have any questions about my "hybrid faux watercolor technique" please don't hesitate to ask!
Blessings to you all and thank you so much for stopping by!


Now let's see who the two Lucky Random Winners were for our July Monthly Challenge.


The winner of the free stamp set from Art Impressions was Rachel Bankes.

Please contact Leah at Feedback@artimpressions.com
to claim a free stamp set of your choice!!


The winner of a freebie from me was Kathy R.
Please email me at Renee@artimpressions.com with your full name and address and I'll send you a photo of the freebies I have available for you to choose from.


Welcome to the August 2025 Monthly Challenge! There is no theme but you MUST use something from Art Impressions on your project. (Stamps, dies and or paper) First name and last initial is appreciated on your entry. You are allowed 2 entries. Both winners are chosen randomly. The first winner receives a free stamp set from Art Impressions and a random winner with a U.S. address will win a freebie from me. (Renee)

You are invited to the Inlinkz link party!

Click here to enter