Showing posts with label tobin0971. Show all posts

Sunday, April 14, 2024

Nursery Rhymes Journal By Tricia

Hey Watercolor Fans,

I am so happy to share my newest watercolor journal.  I am taking another stab at Nursery Rhymes.  I re-did "Mary Had A Little Lamb" with an actual lamb.  Otherwise, these are different nursery rhymes. I did shorten some of them as I couldn't image reading some of them to children, LOL.


This one was so much fun to create.  I hope you will give some of these a try. 
Here is how I created the paintings on the cover. 

Front Cover:

I planned out where I wanted the N and R, then I penciled in the words, and masked them off.
Next, I inked them up with yellow and pink  and stamped them onto watercolor paper positioned over the words – making sure to leave space for your cow and moon and star.

Cow Jumped Over the Moon
I painted in the moon using yellow. Make sure you make the sides darker than the middle.  Using my positioner, I inked up the cow in brown and stamped him over the moon. Add a small amount of water to the cow for depth.

Twinkle Twinkle Little Star
I inked up the star with Yellow and stamped it down. 

I pulled the color out of the lines (N & R and star) into the background instead of into the stamp leaving it white. I added additional color (wet in wet technique) and moved it around the cow, moon and star.  Once it was completely dry, went over the words with a black marker, erased the lines, and added some white gel pen marks around the star.

Don’t forget to sign and date (and not like me where it gets covered by the clasp, lol).

Middle:

Roses are Red, Violets are Blue

I used the Roses and the Pansies (throwback set – poppy set could also be used) sets.  Using the single bloom, I randomly stamped the rose in different orientations around the frame. I made a few masks for the rose so I could tuck some underneath each other. I made sure to leave white space to add my violets.  Once the roses were stamped, I inked up the pansies (I actually did this part twice because I got wrapped up in purple and forgot the violets are blue…LOL – easy fix.  Once it was completely dry, I just added a glaze of blue over it…VIOLA! I pulled the color out of the lines making sure to leave some highlights for depth.

Back Cover:

Little Bo Peep

Using the back of the Front/Back Girl I inked her with dark blue and stamped her into the bottom corner of the page. Next, I inked the mini cabin up and stamped it on the left side of her.  The perspective of the house will depend where you place it.  I chose to put it about waist high so you see mostly sky and the house appears to be off in the distance.  I pulled the color out of the lines where the shadows would be.  Next, I added some additional color to her hat, hair and bow from my palette.  I added some green below the house and blue to the sky using the wet in wet technique. Once the sky dried completely, I painted in her staff.

I cut the journal out and used various papers from the paper packs to match the painting.

That's it.  Be sure to sign and date your paintings.  Once I complete all of the paintings, I die cut the journal and assemble.  If you want to see the rest of the journal, check out my social media and blog. Thanks for stopping by and have a great day!!


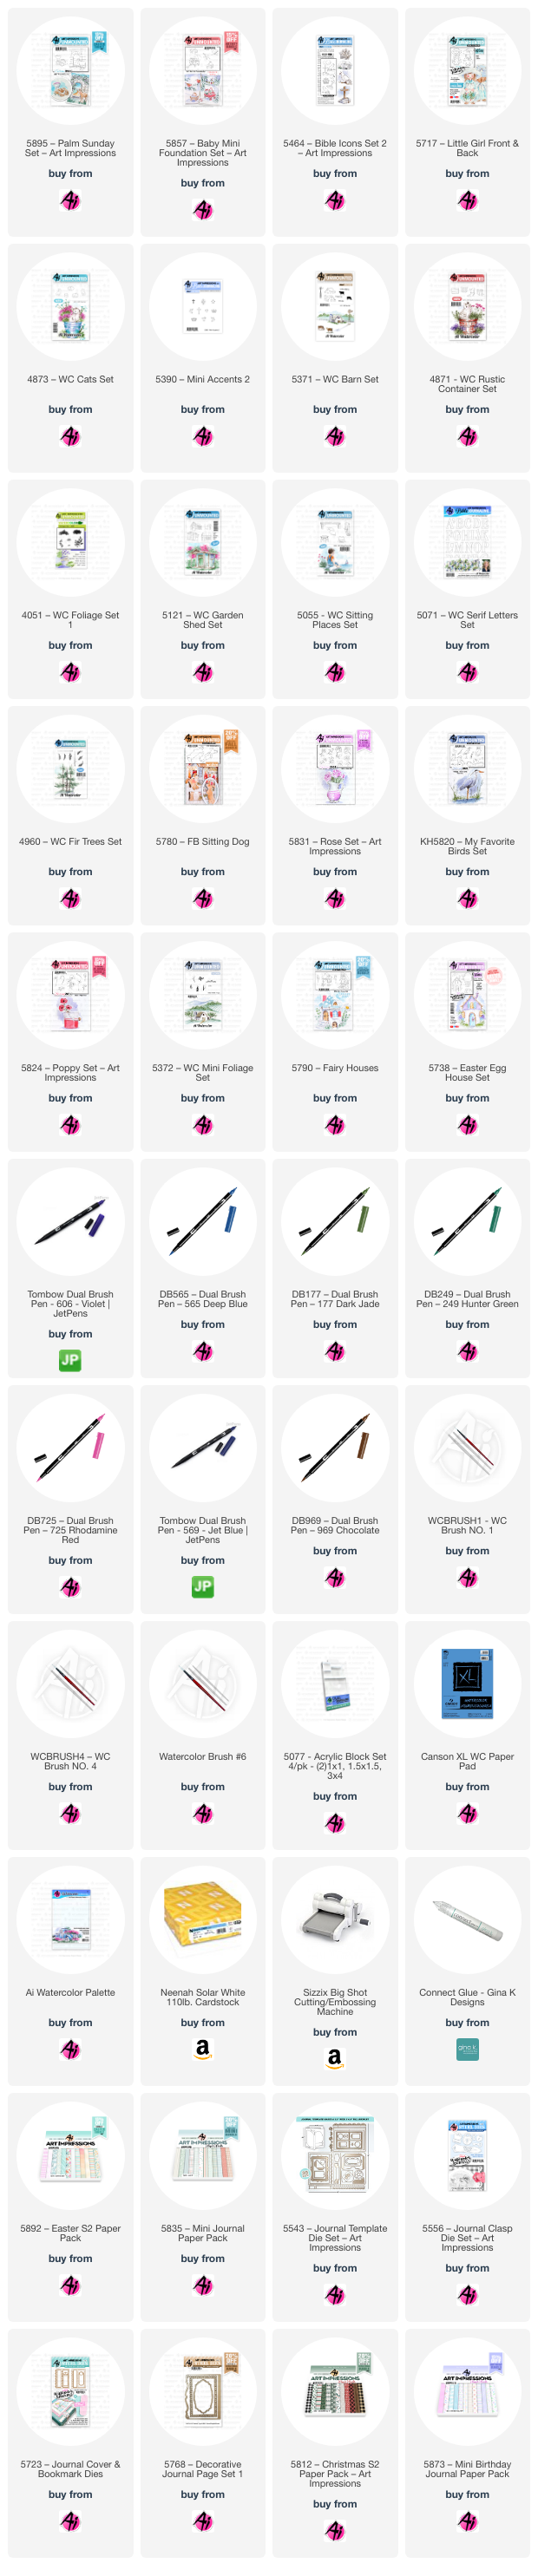
SUPPLIES: (for the entire journal)

Sunday, March 10, 2024

Mother Goose Journal By Tricia O'Bin


Welcome Back Watercolor Tribe!


I have a special watercolor journal for you today, using so many stamps, 
but don't be intimidated!

I am challenging you to think outside the box.  

I created another journal like this that I will be showing off another time, 
but in the meantime, I am really happy with the way this one turned out!  

Won't you come along and step back in time,
to when you listened to a nursery rhyme or two?


Introducing, my watercolor Mother Goose nursery rhymes journal.

I created the journal using the following supplies:

1 piece heavy cardstock for cover
2 pieces of heavy cardstock for 6 pages
Scrap watercolor or cardstock for clasps
19 pattern paper masks were die cut 
(front, middle, back, 2 ea pages 1-3 and 8-10, middle 4)
9 finished paintings cut to 3.5 x 2.25

For the cover I used a discontinued (sorry) set that has two geese on the stamp.
First, I inked up only one and stamped her down.  I pulled a small amount out of the lines to keep her white.  You could also use some of the birds to morph into a goose.  I painted some orange on her beak and feet.  I added some 569 and 969 underneath her to ground her.

I hand painted in the hat and bow.  
For the words, I used the small alphabet stamps.


Mary had a Little Lamb 

(or sheep in this case LOL)


For Mary's schoolyard "lamb", I started out by stamping the Sheep from the Good Shephard set using 969 and 569.  I stamped it off several time to make sure if was really light (white as snow). I pulled a bit of color into the sheep's shadows and under her feet. To protect her while I worked on Mary, I created a mask.  

For Mary, I inked up one of the Angels without the wings.  I also made sure her hair was really light because I wanted to extend it down. I made sure to stamp her close to the sheep's face. I pulled some color out of the lines and penciled in her hat.  I added some purple and pink to the hat and her arms for sleeves.  For her dress, I pulled some additional color in making sure to paint strokes that are parallel to the artist drawn lines. Her hair is built up using layer of browns to create depth.  Add some dark color underneath her to ground her.

Next, I stamped the small structure from the Garden Shed set inked with 969.  I liked the open window so I could hand paint in the chalkboard, floor and desk.  After pulling the color out, I added red to the walls and green to the roof.  I added 569 and 969 sporadically around for the appearance of snow and a mountain the distance.  I added some light blue into the sky to finish it off.


Three Blind Mice


I started by using the 3 mice from the Mini Mice and Squirrel set inked up with 969.  I took my time and built up the dark shadows on these little guys.  Once I was done I grounded them using some 969 and 569 underneath them.

For the Farmers Wife, I used the running girl from the Silhouettes set inked with 569 and 969. By adding her closer to the top, she appears further away in perspective. 

Next, I stamped the barn from the Barn set. I pulled the color out of the lines and added some color to it from my palette.  I added a small amount of water using my 0 paintbrush to her.  Lastly, Using 569 from my palette, I painted in the snow and sky.  

To see the entire journal, please visit my blog.  

I hope I have inspired you today!

I can't wait to see what interesting things you morph your stamps into.  
A theme is a fun way to explore you creativity.  I hope you will tag me so I can check them out!

Until next time, have a crafty day!


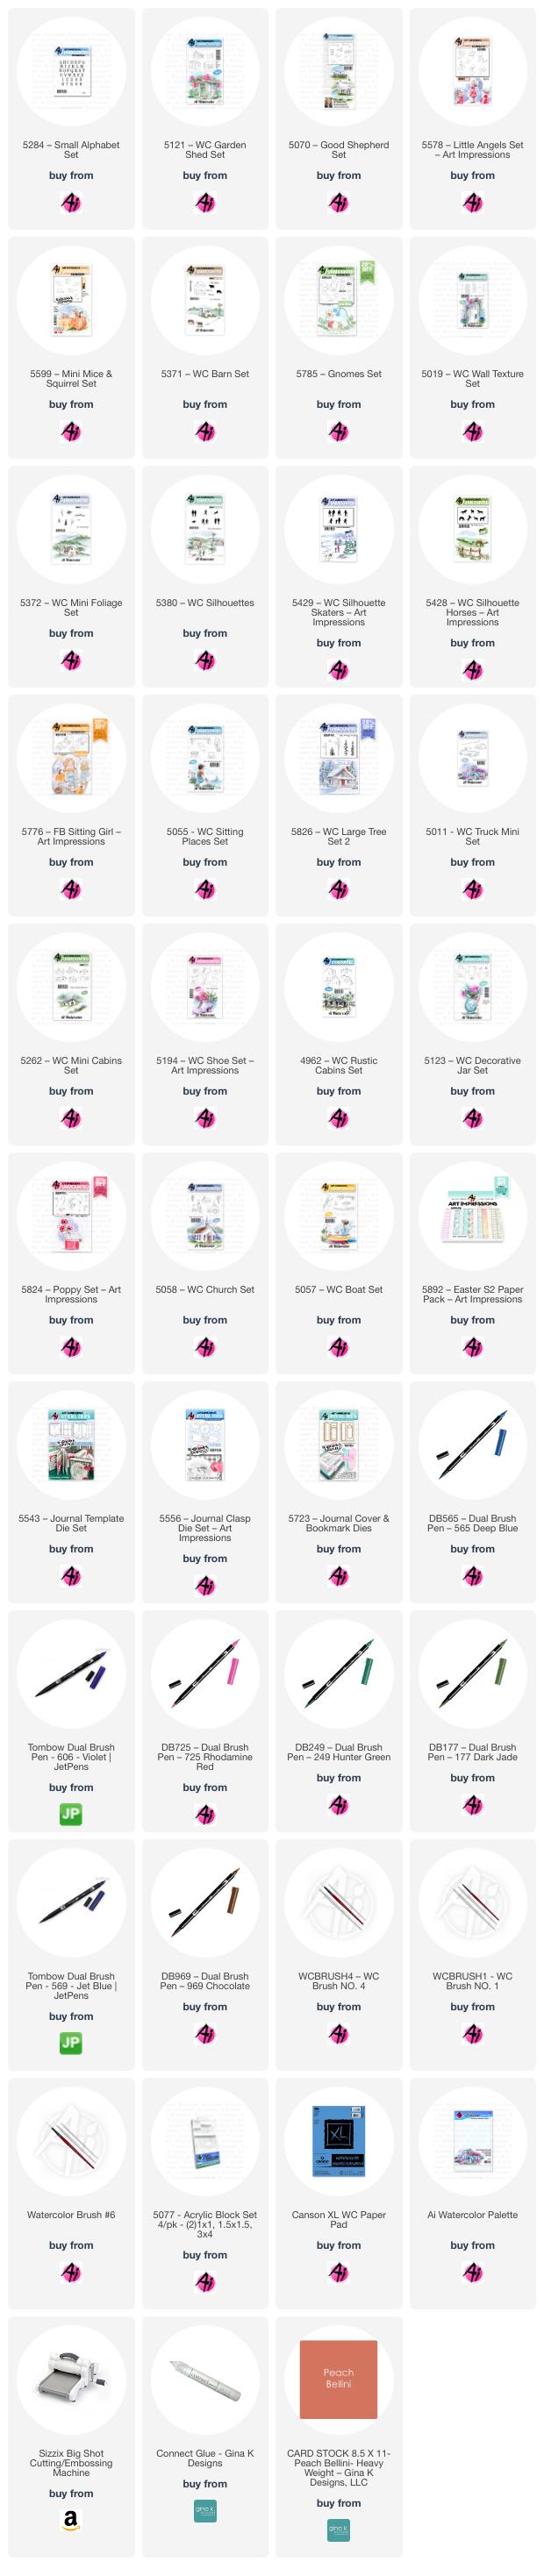
SUPPLIES:

Sunday, January 14, 2024

2024 Intentions by Tricia


Happy 2024 everyone! I hope everyone had a safe and Happy New Year. I am continuing on my quest for balance in my life. Here are 3 of my 2024 intentions that happened quite by chance. What types of things are you looking to bring into your life in 2024?  

I am hoping to slow down and enjoy the process in everything I do.  I hope to capture the wonder of the world around me, breathe with intention and find peace and balance. With that said...onto the cards! I have 3 of them to share with you today.

Card 1 - Wonder


I have always loved the Northern Lights.  For this one, I wanted it to be simple but powerful with all of its awe. This card only utilizes one stamp set (for the painting not the words), 5826 - WC Large Tree Set 2.  If you are intimated by the mountains, you can use the Mountain set to assist you, but I urge you to step out of your comfort zone. I started out by tracing the box from my stitched square die a little smaller than the paper. I wanted it to look like a polaroid picture originally. Also, sometimes something smaller is less intimidating.  Do you see a theme starting?

Let's get going.  Using the birch tree stamps, I inked them up with 969 and 569, stamped them off and stamped into the bottom right corner of the square. I varied the height and went between the large and small stamps. I stopped just shy of the middle of the box.

Using 606 (very watered down) on my palette, I watercolor sketched in the snow in the background.  This allows me to position the mountains and piles of snow where I want them before putting down darker color. Remember snow is white but it is made up of lots of colors (blues, purples, yellows)...so like we say, play with it and find the 'wonder' in your process. Try making it not look like snow and it may just look like snow...lol.

I started layering in different brown and blue mixtures for the mountains. I continued to add color slowly to the snow and mountains until I was happy. Then I let it dry completely.  Dry times will vary depending on how much water you used, but it should be relatively quick. Using some post-it tape, I masked off the birch trees and stamped in the evergreen trees inked with 249. I added a small amount of water to the birch trees (just the sides and the notches), then to the evergreen trees.

For the Northern Lights, I used 173 and slowly built up the color from pale to deeper.  I allowed some places to dry faster than others creating controlled blooms. It was more of a wet in wet technique followed by some darker details. I used some 969 and 569 mixture to create the night sky. This was also layered.  I find that I get deeper more interesting shades when I layer vs just doing a dark wash. Once this was all dry, I added some green to the snow, bleed proof white to some of the trees and as stars and stamped in WONDER using the small alphabet stamp set (perfect size!). I signed and dated.

Card 2 - Breathe


I have to be honest, this one almost ended up in the circular file. I have learned now that it is just my brain sending me the wrong messages. I am trying, and will continue to try this year, to breathe through it and find my flow. Here's how this one went down.

I started with the Rugged Tree Stamp.  I don't see this beautiful tree enough. I thought I could give it some love, artistic style. Again, because I was in a flow state of mind I am not sure exactly how I did this one but I can give you the gist of it. I inked the Tree up with 969 and 569 to just below the top. I did not stamp this off as I wanted all of the colors.  Experiment here with different browns and blues to see what you can do to the tree. 

Next, I inked up the small foliage (or something) from the Large Tree Set 2 with 969 and stamped it next to the Tree and behind the tree. From my palette I mixed up several different colors to add to the forest and stream/road/trail. Once it was dry, I added additional colors to the snow and forest. I inked up the evergreen trees from the Snow Globe set with 249 and stamped them several times along the tree line. I also used the small foliage inked with 969 as trees in the forest along with just the top of the evergreen trees to create depth. 

Lastly, I added clean water to the sky and dropped in blue (making sure to avoid the tree).  Don't go too high. I came in to darken any areas and add details; once I was happy with it I signed and dated.  Oh yeah, I wrote the word 'BREATHE' once the sky dried.

Card 3 - Peace


This one was the most fun and easy one.  I love wet in wet and this one is playful. To start off, I took some 1/4 in washi tape (don't quote me, I think) and blocked off the windows. Next I inked the Rugged Tree with 969 and 569, wiping some of the branches away (by doing this each time to different parts of the stamp, it makes it look different each time you stamp it-so you can S T R E T C H it...lol) and stamping some straight, some slanted, some I masked off until I was happy with the amount and placement of the trees.

Next, I pulled some of the color from the sides of the tree into the center (you can experiment with different looks depending on how much water you use). Once they dried, I added clean water between the trees and dropped in reds, yellows and oranges.  I tried not to fuss with them and let them dry naturally. I added some brown/blue to the bottom of the trees.

I removed the washi tape and painted in the wood window frames (hint: make sure the wood grain you are painting is parallel to the floor/walls - left and right wood grain goes up and down, top and bottom wood grain goes left to right). Using layers will help create a wood look. I added the 'PEACE' with an acrylic paint pen (would not do this again). I signed and dated.

These cards were not only fun to make but also intentional. I hope you will set your intentions this year and also hope they will include some time for you. We all need self care and self love. Words are powerful, be careful what you say to yourself.

"If my mind can conceive it and my heart can believe it, then I can achieve it."  - Muhammad Ali 

Thank you for spending a bit of your Sunday with me, I hope you have a wonderful day!


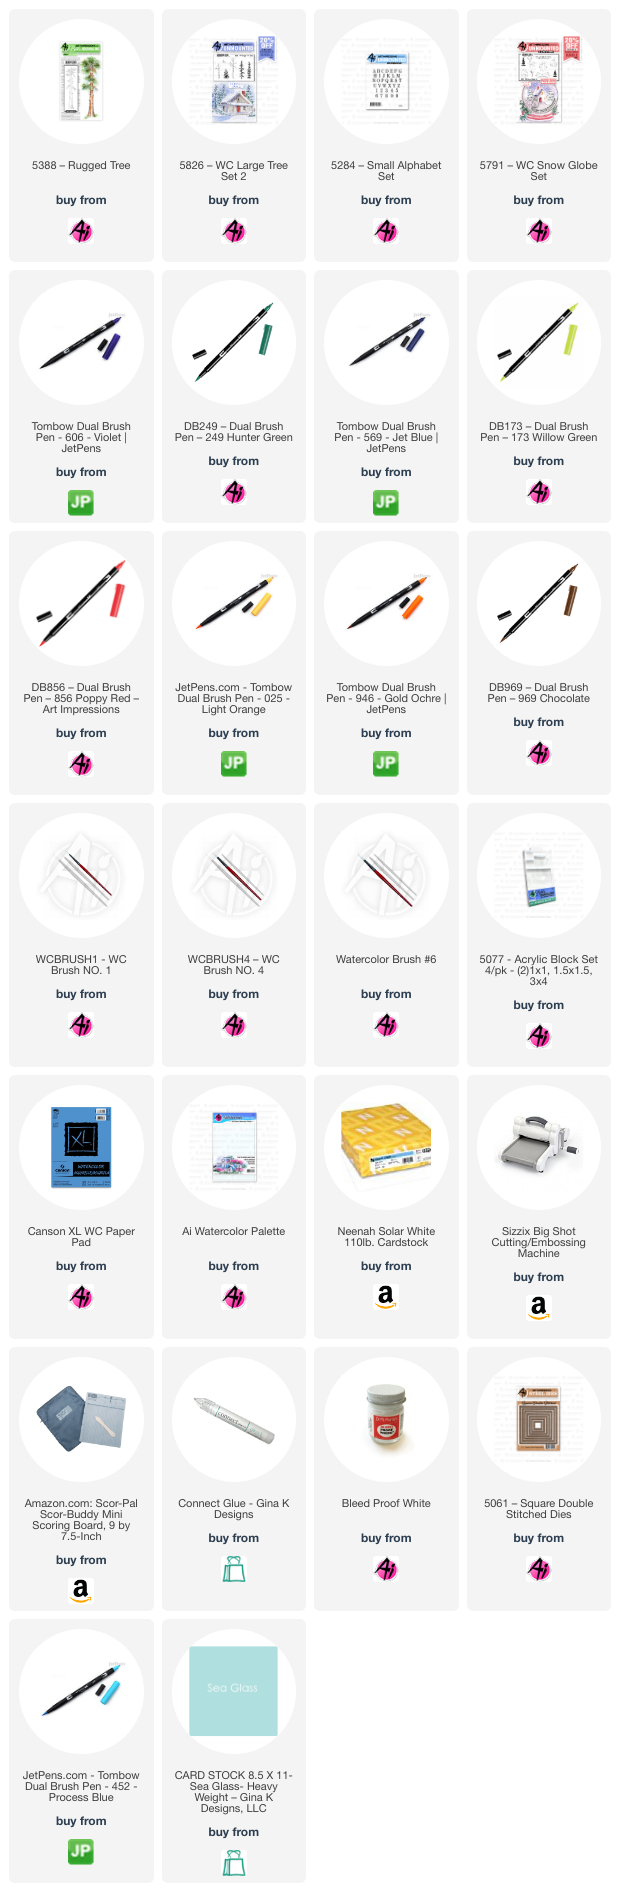
SUPPLIES: