
Hello Ai Fans!
Welcome to a special Watercolor Throwback! We are so excited to have how many new friends joining in our watercolor technique, and it's always a great idea to get back to the basics! Bonnie created this step-by-step tutorial on how to get started and create a basic container image back in January 2018, and it's a great image to start with!
Also, did you know we have 155 videos on our Watercolor Wednesday playlist? With endless hours of tutorials, we invite you to check out the playlist and find a video you haven't viewed before! Hop back to this video and leave us a comment on the new tutorial you found!
Happy Watercolor Wednesday!

For Watercolor Stamping, there are some necessary supplies to get the desired look.
Basic Supplies
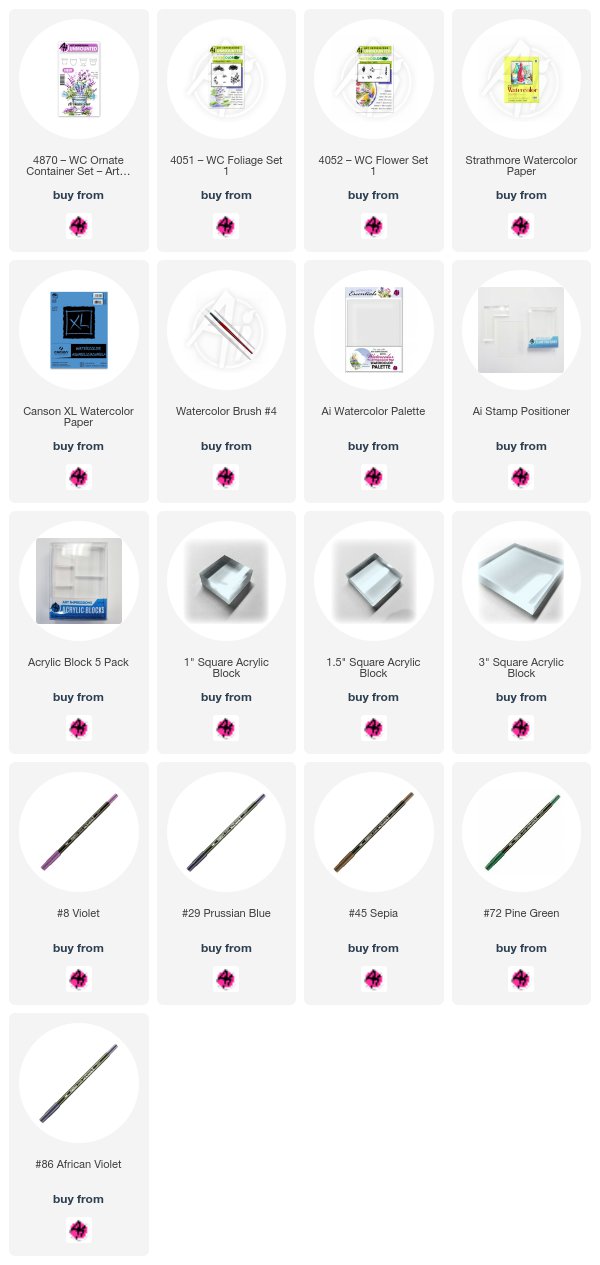
1. Watercolor Paper (Canson XL or Strathmore)
2. Synthetic, Round Watercolor Brush #4 (Connoisseur)
3. Water-Based Markers (Tombow Markers - Bonnie's Favorites)
4. WC Foliage Set 1 and WC Flower Set 1
5. A Main Image Set of your Choice
6. Watercolor Palette and Acrylic Blocks
Let's explain these more in detail!
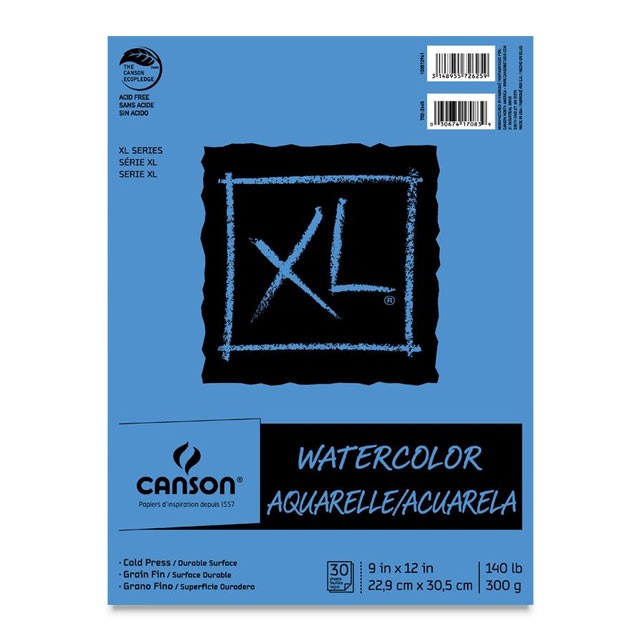
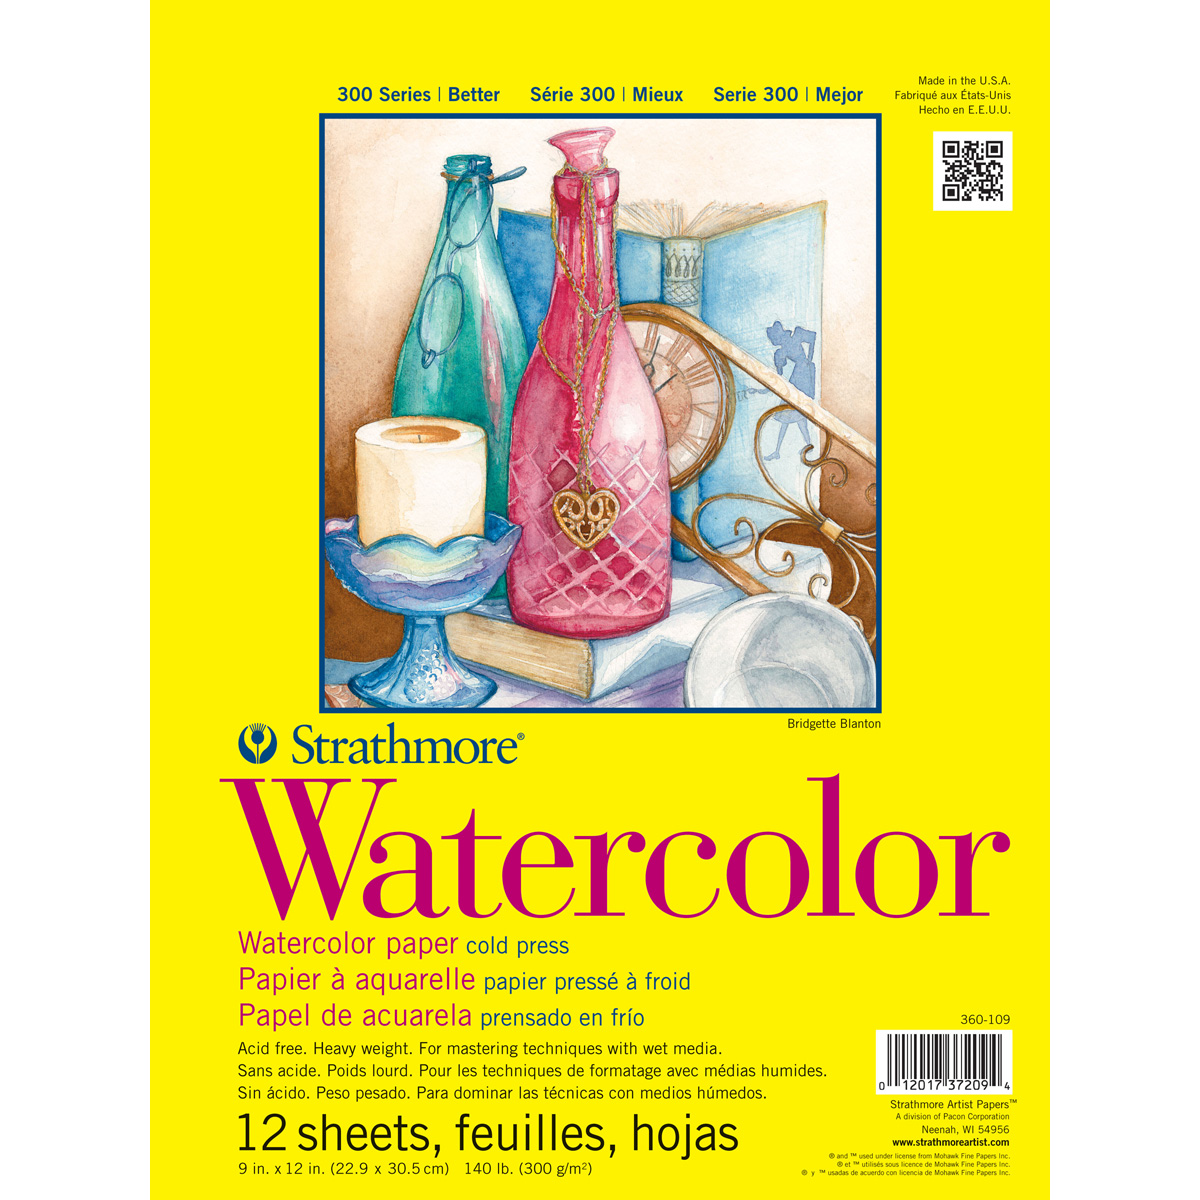
Watercolor Paper is very important for this technique, as when you stamp in water-based ink, it keeps the color on top of the paper, so you can easily move it with a damp brush. Cardstock and alcohol-based markers will not work for this project series. We prefer Canson XL or Strathmore watercolor paper and use the textured side, as it does not oversaturate the paper with color.

Our Connoisseur #4 Brush is a coveted item, as no regular brush will do! One, your brush has to be synthetic, as natural hair brushes will sag and not hold its shape with water on it. The synthetic gives us the 'bounce' we are looking for as we blend and gently tap around the image. This brush is also the perfect size to pull color from your main images and blend your flowers and foliage.


Although any water-based marker will work for this technique, we highly recommend you use Tombow Dual Brush Markers on your projects. First, we like Tombow markers the best because they are very wet, so when stamping your multiple impressions, you can get up to 10 images, where other markers you might get 3 or 4. Second, Tombow has highly pigmented colors, so when you are blending, you do not need to work as hard to blend. Third, we love the bullet tip on the other side of the Dual Brush Pens (or use our TwinTone markers for an even finer tip), which give us the ability to add darker shadows and details to the image to really make areas pop!
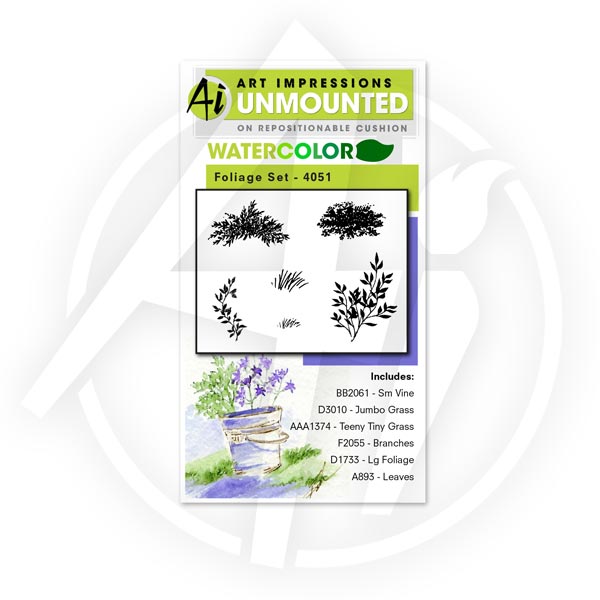
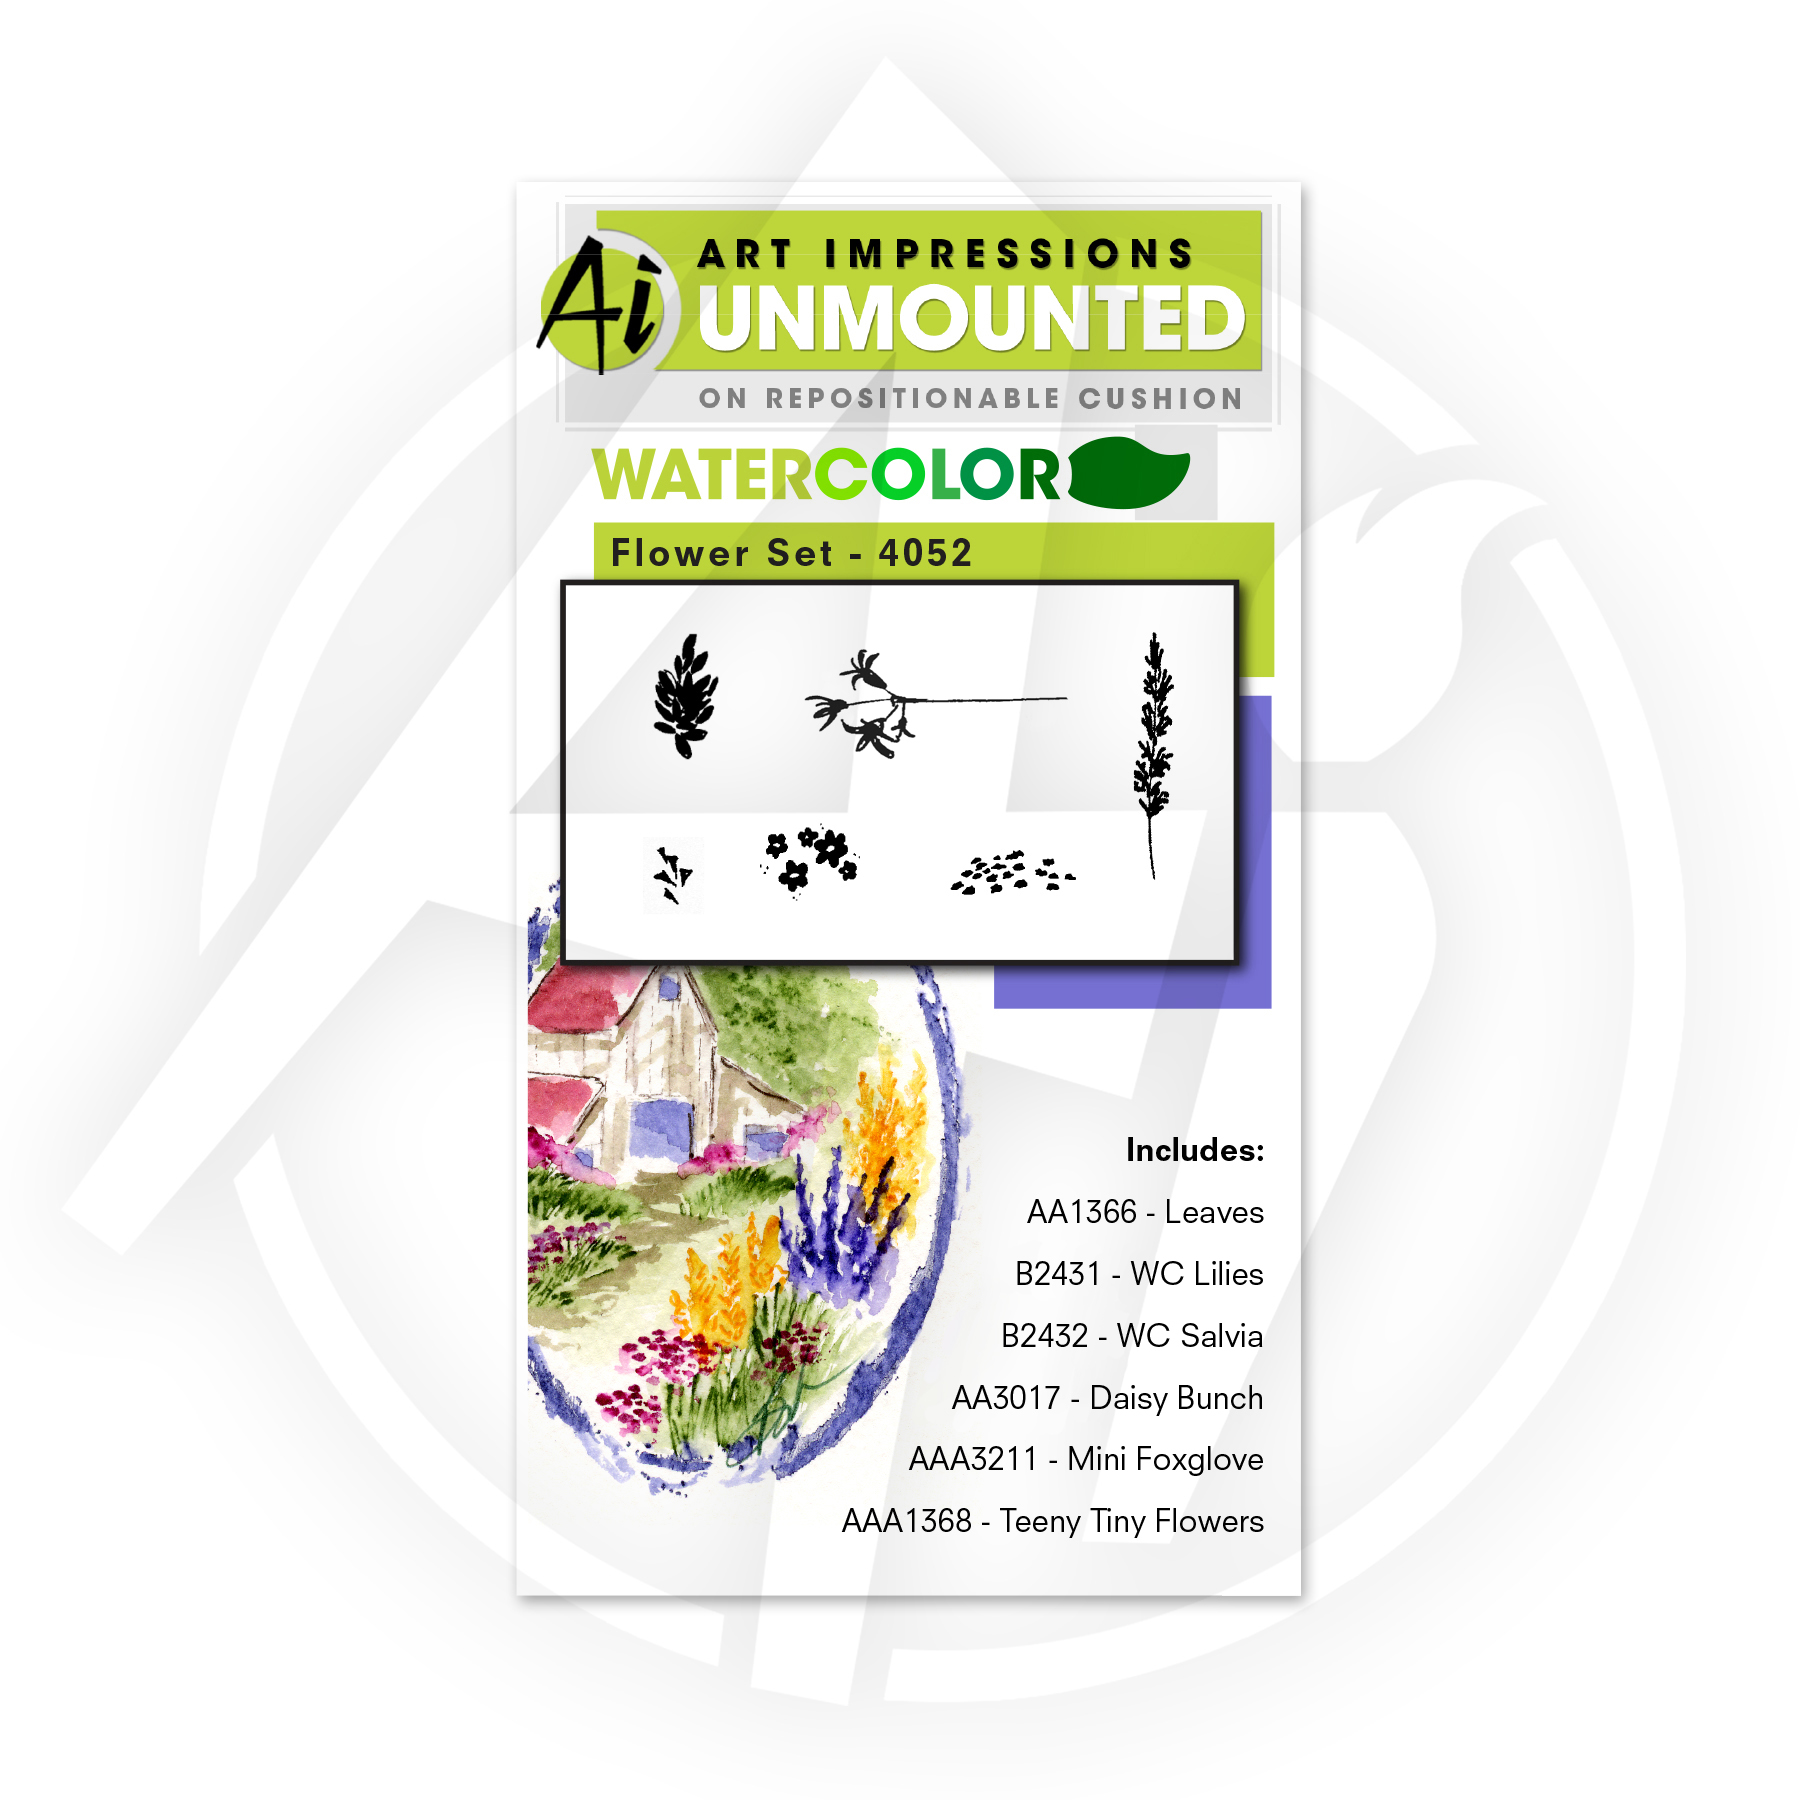
To get stamping, we suggest starting with our WC Foliage Set 1 and WC Flower Set 1. These basic sets are what you will carry through all your projects. You will see the grasses, vines, flower bunches, and long stems used in any watercolor we create. We started with these two staple sets because if we created sets with everything for one project, you would end up with a multitude of tiny grasses or flowers! Once you have these two, you can pick and choose whichever scenes you would like to create, such as gorgeous containers, stunning structures, or beautiful landscapes.
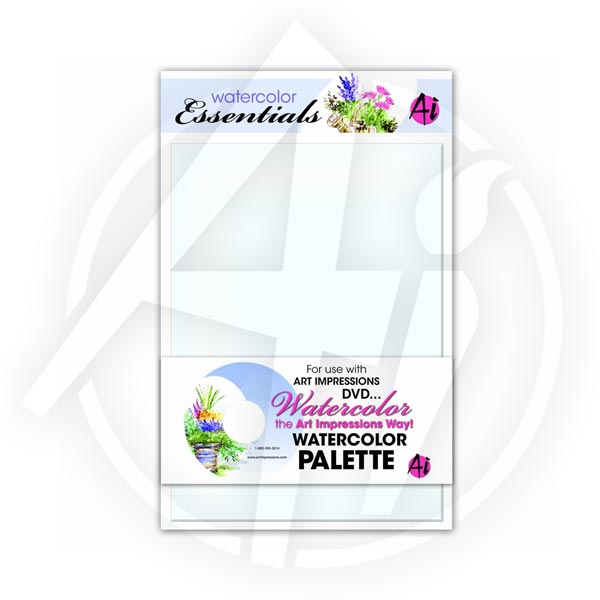
We add color to many of our images (washes of the sky, color to main images) and the easiest way to do this is by rubbing the brush tip of your marker onto our Ai Watercolor Palette and pulling the color off with your brush. This gives you great control over the amount of color going to your image, and you can easily shade by adding layers of color. Our palette is a game changer, perfectly white so you can see your color, and you can always reactivate the dried ink with your damp brush.
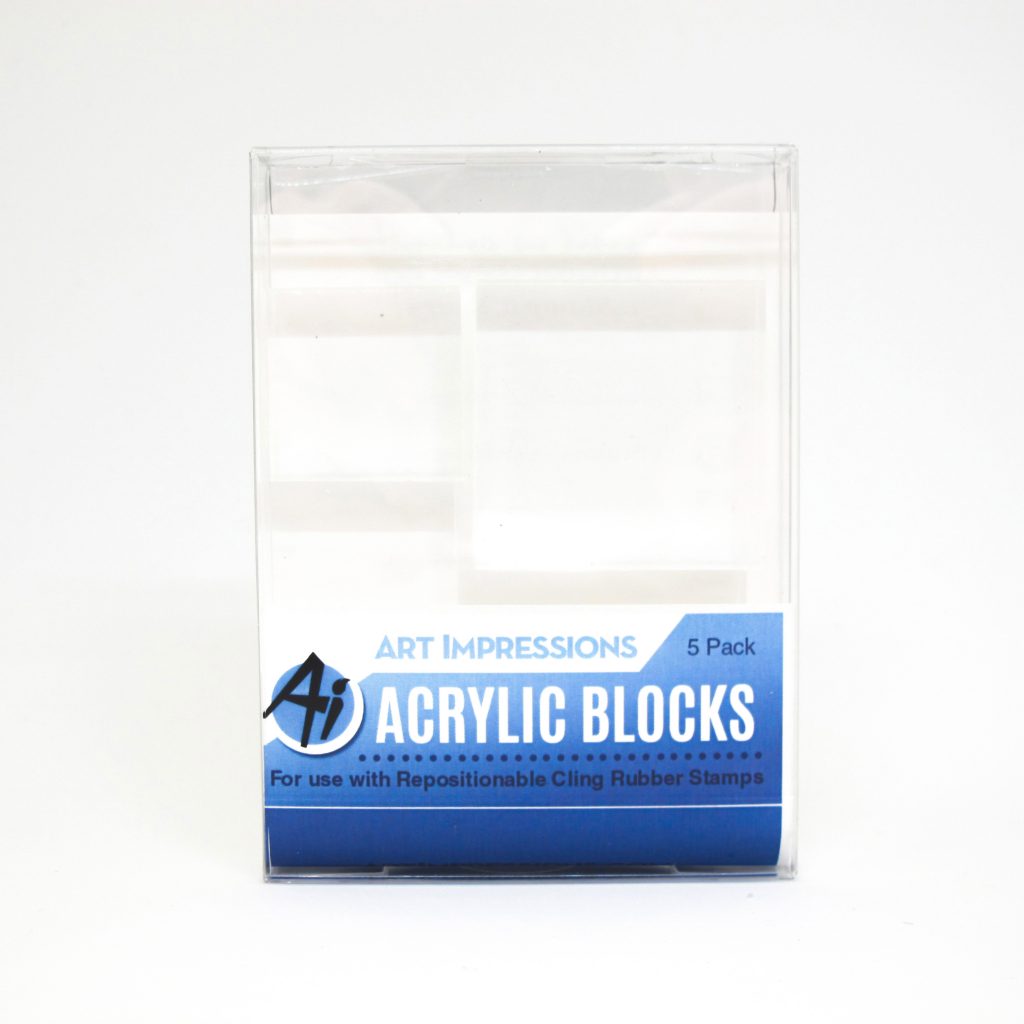
Another great option to add to your collection are our tiny Acrylic Blocks. We offer square blocks in 1", 1.5", and 3" to offer smaller sizes for your little images, like the teeny tiny grass and daisy bunch. Bonnie is often suggesting to permanently adhere your tiny stamps to our 1" block with super glue so you don't lose them!
Now check out this great introduction to watercolor video with Bonnie, as she shows the step-by-step techniques in building your foliages and flowers, and how to add them together in this urn from our WC Ornate Container Set.

Welcome to a special Watercolor Throwback! We are so excited to have how many new friends joining in our watercolor technique, and it's always a great idea to get back to the basics! Bonnie created this step-by-step tutorial on how to get started and create a basic container image back in January 2018, and it's a great image to start with!
Also, did you know we have 155 videos on our Watercolor Wednesday playlist? With endless hours of tutorials, we invite you to check out the playlist and find a video you haven't viewed before! Hop back to this video and leave us a comment on the new tutorial you found!
Happy Watercolor Wednesday!

For Watercolor Stamping, there are some necessary supplies to get the desired look.
Basic Supplies
1. Watercolor Paper (Canson XL or Strathmore)
2. Synthetic, Round Watercolor Brush #4 (Connoisseur)
3. Water-Based Markers (Tombow Markers - Bonnie's Favorites)
4. WC Foliage Set 1 and WC Flower Set 1
5. A Main Image Set of your Choice
6. Watercolor Palette and Acrylic Blocks
Let's explain these more in detail!


Although any water-based marker will work for this technique, we highly recommend you use Tombow Dual Brush Markers on your projects. First, we like Tombow markers the best because they are very wet, so when stamping your multiple impressions, you can get up to 10 images, where other markers you might get 3 or 4. Second, Tombow has highly pigmented colors, so when you are blending, you do not need to work as hard to blend. Third, we love the bullet tip on the other side of the Dual Brush Pens (or use our TwinTone markers for an even finer tip), which give us the ability to add darker shadows and details to the image to really make areas pop!
To get stamping, we suggest starting with our WC Foliage Set 1 and WC Flower Set 1. These basic sets are what you will carry through all your projects. You will see the grasses, vines, flower bunches, and long stems used in any watercolor we create. We started with these two staple sets because if we created sets with everything for one project, you would end up with a multitude of tiny grasses or flowers! Once you have these two, you can pick and choose whichever scenes you would like to create, such as gorgeous containers, stunning structures, or beautiful landscapes.
We add color to many of our images (washes of the sky, color to main images) and the easiest way to do this is by rubbing the brush tip of your marker onto our Ai Watercolor Palette and pulling the color off with your brush. This gives you great control over the amount of color going to your image, and you can easily shade by adding layers of color. Our palette is a game changer, perfectly white so you can see your color, and you can always reactivate the dried ink with your damp brush.
Another great option to add to your collection are our tiny Acrylic Blocks. We offer square blocks in 1", 1.5", and 3" to offer smaller sizes for your little images, like the teeny tiny grass and daisy bunch. Bonnie is often suggesting to permanently adhere your tiny stamps to our 1" block with super glue so you don't lose them!
Now check out this great introduction to watercolor video with Bonnie, as she shows the step-by-step techniques in building your foliages and flowers, and how to add them together in this urn from our WC Ornate Container Set.

No comments:
Post a Comment