Showing posts with label Tombow Markers. Show all posts

Tuesday, April 1, 2025

New Baby card by Reneé Matarese

Hello Ai fans!
One of my coworkers recently had a baby.
We didn't initially have time to plan a shower for her because Baby D came REALLY early.
Fortunately, everything was okay. She's back to work now and we had time to plan a shower this time.

I wasn't sure what type of card I wanted to make for her until I saw her invitations.
The Pooh on my card was cut out of her invite and I proceeded from there.
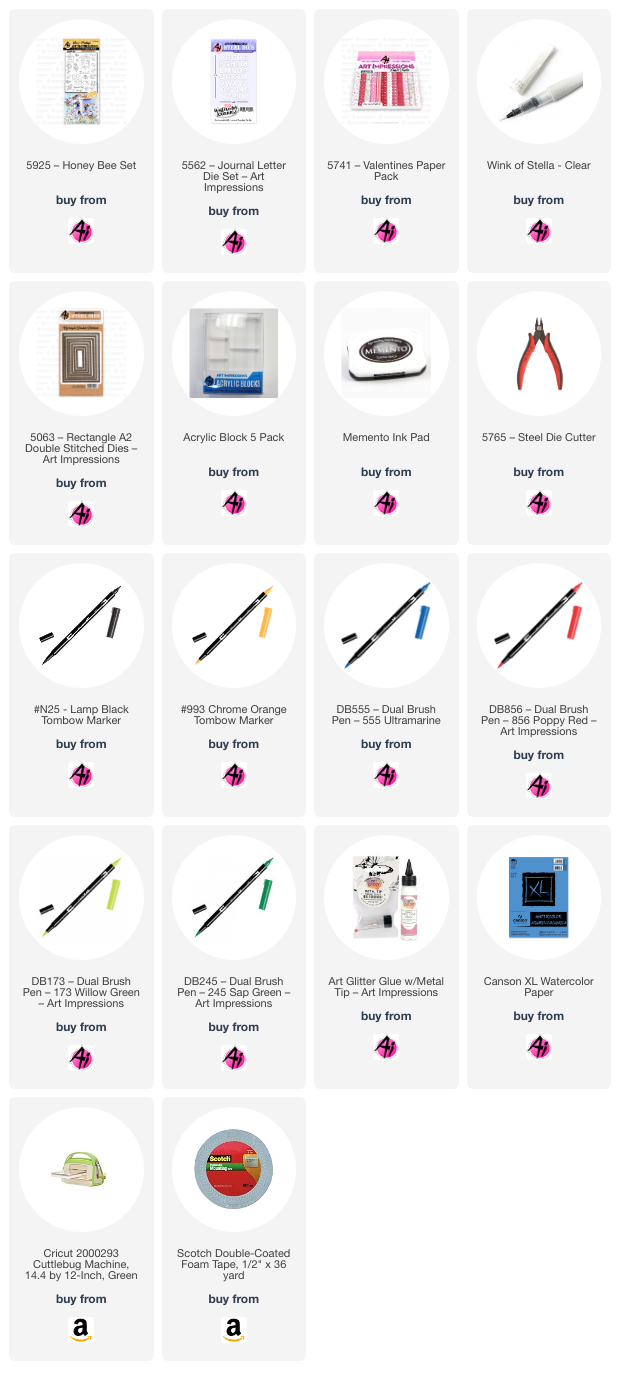
I knew instantly that I wanted a red and yellow card to match Pooh. The Valentine paper worked perfect for this. Then I used a die set from another company to make the HUNNY pot. I spelled out HUNNY using the Journal Letter die set.


Of course if there's honey on your card then you MUST have BEES!!
And how do bees make honey, from flowers of course.

I used Watercolor Paper from Art Impressions to create the pot and used Tombow markers to WC it.
I used cardstock and Tombow markers to color the bees and flower images. All colors and products are linked below.


I used Wink of Stella on the bees wings and then added some Glossy Accents to them and the honey pot.



Sunday, April 30, 2023

Butterfly Thank You card by Reneé Matarese

 Hello Ai fans and happy Sunday!

I needed a thank you card for a friend that gave me a handmade piece of art she found at a craft show. She said it reminded her of me and when she prayed for me when I was sick.

She's a very spiritual person so I know she'll love this set. 
I used 5200 – Butterfly Set.


On the inside I used 5590 – Journal Butterfly Clasp.


Since the butterfly is split in half, I used some little gems to cover the seem.


I used two different patterns of paper from 5742 – Easter Journal Paper Pack.

The matte was made using 5063 – Rectangle A2 Double Stitched Dies and the sentiment was stamped and then cut out with 5727 – Nested Oval Dies.


I only glued down the butterfly's body on each one.
Then, I bent and popped up the wings to give the card some dimension.


Friday, October 2, 2020

Coolest Friend Watercolor By Jessica Shier

Hello Ai fans!

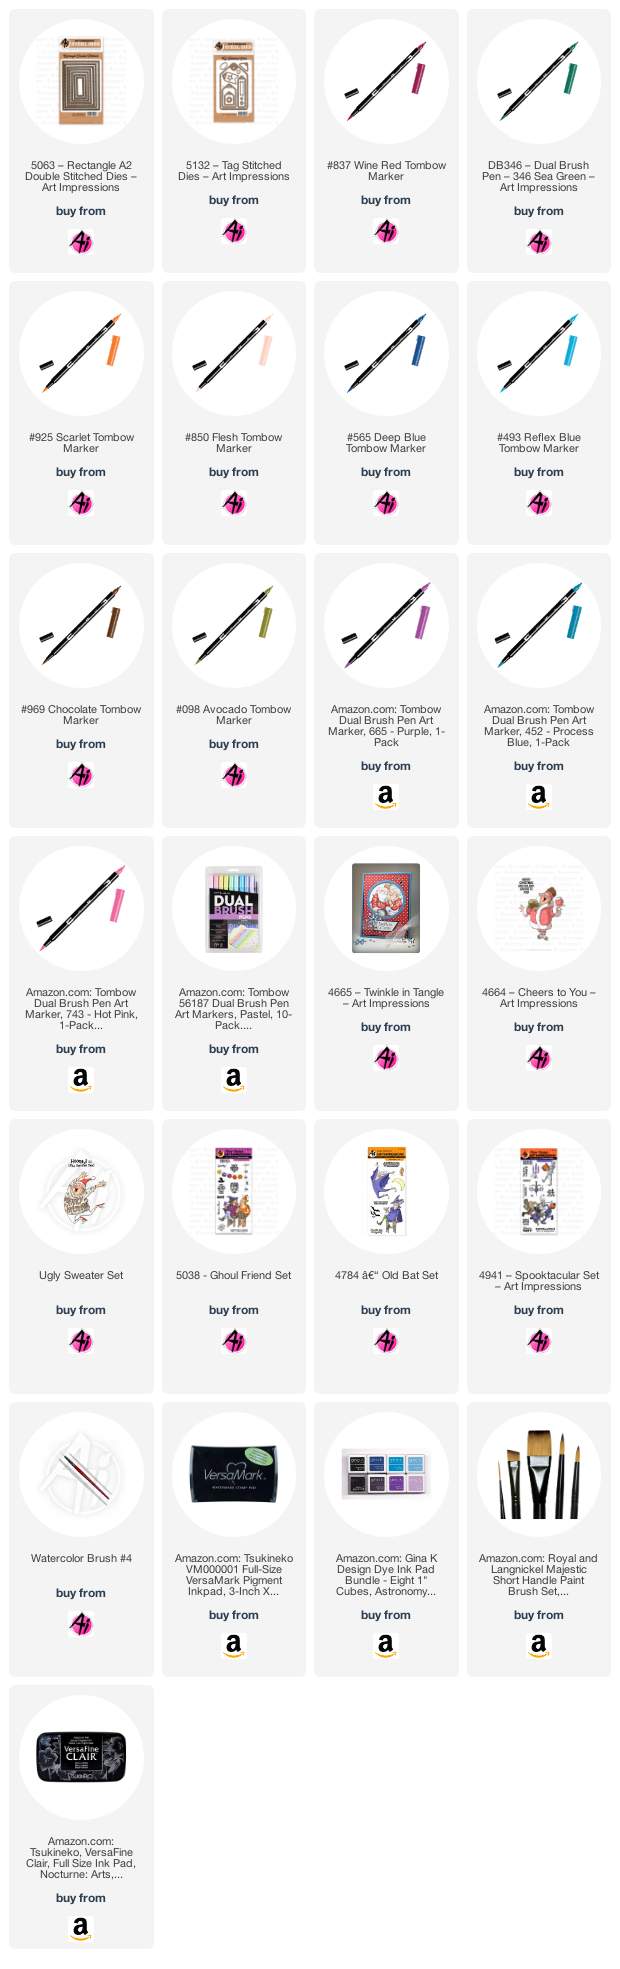
Happy Friday and happy October! Today I have a design to share with you using the Stamptember Art Impressions and Simon Says Stamp exclusive. Unfortunately these stamps sell out very quickly. Bonnie has done it again though, another great set with some fantastic punny sentiments. I added some other stamp sets from Art Impressions in the product list, ones that I thought were fun and had similar humor to this one! I'll be using some Tombow Markers to watercolor this image in, and also to create the background. Let's get started. 


Using a piece of watercolor paper I painted on the blue stripes for the background. I used a 1 in flat watercolor brush and 3 different shades blue Tombow Markers. Using the #493 Reflex Blue marker for the first stripe then mixing in a bit of #452 Process Blue for the second stripe. For the fourth stripe I used a darker color of blue, #565 Deep Blue and the Process Blue. The last is just the #565 Deep Blue. 

I cut down the watercolor stripe piece with the third to largest Art Impressions Rectangle double stitch die, once the paper was dry. Using Versafine Clair Nocturne ink I stamped the Coolest Friends image on to watercolor paper and heat embossed the image with clear embossing ink. I'll have the list of markers I used down below. Then fussy cut the image out.


I had some fun with the little accessory stamps in this set. Using the two different sized snowflakes on the Simon Says Stamp Fog card stock with coordinating Fog Ink. I also stamped a sentiment and the trio of small snowflakes with a Gina K. Designs Blue Denim ink. I have a habit of adding multiple sentiments to a card, especially Art Impressions sentiments. They are just so cute and funny. So I stamped another sentiment on to black cardstock and heat embossed it with white embossing powder.  I did die cut that sentiment with the double end flag die from the Tag Double Stitch die set. Perfect pairing!

Here is the first one I made using the Coolest Friends set. Same techniques, except I watercolored the stripes onto Fog Cardstock and used less markers to watercolor the image in.


Tombow Markers Used: (First Card Photo)
Skin Tone- 969, 850 Hair - 837
Carrot Nose - 925
Green - 098, 346
Pink - 743, 865
White - 451

(Second Card)
Skin Tone - 850 Hair - 969
Green - 098
Pink - 743
Snow - 553

Stripe Backgrounds 
(same for both)
493
452
565

Thank you so much for joining me today. Happy Stamping!


Friday, January 17, 2020

Valentine House with Holiday Mansion | By Jessica Shier

Hey everyone!

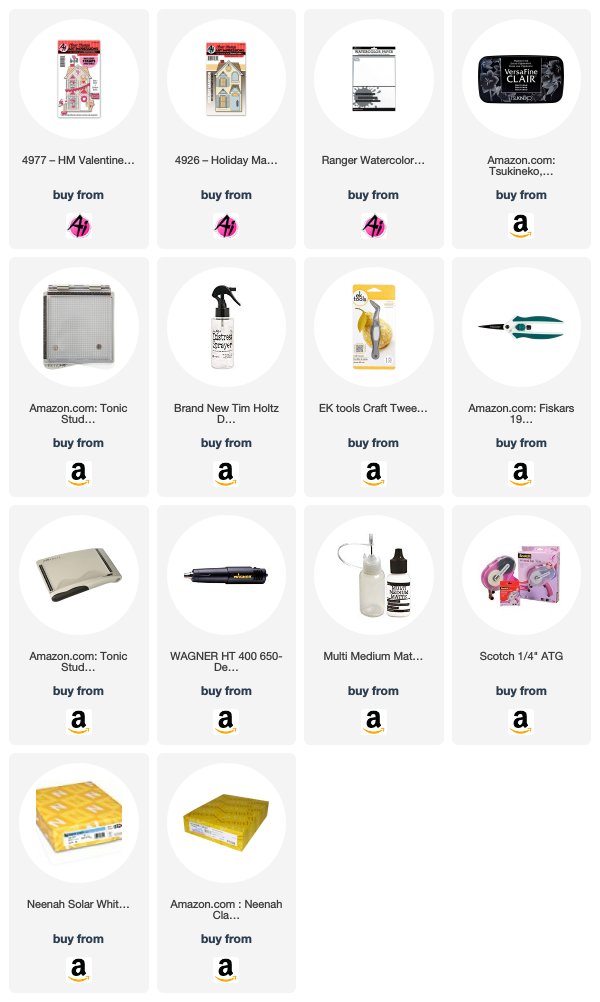
It's Jessica! Today I have a super cute little Valentine's Day house to share with you using two stamp sets. The first one is the main image with the Holiday Mansion and the second is an accessories set, HM Valentine.


For the coloring of the house and details, I used Copic markers. I wanted a mint green mixed with a light pink, coral, light brown with gold and dark brown accents. I have the colors I used listed below. I decided to mix up the background with some watercolors. For that I used a few Tombow Dual brush pen markers. I wanted something bright, flowy and happy and these bright blue colors made it super easy. I used a piece of Ranger Watercolor paper that is trimmed to an A2 panel (4 1/4in x 5 1/2in). I scribbled each blue color on the paper. Using the lighter on top and the darker towards the bottom. Then spritzed with a sprayer filled with clean water. Then simply dried the mixed ink with a heat gun. I was quick and didn't let the markers sit on the paper. Though I've had great luck using these pens straight to the paper without issue, I also don't want to let the ink sit on the paper while I go do walk the dog or something.   

Tombow Dual Brush Markers:
452
493

Here are the Copic Markers I used:
R14, R02
R83, RV11
643, 640, YG41, YG61
W3, W1
E31, E81
E35, E13
Y35, Y15


There are several other accessory sets for the Holiday Mansion with different holidays and themes. Here are a few more examples the Design Team has done in the past.  I like the fact that they come with the coordinating dies to easily make the doors open and cut out all of the accessory items. I did however fussy cut the house out. There is no die for it but it is really easy to trim out using your favorite fussy cutting scissors. 

I adhered the background and house to a Neenah Solar White 110lb card base and started placing my decorative items. The house looks great with our with out shutters. I like to add a bit of vellum and colored card stock behind the windows. You could also add one of the accessory items like the potted hearts or a waving critter behind those windows too. I decided to just add a warm light yellow and tuck the bears behind the to doors that are scored and cut to open. 


For the inside I colored and die cut a second heart banner (I stamped and cut it along with everything else, so it was pre planned) and stamped the sentiment that comes with the Holiday Mansion set. I made a frame by layering a dark brown cardstock underneath and added my second banner of hearts. I like the sentiment used with the Valentine's theme. It is something simple and easy to send to a friend, especially those crafty friends but still has a cute holiday theme. 


Alright that is it for me today everyone! Thank you so much for joining me today. Happy stamping.


Friday, January 10, 2020

Valentines Mailbox Cubbie | By Jessica Shier


Hello Ai Fans!
This week I'm making some Valentine's themed cards but these are pretty subtle and could be sent anytime! I used the Happy Mailbox Cubbies along with some watercolors supplies. 


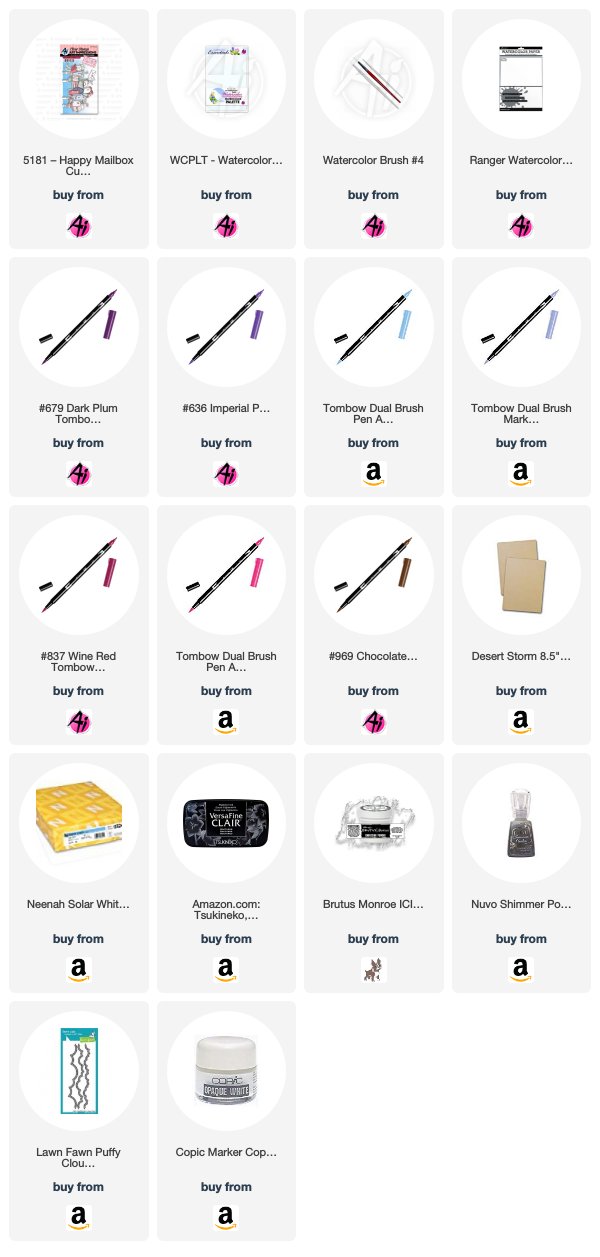
To get started I stamped the mailbox stamp and a few of the fun accessory items (letters, heart, bird) on to a piece of Ranger watercolor paper using some Versafine Clair Nocturne ink. Once I had a solid black image I used some clear embossing powder and melted that with a heat gun. To watercolor with I used several Tombow Dual Brush pens. The colors I used will be listed below.

The Tombow markers blend really well on the Ranger watercolor paper so I colored directly on the paper in the areas that I wanted the darkest. Then blended out with clean water. I watercolored each image and then went back through each and added more color, darkening where I thought it needed it. I just made sure to scatter the different colors through the stamp image as evenly as possible. I also painted the accessory images and let the entire panel dry fully.


Before die cutting and while I waited for stamp images to dry, I used a Nuvo Shimmer Powder to create a quick dark background. Then splattered with some Copic Opaque white, you could also use white acrylic paint. I also used the white paint on the mailboxes. Adding some lines, dots and even a little heart. 

I used a couple of cloud stitch dies with Neenah Solar White 110lb cardstock to make the clouds. I trimmed the dark watercolor panel and the clouds with the second to largest Art Impressions Rectangle Double Stitch die. Just an easy way to add a bit more detail. Plus I also used all of the coordinating dies that come in the Happy Mailboxes stamp set to cut out my images. Then I adhered everything together. 

One of my favorite things to do is figure out exactly where I want to place each item. It's like a little puzzle. I place the heart box and the bird on the lower left hand side then also stamped one of the sentiments. 


Tombow Markers used:
969
755
837
620
553
636
679

Alright you guys that is it from me. Thank you so much for joining me today!
Happy Stamping!


Wednesday, December 18, 2019

NEW VIDEO! Scrapbook.com Hydrangea Exclusive!

Hello Ai Fans!

We have a special Watercolor Wednesday featured video today!

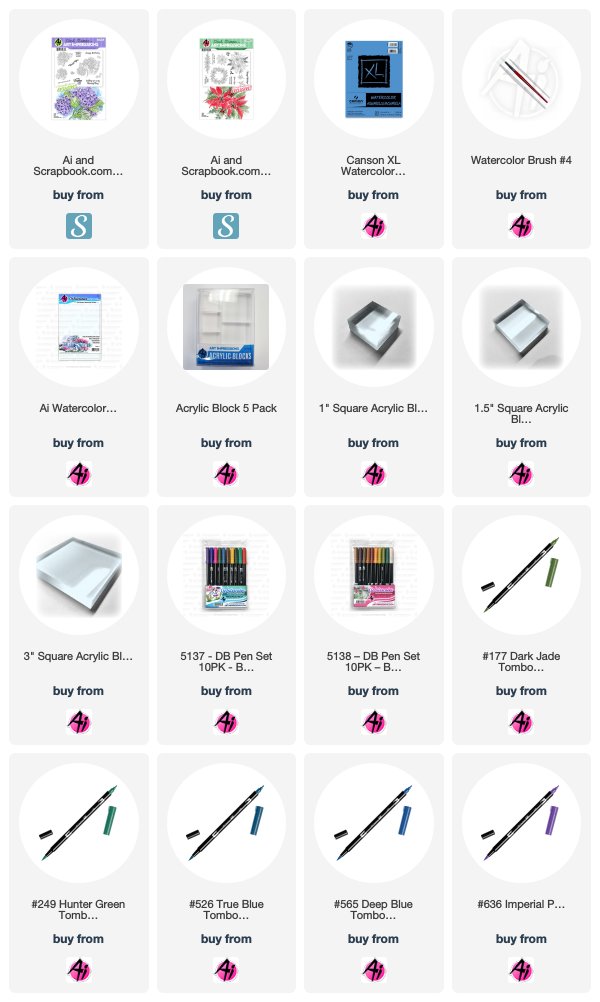
If you've kept an eye on our emails and Watercolor Weekend blog posts, you know we have been releasing some stunning florals, exclusively with our friends at Scrapbook.com! Bonnie created this tutorial video on how she watercolors the SBC Exclusive Hydrangea Set (the Art Impressions way!) to create quick and stunning focal images! You will love this set, along with our Poinsettia Set, both available only at Scrapbook.com!

We hope you enjoy this video and wishing you a very Merry Christmas and holiday season into the New Year!


View on YouTube: https://youtu.be/sdwpGnL2KVk


Friday, October 4, 2019

Happy Fright Night | By Jessica Shier

Hello Ai Fans!

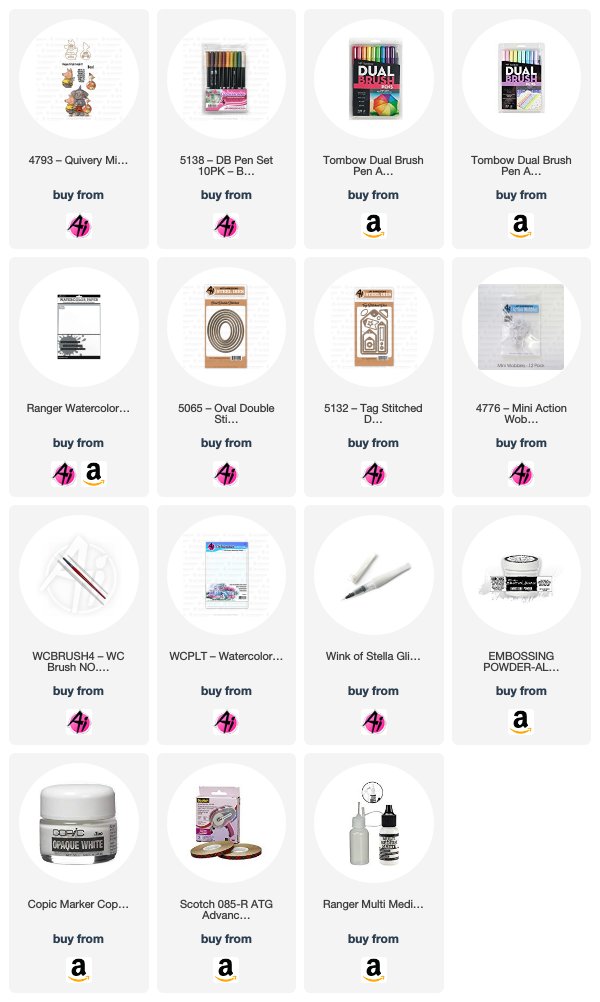
Today I'm using some Tombow Markers to watercolor these shaky little critters from the Quivery Mini Shaker set. This set was made to use with the Action Wobbles and even includes a few to get you started on these fun interactive cards. It's October so I have to get in all those cute little Halloween cards before the month is up!


This set comes with the extra dies and stamps to create the bodies that are popped up from the Action Wobblers, which gives these critters extra dimension. I stamped all the critters and extras on to a piece of Ranger Watercolor paper using Versafine Clair ink. Then embossed with clear embossing powder.


For my coloring I used Tombow Markers, the colors I used are listed below. Coloring directly to the paper with the Tombow Marker, then blending out with a clean wet brush. I find it easiest to work quickly when using the markers directly to the watercolor paper, immediately blending out with the brush. Once I had the lightest colors down and all my areas were dry, I applied the darker colors the same way. Taking the marker directly to the paper and blending out with a clean brush. 

I fussy cut the three characters out and used the coordinating dies on the pig and duck. Also die cutting a piece of navy card stock using the largest oval from the Oval Double Stitched die. I ran that oval through my die cutting machine several more times with the little star die form the Tagged Double Stitch die set. Then added some white splatter to the top of the oval and a bit of ink blending on the bottom half using Peeled Paint Distress Oxide. It's just enough to add some color. 


After heat setting the distress oxide ink I used the "Happy Fright Night" sentiment and white heat embossed it. Adhering the oval to a Neenah Solar White 110lb card base and attaching the three animals on top. The Action Wobblers come with a release paper that you peel off. I attached the Action Wobblers to the back of the die cut bodies first, then peeled off the release paper on the other side and attached over the top of the large stamp image. Matching up the character shapes. 

The Quivery Mini Shaker stamp set also comes with a couple of extra small dies. These dies don't have coordinating stamp but there is two sizes of bats, a pumpkin and a ghost die. I also added some shimmer and sparkle to the stars with a Wink of Stella pen. Perfect for the current Art Impressions challenge #267 Make it Sparkle!

Tombow Markers Used:


947   026
925   933
055   991
969   173
098   133
062   679
636   620
743   723
493   451

Thank you so much for joining me today!
Happy Stamping!


Wednesday, September 25, 2019

NEW VIDEO! Desert Sunset Watercolor by Kendra Krebs

Hello Ai Fans!

We have a creative and colorful new Watercolor Wednesday for you this week! Kendra Krebs is back to share our NEW WC Desert Set in this circular scene with a stunning skyline! Kendra uses many of the elements from this set, but also adds some blooms to the cacti from our WC Mini Flower Set!

Make sure you are subscribed to our YouTube channel for all our latest videos, including our new release videos!


View on YouTube: https://youtu.be/P9dG1pDJkdM


Wednesday, July 17, 2019

NEW VIDEO! Succulents Window Watercolor with Kendra Krebs

Hello Ai Fans!

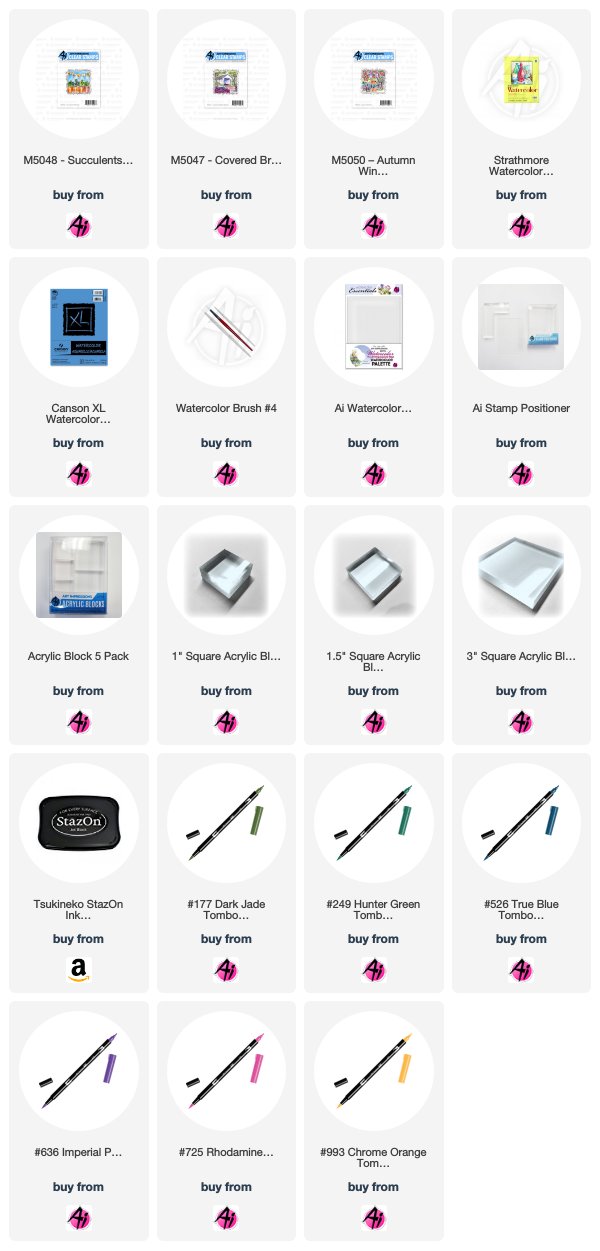
Welcome to a NEW Watercolor Wednesday! This week, we are excited to have guest artist, Kendra Krebs, back to show us how to extend the use of our Tombow Markers! She colors our Succulents Window from our Window to the World collection by scribbling color on our WC Palette and picking up the color with a damp brush.

Hop over to YouTube and leave Kendra a little hello!


View on YouTube: https://youtu.be/_dQRLEdrZ8Q


Saturday, July 13, 2019

NEW VIDEO! On The Sparrow Set Bible Journaling Part 2

Hello Ai Fans!

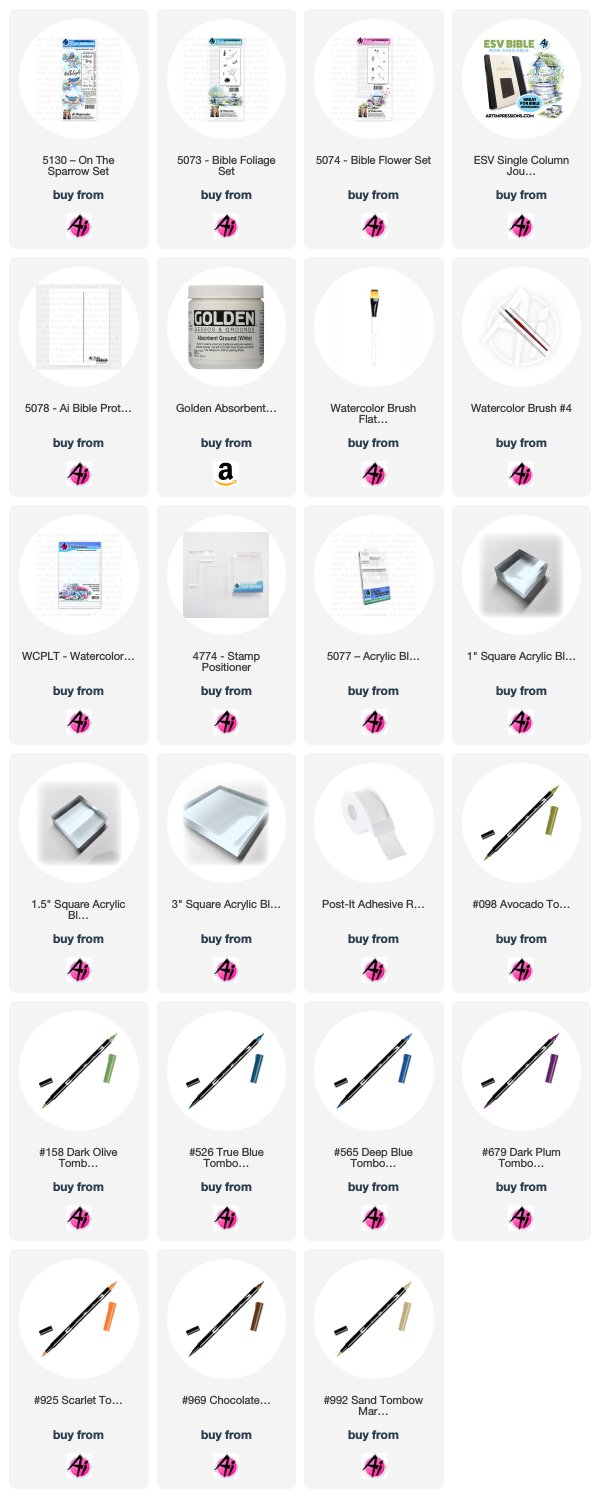
Welcome to a new Ai Bible Journaling video, featuring our On The Sparrow Set Part 2! Watch Bonnie design a frame with flowers and foliage, featuring a sparrow and nest, in Psalm 96.

"Let the field exult, and everything in it! Then shall all the trees of the forest sing for joy" 
Psalm 96:12 ESV

Sign up for our NEW Bible Journaling Newsletter here!

Join in the Ai Bible Journaling Fun!
Subscribe to Art Impressions' YouTube
View our Bible Journaling YouTube Playlist
Follow Bonnie's Bible Journaling account on Instagram


View on YouTube: https://youtu.be/GGsfQRoQ9AA


Hop over to YouTube and leave Bonnie a comment, then tag us in your projects on Instagram or Facebook using #AiBibleJournaling!


Happy Bible Journaling!


Saturday, June 22, 2019

NEW VIDEO! On The Sparrow Set Bible Journaling Part 1

Hello Ai Fans!

Welcome to a new Ai Bible Journaling video, featuring our On The Sparrow Set Part 1! Watch Bonnie create three birds on branches with blooming flowers and berries in Psalm 96.

"Let the field exult, and everything in it! Then shall all the trees of the forest sing for joy" 
Psalm 96:12 ESV

Sign up for our NEW Bible Journaling Newsletter here!

Join in the Ai Bible Journaling Fun!
Subscribe to Art Impressions' YouTube
View our Bible Journaling YouTube Playlist
Follow Bonnie's Bible Journaling account on Instagram


View on YouTube: https://youtu.be/iW4B6h9d3vM


Hop over to YouTube and leave Bonnie a comment, then tag us in your projects on Instagram or Facebook using #AiBibleJournaling!


Happy Bible Journaling!