Hello, Ai Fans! Happy Watercolor Weekend!
We are so excited to share this week's Watercolor cards! We love what the gals have done combining stamp sets to come up with beautiful designs. We would love to see what combinations you are coming up with!
Be sure to follow these lovely ladies on social media by clicking the link in pink next to their names!
Hello,
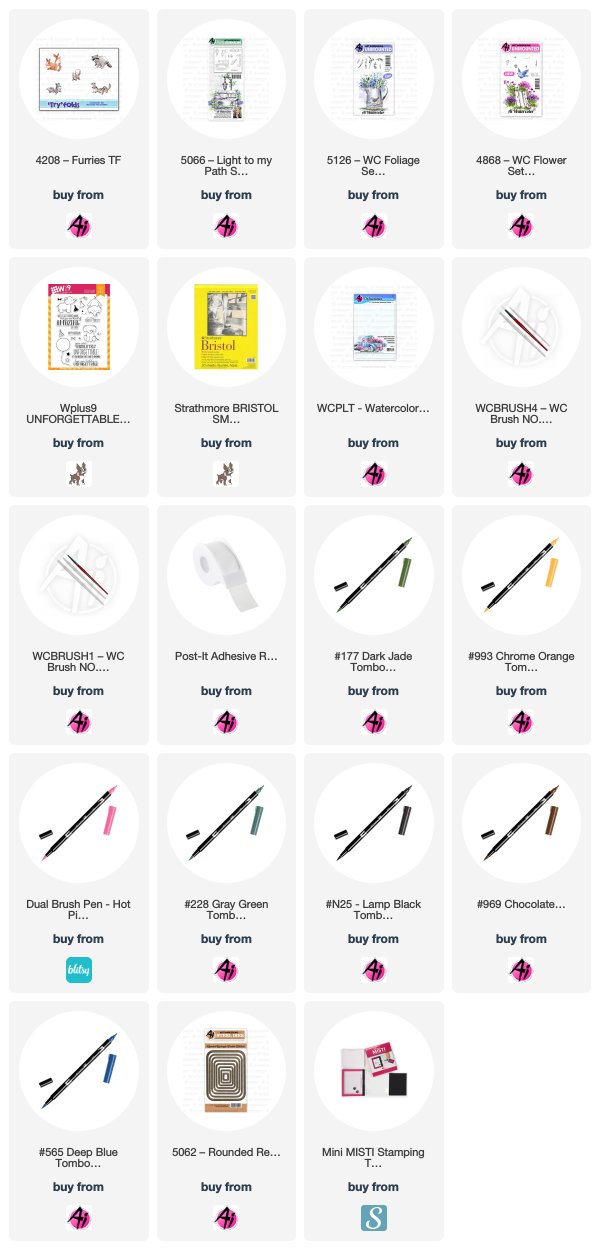
I made this card made for the Art Impression's Watercolor Weekend. I just love this raccoon from the 4208 - Furries TF set and doesn't he look like he's startled or forgotten a birthday? I stamped the raccoon and then I stamped a mask for him on post-it tape, cut it out and covered him up. I then used my Misti to stamp the bench in 969 from the 5066 - Light to my Path set in the perfect spot. I pulled the color out of the lines then got to watercoloring the raccoon with 969, N25, and 565. I colored the bench with 379. I used 993 for the light and even colored around the outside of the light with it. Next, I stamped the foliage in 228 from the 5126 - WC Foliage Set 4 - both the vines and the grass. I pulled the color out of the lines then I added the flower in 177 and 743 from the 4868 - WC Flower Set 2. I used 177 on the palette to watercolor between the stones. I used 565 to watercolor the sky, the shadows under the bench and under the raccoon. I used a fine tip black marker to add some details back into the raccoon. I cut out my scene and background piece of paper using the 5062 - Rounded Rectangle Double Stitched Dies.
Thank you for checking out my blog! You can find more of my cards on my Instagram account here.


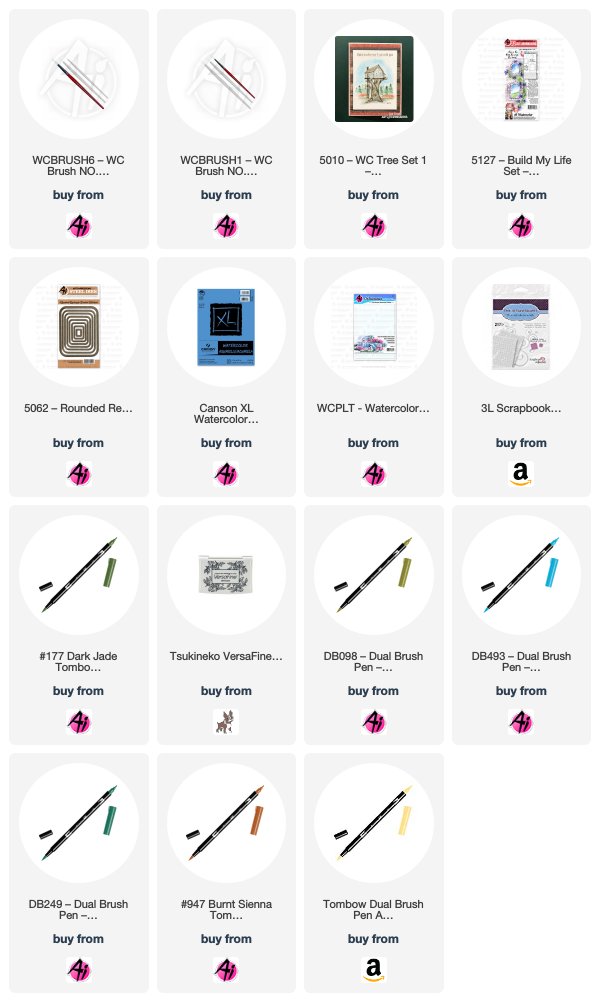
I started by die cutting my Canson XL Watercolour Paper with one of the 5062 - Rounded Rectangle Double Stitched Dies, and then I selected my colour palette of Tombow Dual Brush markers. I began by scribbling #991 Light Ochre onto my palette, and picked it up with a very wet #6 paintbrush, creating a background wash. I dropped in touches of #947 Burnt Sienna to add a little warmth. I took all three of the pine tree stamps from 5010 - WC Tree Set 1, and coloured them in varying shades of #098 Avocado, #177 Dark Jade and #249 Hunter Green, making some 2-toned. I stamped them to look like a forested hillside, doing second and third generation stamping to create some trees in the background. Using a damp #1 paintbrush, I went over the tree boughs to blend the colours, and then pulled out the colour to pool below the trees, adding more colour where necessary to have the colours drip & blend together. I picked up a watery brush full of #493 Reflex Blue and dropped a few bits of colour around the scene where needed. I purposefully kept a lighter area in the center of my scene, and after my background was dry, I stamped the quote from 5127 - Build My Life Set using Versafine Onyx Black Ink. I spattered a little black paint around, and then using a black fine point marker, I drew in the birds in the upper left corner. On my creamy cardstock base, I blended some Vintage Photo Distress Oxide ink, then mounted a piece of kraft cardstock cut 1/8" larger than my scene. I added 3D adhesive squares to my panel and adhered it to the card base.

Welcome back watercolor fans to another Art Impressions watercolor weekend! This week I decided to create this cute little Mushroom Fairy by combining my Butterfly stamp set with the Elves stamp set. I love when I can stretch my stamps. What can you make by combining your stamps?
Project Details
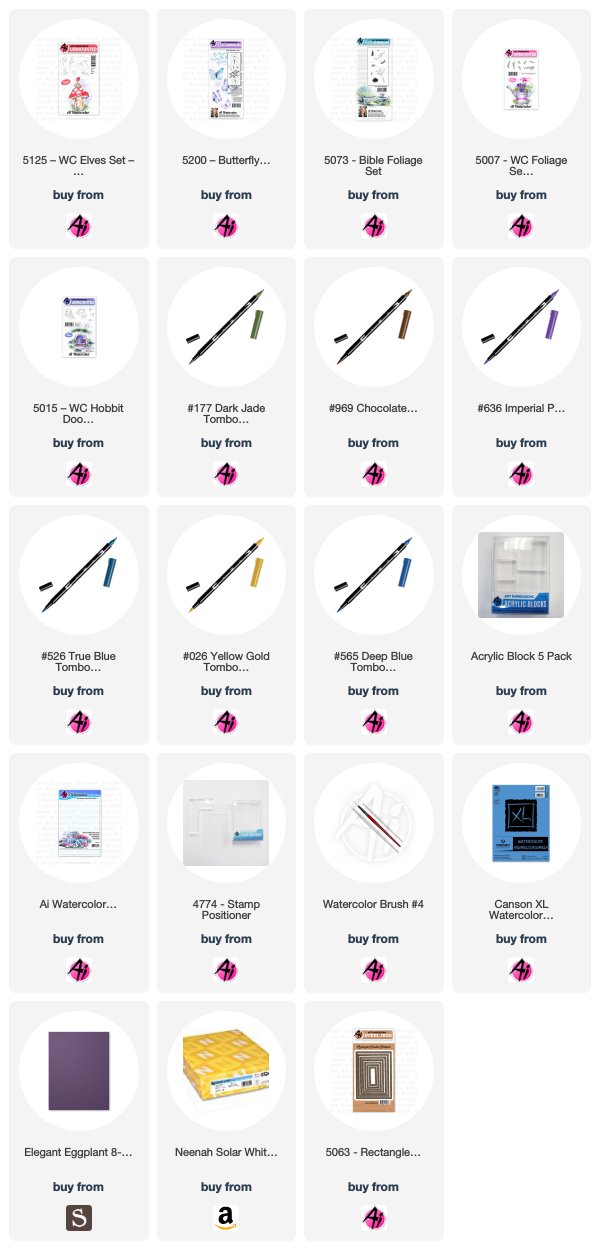
I started off by inking up the sleeping elf from the Elves stamp set in 969. I stamped it off and then stamped it on the right side of the watercolor paper. Next, I inked up the closed butterfly from the Butterfly stamp set and stamped it onto my stamp positioner. I rubbed off the body of the butterfly. I lined it up on top of the sleeping elf and stamped it to make the elf into a fairy. I pulled the color out of the lines.
From my watercolor palette, I added color to the elf and to the wings using Pink, Blue, and Yellow. I made sure a hit of the top of the elf showed through the wings. Next, I inked up the mushroom from the Elves set with 969. I, again, used my stamp positioner to place the mushroom next to the fairy.
I added the window and door from the Hobbit Door set using my positioner. I pulled the color out of the lines and added some additional 606 to the mushroom. I added some additional 969 to darken areas on the mushroom. I added some grasses (from the original foliage set and foliage set 3) inked up with 177. I pulled the color up and out of the lines. Lastly, I added some 565 to my palette and painted a sky behind the mushroom.
I signed and dated my project.
Card Details
I cut my Mushroom Fairy out with a rectangle stitched die. I glued it to a Gina K Designs Edible Eggplant card stock mat. I glued that to a Neenah Solar White card panel.
Thank you so much for spending some time with me today. I hope you will look at your new light. Try something different, you will be glad you did!

Thank you, ladies, for your continued inspiration! We absolutely love seeing everyone's personal style show through on each card!
Happy Stamping!


4 comments:
Why have you switched to TomBow markers versus Harvey as you always used before?
Marvey
Hi Beth, yes we have switched to TomBow markers from Marvy's.
I really like all your cards. I used to be able to see them all, but can't find many any more. When I do I'm happy. You do a great job with them.
Post a Comment