Showing posts with label Bible Foliage. Show all posts

Saturday, January 18, 2020

Watercolor Weekend Roundup - Combining sets!


Hello, Ai Fans! Happy Watercolor Weekend!

We are so excited to share this week's Watercolor cards! We love what the gals have done combining stamp sets to come up with beautiful designs. We would love to see what combinations you are coming up with! 
Be sure to follow these lovely ladies on social media by clicking the link in pink next to their names!

Dot Freel - Instagram - Blog - Pinterest
Hello,

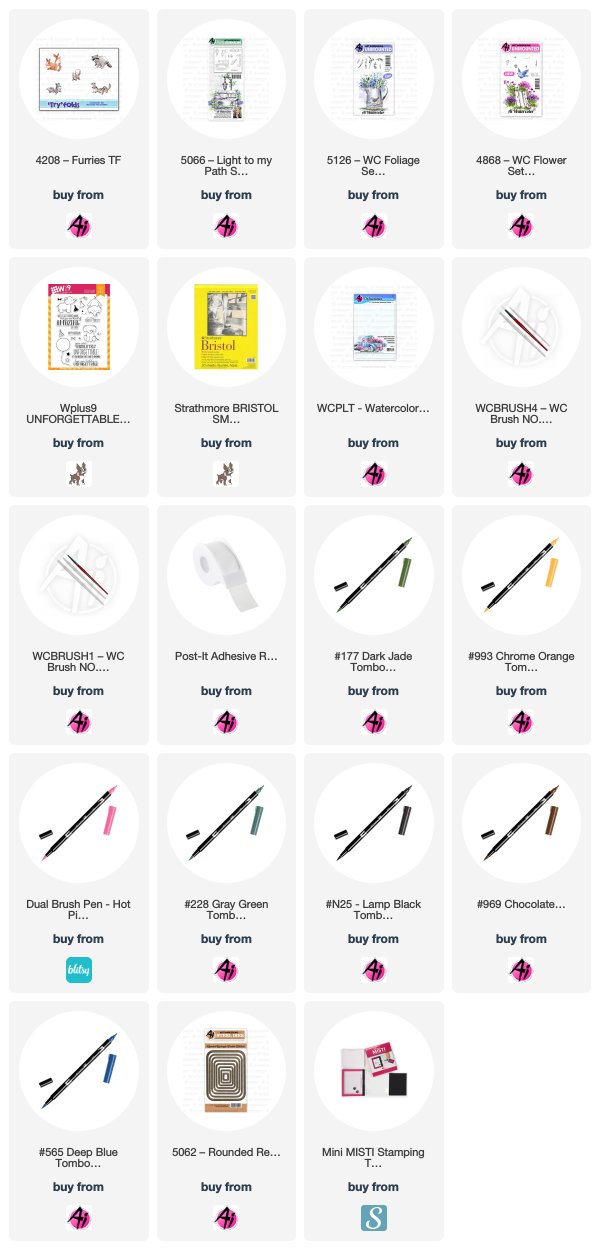
I made this card made for the Art Impression's Watercolor Weekend. I just love this raccoon from the 4208 - Furries TF set and doesn't he look like he's startled or forgotten a birthday? I stamped the raccoon and then I stamped a mask for him on post-it tape, cut it out and covered him up. I then used my Misti to stamp the bench in 969 from the 5066 - Light to my Path set in the perfect spot. I pulled the color out of the lines then got to watercoloring the raccoon with 969, N25, and 565. I colored the bench with 379.  I used 993 for the light and even colored around the outside of the light with it. Next, I stamped the foliage in 228 from the 5126 - WC Foliage Set 4 - both the vines and the grass. I pulled the color out of the lines then I added the flower in 177 and 743 from the 4868 - WC Flower Set 2. I used 177 on the palette to watercolor between the stones. I used 565 to watercolor the sky, the shadows under the bench and under the raccoon. I used a fine tip black marker to add some details back into the raccoon. I cut out my scene and background piece of paper using the 5062 - Rounded Rectangle Double Stitched Dies.

Thank you for checking out my blog!  You can find more of my cards on my Instagram account here


Karen Day - Blog - Facebook - Pinterest


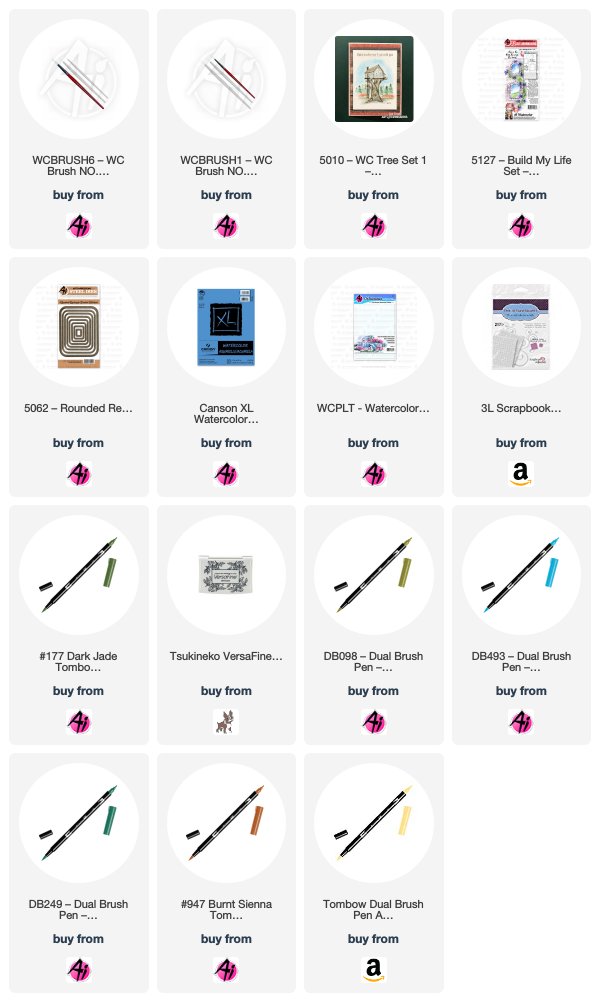
I started by die cutting my Canson XL Watercolour Paper with one of the 5062 - Rounded Rectangle Double Stitched Dies, and then I selected my colour palette of Tombow Dual Brush markers.  I began by scribbling #991 Light Ochre onto my palette, and picked it up with a very wet #6 paintbrush, creating a background wash.  I dropped in touches of #947 Burnt Sienna to add a little warmth.  I took all three of the pine tree stamps from 5010 - WC Tree Set 1, and coloured them in varying shades of #098 Avocado#177 Dark Jade and #249 Hunter Green, making some 2-toned.  I stamped them to look like a forested hillside, doing second and third generation stamping to create some trees in the background.  Using a damp #1 paintbrush, I went over the tree boughs to blend the colours, and then pulled out the colour to pool below the trees, adding more colour where necessary to have the colours drip & blend together.  I picked up a watery brush full of #493 Reflex Blue and dropped a few bits of colour around the scene where needed.  I purposefully kept a lighter area in the center of my scene, and after my background was dry, I stamped the quote from 5127 - Build My Life Set using Versafine Onyx Black Ink.  I spattered a little black paint around, and then using a black fine point marker, I drew in the birds in the upper left corner.  On my creamy cardstock base, I blended some Vintage Photo Distress Oxide ink, then mounted a piece of kraft cardstock cut 1/8" larger than my scene.  I added 3D adhesive squares to my panel and adhered it to the card base. 


Tricia O'Bin - Blog - Instagram - YouTube - Pinterest - Facebook
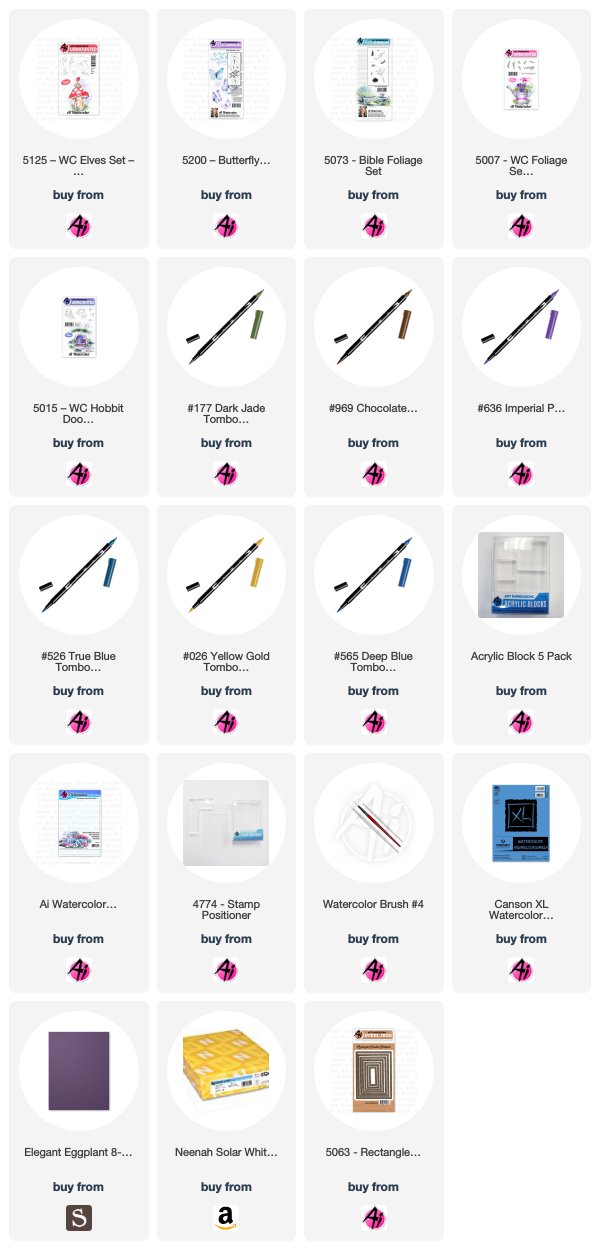
Welcome back watercolor fans to another Art Impressions watercolor weekend!  This week I decided to create this cute little Mushroom Fairy by combining my Butterfly stamp set with the Elves stamp set.  I love when I can stretch my stamps.  What can you make by combining your stamps?

Project Details

I started off by inking up the sleeping elf from the Elves stamp set in 969.  I stamped it off and then stamped it on the right side of the watercolor paper.  Next, I inked up the closed butterfly from the Butterfly stamp set and stamped it onto my stamp positioner.  I rubbed off the body of the butterfly. I lined it up on top of the sleeping elf and stamped it to make the elf into a fairy.  I pulled the color out of the lines.
From my watercolor palette, I added color to the elf and to the wings using Pink, Blue, and Yellow.  I made sure a hit of the top of the elf showed through the wings.   Next, I inked up the mushroom from the Elves set with 969.  I, again, used my stamp positioner to place the mushroom next to the fairy.
I added the window and door from the Hobbit Door set using my positioner.  I pulled the color out of the lines and added some additional 606 to the mushroom.  I added some additional 969 to darken areas on the mushroom.  I added some grasses (from the original foliage set and foliage set 3) inked up with 177.  I pulled the color up and out of the lines.  Lastly, I added some 565 to my palette and painted a sky behind the mushroom.
I signed and dated my project.

Card Details

I cut my Mushroom Fairy out with a rectangle stitched die.  I glued it to a Gina K Designs Edible Eggplant card stock mat.  I glued that to a Neenah Solar White card panel.
Thank you so much for spending some time with me today.  I hope you will look at your new light.  Try something different, you will be glad you did! 

Thank you, ladies, for your continued inspiration! We absolutely love seeing everyone's personal style show through on each card!  
Happy Stamping!

Saturday, October 26, 2019

NEW VIDEO! Ai Bible Journaling Scroll Set Part 1

Hello Ai Bible Journaling Fans!

We are excited to be back with a new tutorial video from our latest Bible Journaling release! Bonnie kicks off our five new sets with the Scroll Set. One of the features we love most about this set is that with the open areas inside the design, you can see the lines in your Journaling Bible to write on!

Bonnie works today in Psalm 78, focusing on verses 1-5.

"Give ear, O my people, to my teaching; incline your ears to the words of my mouth! I will open my mouth in a parable; I will utter dark sayings from of old, things that we have heard and known, that our fathers have told us. We will not hide them from their children, but tell to the coming generation the glorious deeds of the Lord, and his might and the wonders that he has done."

We hope you enjoy today's video! Leave a comment on this video of what you would write inside the scroll!

Join in the Ai Bible Journaling Fun!
Sign up for our NEW Bible Journaling Newsletter
Subscribe to Art Impressions' YouTube
View our Bible Journaling YouTube Playlist
Follow Bonnie's Bible Journaling account on Instagram


View on YouTube: https://youtu.be/yZNJPCbKHz0


Hop over to YouTube and leave Bonnie a comment, then tag us in your projects on Instagram or Facebook using #AiBibleJournaling!


Happy Bible Journaling!


Thursday, September 5, 2019

NEW Bible Journaling Stamps NOW Available! PLUS, Challenge 265 Watercolor Stamping Week 2!


Bible Journaling

Whether you are a traditional watercolor stamper, or you take your designs to a Bible or journal page, our NEWEST release opens the door to connect your art with the heart! Today, we have FIVE new Bible Journaling sets available at artimpressions.com, each created with the same technique as our Watercolor line of stamps.

Bonnie designed the new Praise Instruments Set with a beautiful harp, lyre, and horn to add to your Psalms or rejoicing scriptures. We have a new Wooden Crosses Set, which can be adorned with your Bible Flower and Bible Foliage Sets and includes three words to fit across the horizontal post. Add areas of text with our Scroll Set and Ornate Frames Set, which fit perfectly in the column of your Journaling Bible. In most columns there are lines, to easily write inside these decorative elements. Also in this new release is a beautiful Butterfly Set with easy open areas to add colorful designs to their fluttering wings.

Watch Bonnie explain her heart behind our Ai Bible Journaling collection and introduce all five sets in the video below. Just getting started? Hop over to our Bible Journaling webpage for a beginners supply list and most importantly, how to use our Watercolor Ground to prep your Bible pages.

Praise Instruments Praise Instruments
Wooden Crosses Wooden Crosses Scrolls Set Scrolls Set Ornate Frames Ornate Frames Butterfly Set Butterfly Set


Let's take a look at what the designers have created today! Remember, you can visit the designer's blog or social media by clicking the pink links by their name - and give them a follow while you're there for more inspiration in your feeds!

Dot Freel - Instagram - Blog - Pinterest

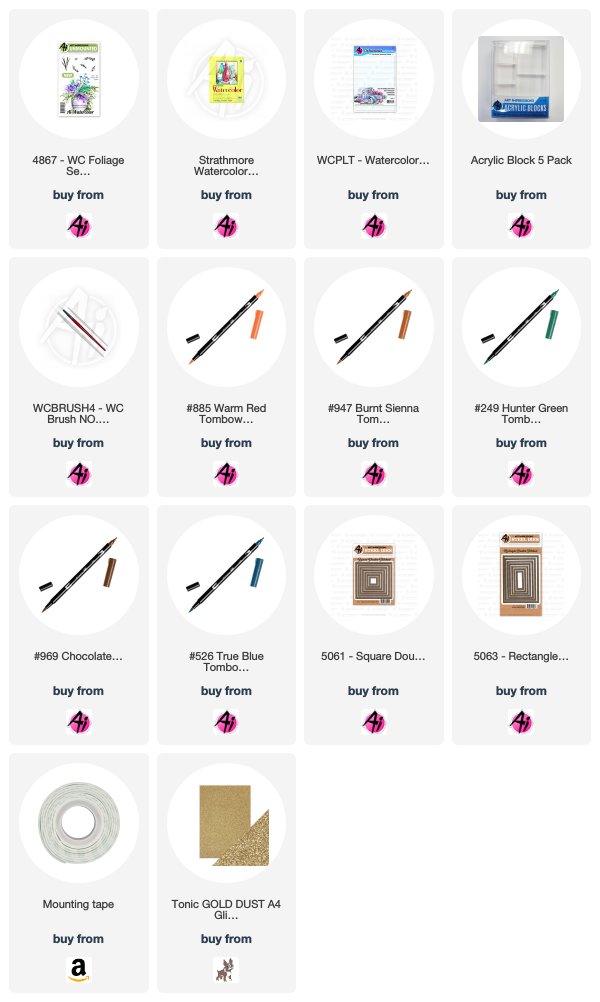
Art Impressions has just released brand new Bible Journaling stamps and you are going to want all of them, like I do! My card was made using the 5199 - Praise Instruments Set. I immediately thought of Christmas when I saw this set. I made this card by stamping the three instruments in 969 after stamping them off on scratch paper first, then I stamped them onto my watercolor paper. I pulled the color out of the lines and watercolored them in 947. I added the pine branches using 4867 - WC Foliage Set and stamping them in 249. I used the fine tip of the 885 to make the berries. I glued gold glitter on the instruments. After that dried, I ran it through my die cutting machine using the 5061 - Square Double Stitched Dies. I used a words stencil with Tim Holtz pumice stone distress ink for the background of the instruments. I typed that sentiment on my computer and cut it out using a die. The white pieces are adhered with foam adhesive over that gold card stock. The background piece was cut with the 5053 - Rectangle Die Set.


Karen Day - Blog - Facebook - Pinterest
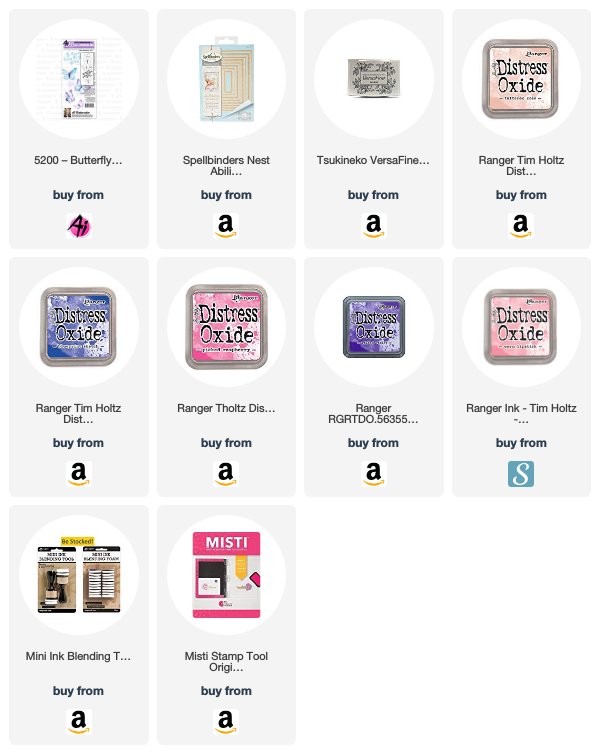
Today I am using 5200 - Butterfly Set. I was aiming for something a little mystical to show off this wonderful sentiment, so I created an ink blended background using five colours of Distress Oxide Inks. I kept the lightest shade in the middle where the sentiment would be, then worked with the two pink/blush shades and finally using the purple and blue around the outside. Using my Misti, I arranged the butterfly stamps around the sentiment, testing out my positioning on some scrap paper. With just the butterflies in the Misti - I dampened all the images and stamped them onto my ink blended background. The nature of Distress Oxide inks is that when you add water, the inks oxidize, so I was left with chalky white butterflies - a bit of an ethereal effect. I then spattered the cardstock with water using a wet paintbrush, which gave it a wonderful speckled look. Positioning the sentiment in the center of my piece, I stamped it in Onyx Black Versafine ink. I used my Hemstitch Rectangle die to cut out the pattern around the rectangle, and mounted it onto black cardstock before adhering it to my card.


Tricia O'Bin - Blog - Instagram - YouTube - Pinterest - Facebook
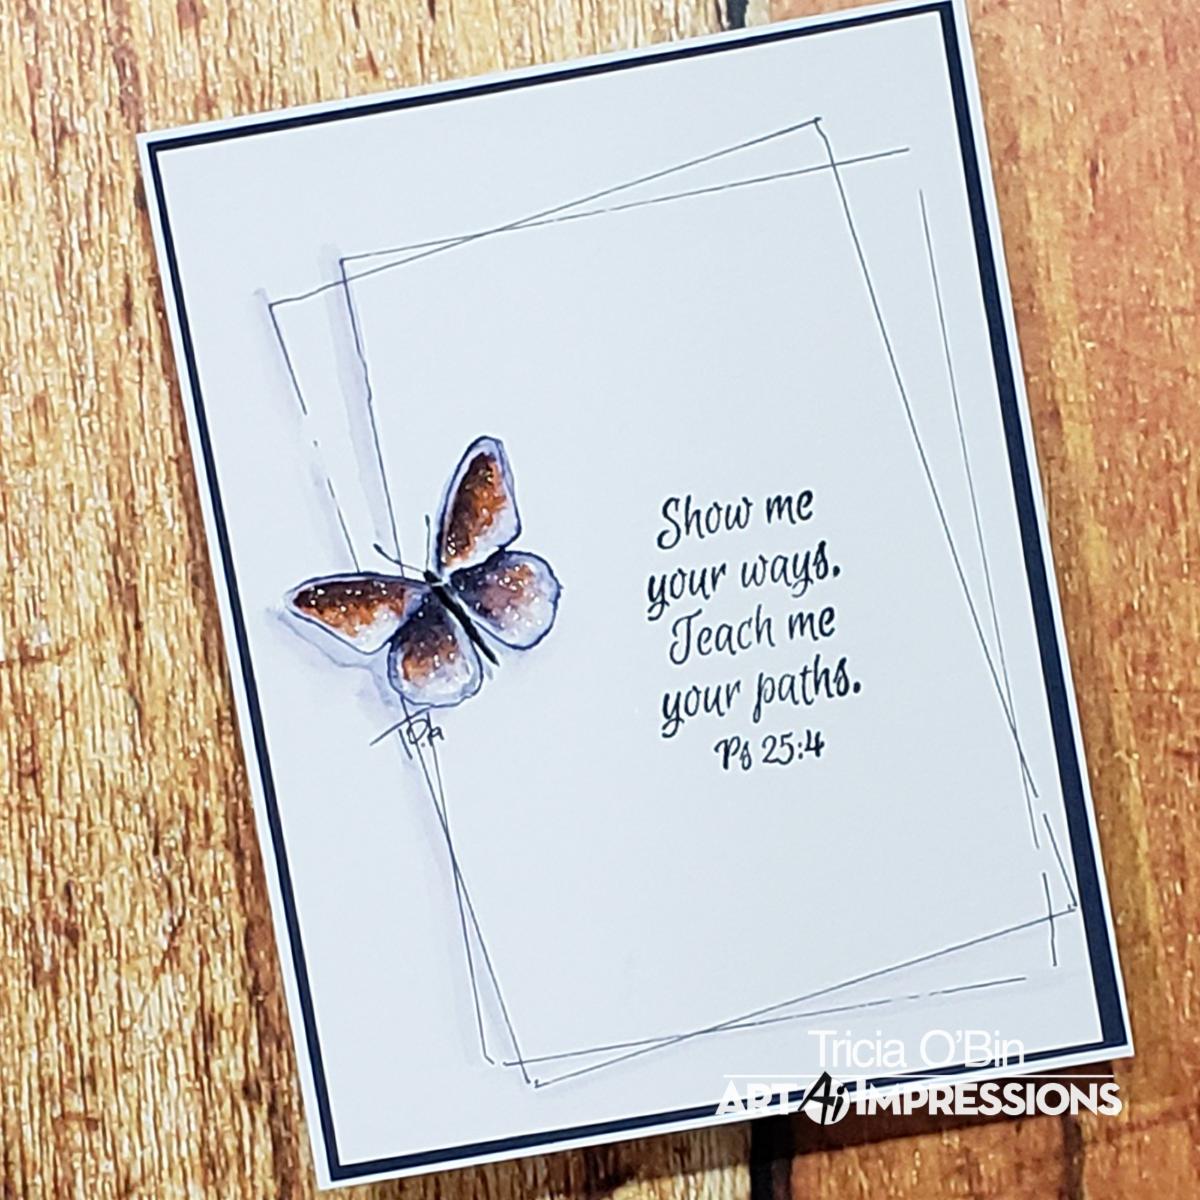
Welcome to the Art Impressions new release of Bible Journaling watercolor stamps. I love this butterfly set, you can really do some really cool stamping with them. I wanted to keep this one simple so I created this card I am calling Butterfly Path.

Watercolor Details

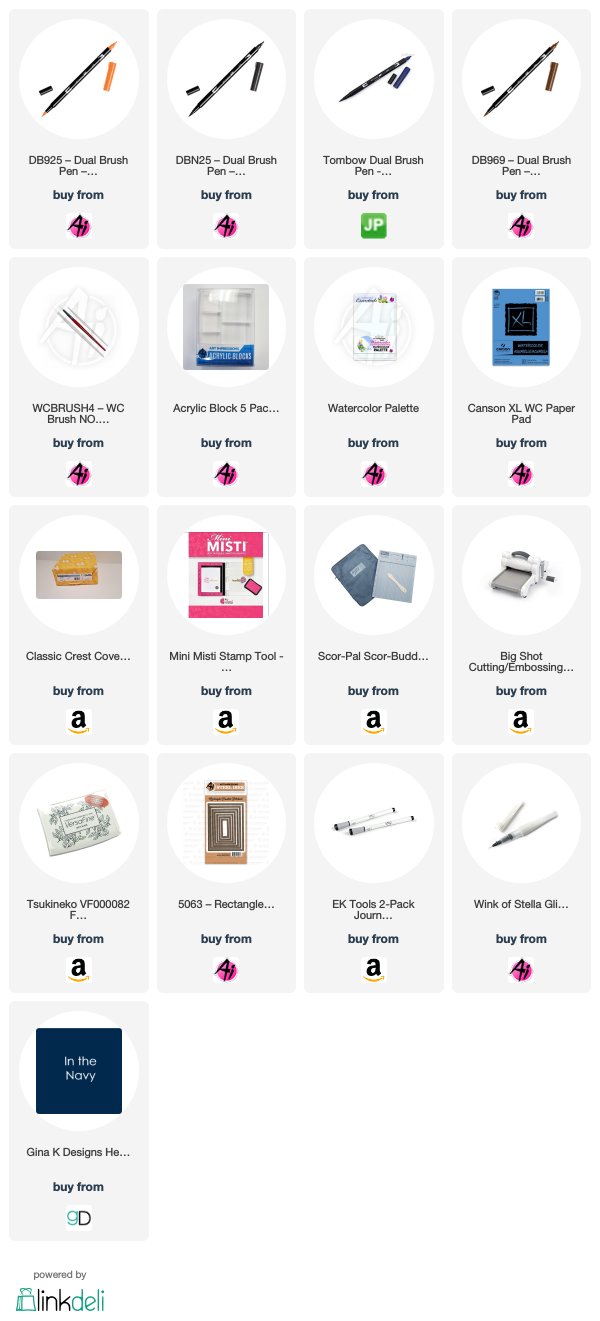
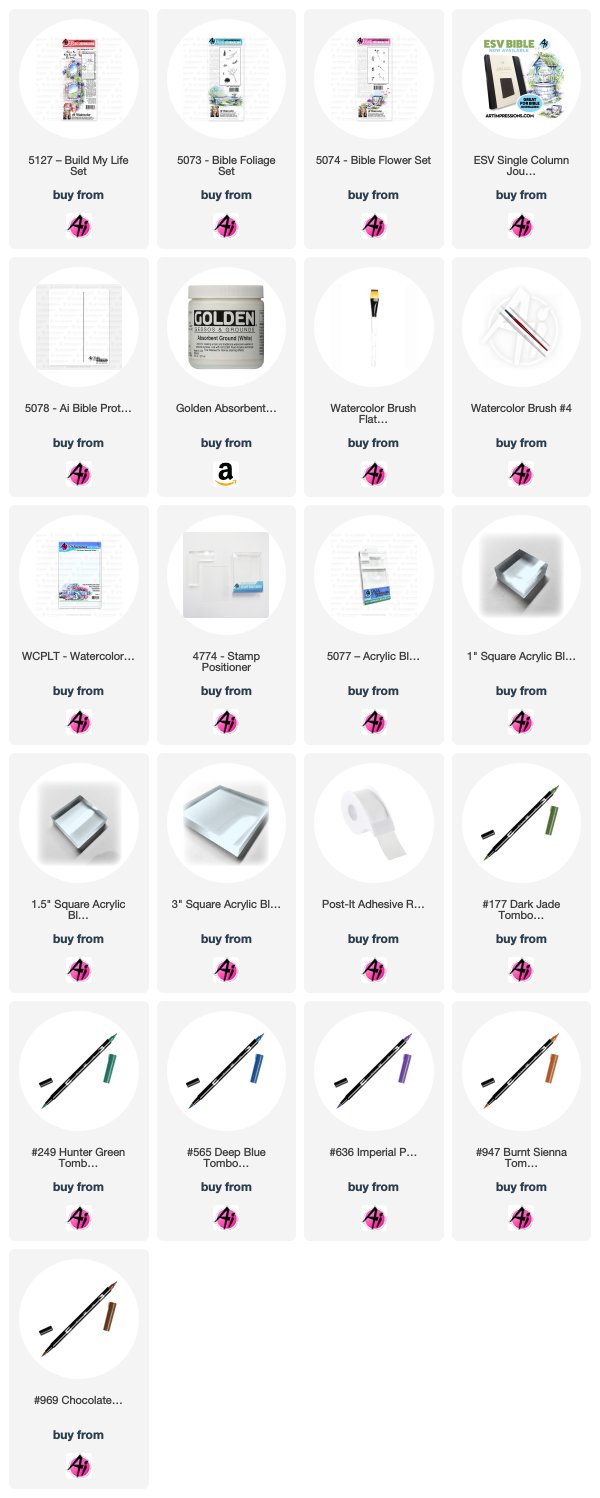
First, I inked the large butterfly from the New Butterfly Set with N25 (body and antennae) and 569. I pulled the color from the lines, focusing on the darkest areas first. This would be between the wings. You can build up the color slowly to create some really cool shadows.

I added some additional color from my palette, I also added 925 which I layered on top of the Navy. Using some watered down 569 from my palette and brushed them in on the left side of the butterfly to create a subtle shadow.

To create the rectangles, I traced the inside of the stitched rectangle dies with an EK Success journaling pen, I moved it slightly and traced it again. I used the same watered down 569 and brushed it along the left side of the lines.

I placed it into the MISTI, I inked up the Show me your ways verse from the Stone Path Set and stamped it in the middle of the page. Lastly, I signed my work. I added some shimmer to the butterfly's wings with my Wink of Stella.

Card Details

I cut the watercolor paper down to 4 x 5 1/4 and a mat from Gina K Designs In The Navy card stock and added it to a Neenah Solar White card base.


I know you are going to love ALL of the new Art Impressions stamp sets. We love seeing your creations! Tag us on Instagram #AIWatercolor.


Thanks, team! Love how you used our Bible Journaling stamps to make beautiful cards! They are so unique and pretty!
For our new challenge, we want to see you try watercoloring stamping! You can watercolor the art impressions way or another watercolor stamping technique, we can't wait to see! You have one more week to enter, so be sure to link up a project or two for a chance to WIN Ai stamps!

Here are the Challenge Rules...
✻ Please make a new card or creation. You can make any crafty item you wish; this is not limited to cards!
✻ Limit two submissions per person. You will receive extra votes if you use Art Impressions stamps!
✻ The Ai Challenge is open to everyone, international submissions are welcome!
✻ Include a link back to the Ai Blog or grab our button on the top right of our sidebar!
✻ Share the Ai love by clicking and commenting your fellow crafters.
✻ Make sure to get your link up by the deadline to enter your creations.
✻ Good luck and happy stamping!

You are invited to the Inlinkz link party!
Click here to enter

Happy Stamping!


Saturday, August 17, 2019

Watercolor Weekend Roundup - Three Unique Projects Inside!

Hello Ai Watercolor Fans, and welcome to another Watercolor Weekend post! It's a great day for stamping, don't you think? Check out these three lovely projects to inspire your weekend creations! Remember to check out the pink links by the designer's name to hop over to the personal blog, instagram, or other accounts so you can continually be inspired throughout the week!

Dot Freel - Instagram - Blog - Pinterest
Hello Friends,

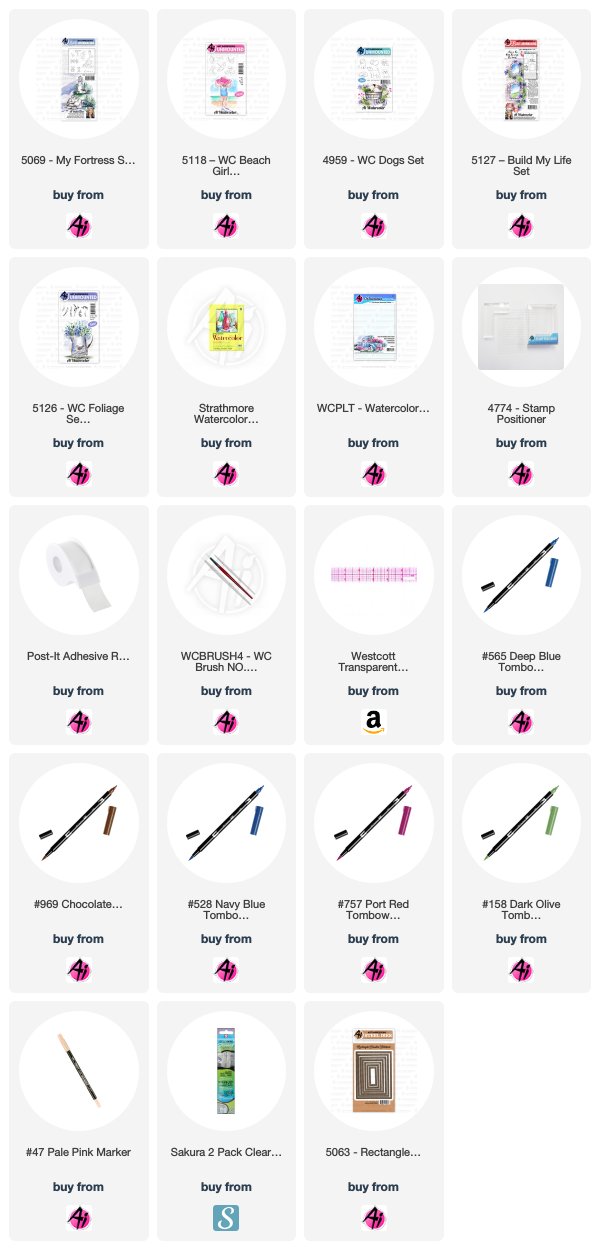
I hope you like my beach scene card I made using Art Impression's stamps for the Watercolor Weekend. I wanted to make the brick wall after watching Art Impression's Creator/Owner Bonnie Krebs Bible Journaling video on YouTube, where she showed us you have to add the color first. The first thing I stamped was the lighthouse from the 5069 - My Fortress Set. I inked it up first with the brown 969, then I inked it up with 565 but I didn't ink the water part on the bottom of the stamp. I stamped it off on a piece of scrap paper before I stamped it on my watercolor paper. I stamped the little girl next from the 5118 - WC Beach Girls Set using the 969 and stamping it off first. I stamped the little puppy next to her from the 4959 - WC Dogs Set using the same 969 and stamping it off first as well. Those Tombow markers are really juicy so I tend to stamp everything off first when I use them. I used a T-ruler and permanent Copic Marker to make the two wall top lines and the bottom line. I used a pencil to make the water line and then colored the water in with 528 and the sky as well. I pulled the color out of the lines of the light house and used 757 on the palette to watercolor the red lines on the light house and the little girls swim suit. I used NO. 47 pale pink to color the little girl's skin. I used 565 to darken the windows, 969 on the roof and door, and then I took the fine tip of the Tombow twin tone pen to darken each window. I used 158 for the hat and the ground cover. I added a little 969 to the cliff side but only used 565 to shadow the rocks and light house. I colored the girl's hair and the puppy with 969 and darkened his eyes, nose and mouth with the Copic marker and then I used that marker to put dots on the rocks in the crevices. I used some 969 and 565 to watercolor the brick wall and then I masked off the little girl, puppy and the top and bottom of the wall with post-it tape runner. I used the bricks from 5127 - Build My Life Set and inked them up with 969, then stamped them off on the scrap paper twice before stamping the wall. I stamped the grasses from the 5126 - WC Foliage Set 4 in the green 158. I inked the birds from the My Fortress Set in 565, and stamped them after stamping them off first on the scrap paper. I took a Sakura Gelly Roll pen and added some glitter. I signed it with my Copic pen and cut it out using the 5063 - Rectangle Double Stitched Dies. I used the largest die to cut out the background piece of paper.


Karen Day - Blog - Facebook - Pinterest
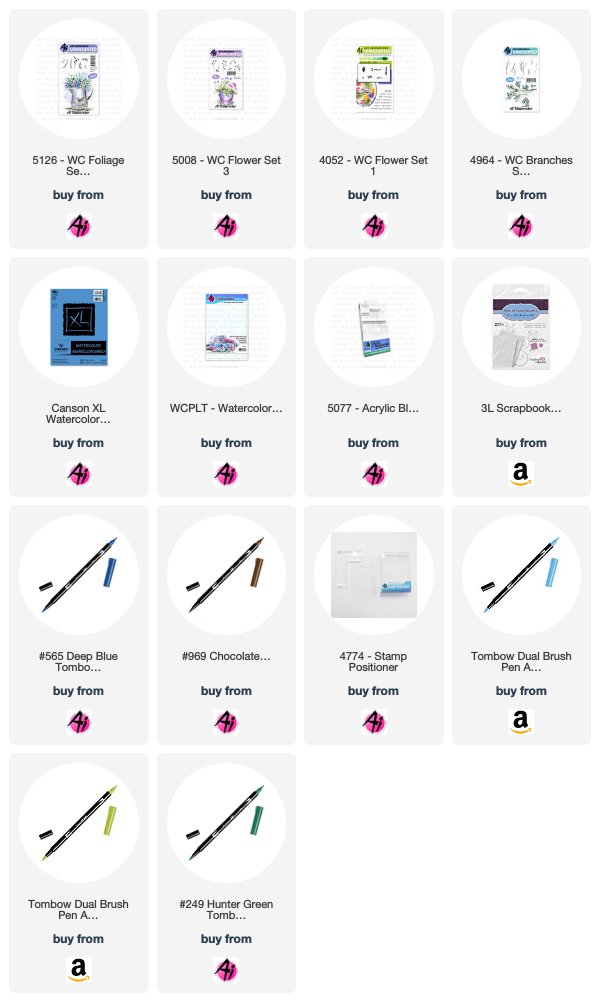
I started by tracing a faint circle in pencil on my Canson XL watercolor paper to use as a guide. I began with the leafy green image from 5126 WC Foliage Set 4, and #249 Hunter Green, stamping it around the circle in both first and second generation. I wanted to have a strong contrast of greens, so I coloured the stem of a flower from 5008 WC Flower Set 3 in #126 Light Olive, and the petals in #565 Deep Blue. To fill in a few areas, I used the tiny foxglove (quite possibly my favourite Ai watercolor flower!) from 4052 Flower Set coloured in #533 Peacock Blue. I love the versatility of this stamp, I can stamp it repeatedly to be as long as I like, and because it's so tiny, it allows me to bend the blossom one way or another to suit my design. Using two of the branches from 4964 WC Branches Set coloured in #969 Chocolate, I tucked branches in and around the wreath to finish it off. I very lightly used my damp #1 paintbrush to dab the leaves and blossoms, keeping them mostly intact (I didn't want to lose the image definition). I used a TT42 - Twintone marker in 42 Navy to add a few dots around the foxgloves to finish them off. I looked at several of the birds from different sets, and found that this one from 5030 On The Sparrow Set in the Ai Bible Journaling collection fit perfectly inside the wreath - so I coloured him with #969 and used my stamp positioner to set him just inside the bottom of the wreath. I pulled out the colour with my brush, and added in touches of #533 on his wings and tail. I kept my wreath quite loose and open, making it slightly irregular - and really love the look! I can hardly wait to try a fall version. I matted the image on some periwinkle cardstock and stitched it down with my sewing machine. I tied some twine around my kraft cardstock base and attached the image with some pop dots.


Tricia O'Bin - Blog - Instagram - YouTube - Pinterest - Facebook
Hi Watercolor Fans! Welcome back to Art Impressions watercolor weekend. For my project this week, I decided to make an interactive card. This was so much fun to make. Come along with me and I’ll tell you how I made my Reveal Wheel Wagon.

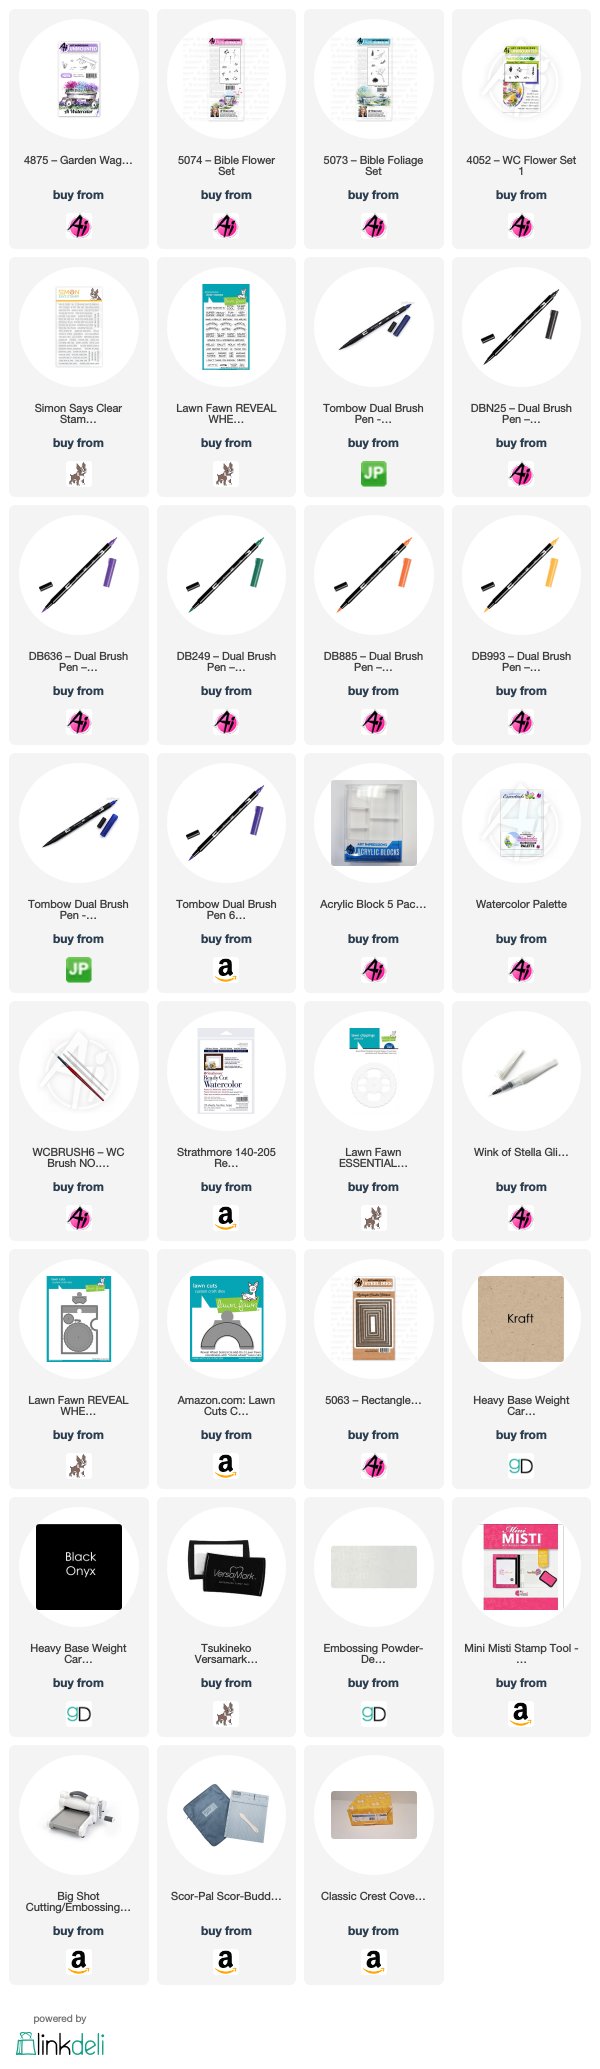
I wanted to create a watercolor card using my new reveal wheel dies. I used the Add-On window and Essential Shapes stencil. I cut a rectangle out of the watercolor paper. First, I inked up the wagon with N25 & 569, stamped it off and stamped it in the bottom right corner of the paper. I used my Round 6 brush to pull the color out of the lines making sure the sides are darker and leaving a highlight. 

I added some additional color from my palette. Next, I inked up the small grass from the original foliage set with 249. I stamped it underneath and around the wagon. I pulled the color out of the lines. I inked the leaves up and stamped them along the top of the wagon. I wanted to make sure to stamp outside where the window will be so the flowers on the wheel fit.

I cut the wheel out of watercolor paper. Using the template, I stamped more foliage and flowers in different colors on each side. (After I already cut it I realized I didn’t need the template as by doing the whole wheel there is no break in the flowers). I used the small vine and the medium vine inked in 249 and stamped it several times. I added the small dots, daisy bunch and single flower to the wheel. I chose pink, orange and purple as they go so well together and I wanted it to be cohesive. I added water to the foliage and then the flowers. I added some additional color from my palette (mostly yellow onto the orange flowers). I added some wink of stella to the flowers and the wagon for a bit of shine.

Using 565 from my palette, I added a sky, which I also used on the wheel so it would blend with the background. I signed and dated it. I used a scrap piece of black card stock with the reveal wheel die and did some partial die cutting. I embossed the celebrating you from the Simon Says Stamp Tiny Words stamp set to it with white embossing powder.

I cut the craft paper with the reveal wheel card die. There are lots of YouTube videos on how to put the card together. I cut the opening in the watercolor paper (after making sure my wheel lined up). I then cut another window in the Kraft card stock in the same spot. I added my wheel and assembled the card. I added it to a white card base. To complete it I stamped the arrow so you know which way to spin the wheel (not that it matters in this instance).

I love to find ways to stretch my dies and stamps and this worked perfectly. I think I may do some more of these.

Thank you so much for stopping by and I hope you join us this watercolor weekend. Tag us on Instagram with #AIWatercolor and #AIStamps. 

Have a crafty day!


Thanks, team! We love how creative and diverse the projects are this week! From larger scenes like Dot's to beautiful wreaths like Karen and even interactive cards like Tricia, there is so much you can create with Art Impressions Watercolor stamps! Have a super weekend!

Happy Stamping!
Saturday, August 10, 2019

NEW VIDEO! Build My Life Set Bible Journaling Part 2

Hello Ai Fans!

Welcome to another Ai Bible Journaling video, featuring our Build My Life Set Part 2! Watch Bonnie create a stone wall and open window with climbing vines and flowers in Proverbs 24 and 25.

Join in the Ai Bible Journaling Fun!
Sign up for our NEW Bible Journaling Newsletter
Subscribe to Art Impressions' YouTube
View our Bible Journaling YouTube Playlist
Follow Bonnie's Bible Journaling account on Instagram


View on YouTube: https://youtu.be/2x2XQL7yB-0


Hop over to YouTube and leave Bonnie a comment, then tag us in your projects on Instagram or Facebook using #AiBibleJournaling!

Happy Bible Journaling!


Saturday, July 13, 2019

NEW VIDEO! On The Sparrow Set Bible Journaling Part 2

Hello Ai Fans!

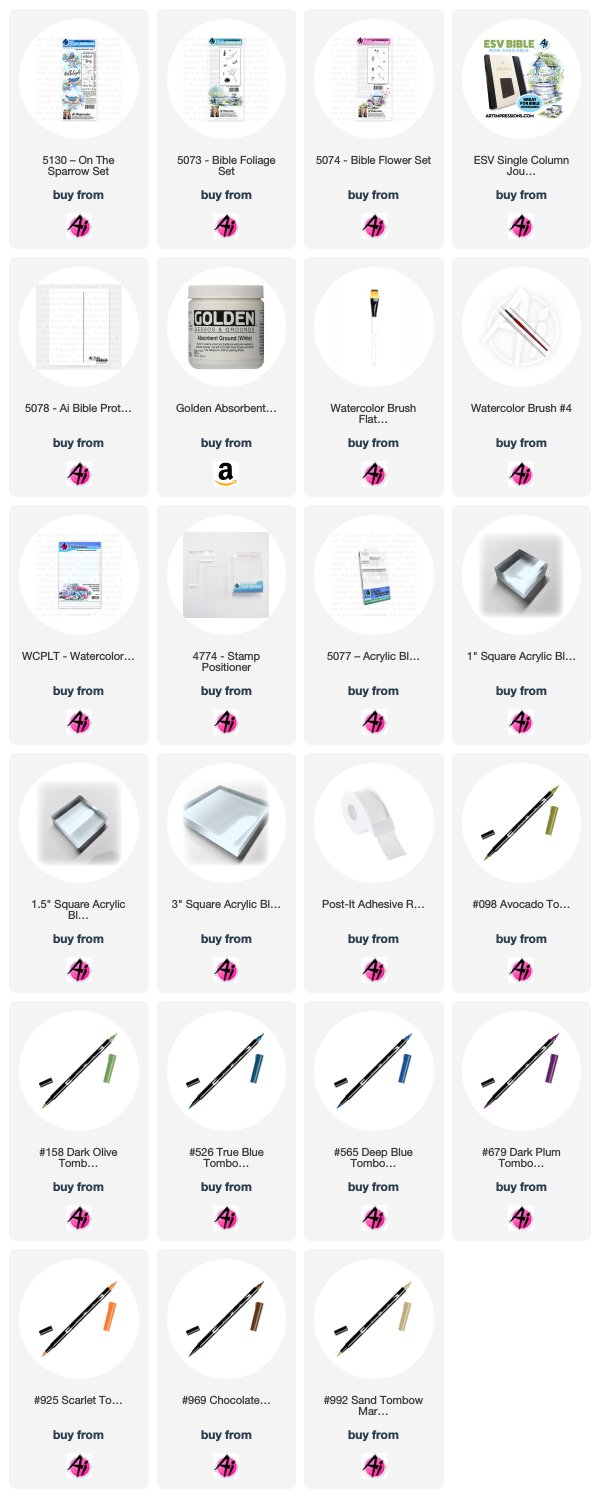
Welcome to a new Ai Bible Journaling video, featuring our On The Sparrow Set Part 2! Watch Bonnie design a frame with flowers and foliage, featuring a sparrow and nest, in Psalm 96.

"Let the field exult, and everything in it! Then shall all the trees of the forest sing for joy" 
Psalm 96:12 ESV

Sign up for our NEW Bible Journaling Newsletter here!

Join in the Ai Bible Journaling Fun!
Subscribe to Art Impressions' YouTube
View our Bible Journaling YouTube Playlist
Follow Bonnie's Bible Journaling account on Instagram


View on YouTube: https://youtu.be/GGsfQRoQ9AA


Hop over to YouTube and leave Bonnie a comment, then tag us in your projects on Instagram or Facebook using #AiBibleJournaling!


Happy Bible Journaling!