Showing posts with label WC Foliage Set 3. Show all posts

Sunday, August 31, 2025

When One Door Closes Gnome Home with GD Debbie Hedges

Hello Ai fans!

Every once in a while we just like to pick a talented artist and feature them as a Guest Designer.

This time we chose Debbie Hedges, and she's helping us out with our When One Door Closes challenge.


She created an amazing little gnome home and we're so excited to share it.

Please enjoy...

------------------------------------------------------------------------------------------------------------------------

Welcome to the newest bi-weekly challenge! I am excited to share Challenge #411 When One Door Closes. The first stamp set that came to mind was #5015 WC Hobbit Door set, so I built my project around that. For this challenge, think of anything with a door . . . houses, barns, cubbies, fairy houses, cars, etc.


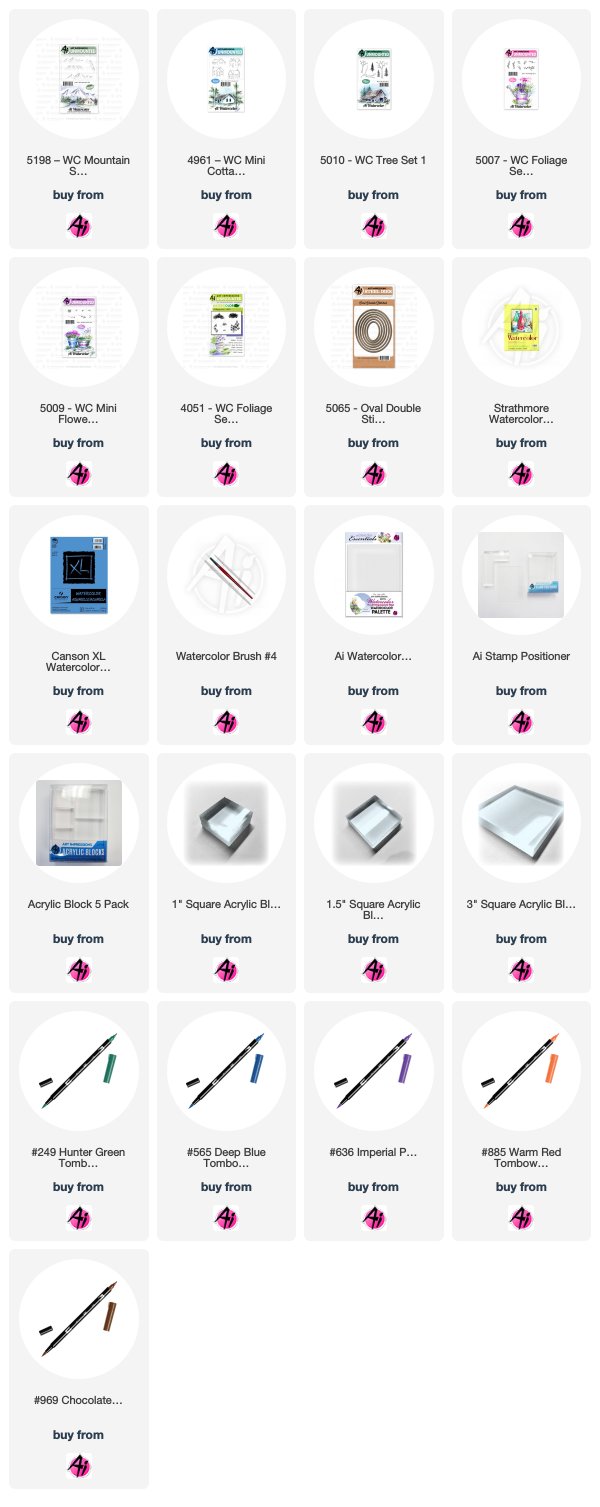
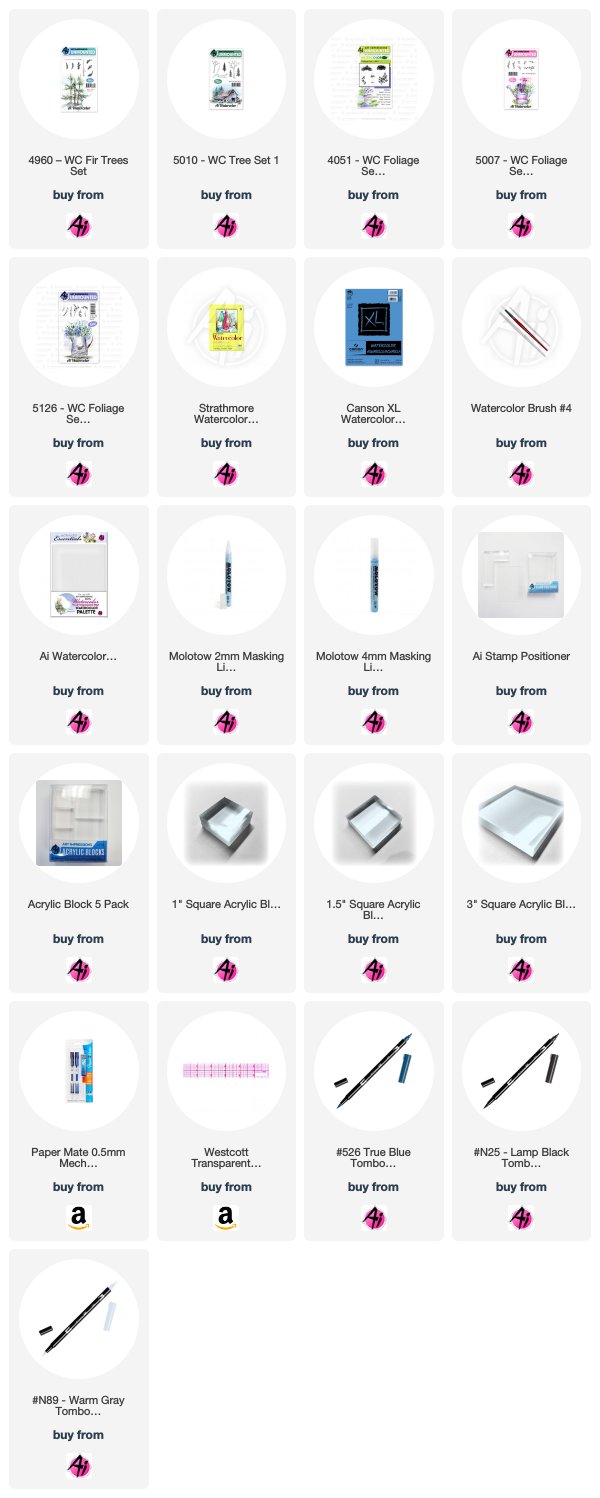
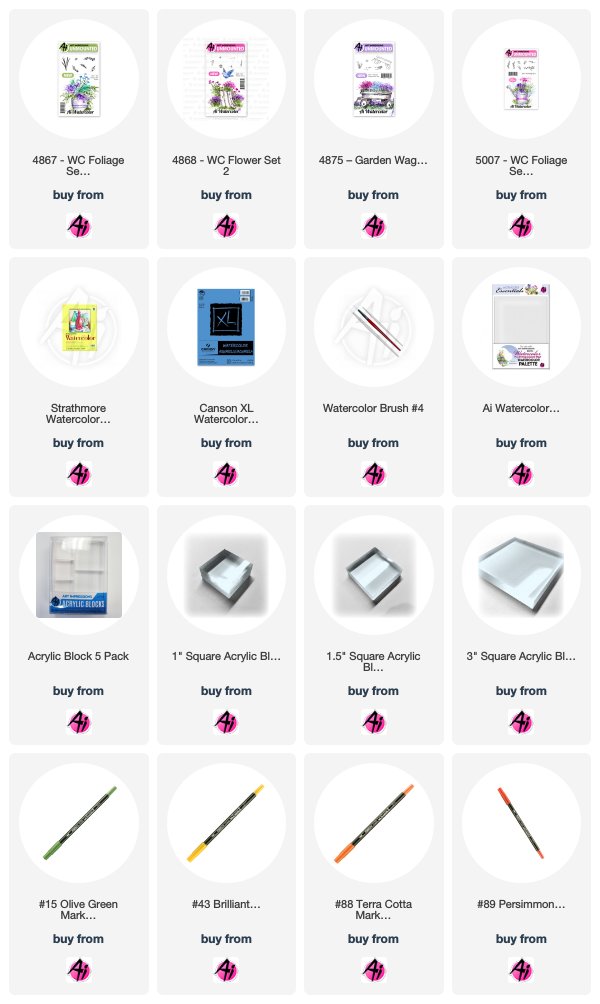
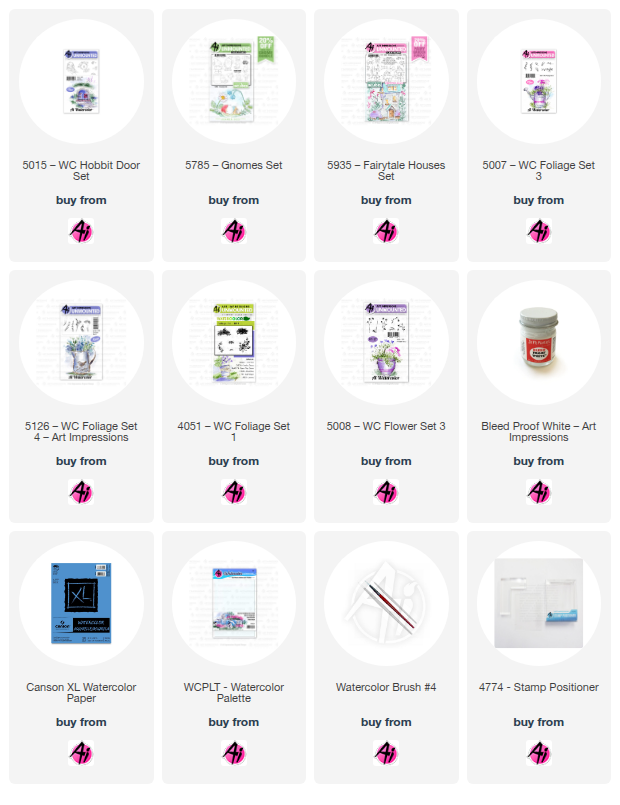
 I began by stamping the hobbit door in the center of my watercolor paper. I then used a ruler along the bottom of the door and lightly drew a horizon line for the base of my little “house.” I wanted the focus on the door. With my stamp positioner, I added the gnome and my three mushrooms. That gave me the base to work with for my scene. I began by painting the door in grey tones, adding shadows as needed. I then worked on the stone path, using sepia, grey and brown tones so that the stones were multi-colored and then went back and added shading to create dimension. Next I added a brown/sepia wash to create the idea of a wall for my door. I wanted it to have light and dark areas for interest. I then used the vine to climb one side of the door by stamping it once from the base of the door, then only inking portions of it to go around the arch. I used my positioner for placement. It is a great tool to preview what it will look like before you commit it to paper! I then touched each leaf with my brush to soften the color. I used a single flower bud and my stamp positioner to add the purple flowers in the vine and then touched each one with my brush to soften. My next step was to paint the mushrooms and gnome. This is not my first attempt on this project and for this one, I wanted the mushrooms to have added color – not just yellow and orange. So, they are shades of yellow at the base, to orange, to red and then some purple at the top of the largest mushroom. The base of the mushroom are shades of brown and I added some brown lines for ridges. For the gnome, I used the same red for his hat, and gave him a steel blue jacket, green pants and brown boots and belt. I added some grey tones to his white beard for shadows and used a flesh tone marker for his nose – adding pink to the bottom for shading. To finish this up, I needed to add teeny tiny grass along my horizon line along the base of the wall. I created a paper mask for the mushrooms and the gnome and just used post-it tape to protect the door area. Once the grass was stamped, I used the fine tip of my green marker to add some stalks of grass in front of the mushrooms. I also used the grass to stamp some grass along the steps on the stone path. Once that was stamped, I pulled the color out and then created a wash of green for the foreground. I then used the taller grass to create a clump of grass behind the gnome. I love to add a few leaves to the top of a project to finish it off. It gives the feeling that tree branches are hanging down. So, I used the leafy branch – it is one of my favorites – and just stamped it a few times along each top corner of my project. I then added water to each leaf to soften it. With a ruler and a pencil, I lightly added some horizontal lines to give the idea of siding and added a few vertical lines in random spots along with a couple dots for nails. All of this was very faint. Then with Dr. Ph Martins white paint, I added a small dot highlight to the door handle, a single dot in the middle of each flower bud, multiple dots on the mushrooms, and small dots on the grass along the path so it looks like tiny white flowers. There are a few random tiny white dots on my foreground as well. I then added dots to the top of the tall grass clump to create three daisies. When it was fully dry, I added orange dots for centers. I also added some white paint for dimension on the gnome’s beard. I hope you like it and will give it a try! Here are the stamps I used for this project along with the links for the stamp sets.


Thank you so much Debbie for your beautiful creation and inspiration.

You can enter your "door" craft HERE.

Saturday, January 18, 2020

Watercolor Weekend Roundup - Combining sets!


Hello, Ai Fans! Happy Watercolor Weekend!

We are so excited to share this week's Watercolor cards! We love what the gals have done combining stamp sets to come up with beautiful designs. We would love to see what combinations you are coming up with! 
Be sure to follow these lovely ladies on social media by clicking the link in pink next to their names!

Dot Freel - Instagram - Blog - Pinterest
Hello,

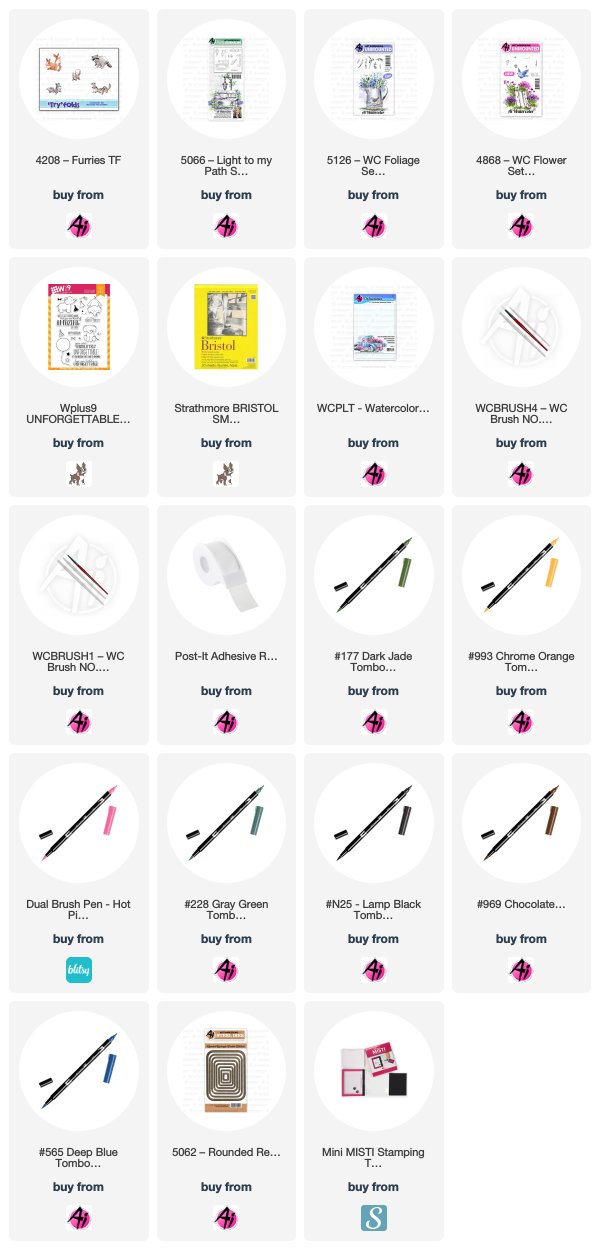
I made this card made for the Art Impression's Watercolor Weekend. I just love this raccoon from the 4208 - Furries TF set and doesn't he look like he's startled or forgotten a birthday? I stamped the raccoon and then I stamped a mask for him on post-it tape, cut it out and covered him up. I then used my Misti to stamp the bench in 969 from the 5066 - Light to my Path set in the perfect spot. I pulled the color out of the lines then got to watercoloring the raccoon with 969, N25, and 565. I colored the bench with 379.  I used 993 for the light and even colored around the outside of the light with it. Next, I stamped the foliage in 228 from the 5126 - WC Foliage Set 4 - both the vines and the grass. I pulled the color out of the lines then I added the flower in 177 and 743 from the 4868 - WC Flower Set 2. I used 177 on the palette to watercolor between the stones. I used 565 to watercolor the sky, the shadows under the bench and under the raccoon. I used a fine tip black marker to add some details back into the raccoon. I cut out my scene and background piece of paper using the 5062 - Rounded Rectangle Double Stitched Dies.

Thank you for checking out my blog!  You can find more of my cards on my Instagram account here


Karen Day - Blog - Facebook - Pinterest


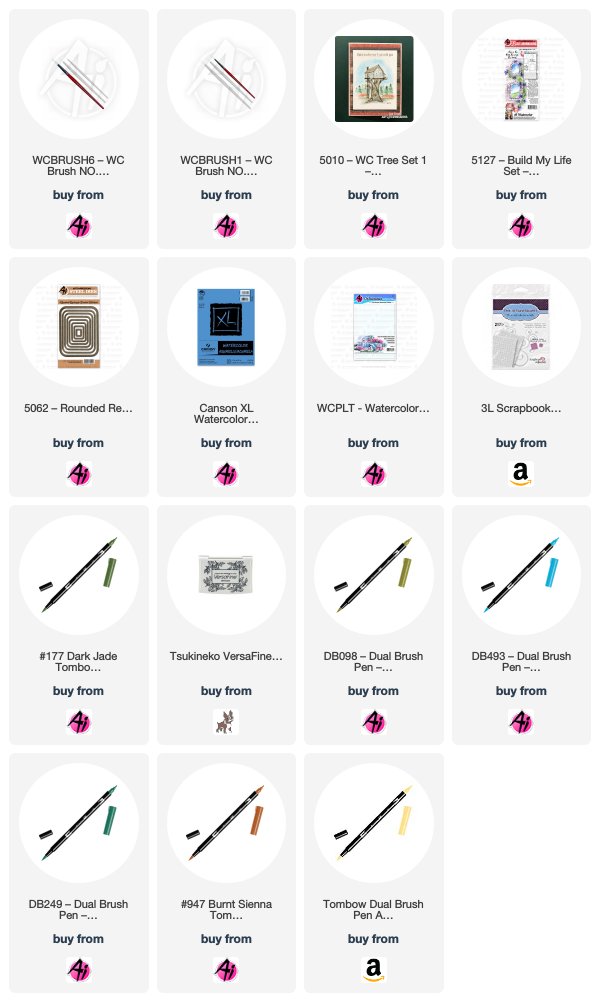
I started by die cutting my Canson XL Watercolour Paper with one of the 5062 - Rounded Rectangle Double Stitched Dies, and then I selected my colour palette of Tombow Dual Brush markers.  I began by scribbling #991 Light Ochre onto my palette, and picked it up with a very wet #6 paintbrush, creating a background wash.  I dropped in touches of #947 Burnt Sienna to add a little warmth.  I took all three of the pine tree stamps from 5010 - WC Tree Set 1, and coloured them in varying shades of #098 Avocado#177 Dark Jade and #249 Hunter Green, making some 2-toned.  I stamped them to look like a forested hillside, doing second and third generation stamping to create some trees in the background.  Using a damp #1 paintbrush, I went over the tree boughs to blend the colours, and then pulled out the colour to pool below the trees, adding more colour where necessary to have the colours drip & blend together.  I picked up a watery brush full of #493 Reflex Blue and dropped a few bits of colour around the scene where needed.  I purposefully kept a lighter area in the center of my scene, and after my background was dry, I stamped the quote from 5127 - Build My Life Set using Versafine Onyx Black Ink.  I spattered a little black paint around, and then using a black fine point marker, I drew in the birds in the upper left corner.  On my creamy cardstock base, I blended some Vintage Photo Distress Oxide ink, then mounted a piece of kraft cardstock cut 1/8" larger than my scene.  I added 3D adhesive squares to my panel and adhered it to the card base. 


Tricia O'Bin - Blog - Instagram - YouTube - Pinterest - Facebook
Welcome back watercolor fans to another Art Impressions watercolor weekend!  This week I decided to create this cute little Mushroom Fairy by combining my Butterfly stamp set with the Elves stamp set.  I love when I can stretch my stamps.  What can you make by combining your stamps?

Project Details

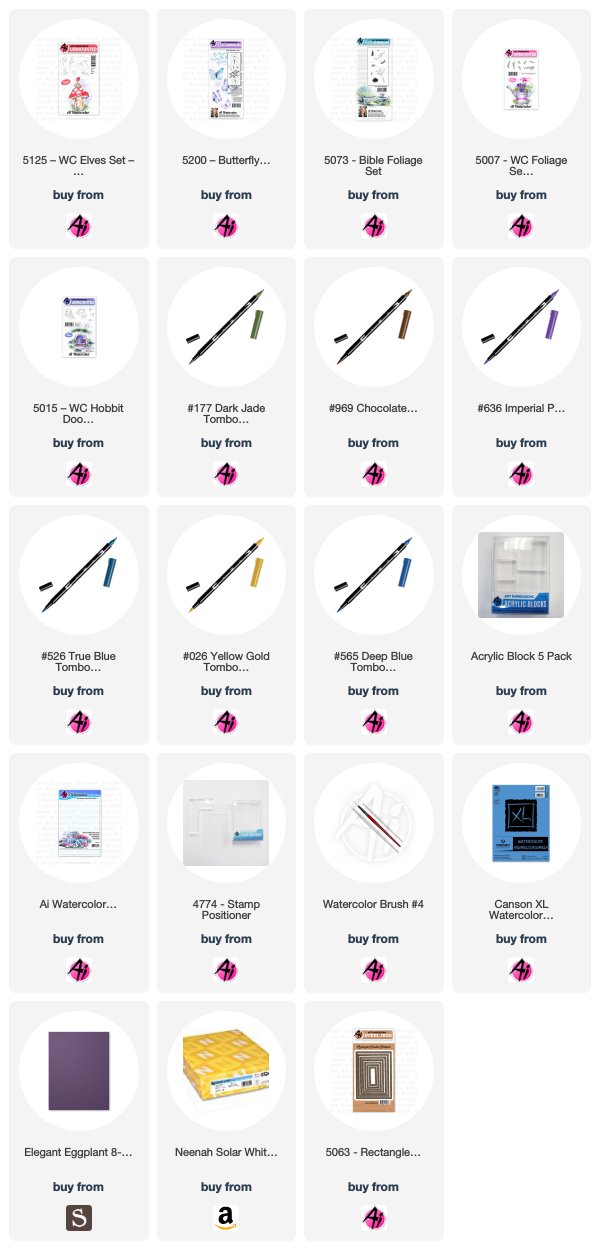
I started off by inking up the sleeping elf from the Elves stamp set in 969.  I stamped it off and then stamped it on the right side of the watercolor paper.  Next, I inked up the closed butterfly from the Butterfly stamp set and stamped it onto my stamp positioner.  I rubbed off the body of the butterfly. I lined it up on top of the sleeping elf and stamped it to make the elf into a fairy.  I pulled the color out of the lines.
From my watercolor palette, I added color to the elf and to the wings using Pink, Blue, and Yellow.  I made sure a hit of the top of the elf showed through the wings.   Next, I inked up the mushroom from the Elves set with 969.  I, again, used my stamp positioner to place the mushroom next to the fairy.
I added the window and door from the Hobbit Door set using my positioner.  I pulled the color out of the lines and added some additional 606 to the mushroom.  I added some additional 969 to darken areas on the mushroom.  I added some grasses (from the original foliage set and foliage set 3) inked up with 177.  I pulled the color up and out of the lines.  Lastly, I added some 565 to my palette and painted a sky behind the mushroom.
I signed and dated my project.

Card Details

I cut my Mushroom Fairy out with a rectangle stitched die.  I glued it to a Gina K Designs Edible Eggplant card stock mat.  I glued that to a Neenah Solar White card panel.
Thank you so much for spending some time with me today.  I hope you will look at your new light.  Try something different, you will be glad you did! 


Thank you, ladies, for your continued inspiration! We absolutely love seeing everyone's personal style show through on each card!  
Happy Stamping!

Wednesday, September 4, 2019

NEW VIDEO! Mountain Cottage Watercolor

Hello Ai Fans!

Your favorite day of the week is here - Watercolor Wednesday! We are continuing the showcase of our new releases, featuring our WC Mountain Set! Bonnie creates a mountainside cottage, nestled in a pine tree forest, and wildflowers in the foreground. You will love these new mountains to set the scene for any of your watercolor landscapes!

Hop over to this video and share some love with our stamp designer and co-owner, Bonnie Krebs! Which of our five new stamp sets is your favorite? We are excited to see what you create with our summer release!


View on YouTube: https://youtu.be/GvYvOWpPHck


Wednesday, August 14, 2019

NEW VIDEO! Nighttime Silhouette Watercolor by Kendra Krebs

Hello Ai Fans!

We are excited to have guest artist Kendra Krebs back this week for a NEW Watercolor Wednesday! Kendra always brings a new perspective and today she shows us how to create a whimsical forest scene, creating a dark foreground and lighter background, and uses a Molotow marker to create dots of light. Kendra simply used a couple tree sets and a few foliage sets to design this scene with three markers! At the end, Kendra asks what your favorite part of the video was, so hop over to YouTube to leave her a comment!


View on YouTube: https://youtu.be/U0IpJL06UeY


Wednesday, July 24, 2019

NEW VIDEO! Window Composition Watercolor

Hello Ai Fans!

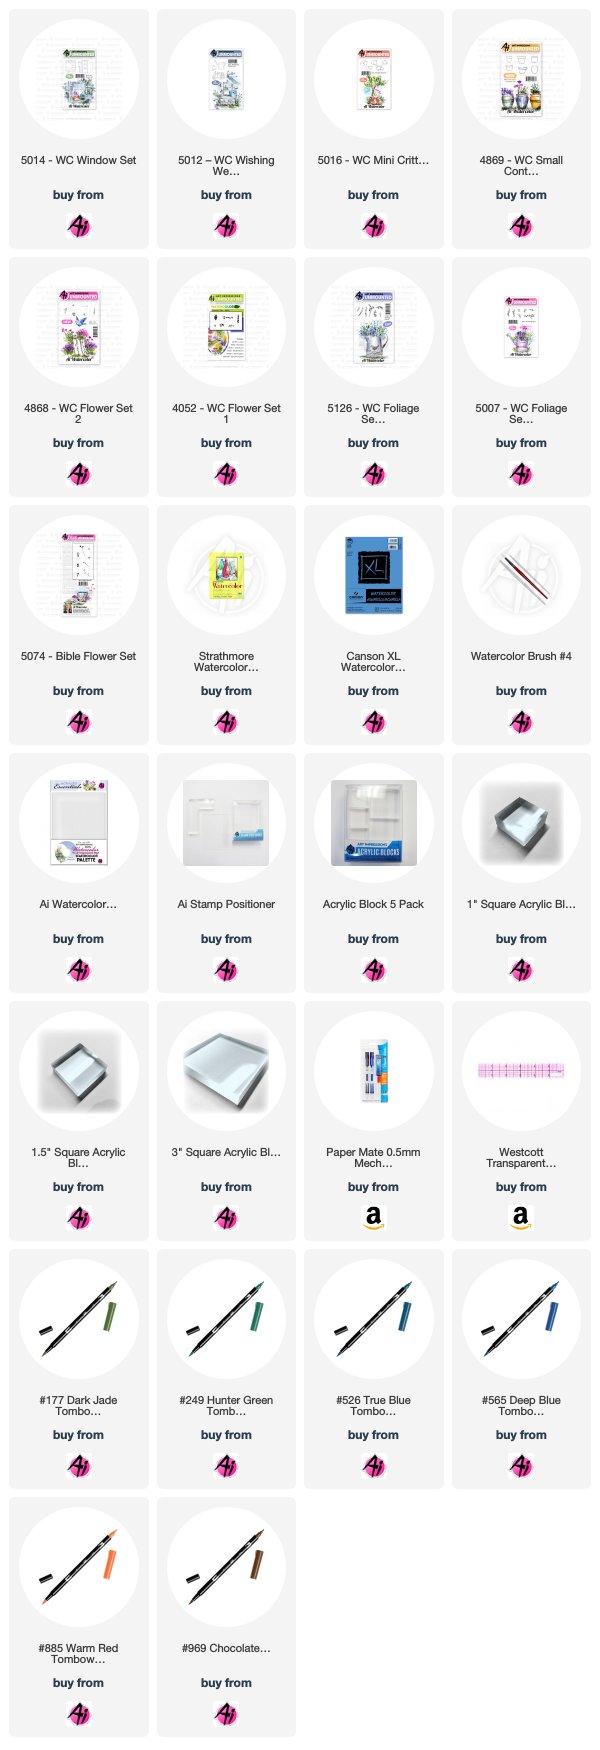
Welcome to a NEW Watercolor Wednesday! This week, Bonnie combines a few of our watercolor sets to create a beautiful WC Window Set composition. She adds a hanging basket from our WC Small Container Set, a watering can from our WC Wishing Well Set, and a sleepy kitty from our WC Mini Critters Set! Check out the full YouTube video for this challenge project to combine a few elements your watercolors!


View on YouTube: https://youtu.be/m9ustau0UrM


Wednesday, July 3, 2019

NEW VIDEO! Oceanside Doorway Watercolor

Hello Ai Fans!

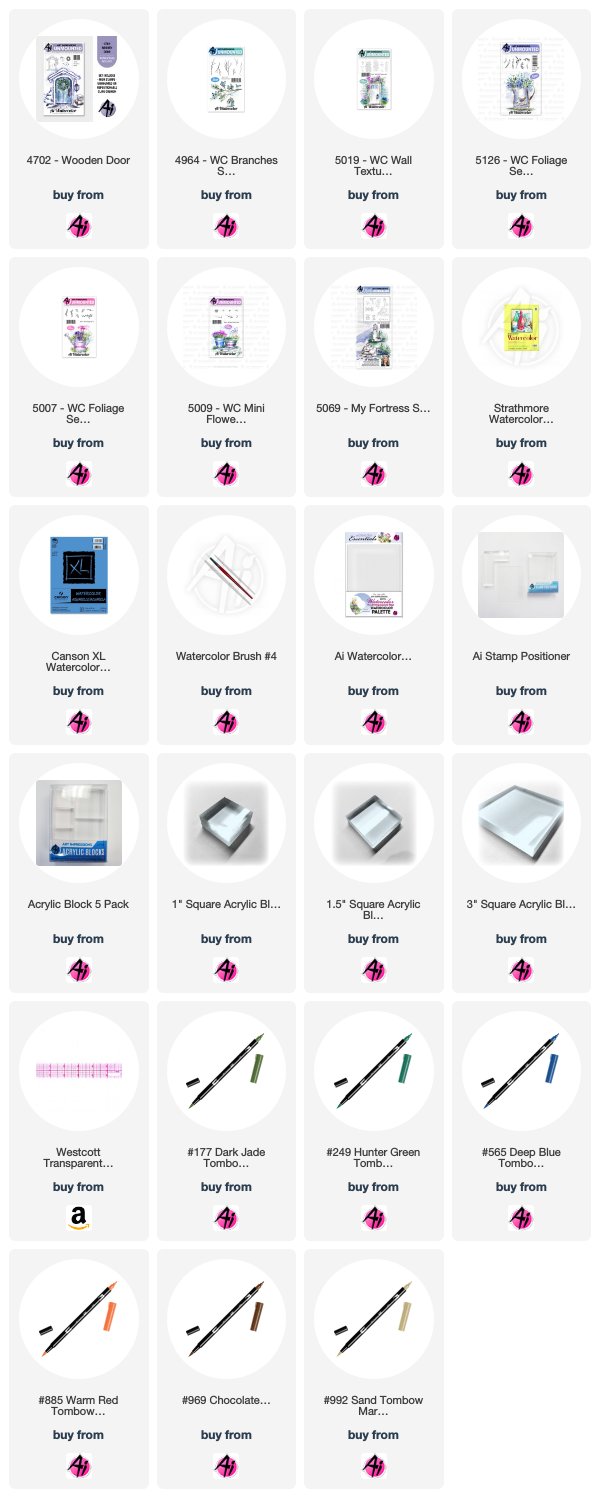
We are back for a NEW Watercolor Wednesday! This week, Bonnie creates a doorway in a stone wall, with a path leading down to the oceanfront. We love the hanging vines and colorful bushes that adorn this wall. Bonnie also added the birds from our My Fortress Set in the blue sky!

We hope you enjoy this week's special video!

View on YouTube: https://youtu.be/YVy5-YJGYpo


Wednesday, May 8, 2019

NEW VIDEO! 2019 Class Exclusive Watercolor Set

Hello Ai Fans!

It's time for another Watercolor Wednesday, and one many of you have been anticipating! We are revealing our 2019 Class Exclusive Set, a free bonus when you attend a Watercolor Class at one of our 2019 Retail Shows! This set is only available by taking the class, it is not sold online or in stores, so we hope you find the nearest location to you and join a class!

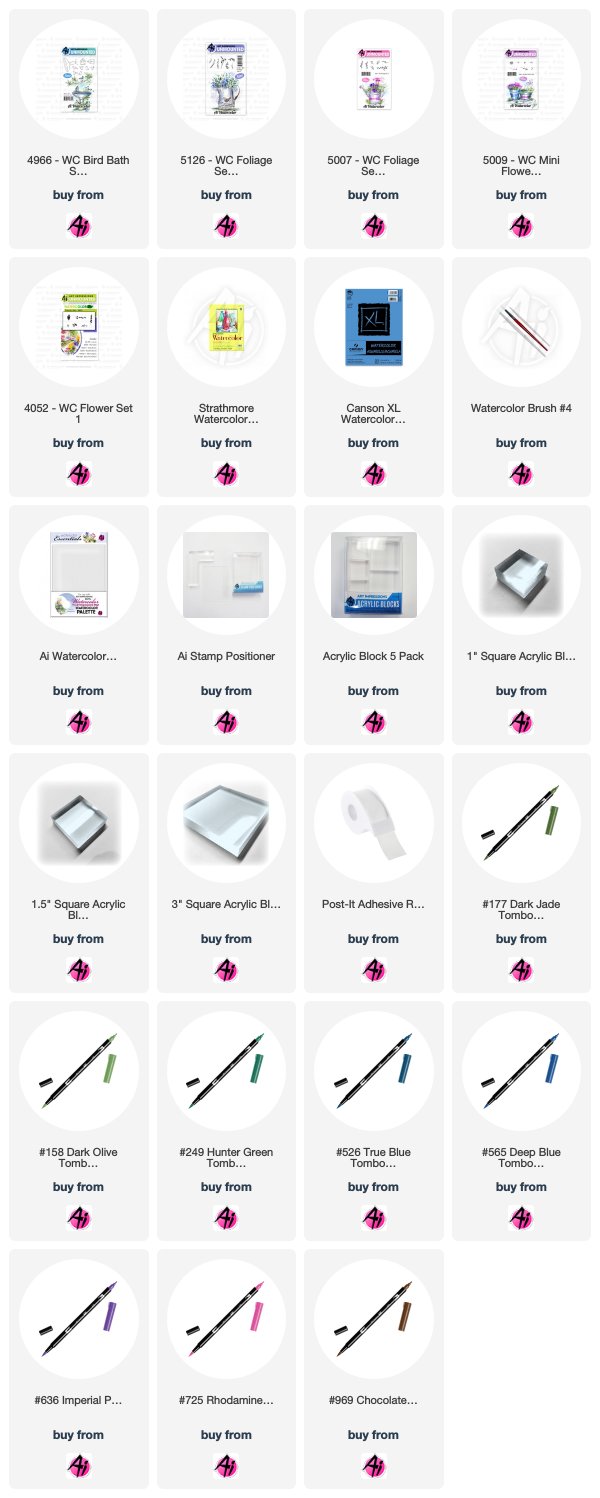
In this video, Bonnie creates an adorable flower cart with four small containers and a canopy top. She fills the flower pots with blooms and branches from our WC Mini Flower, WC Flower 1, and WC Foliage 3, and WC Foliage 4 sets. She also adds a sweet bird from our WC Bird Bath Set to the top! Even if you don't have these stamps, you can still learn new tricks and techniques from this video for your watercoloring!

If you are attending a show this year, hop over to the video and leave a comment telling us what city we will see you! We have a lot of shows on our calendar, so make sure to check out our 2019 Show Schedule and make a plan to visit Ai!

And make sure to scroll to the bottom of this post for an inspiration image using sets available on our website!

Have a great Watercolor Wednesday!


View on YouTube: https://youtu.be/8R_AsQNdEGo


If you LOVE our Class Exclusive design and are unable to make a class, our Watercolor Design Team member Dot Freel created a similar image with our WC Flower CartWC Small Container, and WC Beach Girls (umbrella) Sets! 


Hello Friends,

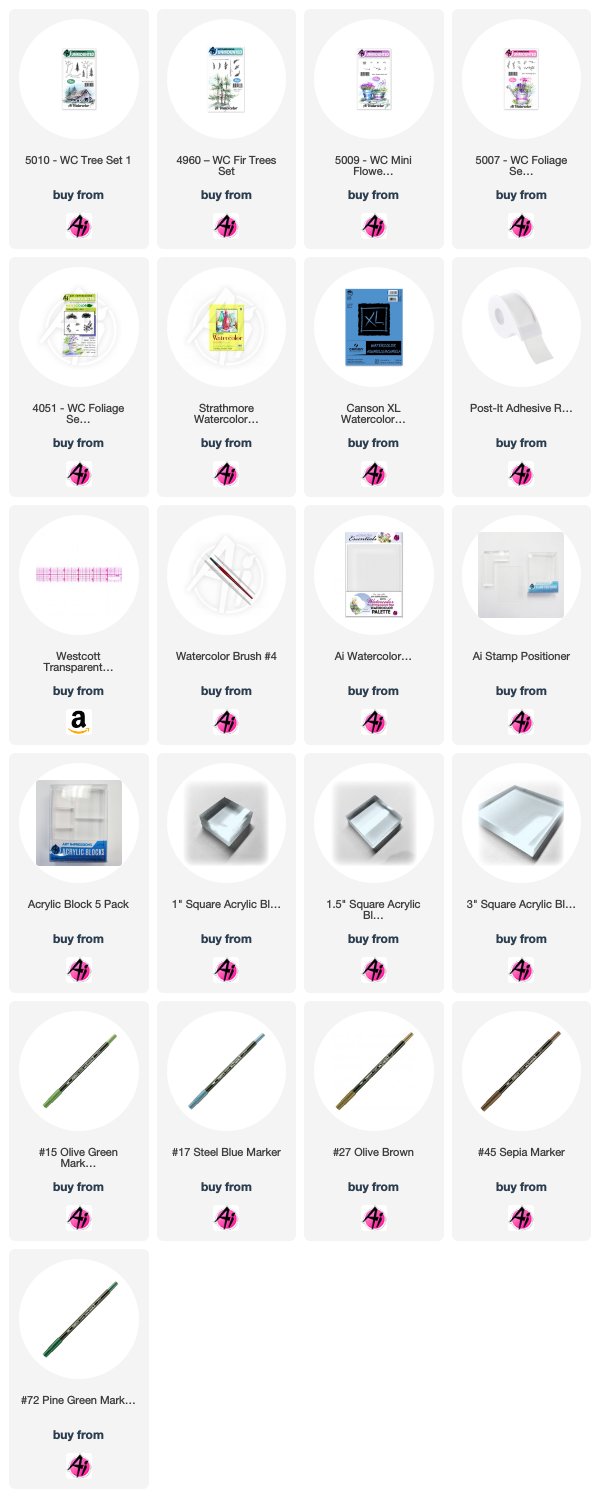
Have you seen the 2019 Exclusive Stamp Set of a flower cart only available by attending a class at one of the events? I haven't been able to attend a class but I used stamps I already own to recreate the one Art Impression's Owner/Creator (my favorite artist) Bonnie Krebs watercolored.  I stamped the flower cart from the 4073 - WC Flower Cart set in both 45 sepia and 86 African violet and and then I pulled the color out of the lines. I used Tombow N15 on the palette to color in the wheels and parts of the cart. I used 67 bubble gum pink to color in the cart and added lines with the fine tip.  Next I used a stamp positioner to add the three pots in sepia from the 4869 - WC Small Container Set inside the flower cart and then painted them in using the 34 pale green and blue 526 and used the fine tip to add the lines.  I then stamped the umbrella from the 5118 - WC Beach Girls Set in both the sepia and African violet and watercolored in the pink areas. I brushed in some sky using blue 526 on the palette with lots of water. I stamped the grass from the 4051 - WC Foliage Set 1 in with green 177 in the center pot. I stamped the vines from the 5126 - WC Foliage Set 4 in green in some areas then switched to the 48 leaf green in other areas. I stamped the tall grasses from the 5007 - WC Foliage Set 3 in green along the ground. I stamped in the heart flowers in pink 725 from the 5009 - WC Mini Flower Set and I used the dot flowers in blue 526 in the pots. I mixed the African violet and sepia on the palette to create the shadows on the ground.

I cut out the picture using the 5132 - Tag Stitched dies and cut out the hole enforcer from that die set. I adhered a bow out of silk ribbon with a glue dot. I cut a piece of pink card stock with the 5063 - Double Stitched Rectangle Dies. Then I ran it through my Big Shot inside an embossing folder. I used double sided foam tape to adhere the tag down and then used my Copic pen to sign and date it.

You can find more inspiration by following me on my Instagram account here.


Wednesday, January 9, 2019

NEW VIDEO! Watercolor Patterned Paper by Kendra Krebs!

Hello Ai Fans!

We are excited to be back after the holidays with a new Watercolor Wednesday! This week, we have a special project from guest artist, Kendra Krebs! She shows us how to create beautiful patterned paper using the basics from our watercolor line. Kendra uses an assortment of vines and flowers in a grid to make easy backgrounds. Simply add a sentiment and share a card with someone special!

Kendra wants to know this week, what are your New Year's Resolutions or something you are excited for this year? Hop over to this video and leave a comment to share what you are hoping for in 2019!


View on YouTube: https://youtu.be/Vppcuucv4V0


Wednesday, November 14, 2018

NEW VIDEO! Little Girl in the Snow Watercolor

Hello Ai Fans!

Welcome to another Winter Watercolor Wednesday (say that five times fast!). This week, Bonnie creates a little girl in a snowy field and an adorable blue jay with holly in its beak. This winter scene can be easily changed to one of our Little Boy images.

We love to always hear from you, leave a comment on the video and make sure to subscribe to our YouTube channel for notifications of our newest uploads!


View on YouTube: https://youtu.be/Gqkw6_nNFpQ


Wednesday, October 31, 2018

NEW VIDEO! Winter Truck with Tree Watercolor

Hello Ai Fans!

It's the most wonderful time of the year for Watercolor Wednesdays! Bonnie is kicking off our winter and holiday series with this Winter Truck tutorial! She adds a Christmas tree and holly to our rustic truck in this snowy scene! There are so many wonderful ideas for Christmas cards on our Watercolor Wednesday playlist on YouTube, so we hope you are inspired to start your holiday cards early!

This week, we want to hear your favorite part of the holiday season! Head over to this YouTube video and tell us in a comment. We can't believe how quickly this year has gone, but we are so excited to celebrate our favorite season!

Happy Watercolor Wednesday!


View on YouTube: https://youtu.be/YPGAx1EbqCI


Wednesday, August 8, 2018

NEW VIDEO! Country Road Watercolor by Kendra Krebs

Hello Ai Fans!

Welcome to another guest feature from our August guest designer, Kendra Krebs! This week, Kendra created a country road, lined with picturesque trees, perfect for a long drive! We hope you enjoy this new Watercolor Wednesday and make sure to leave Kendra a comment over on the video!

Happy Watercolor Wednesday!


Tuesday, August 7, 2018

Watercolor Cottage by the Sea by Jil Lebel

Hello Ai fans!

I haven't used my Ai watercolor stamps in a while.  I wanted to do a simpler scene that didn't require me to use tons of stamp sets.  I was really happy with the weathered beach cottage that I ended up with.  
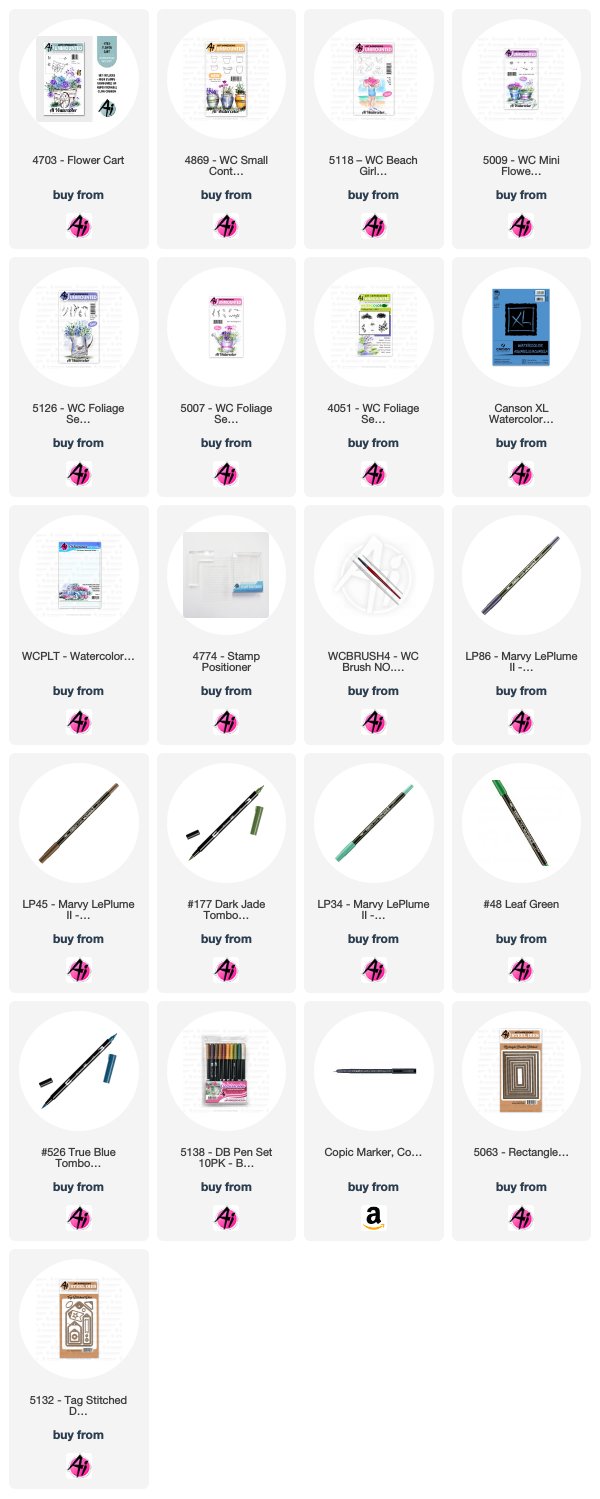

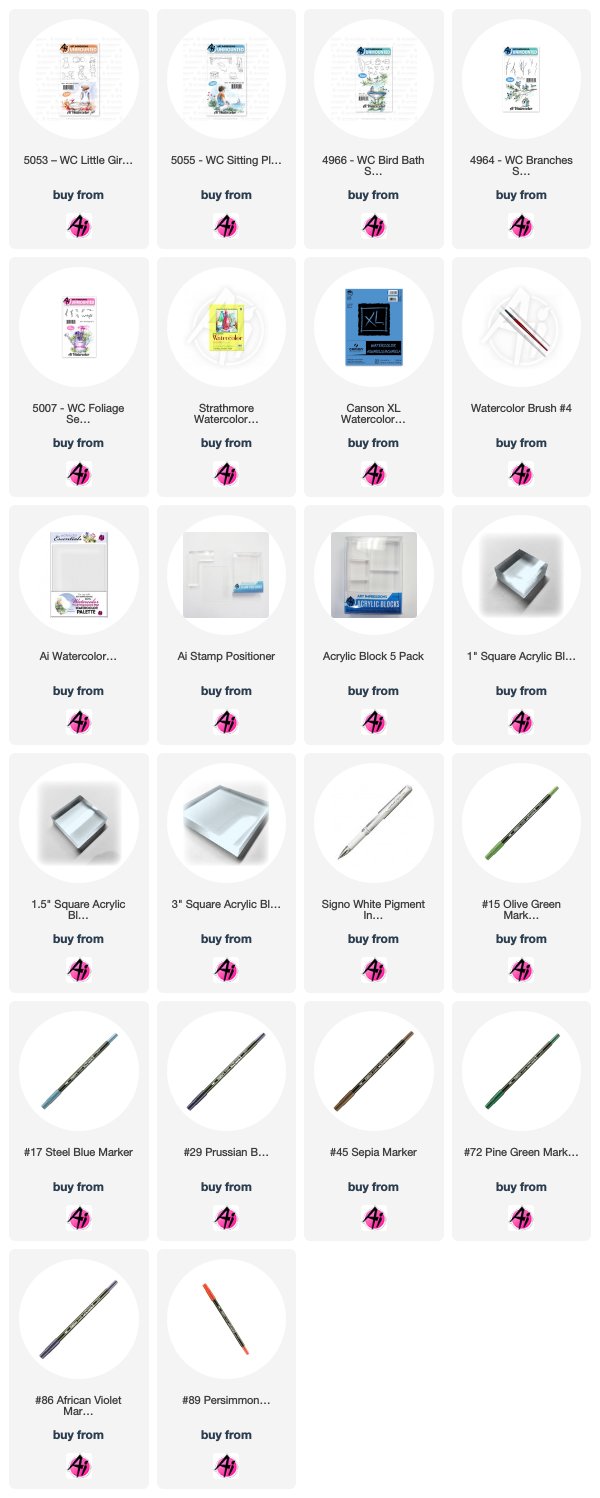
 The main image is from the Cottage By the Beach Set along with the Foliage Set 3, the Bird Bath Set and the WC Sentiments Set. I used the Marvy LePlume II markers in Sepia 43, Rosewood 30, Tropical 101, Olive Green 15, Steel Blue 17, African Violet 86 using the methods that Bonnie teaches. My supplies are listed below. 


Thanks for stopping by and Have a Great Day!


Wednesday, July 11, 2018

NEW VIDEO! Mountainside Cottage Watercolor

Hello Ai Fans!

Welcome to a NEW Watercolor Wednesday video! This week, Bonnie creates a beautiful mountainside cottage with blooming, wild daisies near a pond. Bonnie simply stamps the top half of our WC Cottages Set image and surrounds it with dots from her Molotow Masking pen. She completes the image with mountains in the background, distant bushes, tall daisies, and a simple water feature in front. She removes the masking fluid and adds tiny yellow dots to the daisies.

Don't forget to subscribe to our YouTube channel for all the latest watercolor videos, plus new release previews coming soon!

Happy Watercolor Wednesday!


View on YouTube: https://youtu.be/vx2R2nvEZNw


Saturday, June 16, 2018

Watercolor Weekend Roundup - Flags, Fields, and Flower Quilts!

Happy Watercolor Weekend, Ai fans! Today we have three more fabulous projects for you, are you ready?! Check out the different twists our designers have used in their projects today! Don't forget you can follow these ladies on social media (links above their project photos) so you can enjoy even more inspiration throughout the week!

Dot Freel - Instagram - Blog - Pinterest
Hello Watercolor Friends,

I made another red, white and blue card for the Watercolor Weekend roundup. I needed a flag so I drew that one using a pencil, a ruler and that Veteran card for my inspiration. Maybe Art Impression's Creator/Owner Bonnie can create a flag stamp for us to use in the future. 
This is day 16 of #thedailymarker30day coloring challenge. Join the fun! The goal is to color something daily even if it's a few minutes because we are all happier when we color or be creative. You can find out more info by going to the fabulous Kathy Racoosin's blog, click here.

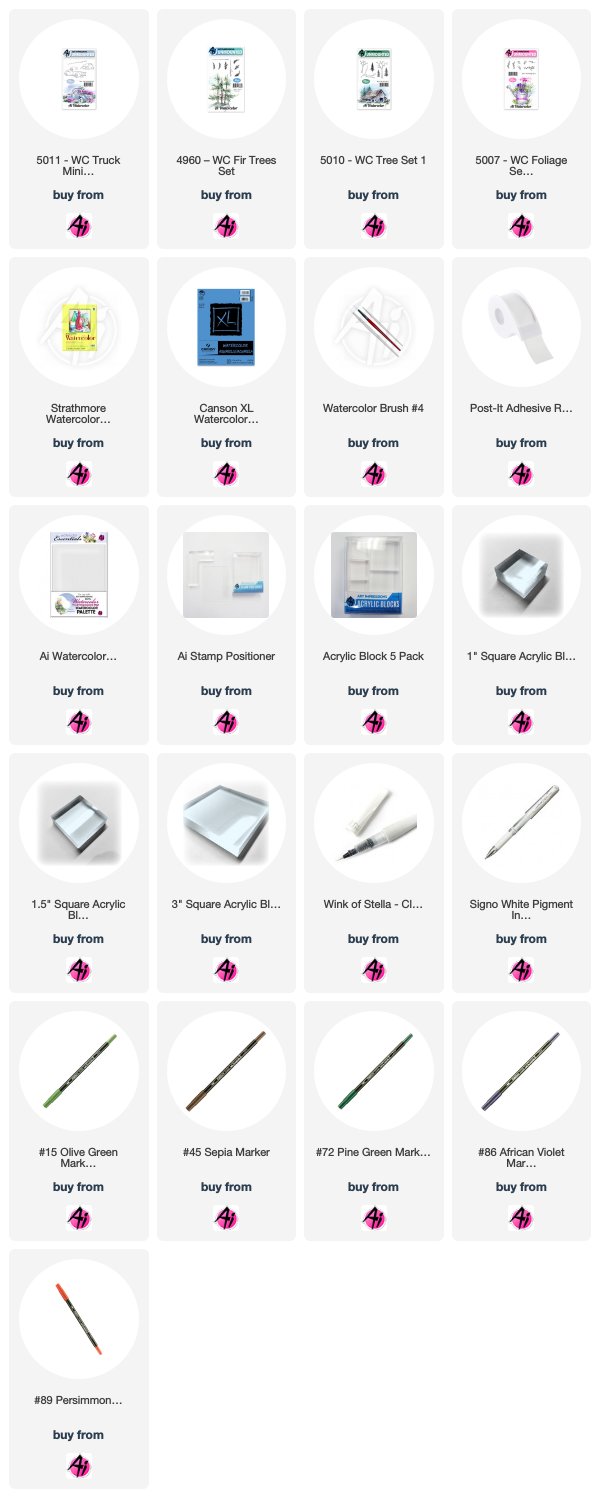
I used five stamp sets and seven markers to create my card. See the list of supplies below:

Other Supplies: White Prismacolor Pencil, Canson Watercolor Paper

Tricia Kennedy - Instagram
My project for today’s Watercolor Weekend celebrates summer with “Bright and Beautiful Blooms”. Watercolor the Art Impressions Way by inking up the multi-flower long stem from Flower Set 2 in Scarlet and Olive Green. Stamp the single long stem from Flower Set 2 in Violet and Olive Green. Add greenery to the bottom from Foliage Set 1 in Olive Green. Fill in around the previously stamped blooms and add height with the small flower from Flower Set 3 in Brilliant Yellow. Scribble a little Olive Green and Salvia Blue onto your palette. Brush Olive Green into the greenery and finally Salvia Blue for the sky.
Marvy Le Plume II Markers: 8 Violet, 15 Olive Green, 43 Brilliant Yellow, 60 Salvia Blue, 94 Scarlet

Tricia O'Bin - Blog - Instagram - YouTube - Pinterest - Facebook
I have really been into trying to create quilt patterns with my dies and stamps. My mom is a spectacular quilter and I wanted to try some with paper, so here is what I came up with. 

I die cut several watercolor squares using the Spellbinders Die. Using one of the squares, I stamped the mini watering can from the WC Wishing Well Mini Set in Sepia. I added some foliage with the vine from the WC Foliage Set 2 in Olive Green. I added some flowers from the 5009 – WC Mini Flower Set in Violet and Magenta. I added some grass using the WC Foliage Set 1.

On two more squares, I stamped the flowers from the 5008 – WC Flower Set 3 using Olive Green and Magenta. I cut them in half. To create the batik triangles, I scribbled color onto a craft mat and sprayed them with water. I dipped the watercolor paper into the pools of color. I die cut these with the Spellbinders Die. I also used this die to cut some additional triangles from the Gina K Designs Heavy Base Weight Card Stock- Plum Punch cardstock. I assembled my quilt and used a stitched rectangle to cut out the center. I ran the piece through my die cut machine using the Quilt Top Textured Impressions Embossing Folder by Stampin' Up!. I cut the Gina K Designs Heavyweight Cardstock- Fresh Asparagus and Heavy Base Weight Card Stock- Wild Lilac mats using the next two stitched rectangles. I adhered them together and placed them on a white card base.

I hope you will try some new techniques with your stamps. We would love to see what you come up with!

Marvy Le Plume II Markers: 45 Sepia15 Olive Green8 Violet20 Magenta

Thanks, team! We LOVE to hear what you think of our watercolor projects, so be sure to drop us a line in the comments below! Also, don't forget to use your #aistamps if you are joining the #thedailymarker30day challenge on Instagram this month!

Happy Stamping!