Hello Ai fans!
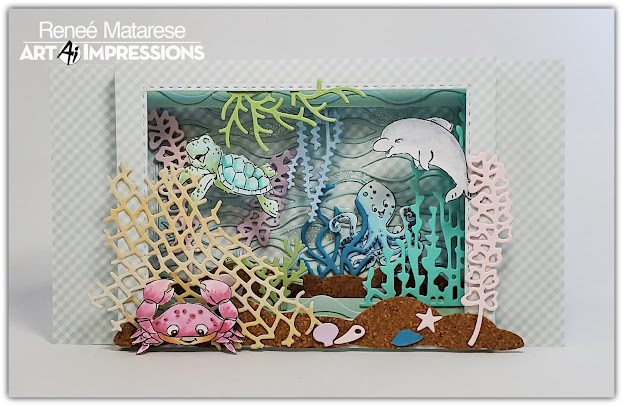
Today I'm sharing a fun shadow card that I made using most of the ocean freebies from Art Impressions.
These shadowbox cards are one of my favorite to make.
I love how much dimension and how many images you can get onto them.
I started by cutting an 8"x8" piece of paper in half to make 2 pieces each measuring 8"x4".
Next I scored them at 1" and 1 3/8"...flipped the paper over and scored the other side at 1" and 1 3/8".
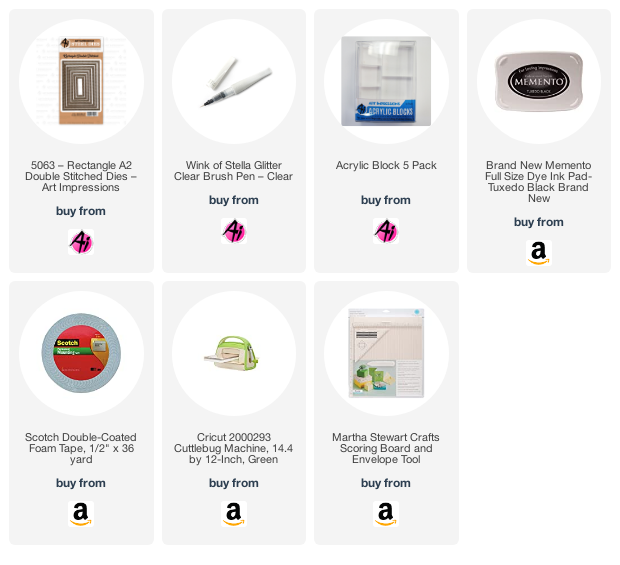
Next I cut a window in the front panel using one of the 5063 – Rectangle A2 Double Stitched Die.
After cutting the window I creased the score lines on both sides to form the top/front panel.
Here's all my critters colored up. They all have Wink of Stella on them though it's tough to see in the picture. I wanted it to look like water glistening on them. The seahorse went onto another card.
I wanted to leave a space on the back of my card to send a personal note. I glued these pieces on before starting any of the inside of the card.
After creasing the front panel and decorating the back of the card I did the back panel in the opposite direction so they could fit together to form a "box."
Next focus on the part of the card you'll see.
After your front and back panels are prepped you need to decorate the back panel completely. (you can't really decorate once they're glued together...it's too difficult to attach images and die cuts) Once your back panel is decorated you need to cut two strips of paper that will connect from side to side. The width is really up to you. I didn't want mine to show so I made them 3/8" x 6".
I used clear acetate to attach the turtle so he would hang down and look like he was swimming. The coral is just glued to the strip.
Once they were in place I glued the top and bottom strips on and added some waves and more coral.
I decorated the front panel next. The dolphin is also hanging from a clear acetate piece so he could swim.
Once your front panel is all decorated the way you want it you're ready to glue them together.
You can see that you get 3 layers with strips (which you can eliminate if you only want a simple shadowbox.
Aren't these the cutest little animals EVER??
I have some examples of other shadowbox cards I've done here...
I tried to be clear in my instructions but I'm not great at tutorials. If you have any questions about anything that I didn't make clear please feel to ask.


4 comments:
Wow Renee - this is impressive! Thanks for sharing such great instructions. Darling card!
This is such a fun and fabulous card Renee! Love all the dimension and little extras you added.
Love this. Can you tell me the name of the accompanying die cuts.
You out did yourself! Great Job!
Post a Comment