Hello Art Impressions watercolor fans!!
It's time for our Watercolor Weekend Roundup!
Each week our Watercolor Design Team creates beautiful works of art to inspire you. Each designer has her own style and all are so loved among the Art Impressions fans! We hope you love their designs as much as we do and are inspired to try some of them out.
Each week our Watercolor Design Team creates beautiful works of art to inspire you. Each designer has her own style and all are so loved among the Art Impressions fans! We hope you love their designs as much as we do and are inspired to try some of them out.

Hello Ai Watercolor fans!
I created a formal bouquet today, as I wanted to showcase some of the wonderful new flower & foliage sets, and used the limited edition Column stamp to give my bouquet some height:
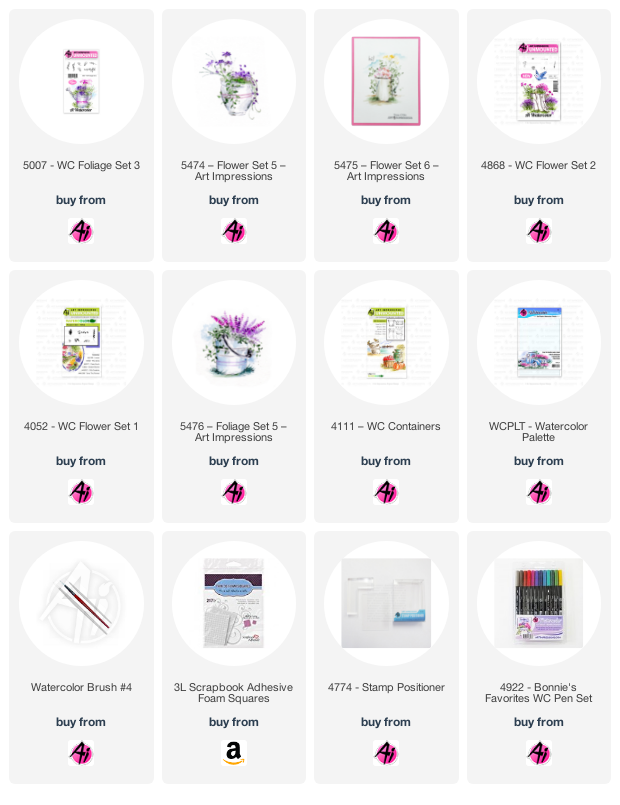
I coloured both the column and container from 4111 - WC Containers in Tombow #969/565, using my stamp positioner to get the container placed perfectly, and then used my damp brush to pull out the colour, concentrating it in the indents to indicate shadows. I stamped the trailing ivy from 5476 - WC Foliage Set 5 in #177, then using #725 and #606, I used the tiny circlet stamp from 4868 - WC Flower Set 2 stamped in clusters and the Leaves from Flower Set - 4052 in #533. The stemmed flowers from 5475 - WC Flower Set 6 was stamped twice in #565/177, and the two sprigs from 5474 - WC Flower Set 5 were stamped as foliage fillers in the bright #126 green. A wash of #536 was painted in as the sky. The grasses from 5007 - WC Foliage Set 3 were stamped around the base in #177/126.
Welcome back Watercolor Fans! I have a fantastic slimline valentine card for you today. This is a perfect set to use to create a standard card or on any size slimline card.
Step 1 - The Teapots
Let's started out by inking the teapots up with 569. You want to stamp this off once or sometimes twice depending on how much ink is on your stamp. The teapots are white so you just want enough color to create the shadows. With your brush, pull the color out of the lines but only where the shadows will be. If you have too much color on your brush, rinse and pinch it off. As you pull out the shadows, fade them out towards the middle of the teapots. The teapots are cylinder so they would be shadowed on the left and right with a highlight in the middle.
This set includes a couple of decorative stamps. I wanted this to feel really cohesive so I stamped the same heart onto each teapot inked in 725. You can also add some additional decorations.
Step 2 - The Table
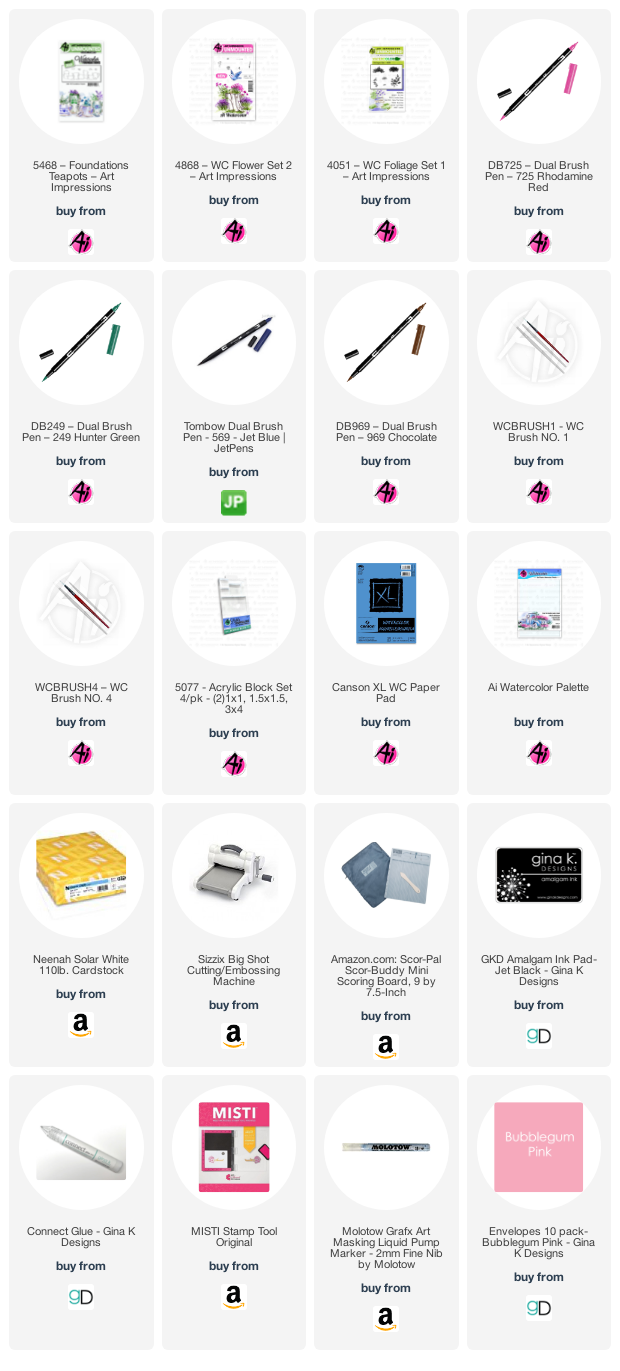
Using my pencil and a ruler, I marked out the table. I knew I wanted to do it with a wood finish so the teapots would pop. For the front, I drew a few scallops. Before I started coloring the wood, I took some Molotow masking fluid and drew out the hearts and dots. Let this dry. Again, using my pencil I lightly drew in the slats of wood. Using 969, I colored the wood, making sure under the teapots was really dark. Once it was dry, I rubbed off the masking fluid.
Step 3 - The flowers
Again, to keep this as simple as possible, I added the small grass inked with 249 to a couple of the teapots, most I drew in the stems after I stamped the flowers. These flowers were perfect for this card. I used the hearts stamp from Flower Set 2 inked with the 725 stamped a few times into each teapot.
To finish off the card, using a bit of 569 and a lot of water, I added a sky behind the teapots. I signed and dated.
Thanks for spending some time with me today! Tag us on Instagram and use #AIWatercolor so we can see your projects!
SUPPLIES:


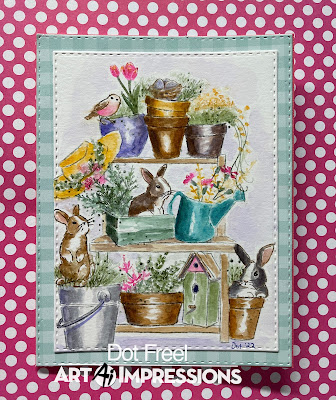
Hello, How can it be February, already? I wanted to make a Spring card for the Art Impressions Watercolor Weekend and thought the 5435 Foundations Potting Bench would be perfect for it.

Stamp the bench inked in Memento London Fog ink using a Misti or similar stamp platform. Stamp the bunnies from the 4874 inked in the Tombow 969. Stamp the bird nest and bird from the 4874 Bunnies Set inked in 969. Use the 4051 Foliage Set 1 to stamp grass in some of the pots, inked in 177. Stamp the flowers from the 5474 inked in 177 and 993. Stamp the flowers from the 5475 inked in 755 and 249. Use the 993 on the tips of the tulips and to color in the hat. The leaves under the hat are from the 5418 Bible Foliage Set 2 inked in 249. Color the containers/pots from the top left to right down to the bottom row in 565, 993, 969, N45, 249, 379, N45, and 969. The birdhouse roof is 969, the pink is 755 and the bottom is 177. Darken the holes with the blue TwinTone pen. The bird is colored in 969 and 755. The eggs are colored in 565 and then use the Tombow TwinTone blue pen fine tip to add dots to the eggs. The bunnies are colored in 969, N45 and the middle one is a combo of 969 and 565. The ears are colored in with 772. Use a fine tip black pen to darken their eyes, noses and draw whiskers. The potting bench is colored in with 969 and the shadows and sky are colored with 565. The last thing I did was add the Kendra dots from the 5418 Bible Foliage Set 2 inked in 177 all around. Use the 5063 A2 Double Stitched Dies to cut it out and for the background piece.
All of these cards were beautiful and each so unique. Thank to our Watercolor team. We appreciate your hard work.
If you decide to create something using Art Impressions stamps remember to #artimpressions and #artimpressionswatercolor so we can see them. We know we'll love them.
Before you leave, did you see the new Watercolor tutorial videos this week?
Bonnie created this stunning Winter Lighthouse Scene - Feb 2, 2022


No comments:
Post a Comment