
Hello Ai fans!
It's a Watercolor Weekend and you're going to love
what our fabulous Design Team has come up with!
First up this week is our newest designer Diane.
She created an oh so sweet Valentine using one of the new WC releases.

Hello Ai Watercolor fans! It will soon be Valentine’s Day and love is in the air. Speaking of love, don’t you just love this set from the new 2023 Watercolor Journal release? The easel stamp is from 5570 - Cottage and Easel Set. It’s a perfect size for journals and card making. Along with the sweet cottage stamp, the possibilities are endless!
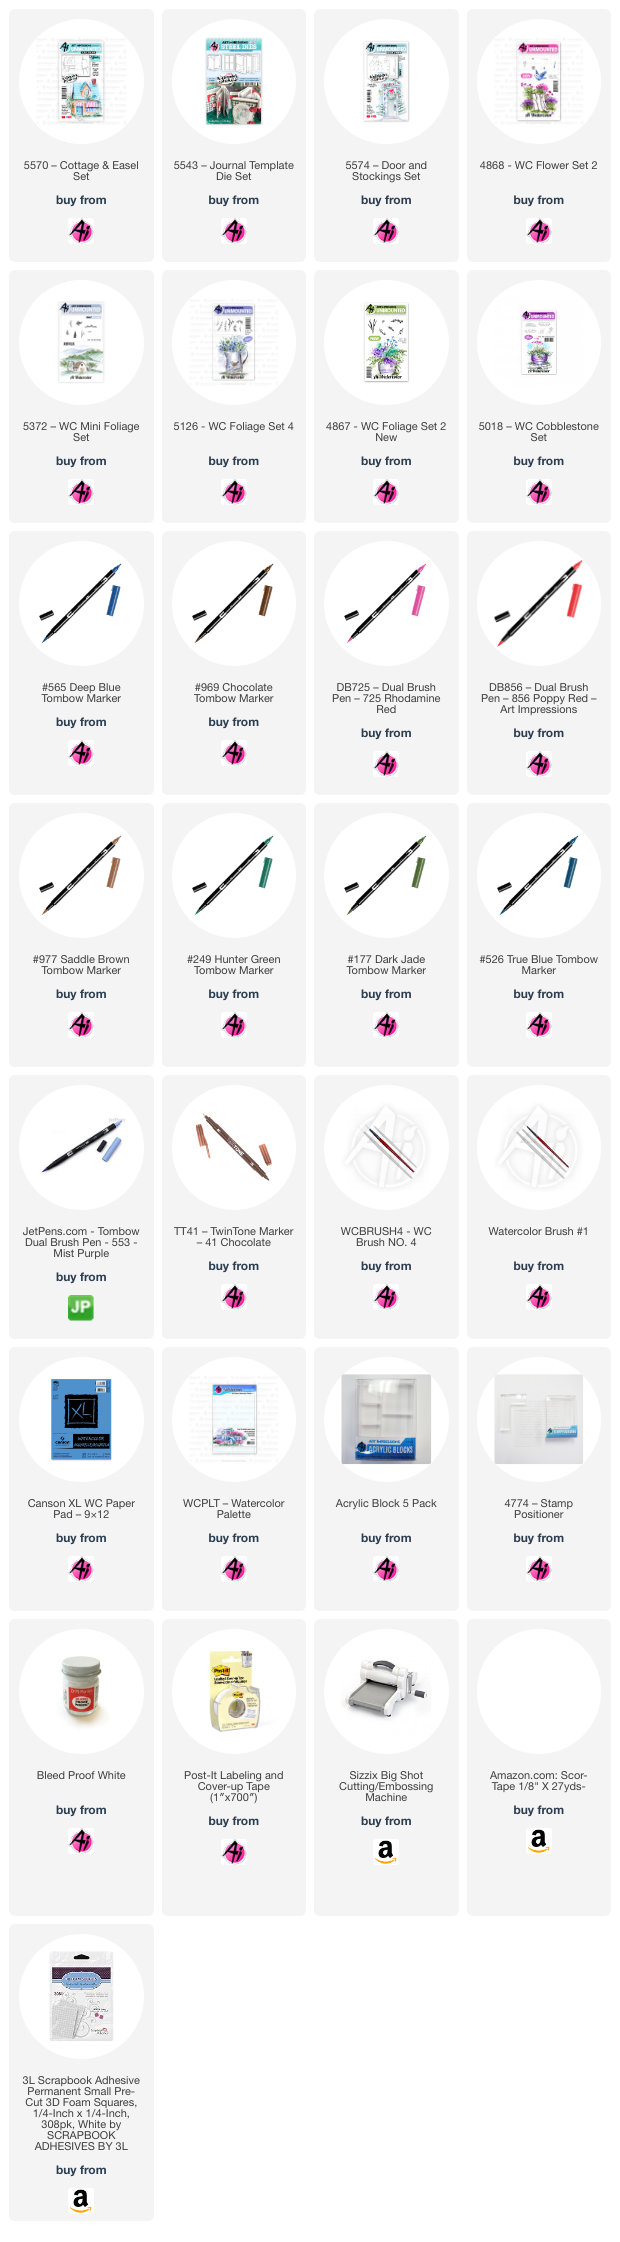
To create this love themed card, I used the following Ai watercolor sets, Tombow markers, and dies:
5570 – Cottage and Easel Set
5574 – Door and Stocking Set
4868 – WC Floral Set 2
5372 – WC Mini Foliage Set
4867 – WC Foliage Set 2
5126 – WC Foliage Set 4
5018 – WC Cobblestone Set
Tombow: 565, 969, 177, 249, 526, 725, 856, 553, and 977
Art Impressions Dies: 5543 – Journal Template Die Set

I began by inking the easel stamp from #5570 with 969 then 565. I stamped off on a scrap of watercolor paper before stamping onto my Canson XL watercolor paper. Next I inked just the bow stamp from #5574 with 969 and 565 and stamped off before adding it to the flower pot. I didn’t ink the tails on the bow, so I could draw in the ribbon to go around the pot. With a damp #4 brush, I pulled out some color from the stamped image to add shadows and depth. To define the space of my painting, I lightly drew a rectangle with pencil and ruler. I painted in the sky with 526. For the red bow and ribbon, I used 856.


I removed the masks from the legs of the easel, but left the flower pot mask in place. Next I added tiny grass from #5372 with 177 to the pot. With a damp brush I pulled the color from the blades of grass. I then removed the flower pot mask and stamped in leafy vines from #5126 with 177. I also added a group of flowers using the heart-shaped petals stamp from #4868 inked in 725. I masked the pink flowers and added in some tall grasses to the center of the pot from #4867 with 249. After removing the masks, I added color to the stones and surrounding areas with a mix of 969 and 565 to give them a raised appearance. I also blended out some of the color from the pink flowers and tall grass.

I added some red flowers to the left side of the pot from #4868, inking the flowers with 856 and the stems with 177. I decided the pot needed a few more leafy vines and stamped a few more. I painted the wood frame of the easel with 977 and added shadows and woodgrain with 969. Shadows were added to the finials on the top of the easel with a mix of 969 and 565. Next I drew in a vertical grouping of overlapping hearts with a pencil, tracing around a small and a medium sized heart die cut.

I used 856 and 725 and a #1 brush to paint the hearts. For the red heart in the front, I painted multiple layers of 856 to deepen the color. To create the light red heart in the back, I painted less layers of 856. I added shading surrounding the hearts with a light wash of 553. Using a mix of 969 and 565, I added shadow lines from the easel legs and under the flower pot. Next I added tiny grass from #5372 with 177 to the cracks between the cobblestones and pulled out some of the color with a #1 brush. I added a few taller grass bunches around the flower pot and easel legs from #5126 in 177.
To add back any detail that was missing, I used a brown #41 Twintone marker. As a final touch, I dotted in some tiny white flowers to the leafy vines with Dr. Ph Martin’s Bleed Proof White. I also added white centers to the red flowers. I adhered patterned paper to the card front with double-sided tape. Next I used the scalloped rectangle die from the Journal Template Die Set #5543 to die-cut the shape from my watercolor painting and backed it with a layer of pink cardstock. Finally, I added foam squares and centered it on the card.
This new set was so much fun to paint, and I know I’ll be using it a lot in the future! It’s a wonderful addition to the Watercolor Journal sets and can be used year round. Happy Painting!
This scene is real life for us! lol...


Also, be sure to check out the latest releases on the Art Impressions website!

If you'd like a chance to win a free stamp set, be sure to enter our current design challenge.

Happy Watercolor Weekend everyone!

1 comment:
These cards are fantastic! Thanks for showing us how you created them.
Post a Comment