Hello Ai fans, It's Nina's Tuesday again with a whole new project idea. I created a traditional scrapbook layout page but in a cute mini size (6 X 6) using many of Art Impressions adorable sets.
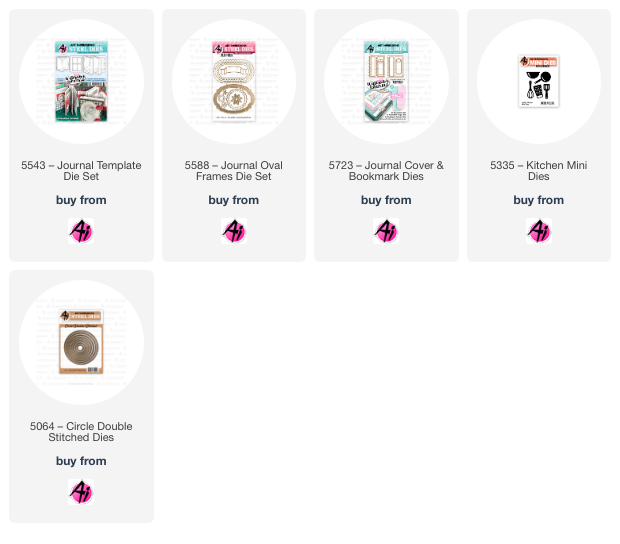
I started by printing my photo to the suitable size. I wanted to frame it with this cute frame from the Journal Template Die set so I cut it using red cardstock and I placed foam strips between them for some dimension.
To create the background template, I cut two big main circles from our double stitched circle die set and glued them in a diagonal position on a background pattern paper of bricks.
I used Vintage Photo Distress Ink and an ink blender to lightly frame the bricks pattern paper with ink.
I used the scalloped circle dies that come with the Journal Oval Frame Die Set and also the smaller ones from the Journal Template set. and glued them to white circles that I cut using the Double stitched Circle Dies so the scalloped edges would show from underneath the white circles.
I then cut a lot of utencils from green, red and yellow cardstock and arranged them on the scalloped circles to create these cute clusters to place around my picture. For the utencils I used our Kitchen Mini Die Set.
I placed some alphabet stickers to write the word BBQ on one of the scalloped circles.
I die cut flowers using different dies from my stash to help me decorate all around my layout.
To create the menu black strip I die cut it using the Journal Cover and Bookmark die set and a black scrap. I used the bookmark die and placed it upside down and added alphabet stickers to write the word "MENU". I used my white gel pen to add few lines under.
To create the arrangement of the layout I started by placing my picture frame on the two main circled that we glued earlier a little offset to the bottom right and then started arranging all the decoration pieces that we created above.
I placed the scalloped circles on the left of the picture frame and added flowers coming from underneath the picture frame, added the menu strip under the bigger scalloped circle and finished off by making some utencils peek through from underneath the frame and the scalloped circles.
I trimmed the background to be a little smaller than 6 X 6 inch so it has a black frame all around when I place it on the black journal base which is 6 X 6 inch. I glued them together.
For a final decorative touch I added enamel dots to the centers of the flowers and scattered some all around the layout.


2 comments:
Oh Nina, this couldn't be any more perfect!! I love how you created this! So creative and great picture too!
A very creative mini scrapbook page. I love the colors you chose. The red frame drawing attention to picture is perfect. Nina I look at you page and I think of fun.
Post a Comment