Hello Ai fans! It's time for a new challenge here on the Art Impressions blog.
We mean no offense but...
You're Such a Square!
We knew this challenge feature was made for Tasha since most of her cards are square but she really went above and beyond with this card and tutorial.
Hi Ai Fans!
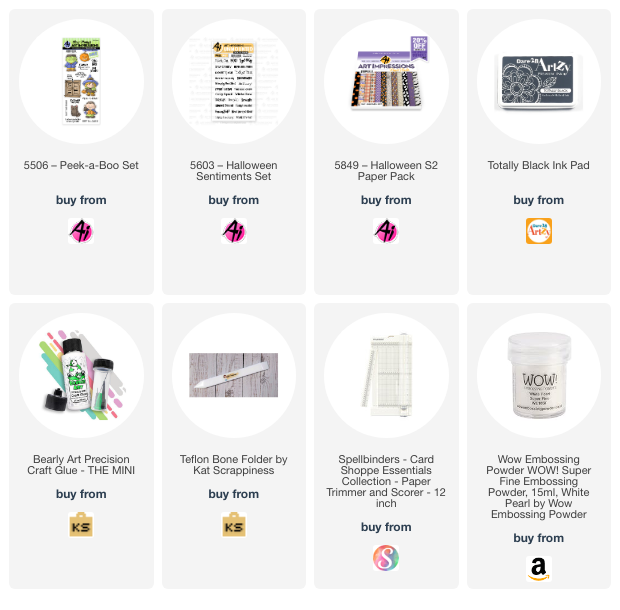
Tasha here sharing a Halloween Triple Cube Card featuring the 5506 - Peek-a-Boo Set and new 5849 - Halloween S2 Paper Pack. I LOVE creating Halloween projects and this interactive card is super easy to make and so much fun to decorate!
The Base:
Step 1: Cut a piece of card stock to 8″ x 8-1/4″
Step 2: With the 8-1/4″ side along the top, score at 2″, 4″, 6″ and 8″
Step 3: With the 8” side along the top, cut a strip at 2″
Step 4: With the 8” side along the top, cut a second strip at 2″
*You will end up with two (2) pieces that measure 2″ x 8-1/4″ and a piece that measures 4″ x 8-1/4″
The Squares:
Step 5: Cut six (6) squares that measure 1-3/4″ x 1-3/4″ (Color 1 - Word Pattern Paper)
Step 6: Cut six (6) squares that measure just slightly under 2″ x 2″ (Color 2 - Orange)
Step 7: Glue Color 1 and Color 2 squares together.
Step 8: Cut six (6) squares that measure just slightly under 2″ x 2″ (Color 3 - Bat Paper)
Step 9: Cut two (2) squares that measure just slightly under 2″ x 2″ (Color 4 - Star Paper)
Step 10: Cut two (2) pieces of paper for the back at 1-3/4″ x 3-3/4" (Any Color/Optional Step)
Step 11: Use a bone folder to reinforce the score lines.
Step 12: Add the matted squares to the 2″ strips on to the 2nd and 3rd square on the opposite side of where the 8″ score line flap folds in. (Color 1 and 2)
Step 13: Add the second color of paper to the 1st and 4th area on the backside. (Color 3)
Step 14: Add Glue to the 1/4″ tabs and to attach the two ends on both strips.
Step 15: Attach the last two squares of (Color 3) to the inside of the large base in the two squares next to the 1/4" score line.
Step 16: Add Glue to the 1/4″ tabs and to attach the two ends on the large base to form a cube.
Step 17: Add glue to one blank side of each small cube and attach them to the large base.
Step 18: Attach the last four (4) matted squares to the top and Bottom of the two strips.
Step 19: Attach the two (Color 4) squares to the base as shown below.
Step 20: Attach the sentiment to the inside of the cube as shown below.
I folded two little pieces of paper (the same way I attached the characters) and glued one to each side of the center fold line on the large base.
Step 21: Enjoy your project! :)


3 comments:
Wow such a pleasant surprise, thank you so much - will email you ASAP
Congratulations to the winners. Love the card made of squares. Thank you for tutorial.
Congrats to the winners with their awesome cards!! Tasha!!! This is soooo stinkin' CUTE!!! I love that you shared how to make it! Thank you!!! Your love of Halloween just shines!
Post a Comment