Hello Ai fans! It's time for a new challenge here on the Art Impressions blog.
We mean no offense but...
You're Such a Square!

Use squares! Square cards or cards with some squares on them.
Wait until you see Tasha's feature! You've never seen so many squares.
But, first...let's see who won our Give Us a Fright challenge.
She used:
4784 Old Bat Set
It's retired but you can see more inspiration
here.
Please contact Leah at Feedback@artimpressions.com
to claim a free stamp set of your choice!
Also, be sure to grab our badge to display on your blog, Facebook or Instagram!
Our Lucky Random Winner was:
She used:
Please contact Leah at Feedback@artimpressions.com
to claim a free stamp set of your choice!
Also, be sure to grab our badge to display on your blog, Facebook or Instagram!
Now let's have a look at Tasha's amazing CUBE card.
Talk about squares!!
We knew this challenge feature was made for Tasha since most of her cards are square but she really went above and beyond with this card and tutorial.
-------------------------------------------------------------------------------------------------------------------------------------------------------
Hi Ai Fans!
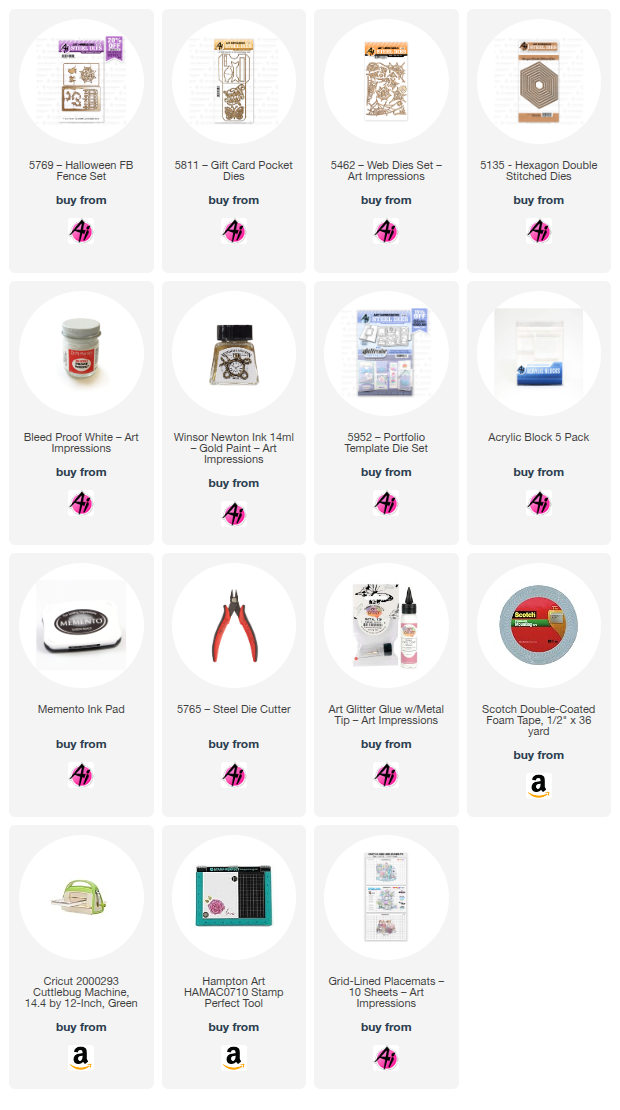
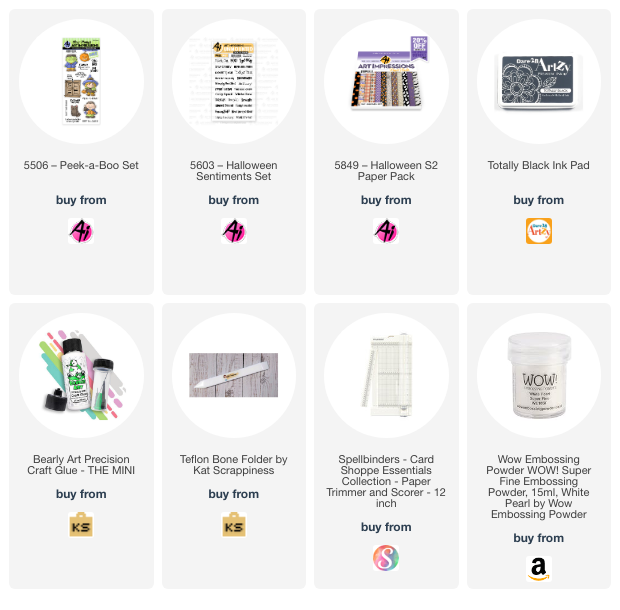
Tasha here sharing a Halloween Triple Cube Card featuring the 5506 - Peek-a-Boo Set and new 5849 - Halloween S2 Paper Pack. I LOVE creating Halloween projects and this interactive card is super easy to make and so much fun to decorate!
The cute little Trick or Treaters were stamped with black ink and colored with Copic markers. To attach them to the card, I folded a little piece of paper in half and glued one side to the box and the other to the back of each character. I like that they are standing, but also lay flat when the card is folded.
For the greeting I embossed "Trick or Treat" from the
5603 - Halloween Sentiments Set. This set is great to use with all the cute Ai Halloween stamps, I also like the variety of sentiments and styles.
I hope you enjoyed this card and will join in the You're such a square! Challenge!
Triple Cube Card Instructions
The Base:
Step 1: Cut a piece of card stock to 8″ x 8-1/4″
Step 2: With the 8-1/4″ side along the top, score at 2″, 4″, 6″ and 8″
Step 3: With the 8” side along the top, cut a strip at 2″
Step 4: With the 8” side along the top, cut a second strip at 2″
*You will end up with two (2) pieces that measure 2″ x 8-1/4″ and a piece that measures 4″ x 8-1/4″
The Squares:
Step 5: Cut six (6) squares that measure 1-3/4″ x 1-3/4″ (Color 1 - Word Pattern Paper)
Step 6: Cut six (6) squares that measure just slightly under 2″ x 2″ (Color 2 - Orange)
Step 7: Glue Color 1 and Color 2 squares together.
Step 8: Cut six (6) squares that measure just slightly under 2″ x 2″ (Color 3 - Bat Paper)
Step 9: Cut two (2) squares that measure just slightly under 2″ x 2″ (Color 4 - Star Paper)
Step 10: Cut two (2) pieces of paper for the back at 1-3/4″ x 3-3/4" (Any Color/Optional Step)
Step 11: Use a bone folder to reinforce the score lines.
Step 12: Add the matted squares to the 2″ strips on to the 2nd and 3rd square on the opposite side of where the 8″ score line flap folds in. (Color 1 and 2)
Step 13: Add the second color of paper to the 1st and 4th area on the backside. (Color 3)
Step 14: Add Glue to the 1/4″ tabs and to attach the two ends on both strips.
Step 15: Attach the last two squares of (Color 3) to the inside of the large base in the two squares next to the 1/4" score line.
Step 16: Add Glue to the 1/4″ tabs and to attach the two ends on the large base to form a cube.
Step 17: Add glue to one blank side of each small cube and attach them to the large base.
Step 18: Attach the last four (4) matted squares to the top and Bottom of the two strips.
Step 19: Attach the two (Color 4) squares to the base as shown below.
Step 20: Attach the sentiment to the inside of the cube as shown below.
I folded two little pieces of paper (the same way I attached the characters) and glued one to each side of the center fold line on the large base.
Step 21: Enjoy your project! :)
✻ Please make a new card or handmade crafty creation. You can make any item you wish; this is not limited to cards!
✻ Limit two submissions per person. You will receive extra votes if you use Art Impressions stamps!
✻Please include your first name and last initial on your submission.
✻We love to comment on your entries, but keep in mind if you use a private group or a platform that you need to sign up for, we probably won't be able to.
✻ The Ai Challenge is open to everyone, international submissions are welcome!
✻ Include a link back to the Ai Blog or grab our button on the top right of our sidebar!
✻ Share the Ai love if you can, by clicking and commenting on your fellow crafters.
✻ Make sure to get your link up by the deadline to enter your creations.
✻ Good luck and happy stamping!
We want to see your handmade square cards or cards with squares on them!



.jpg)
.jpg)
%202.jpg)