Showing posts with label 5506 Peek-A-Boo Set. Show all posts

Friday, September 18, 2026

Happy Little Vampire Halloween Card

Hi Art Impressions friends!

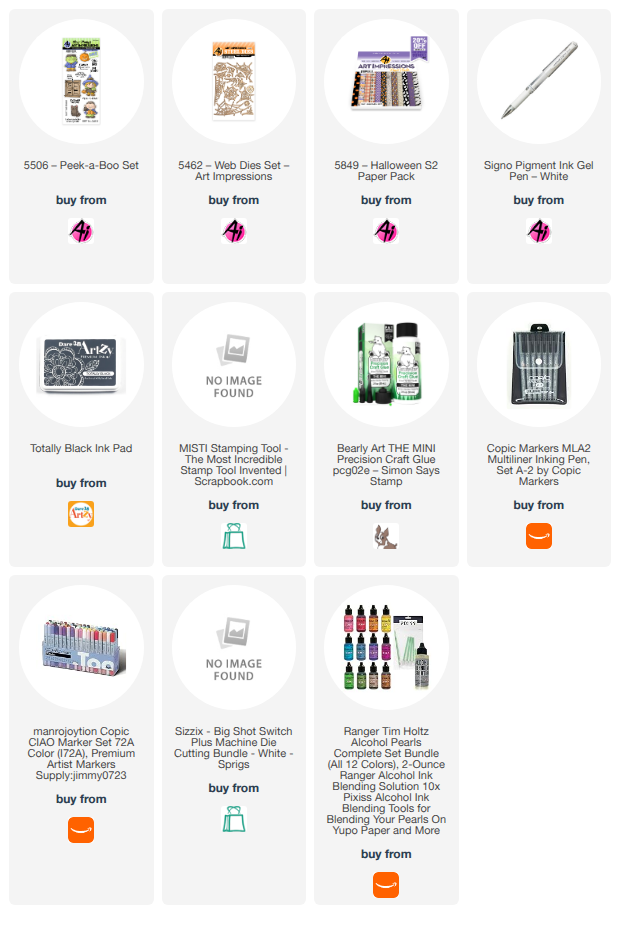
Tasha here sharing a Halloween card inspired by the current Art Impressions Challenge! For my card, I used the little vampire from the 5506-Peek-a-Boo Stamp Set. I love this happy little vampire and his cute batty friend!

I started my card with a purple alcohol ink background. To go along with the current Ai Challenge, I added several silver glitter spiderwebs around the center of the card. I love all the different styles of webs and how the glitter adds a little sparkle!

To complete the card, I added layers of purple and white cardstock along with purple glitter paper to coordinate with the colors used on the vampire. I also added a piece of spiderweb pattern paper to tie everything together.

I love how this Halloween card turned out, and I hope you are inspired to join in the current challenge and create something fun!

Have a wonderful day!


Friday, September 11, 2026

A Little Pink Halloween Magic! Card by Tasha

 Happy Friday Art Impressions friends!

Tasha here sharing a Halloween card created with the 5506-Peek-a-Boo Set. Now that we are in the month of September, I am in full Fall mode and have been having so much fun bringing out my Halloween sets

I love the color pink, so I decided to add tons of pink shades to this card. I love how the pink pops against the black and white spiderweb pattern paper. The sky was created with Distress Oxide Ink, and I used Copic Markers for the rest of the coloring. I added some fun white gel pen accents and finished the card with the spiderweb pattern paper.

I had so much fun making this spooky and bright Halloween card!


Saturday, July 25, 2026

Summerween Window Peeking by Janet


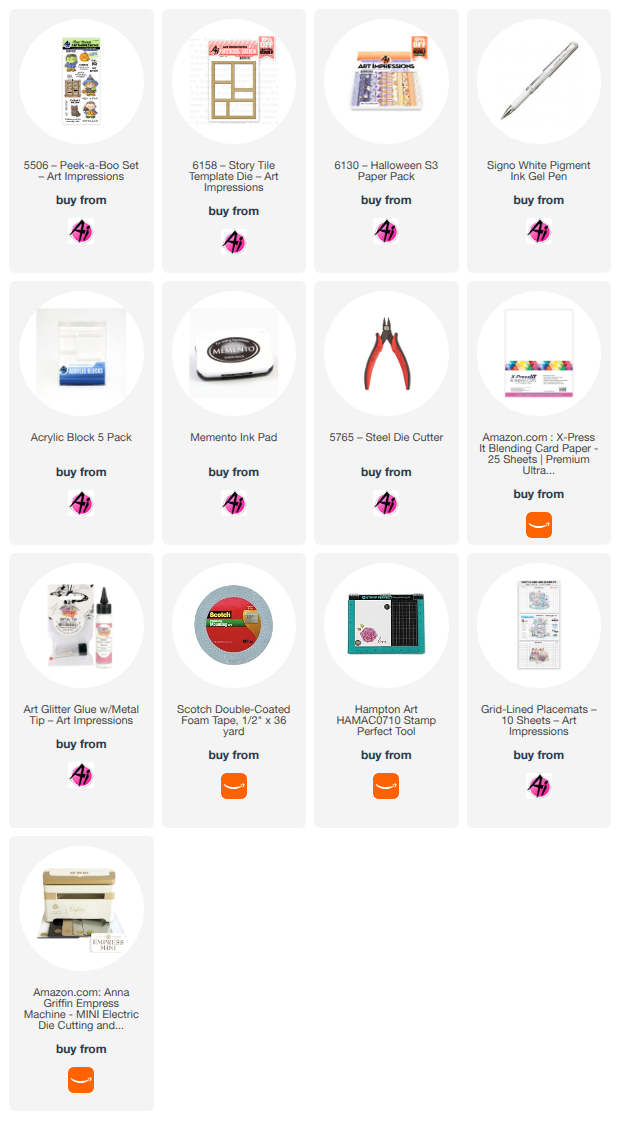
Hello Ai fans! Today the Summerween fun continues with another Halloween card. I thought it would be fun to use the shutter peeker feature and characters in the 5506 Peek-A Boo Set on the 6158 Story Tile Template Die. To my delight, the shutter is just the right size to cover one of the tiles.

To make this, I first stamped and colored several of the characters in the Peek A Boo set including the witch, pumpkin, Frankenstein, cat, and the shutter. I used the included dies to cut them out and set them aside.

Next I cut the story tile frame out of orange cardstock. I used the pieces it cut out of each frame to trace around patterned papers in the 6130 Halloween S3 Paper Pack. This made it easy to use different papers that fit perfectly in the tile openings without much waste. Then I placed the images and the sentiments in the tiles. Last I glued little Frankenstein into the middle tile and then glued the shutters over the frame section. Now Frankie waves hi when the shutters are opened! Cute! Finally I added two puffy glittered stars and one metallic star for accents.


I hope you enjoyed seeing a little Halloween in the middle of summer! I invite you to join in and enter your Summerween creation in the Ai Challenge. Just link it up to the post for it. Easy peasy! 

Thanks for stopping by and spending time with me and Art Impressions today. Please visit the Ai store to pick up your favorite stamps, dies, papers, accessories, and supplies. 

Happy Crafting!

Wednesday, July 22, 2026

Little Miss Boo Card/Box by Dori Mendiola

 Happy Wednesday AI Friends!

Our current challenge is "Summerween" so I decided to start on my Halloween mini journal book for the littles in my life.  Last year, I made Bonnie's Halloween journal into a scavenger hunt book for my oldest grandson and he had the most fun with it.  Actually, we all did!  My son and daughter-in-law made up riddles and clues for the scavenger hunt and I incorporated them into the pages.  Turned out soooo cute, so thank you Bonnie!

Not sure what I'm going to do in this book yet, so I only made the mini card and attached it to the Mini Journal Box #5805.  I'll finish the book at a later date and share at that time, but for now, I'll share the card/box and front of the inside book.

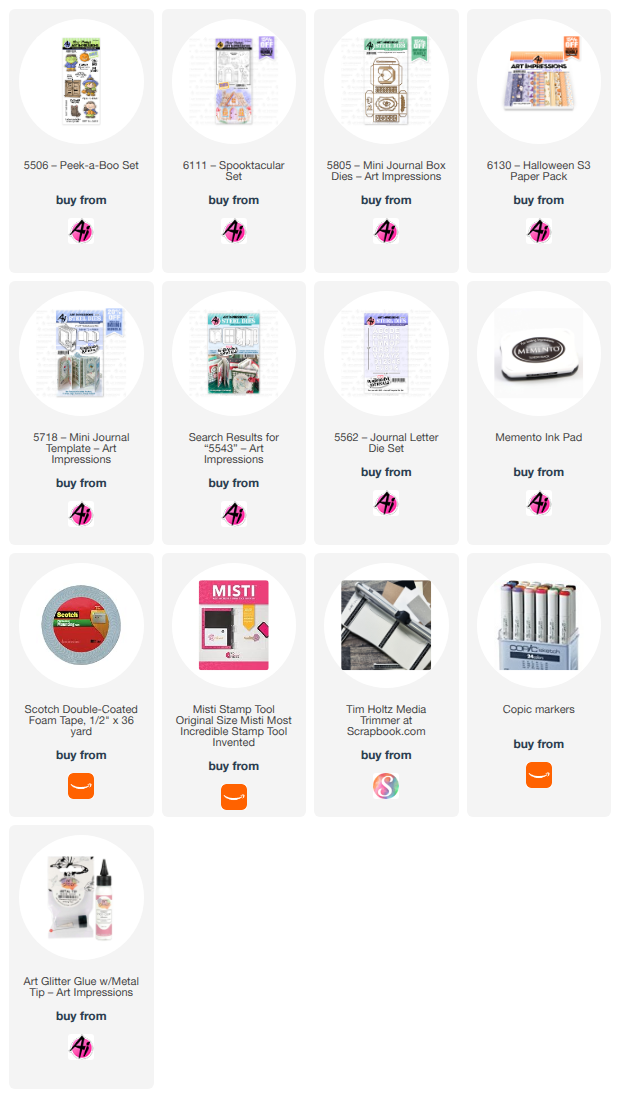
I started off by making the box with the die from the #5805 - Mini Journal Box out of orange cardstock.  I used the #6130 - Halloween S3 PP to line the box and decorate the sides as well as create the backgrounds for the card front and inside.  

I stamped a few of the images from two sets #6111 - Spooktacular and #5506 - Peek A Boo.  I then colored with my copic markers listed below.  Both of these sets come with coordinating dies which I just LOVE!  

I created a cute little decorative card (2 3/4 by 2 1/4) to fit on top of the box.  The pop up ghost has the coordinating die and scores for the folds, which makes the image pop up so easily on the inside.  

I adhered this mini card to the top of the box so you first open the card and then the box.  The card has a magnetic closure hidden under the front image and the inside sentiment.


The Mini Journal box die creates this cute little box with score lines.  All you have to do is fold and glue the sides.  Boom!  Easy peasy!  I suggest using heavy cardstock or add a pattern paper layer for stability.


This box was created by Art Impressions to hold the #5718 - Mini Journal book perfectly.  The finished dimensions are 2 3/4 x 2 1/4 x 7/8.  Also makes for a nice little treat box.


Thanks for joining me today and I hope you enter our "Summerween" blog challenge for a chance to win a free stamp set of your choice.  We love to see your creations!

Have a wonderful day!

Copics used:  E00, E01, E11, E21, E23, E25
N0, N1, N2, N3, N4, N6           R20
YR12, YR14, YR16, YR18         Y17
V12, V15, V17      G20, G21, G24

Monday, July 20, 2026

Boo! A slider card by Sharon Caudle

 Hello AI Fans!

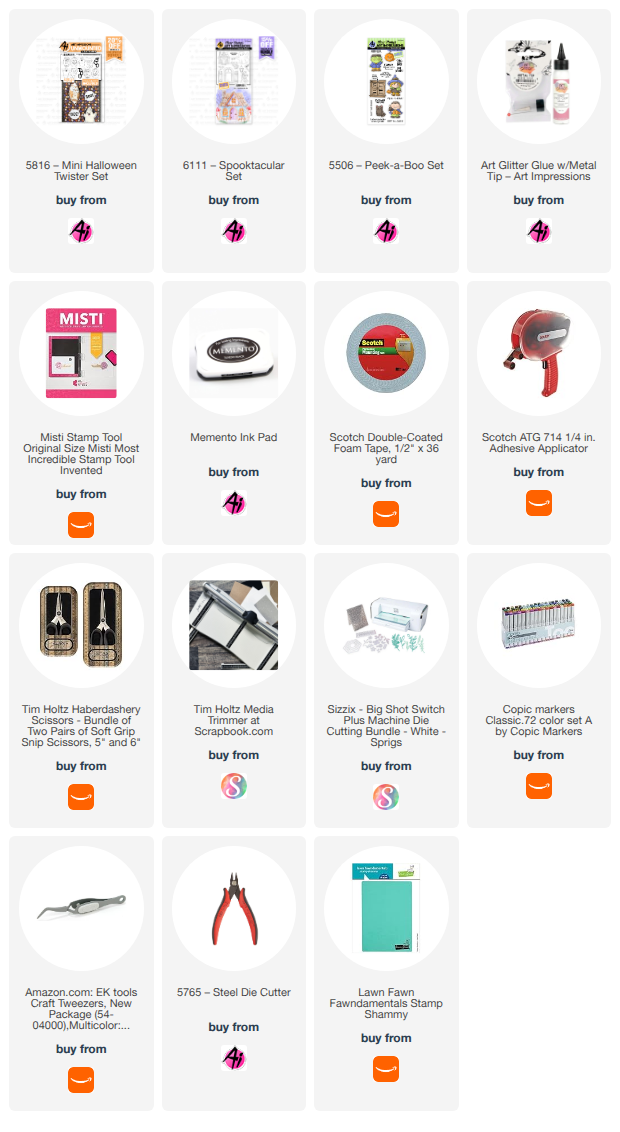
Our new challenge has started and it's all about Halloween during the summer - Summerween!! How fun is that??!!  I used a few different sets to create a fun slider card where that little ghost swoops down to scare you and Dracula! LOL! Slider cards are so easy to make! I save the slot I cut out from the card front, and then line it up and glue it to the back piece. I feel that helps the slot blend into the background. I chose various images from the sets #5816 Mini Halloween Twister Set (the ghost was the perfect size to fly through the air, #6111 Spooktacular Set, and #5506 Peek-a-boo Set. I stamped them with Memento ink and colored them with Copic markers listed below. 


So that's it for me today! Thanks so much for stopping by for a visit and I hope you join in on the Summerween Challenge for a chance to win a free set!! Just click HERE to be directed to the current challenge. Until next time - stay crafty!!!


Saturday, July 18, 2026

Summerween Challenge - Franky by Janet

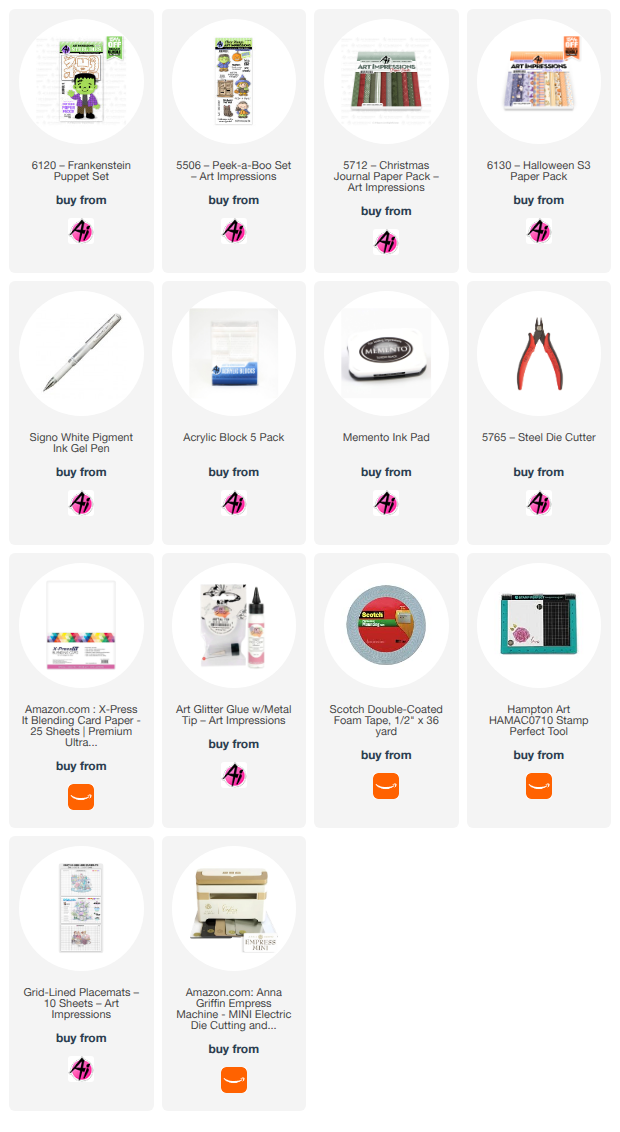
Are you loving the latest Ai Challenge? It's Summerween. Clever isn't it? I have had the 6120 -  Frankenstein Puppet in my stash but ordered it after the season so I was thrilled to have a reason to break this one out and give it a try. This is a die set and is easy to put together, especially since the packaging indicates what all the pieces are so there's no guesswork.

I used a couple of paper packs for this card. The background is a piece from the 6130 Halloween S3 PP. The diamond pattern also comes from this pack. Frank's pants, jacket, shoes and shirt are all cut from the 5712 - Christmas Journal PP. This just shows again how packs that are seasonally themed can be used for so many other occasions and themes. This is because the papers always have several neutrally themed patterns that can be used for anything.

I cut the diamond paper from 5062 - Rounded Rectangle A2 Double Stitched Dies. I matted that on top of my card base which was covered in the pumpkin patterned paper that I had inked the edges on before attaching to the card base. Then I placed an orange mat and the diamond patterned mat on top of that. 

Next I cut and pieced together Franky. This was super fast and easy to do. I used a black paint pen to draw the facial details and a little bit of Signo White Gel Pen on the eyes. I added some green blush with chalk and he was ready! I traced around him on a piece of clear vellum and cut it out. I mounted Franky on foam tape and attached him to the vellum. Then that was glued on to the front of the card. For a sentiment, I stamped the phrase from the 5506 - Peek A Boo Set and trimmed it out with a border before attaching it to Franky. Finally, I added four green glitter enamel dots to two of the corners. 

I hope you enjoyed seeing a little Halloween in the middle of summer! I invite you to join in and enter your Summerween creation in the Ai Challenge. Just link it up to the post for it. Easy peasy! 

Thanks for stopping by and spending time with me and Art Impressions today. Please visit the Ai store to pick up your favorite stamps, dies, papers, accessories, and supplies. 

Happy Crafting!


Thursday, October 24, 2024

All the Fall Challenge #390 Week #1

 Hello Ai fans!

Happy Fall and welcome to our ALL the FALL challenge!

This week we're looking for ALL of your FALL, crafty projects.

These can be cards, place cards, tags, journals, gift card holders, scrapbook pages, decorations, 3D projects, anything at all, if it's fall themed.

Before we see what our Featured Designer Tasha created, let's see who won our Très Chic Challenge.

For our Top Spot we selected #1 Michelle H.


Please contact Leah at Feedback@artimpressions.com
to claim a free stamp set of your choice!!
Also, be sure to grab our badge to display on your blog, Facebook or Instagram!

Our Lucky Random Winner was #5 Barb E.


Please contact Leah at Feedback@artimpressions.com
to claim a free stamp set of your choice!!
Also, be sure to grab our badge to display on your blog, Facebook or Instagram!

All of the Tres Chic entries were amazing and we love seeing everything you all create.
Now let's see what Tasha has created for our latest challenge. SO, SUPER, CUTE!

------------------------------------------------------------------------------------------------------------------------------------------------------

Hi everyone! Sharing two not-so-scary Halloween cards today created with alcohol ink blended backgrounds. I love making colorful scenes for my cards and alcohol ink blending is so much fun to do and it makes really cool designs!

My first card features a little witch trick-or-treater and I used colors to coordinate with her outfit for the sky. The blue, purple, and pink colors give the sky a Fall look and the metallic silver adds a pretty shimmer to the card. She is ready to head out and get some candy!


For the second card, I decided to go with darker colors and the little vampire image. I love how the red and purple colors blended together; it's perfect for this scene!


To lighten it up, I added silver glitter spider webs from the 5462 - Web Die Set. These webs come in several styles and they add so much detail to projects. I also attached three little spider die cuts to complete the look. 

I hope you enjoyed today's cards and are inspired to join in the "All the Fall" Challenge!

Have a wonderful day!


Alcohol Ink Blending Tutorial

To create the backgrounds, you will need alcohol ink, alcohol ink paper, rubbing alcohol (I used 91%), and a mini blending brush with felt. 

Step 1: Attach the felt to your blending brush.

Step 2: Add a few drops of alcohol ink to the felt. I like to use three colors and will add more color if needed. 

Step 3: Using a dropper, add one (1) or two (2) drops of rubbing alcohol to the center of the felt. A little goes a long way and you can always add more if needed.

Step 4: Now it's time to have some fun. Blot and blend in the color to cover the paper. You can go over areas multiple times to get different looks, and there is no right or wrong way to do this and each design will be unique. 


Step 5: After you have the look you want, let the card dry. It will dry really quickly since it's rubbing alcohol. Below are some different color combinations I created. 


Step 6: Use the background paper on your project and enjoy!


✻ Please make a new card or handmade crafty creation. You can make any item you wish; this is not limited to cards! (unless specified)

✻ Limit two submissions per person. You will receive extra votes if you use Art Impressions stamps!
 ✻Please include your first name and last initial on your submission.
✻We love to comment on your entries, but keep in mind if you use a private group or a platform that you need to sign up for, we probably won't be able to.
✻ The Ai Challenge is open to everyone, international submissions are welcome!
✻ Include a link back to the Ai Blog or grab our button on the top right of our sidebar!
✻ Share the Ai love if you can, by clicking and commenting on your fellow crafters.
✻ Make sure to get your link up by the deadline to enter your creations.
✻ Good luck and happy stamping! 

You are invited to the Inlinkz link party!

Witchy Spinner Card by Dori Mendiola

Happy Thursday AI Friends!
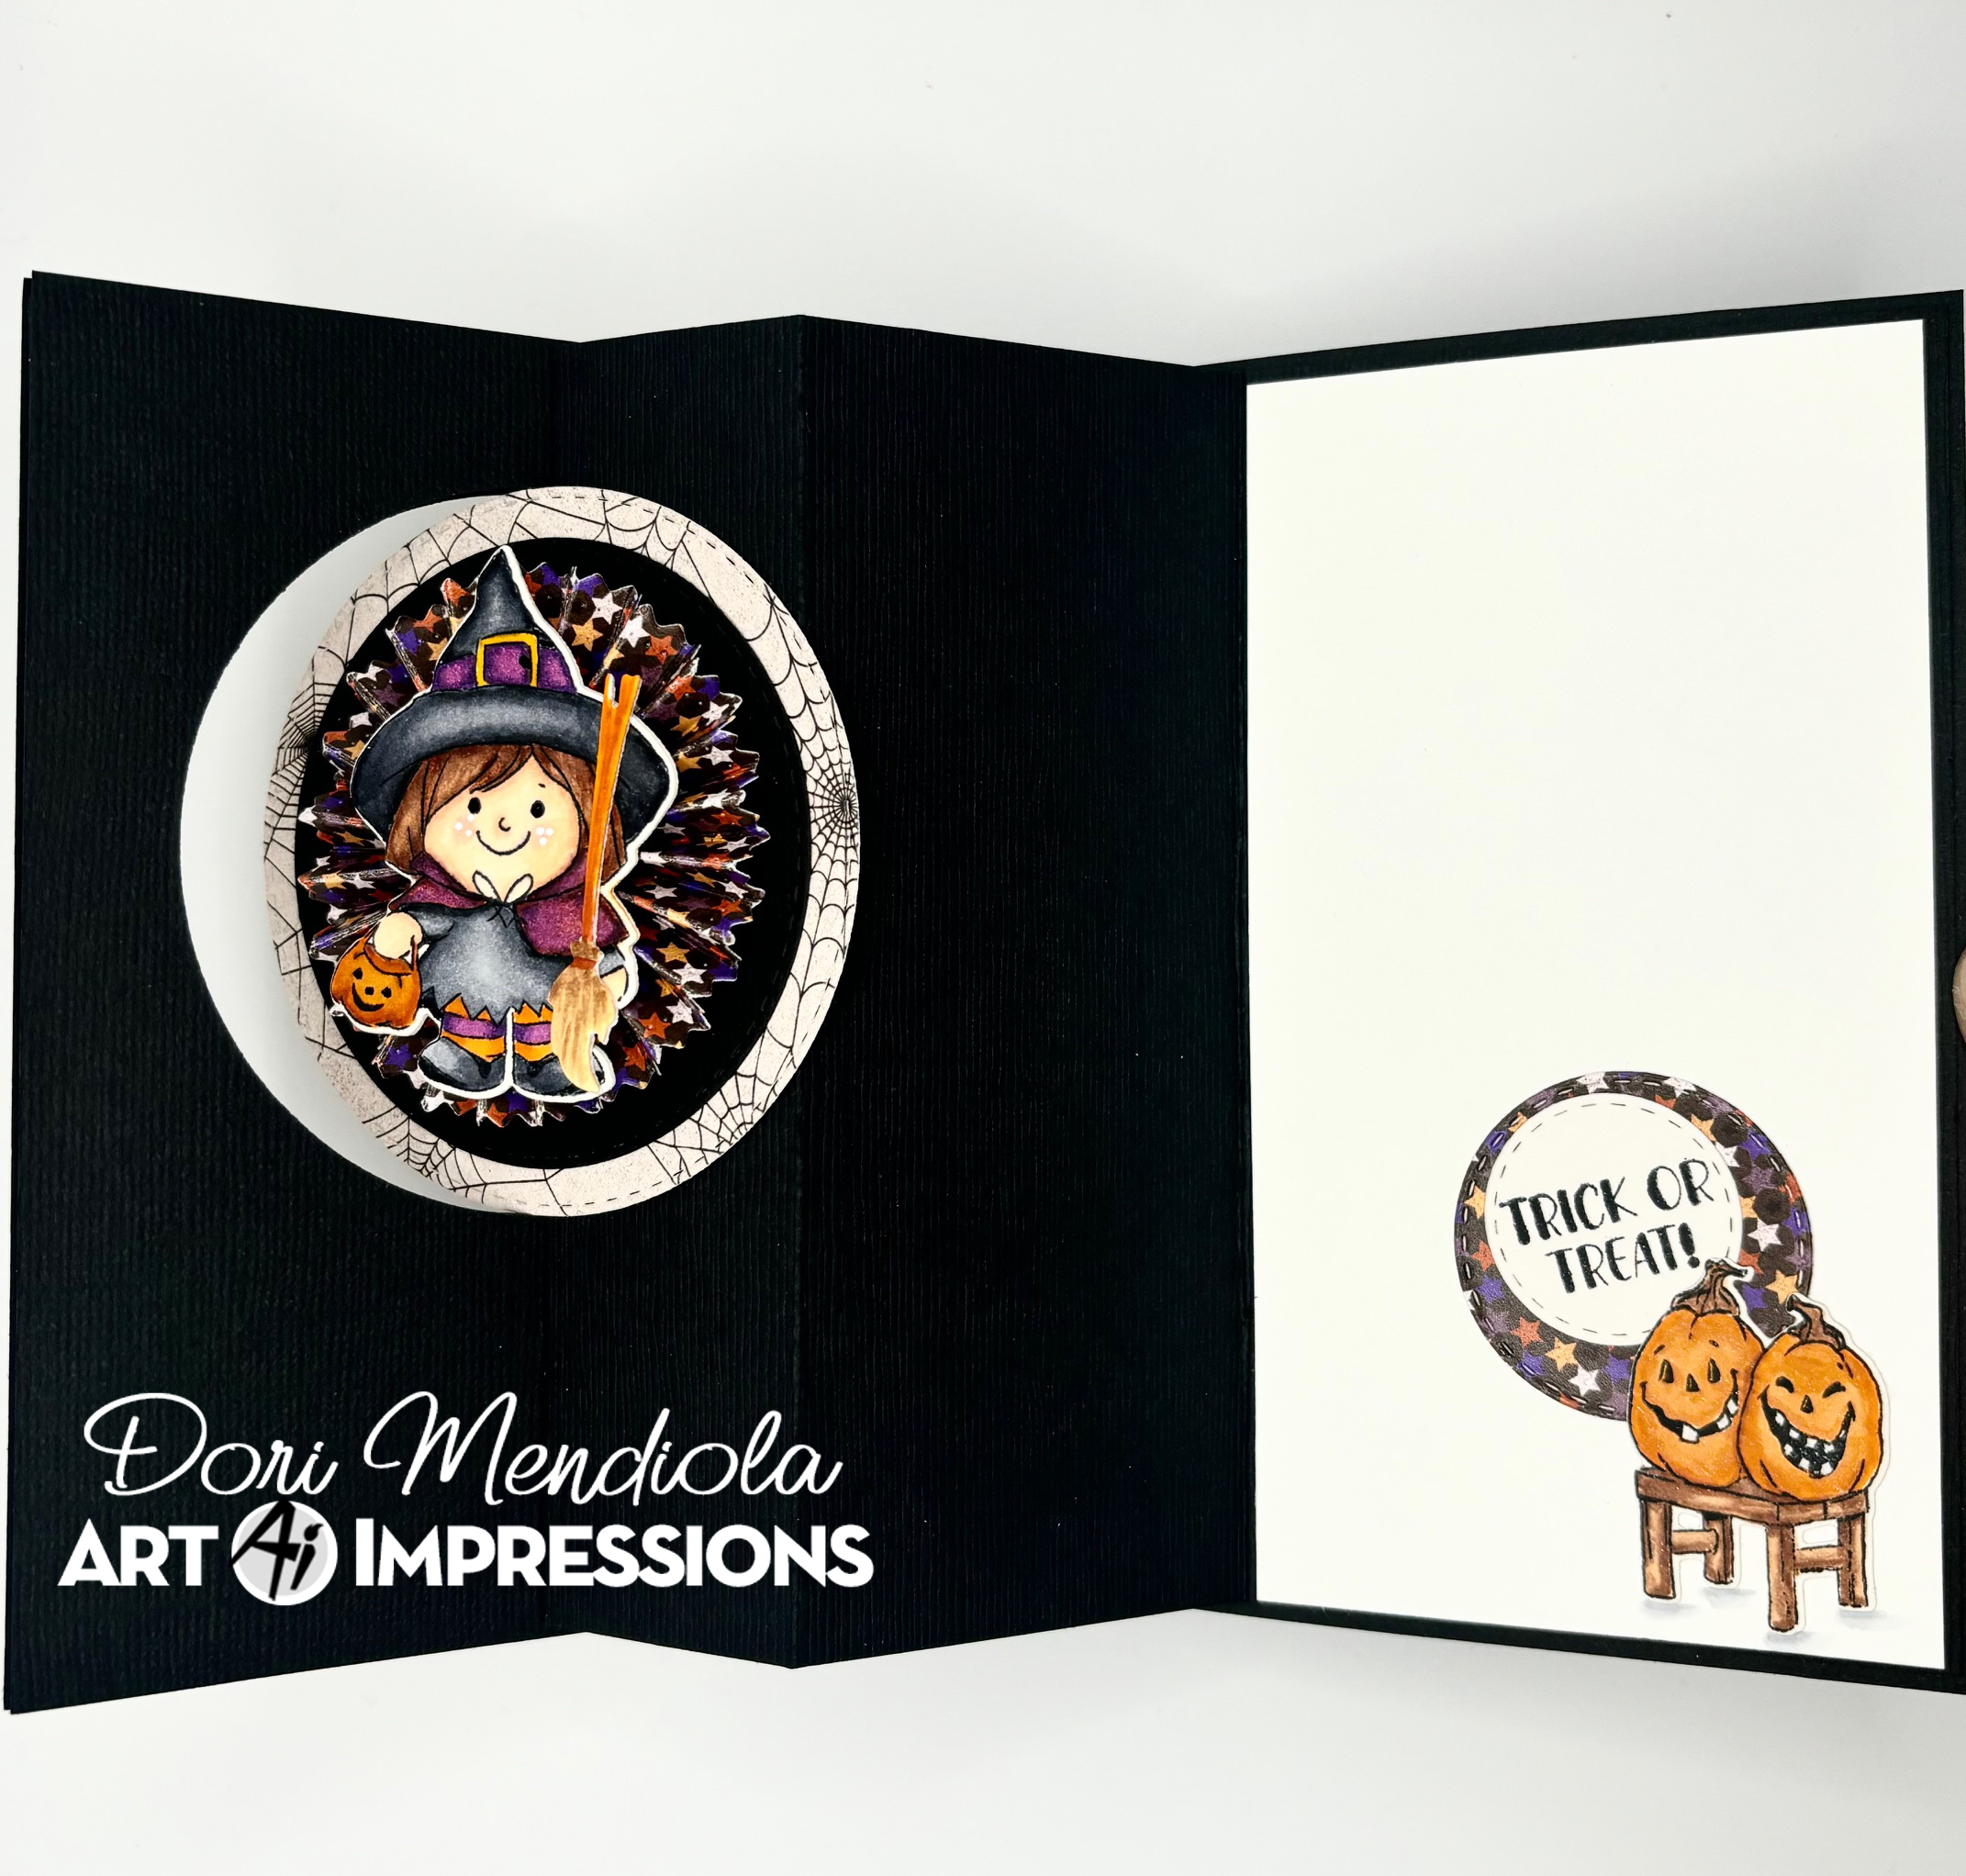
Halloween is almost here so I wanted to get one more card in before the witching hour.  😃
This one was created using the #5506 - Peek a Boo set.  This set has the cutest little characters plus an interactive window along with dies for each.  Such a cute fun set!  Several other sets were used to create the final card so make sure to check out the links below.


I started by stamping the images onto copic friendly paper and coloring with my copic markers listed below.  After coloring, I die cut each of the images out with their corresponding dies. 

To make the interactive spinner card:  I first cut a black A2 size card base.  I layered a piece of patterned paper (web pattern from the #5849 Halloween S2 PP) onto the front of the card base.  Then I cut a circle out of the front of the A2 card base (I used the #5064 Double Stitched Circle dies).  Keep this inner circle for later.  For the inside, cut a 5 3/8 x 8 3/8" piece of black card stock.  Score and fold at 2 7/8, 5, 6 1/4 (valley, mtn, mtn).  Flip this piece over and adhere the 2 7/8 to the inside right of the A2 card base leaving a slight border.  Fold it down onto itself and place glue on the left fold side.  Hold it in place and bring the front over to close onto the fold.  It should fit right into the score of the A2 card base.  For the last step - take the inner circle from before, and with the card shut, place glue onto the right half of the inside folded piece.  Fit the inner circle back into place over the glue on the right side.  Your spinner action is now working when you open the card.
 

  The witch is popped up on top of a rosette.  This can be created by taking a 12" x 1" strip of patterned paper.  Score and fold at every 1/4 inch.  Glue the ends together.  Cut two circles (1/2" and a 1" approx.) out of scrap paper.  Gather your rosette into a circle and glue the small one to the top of the rosette.   Place glue onto the larger circle and carefully slide the rosette onto that circle to glue to the bottom.  Hold until both are adhered nicely.  Glue the witch to the top side of your rosette. 
As for the spider webs, I die cut two from the #5769 Halloween FB Fence set and cut one in half and half again to create the corner edges.  I took the other web die cut and used the circle die to cut a portion to place on the outside circle edge.  

Hope you have a wonderful day.
Keep creating!

Copics used: C00, C1, C3, C5, C7 
E00, E01, E11, E21, E23, E25, E53, E55, E57
R20, Y17, Y19
YR12, YR14, YR16, YR18

Tuesday, October 8, 2024

Halloween Bookmarks by Reneé Matarese

Hello Ai fans!

My friend has two little girls who are Girl Scouts.
They are trying to earn their Craft and Tinker Badge and she asked if I could come in and work with the girls and their troop. I will have 14 girls and 1 hour to complete something. She mentioned maybe making a bookmark, and with the Halloween season upon us, I came up with this design. This is just preliminary. I am seeing a brighter background for little girls, maybe orange or lime green? And also, I think the fence is a little delicate for their small hands to glue down. I think they'll love the little characters though.


I used characters from 5506 – Peek-a-Boo Set and I think I may offer them some of the new 5934 – Spooky Crew Set or 5352 – Halloween Critters Set too.


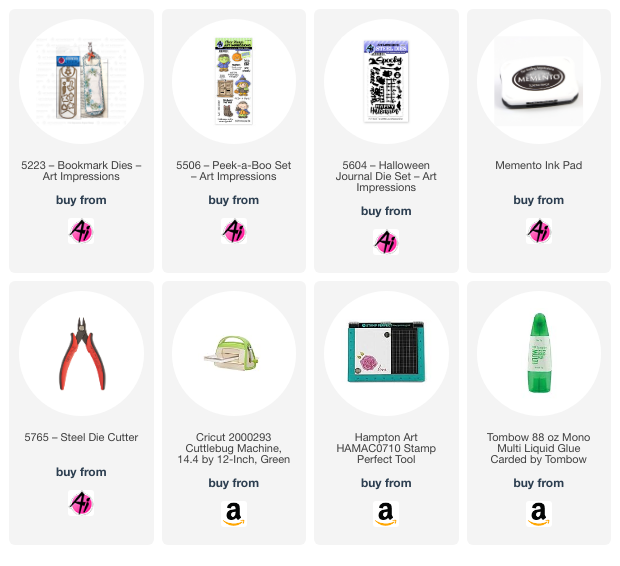
I used 5223 – Bookmark Dies for the base. This is such a fun and easy project with so many possibilities. The dies help it come together so quickly. P.S. I need a better camera. My Dracula has rosy cheeks and a pink skin tone in person but they didn't show up on camera. 


My friend offered to reimburse me for my supplies but I declined. I'm starting to rethink that though. Is it wrong to ask for a box of Samoas as payment...lol!

Copics used:
C4, N6, YR12, G40, G43, RV000, R46

Saturday, August 31, 2024

Sweet and Spooky by Janet


 Halloween is getting closer so now is the time to start making cards for the holiday. The thing I love about Halloween is being able to be someone (or something!) else for a night without anyone thinking you're weird. How often does that happen? For example, I'm never going to be one to die my hair pink or blue but I will sport it once a year on Halloween just for the pure fun of it. 

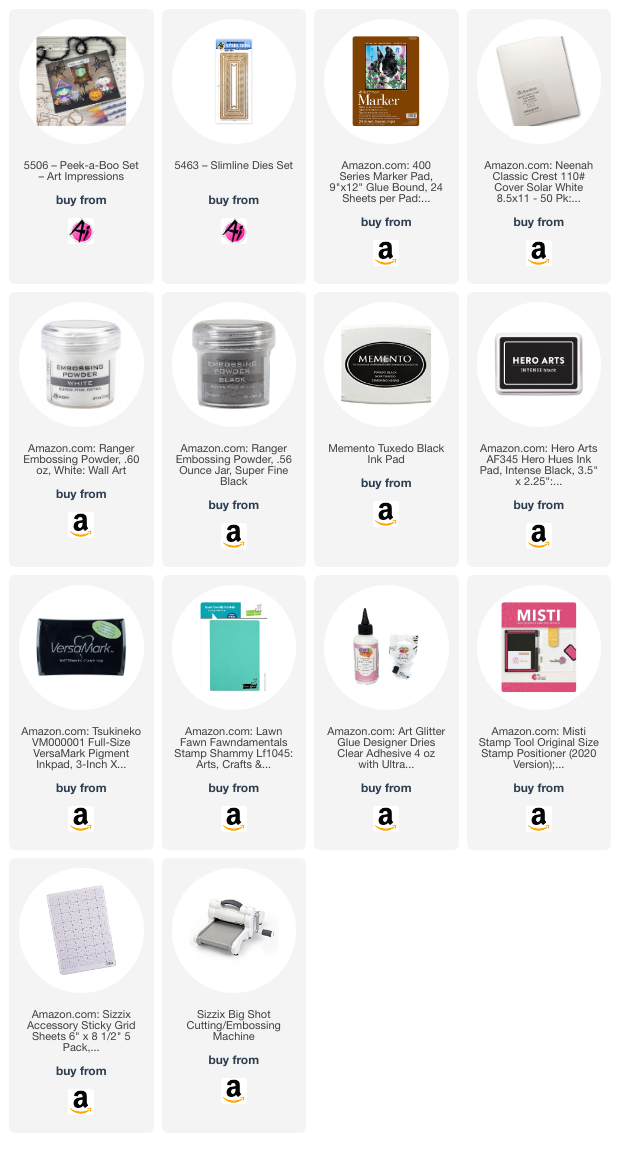
Speaking of fun, I decided to use 5506 - Peek-a-Boo Set for my slimline card. I used a die from 5463 - Slimline Dies Set to cut out a spooky printed background. Then I made a dark purple card base and rounded the corners. Before I glued the patterned paper to the base, I heat embossed two of the sentiments and then I dragged my VersaMark ink pad in various places and sprinkled a a white and glitter mix embossing powder on it. I applied my heat gun to melt the powder. The result is a fun background accent for this card. I think it looks a little like magic dust which nicely accents the spooky but cute witch, Frankenstein, and vampire.

I stamped the three characters and colored it with Copic markers. I also stamped and colored three of the windows. I did the same with the pumpkin from the set. I cut everything out using the included dies. The window die cuts the shutters and puts a score line in them so you can open them up for a peek-a-boo effect if desired. For my part, I tucked the characters inside so they are coming out of the windows. I couldn't cover up my favorite of the characters - Frankenstein. Oh my, he's adorable! So I set him next to the center window and tucked the pumpkin between the shutters.

Thanks so much for joining me to see what I created for you today. Please visit the Ai store for the sets I used and all the things you need for your card, journal, and tag making projects. Have a great weekend!

Janet YouTube - Blog - Facebook - Instagram - Pinterest