

Hello, and welcome to another Watercolor Weekend!
It’s Father’s Day here in the U.S. – shout out to all the amazing Dads out there! My first card today is inspired by Father’s Day. At first glance, it might look like a travel card, but let me explain. For many years while my children were growing up, we often found ourselves traveling for summer vacation, typically celebrating Father’s Day morning in some random hotel room along our journey. The bright summer colors of this card make me smile and take me back to all those fun summer vacations with my family.
"Hit the Road"
Card:

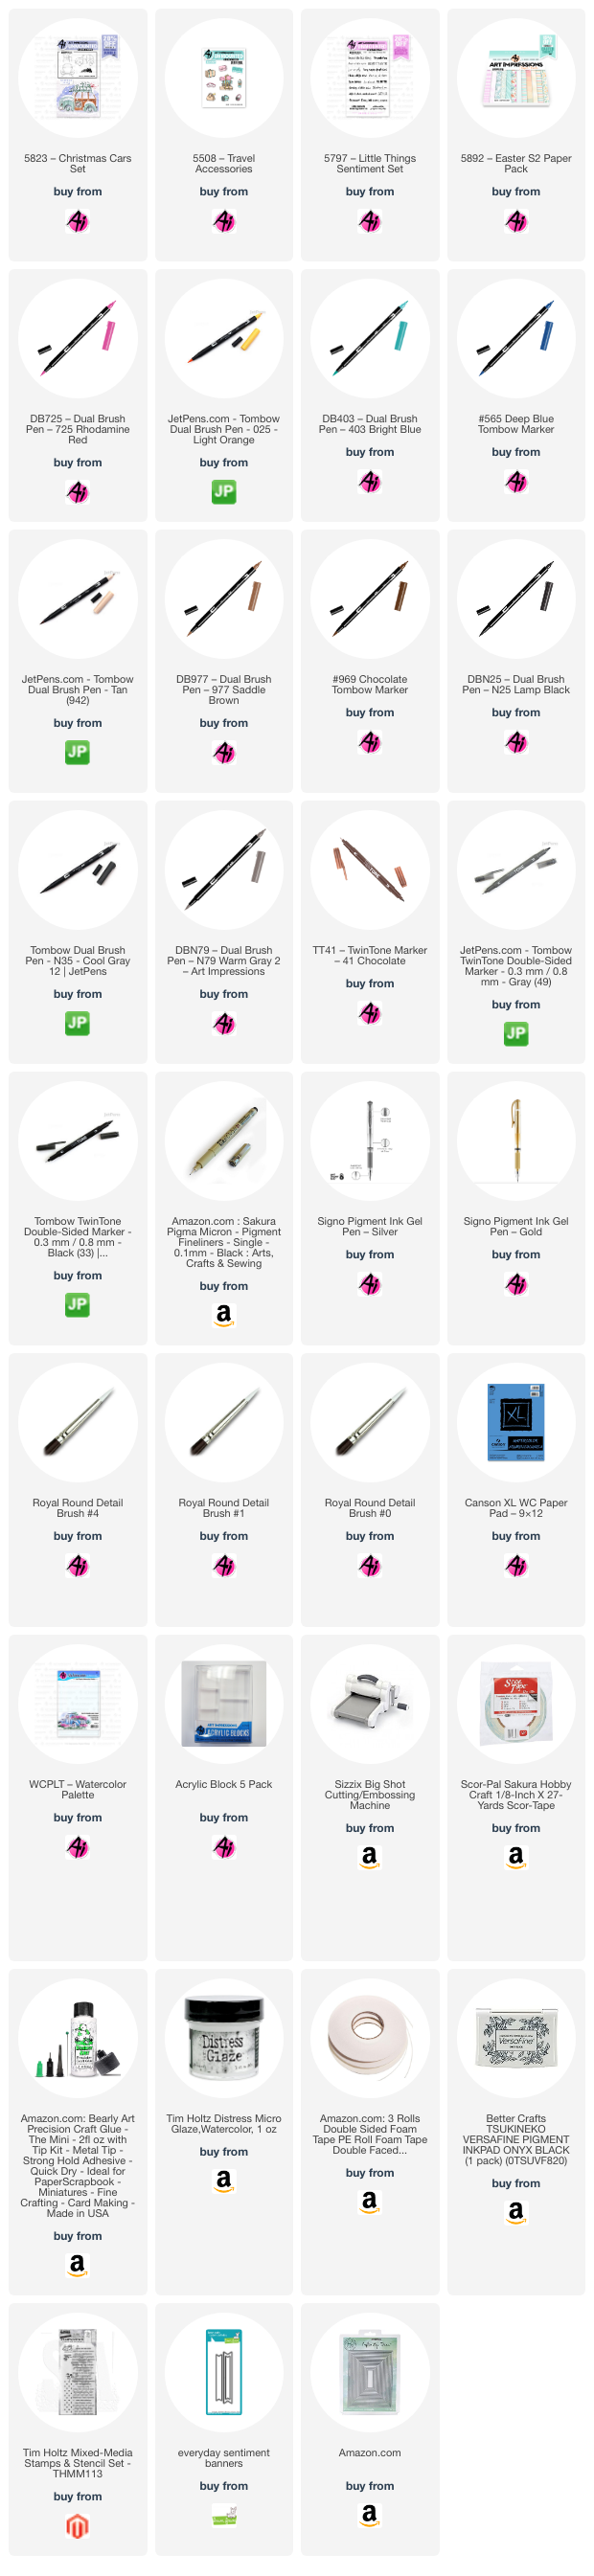
I just love how a car stamp from a Christmas set (5823 –
Christmas Cars Set) and a stamp from a travel set (5508 – Travel Accessories)
can pair so well together to make an adorable travel scene! I started by inking
the car stamp with N79, leaving off just a little of the top of the roof, and
stamped it onto my Canson XL watercolor paper. Next, I inked the stack of
suitcases in N79 and stamped them onto the roof of the car. Since the stamp is
clear, I didn't need to use a stamp positioner. It was fun to color the
suitcases in different colors for each family member. Guess which one is mine –
lol! Starting from the top, I used the following colors: (case 1) 725, 977, and
N25, (case 2) 403, 977, and 026 for the buckle, (case 3) 977 and N25, (case 4)
N35 and N25. For the rope, I used 977 and a touch of 026. The car body was
painted with 403 and I used 565 for the windshield. The tires were painted with
N35. The headlight frames and bumper were colored in with a silver Signo gel pen.
The license plate and headlights were shaded with 565.

I brushed in a watery sky in 403 and added shadows below the
car in 565. Fine details were added where needed using a brown, black, or gray
TwinTone marker. I stamped the “Little Moments” sentiment from 5797 – Little
Things Sentiment Set onto teal cardstock and die-cut with a banner die. The
multi-colored background paper is from 5892 – Easter S2 Paper Pack. I popped up
the car panel and sentiment banner with foam tape.
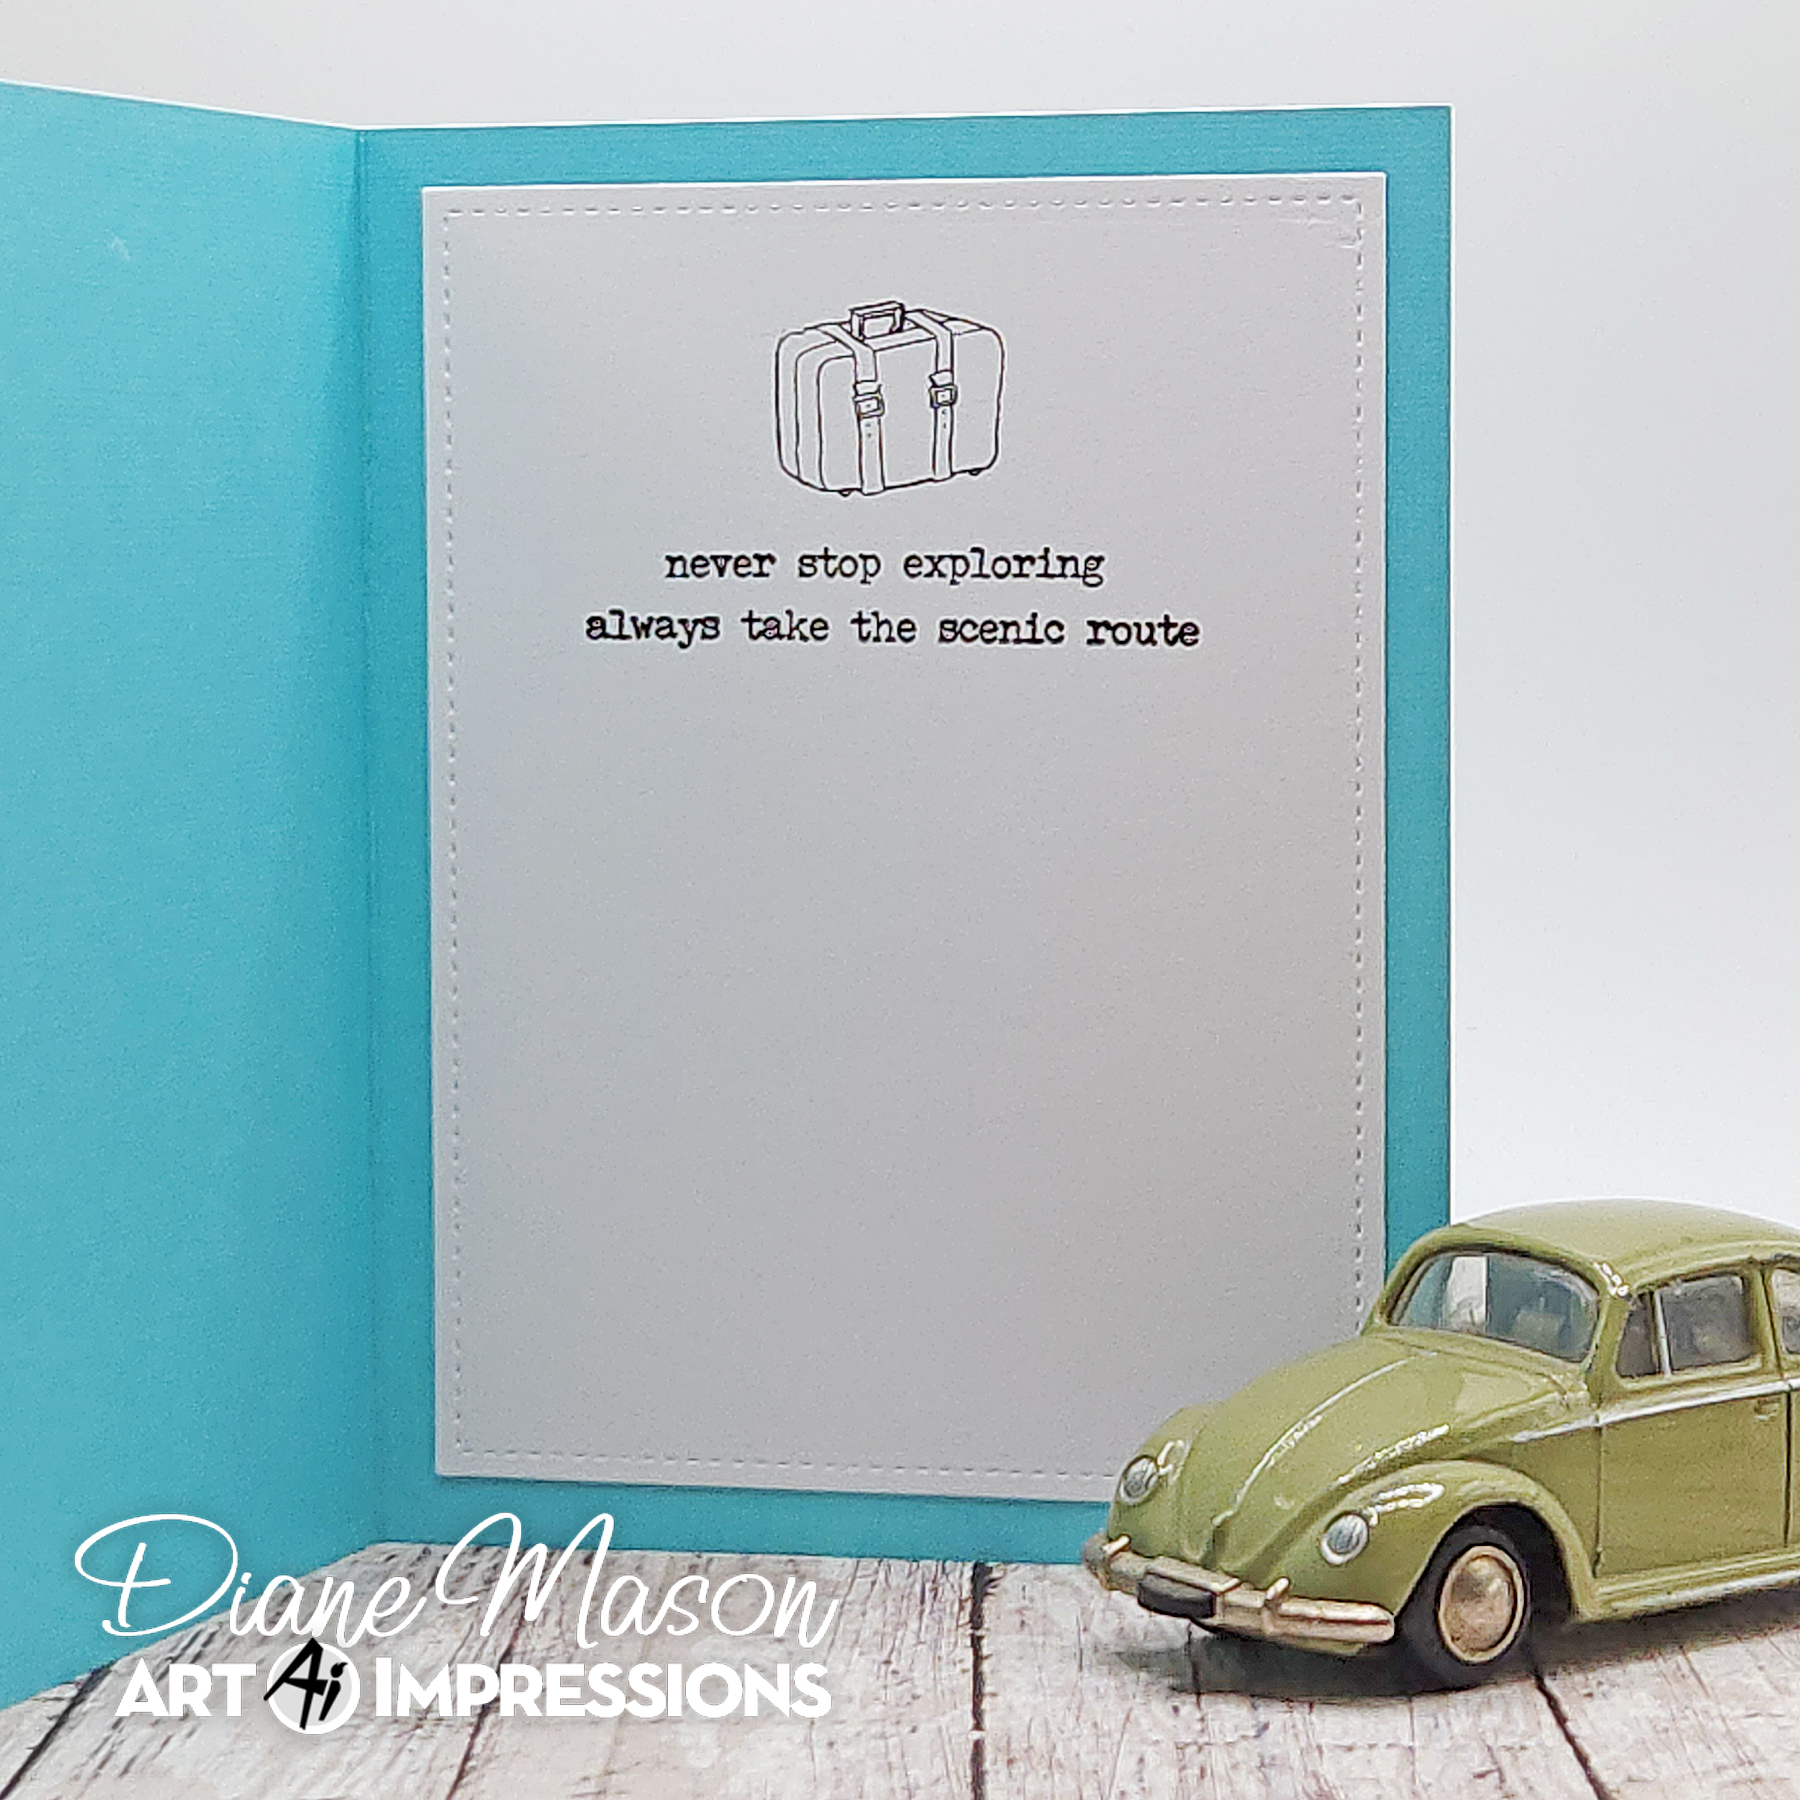
For the interior of my card, I stamped the sentiment and the
suitcase in Versafine Onyx Black ink on white cardstock and adhered it to the
inside. While I think this would be a nice Father’s Day card for my husband,
for most it would make a great Bon Voyage or encouragement card. Now on to my
next project…
"Buzzing by to
Say Hi!” Card:

Just when I thought I couldn’t possibly love a new set more
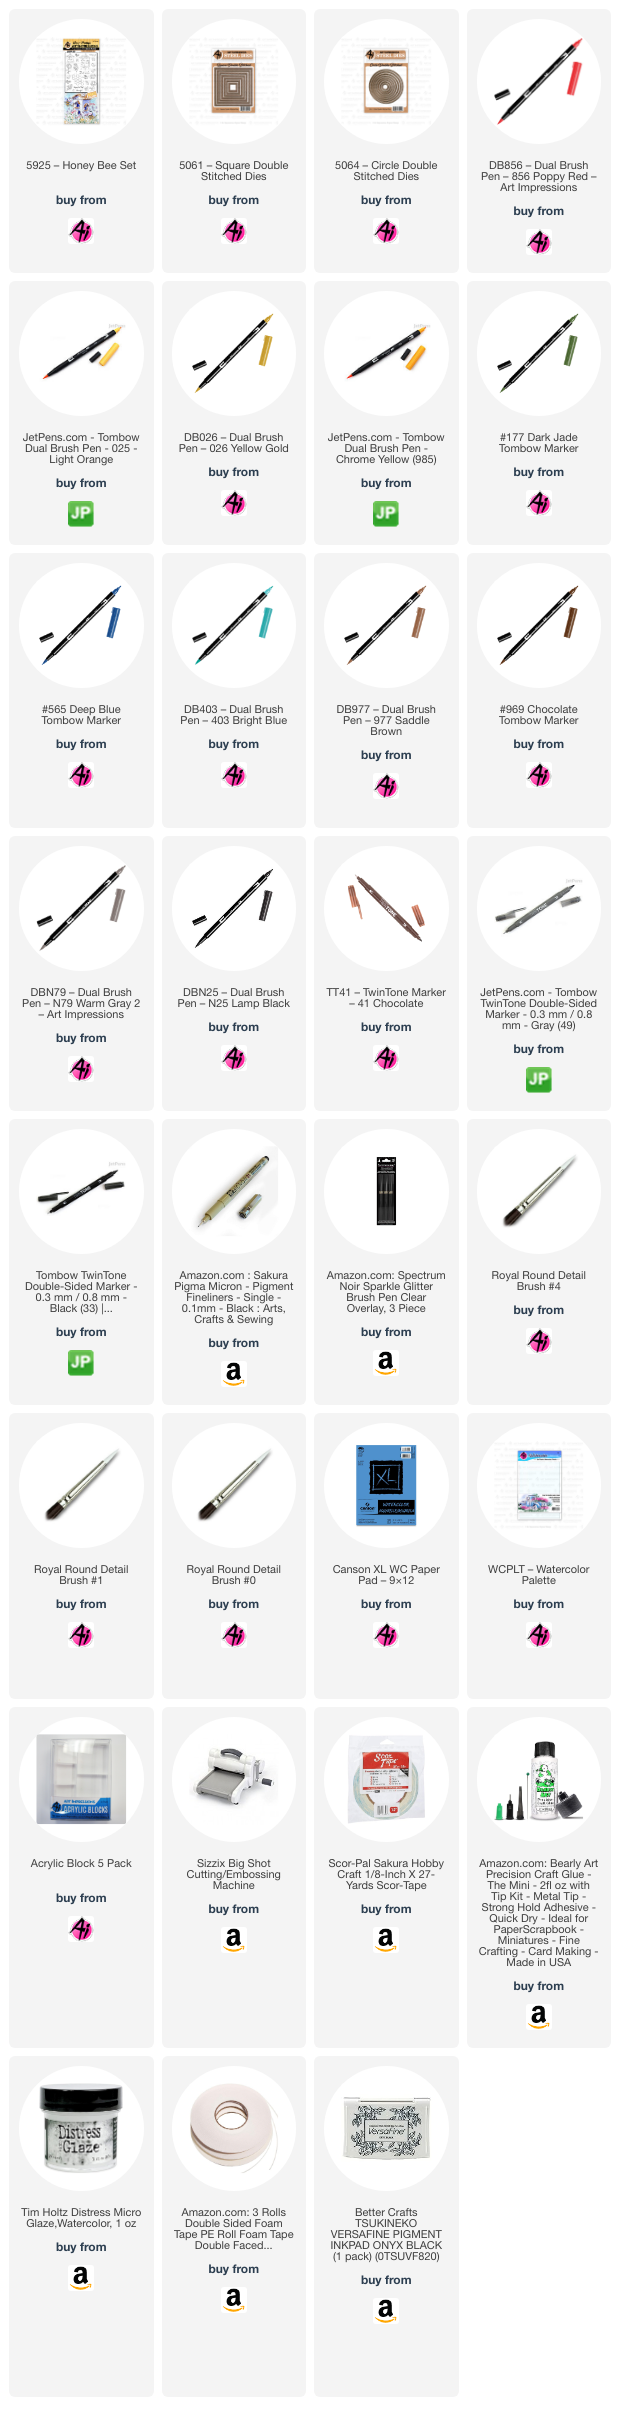
than the 5785 – Gnomes Set, Bonnie went and released the adorable 5925 – Honey
Bee Set! Move over gnomes, hello bees! This fabulous new set includes multiple bees,
sentiments, florals, a honeycomb, a honey pot, two beehives, and dies! I
decided to make a “just bee-cause” type of card.

I started by die-cutting a piece of Canson XL watercolor paper using the largest square die from 5061 – Square Double Stitched Dies. Next, I inked the honeycomb stamp in 969 and stamped the image on the top left and again on the bottom right. With a damp brush, I pulled some color to shade the inside of the hexagon shapes of the honeycomb. I added 025 and then 985 to the hexagons to look like honey in the comb. For the areas surrounding the honey, I used 985. With a damp brush, I pulled out some color from the edges of the honeycomb to blend into the background. Where needed, I added a little 025. Next, I die-cut the center of the painting with an approximate 2.75-inch circle from 5064 – Circle Double Stitched Dies to create a window and set the circle aside for the interior of the card. I stamped the “Buzzing by to say hi!” sentiment in the top right using Versafine Onyx Black ink.

On another piece of watercolor paper, large enough to fill the window area and beyond, I brushed in a watery sky using 403. On another piece of watercolor paper, I stamped the bees in N79 and the hanging hive in 969. Using a scrap of watercolor paper, I die-cut a branch using the vine die from the Honey Bee set. The branch was painted with 177. Both bees were painted in the same way. N25 for the black areas and 025 and 985 for the yellow areas. I brushed the faces with a light mix of 977. Once dry, cheeks were added lightly with a small amount of 856. I used a black Micron pen to darken the antenna and facial features. A light amount of 403 was applied to the shadowed areas of the wings. For glimmer, I brushed the wings with Spectrum Noir Clear Sparkle pen.
Using a damp brush, I pulled color
from the edges of the hive to add shadows and contours. For the roofs and decking,
I used 977. The ring on top of the hive was lightly painted with N25. For the
hive, I used 026 and 969. The opening was painted in 565. Additional shadows
were added with 565. Details were added using a brown TwinTone. To assemble the
4 x 4-inch card, I glued the branch in place. I snipped the branch where the
hive would hang down. I then glued the left end to the ring meeting the right
interior. I glued the right end of the branch to the backside of the hive. Now
the hive appears to be hanging from the branch. Foam tape was added to the
frame, hive, and branch, attached to the sky piece, and then adhered to the
card base. The bees were also adhered with foam tape.

For the interior of the card, I utilized the circle we set aside earlier. I stamped another bee with N79 and painted it in the same way as the other bees. The sentiment was stamped with Versafine Onyx black ink. I die-cut another square from white cardstock and matted the circle with gold cardstock and adhered it to the cardbase.
Thank you for joining me for another
Watercolor Weekend! I hope you’ve enjoyed these cards. Remember, always take
the scenic route and have a bee-utiful Sunday. Until next time, Happy Painting!

For the Hit the Road Card:

1 comment:
Diane, both your cards are BEE-autiful!! Gorgeous work!!
Post a Comment