Showing posts with label 5823 - Christmas Cars Set. Show all posts

Sunday, October 5, 2025

Classic Truck Foundation and Christmas Cars by Karen Day

 Hello Ai Watercolour fans!


I have one fall and one Christmas card to share with you today,  let's start with my favourite season:

This is the 6066 - Classic Truck Foundation set.  I went for the softer side of fall with this one.  I stamped my image with #N45 onto some Canson XL Watercolour paper, and pulled out the colour with a damp brush.  I used a wash of #177 with touches of #993 to paint in the hillsides, and shades of #992/969 for the dirt road, tree and fence.  The truck was painted with a mixture of #565/249 to create the washed out aqua shade, and all the trim was done in layers of #N45. The interior of the truck was painted with #565 to give a shadowed look.


I wanted a white barn, so only painted light shades of #N45 on the shadowy sides of the barn, and a darker layer of grey on the roof.  I used a pencil to add in the vertical barn boards.  The doors were painted in #837, and #565 was used to shade in the windows and under the eaves.  A wash of #493 was painted in the sky, leaving negative white space to suggest clouds, and I added in some areas of #N45 to add some shading to them.  I drew in the trees along the hillside directly with my #177 and 933 markers, and even though I used a tiny foliage stamp for the tree in the foreground, I wasn't happy with the look so used the markers directly on my paper to add in the leaves. 

The image was die cut with the stitched/rounded corner die from the 5809 - Decorative Journal Page 2 set which fits the Foundations perfectly!  I added a blue mat underneath it, and mounted it onto this pretty plaid from the 5832 Gnome Paper Pack.  I wanted to accent the barn door colour, so used the Fall word die from 5770 - Farm FB Fence Set, cut out three times from some warm pink cardstock, and layered on top of each other to create a nice thick word.  I offset my panel slightly to the right of my card.

My second card is the start of my painted holiday cards!  

I used the sweet little truck from 5823 - Christmas Cars set, and stamped it in #N45 onto some Canson XL Watercolour paper.  After pulling out the colour, I painted the truck with several layers of #837 to build up the darker areas, leaving the rounded parts of the truck much lighter.  I masked off the back of the truck, and used my stamp positioner to stamp the tree from 5826 - WC Large Tree Set 2 in #249.  After touching it with a damp brush, I stamped it a second time to add some of the detail back in.  I wanted a wreath on the front of the truck, and the little half wreath from 5830 - WC Mini Wreath Set worked perfectly!  I used #249 and my stamp positioner to get it in the right spot.

I used #565 to paint in a wintry sky wash, and also added the 'suggestion' of a person in the truck, and added a shadow under it.  I used white paint and a #1 brush to dab on some snow on my scene.  I used my red Twintone marker to draw a bow on the wreath.

My image is small!  So I made a busier background using the 5812 - Christmas S2 Paper Pack.  I used the 5724 - Nested Rectangle Dies to cut it out, and matted it with black cardstock.  I cut the 5132 - Tag Stitched Die from the woodgrain paper, and adhered it down to my background.  The sentiment is from 5566 - Christmas Sentiments Set stamped in Versafine Onyx Black ink.


Thursday, August 22, 2024

Keep Calm & Celebrate On! Challenge #385 Week #2

 Hello Ai fans!

We're in week #2 of our
Keep Calm & Celebrate On! Challenge.

That means you get to see what the rest of our Design Team
has created to inspire you. Remember, you could win a free stamp
set of your choice if you are selected for our Top Spot or our
Lucky Random Winner.

Last week, Janet was our Featured Designer and made this amazing masculine card using
5926 – Fishing Boat Set.
You can see more of her card and find her tutorial HERE.


I made two cards and you can find all of the details HERE and HERE.


Sharon says live simply and celebrate LIFE!!


Tasha used 5226 – Bus Cubbies and


We hope you saw lots of ways to celebrate and are inspired to
submit your own project! We can't wait to see what you make.
✻ Please make a new card or handmade crafty creation. You can make any item you wish; this is not limited to cards!

✻ Limit two submissions per person. You will receive extra votes if you use Art Impressions stamps!
 ✻Please include your first name and last initial on your submission.
✻We love to comment on your entries, but keep in mind if you use a private group or a platform that you need to sign up for, we probably won't be able to.
✻ The Ai Challenge is open to everyone, international submissions are welcome!
✻ Include a link back to the Ai Blog or grab our button on the top right of our sidebar!
✻ Share the Ai love if you can, by clicking and commenting on your fellow crafters.
✻ Make sure to get your link up by the deadline to enter your creations.
✻ Good luck and happy stamping! 


You are invited to the Inlinkz link party!

Click here to enter

Tuesday, August 20, 2024

Happy Bee-Day! by Reneé Matarese

Hello Ai fans!


Today I'm sharing a card that I made for the current

I recently pulled out the 5823 – Christmas Cars Set and fell
in love with the little Beetle.

What better way to decorate your BEEtle, than, well, with a BEE!


The bees, leafy vine in the lower left hand corner
 and the sentiment are from 5925 – Honey Bee Set.

I spelled BEETLE out with 5562 – Journal Letter Die Set.
I'll be honest guys. I lose things. My biggest fear when I 
ordered this set was losing a letter and having an incomplete
alphabet. My solution? Order two more sets! lol!
Yes, I have 3 sets and I store them on a magnetic sheet in
alphabetical and numerical order. Die cutting words goes SO
much faster now and if I do end up losing one, I'll still be 
able to make all the words.


This card is a little busy for my normal style...busy as a bee...
ha ha...get it? I'll show myself out...lol.
Seriously though, I don't normally make cards quite this busy
but I do really like it. It's my favorite colors, green and yellow
and it has bees, so how can you go wrong?


Avery Elle Cloud Mat Die
Nature's Garden Sweet as Honeycomb Die
Baby Blue Stickles on the headlights

Copics used:
B0000, B000, Y08, T1, 100


Tuesday, August 13, 2024

Punch Bugs make me SMILE! by Reneé Matarese

Hello Ai fans! 

I've been having fun with the Never Have I Ever
challenge going on right now on the blog. There
are still a couple days to enter. You could win a
free stamp set.

I have had the 5823 – Christmas Cars Set since last summer
but just used it for the first time. It's so cute! Also, as you can
see, it's not just for Christmas.


The second item on my cards that I have never used
is the 5902 – Mini Scalloped Frame Dies. These little
frame dies are the perfect size for so many Art Impressions
images. There are multiple dies so you can adjust the size
of the opening.


The flowers are from 5936 – My Hope Set.
SMILE is from 5797 – Little Things Sentiment Set.


the windshield so that it had a more "glassy" look. The cute little
flowers on the bug are a tiny stamp in the 5925 – Honey Bee Set.


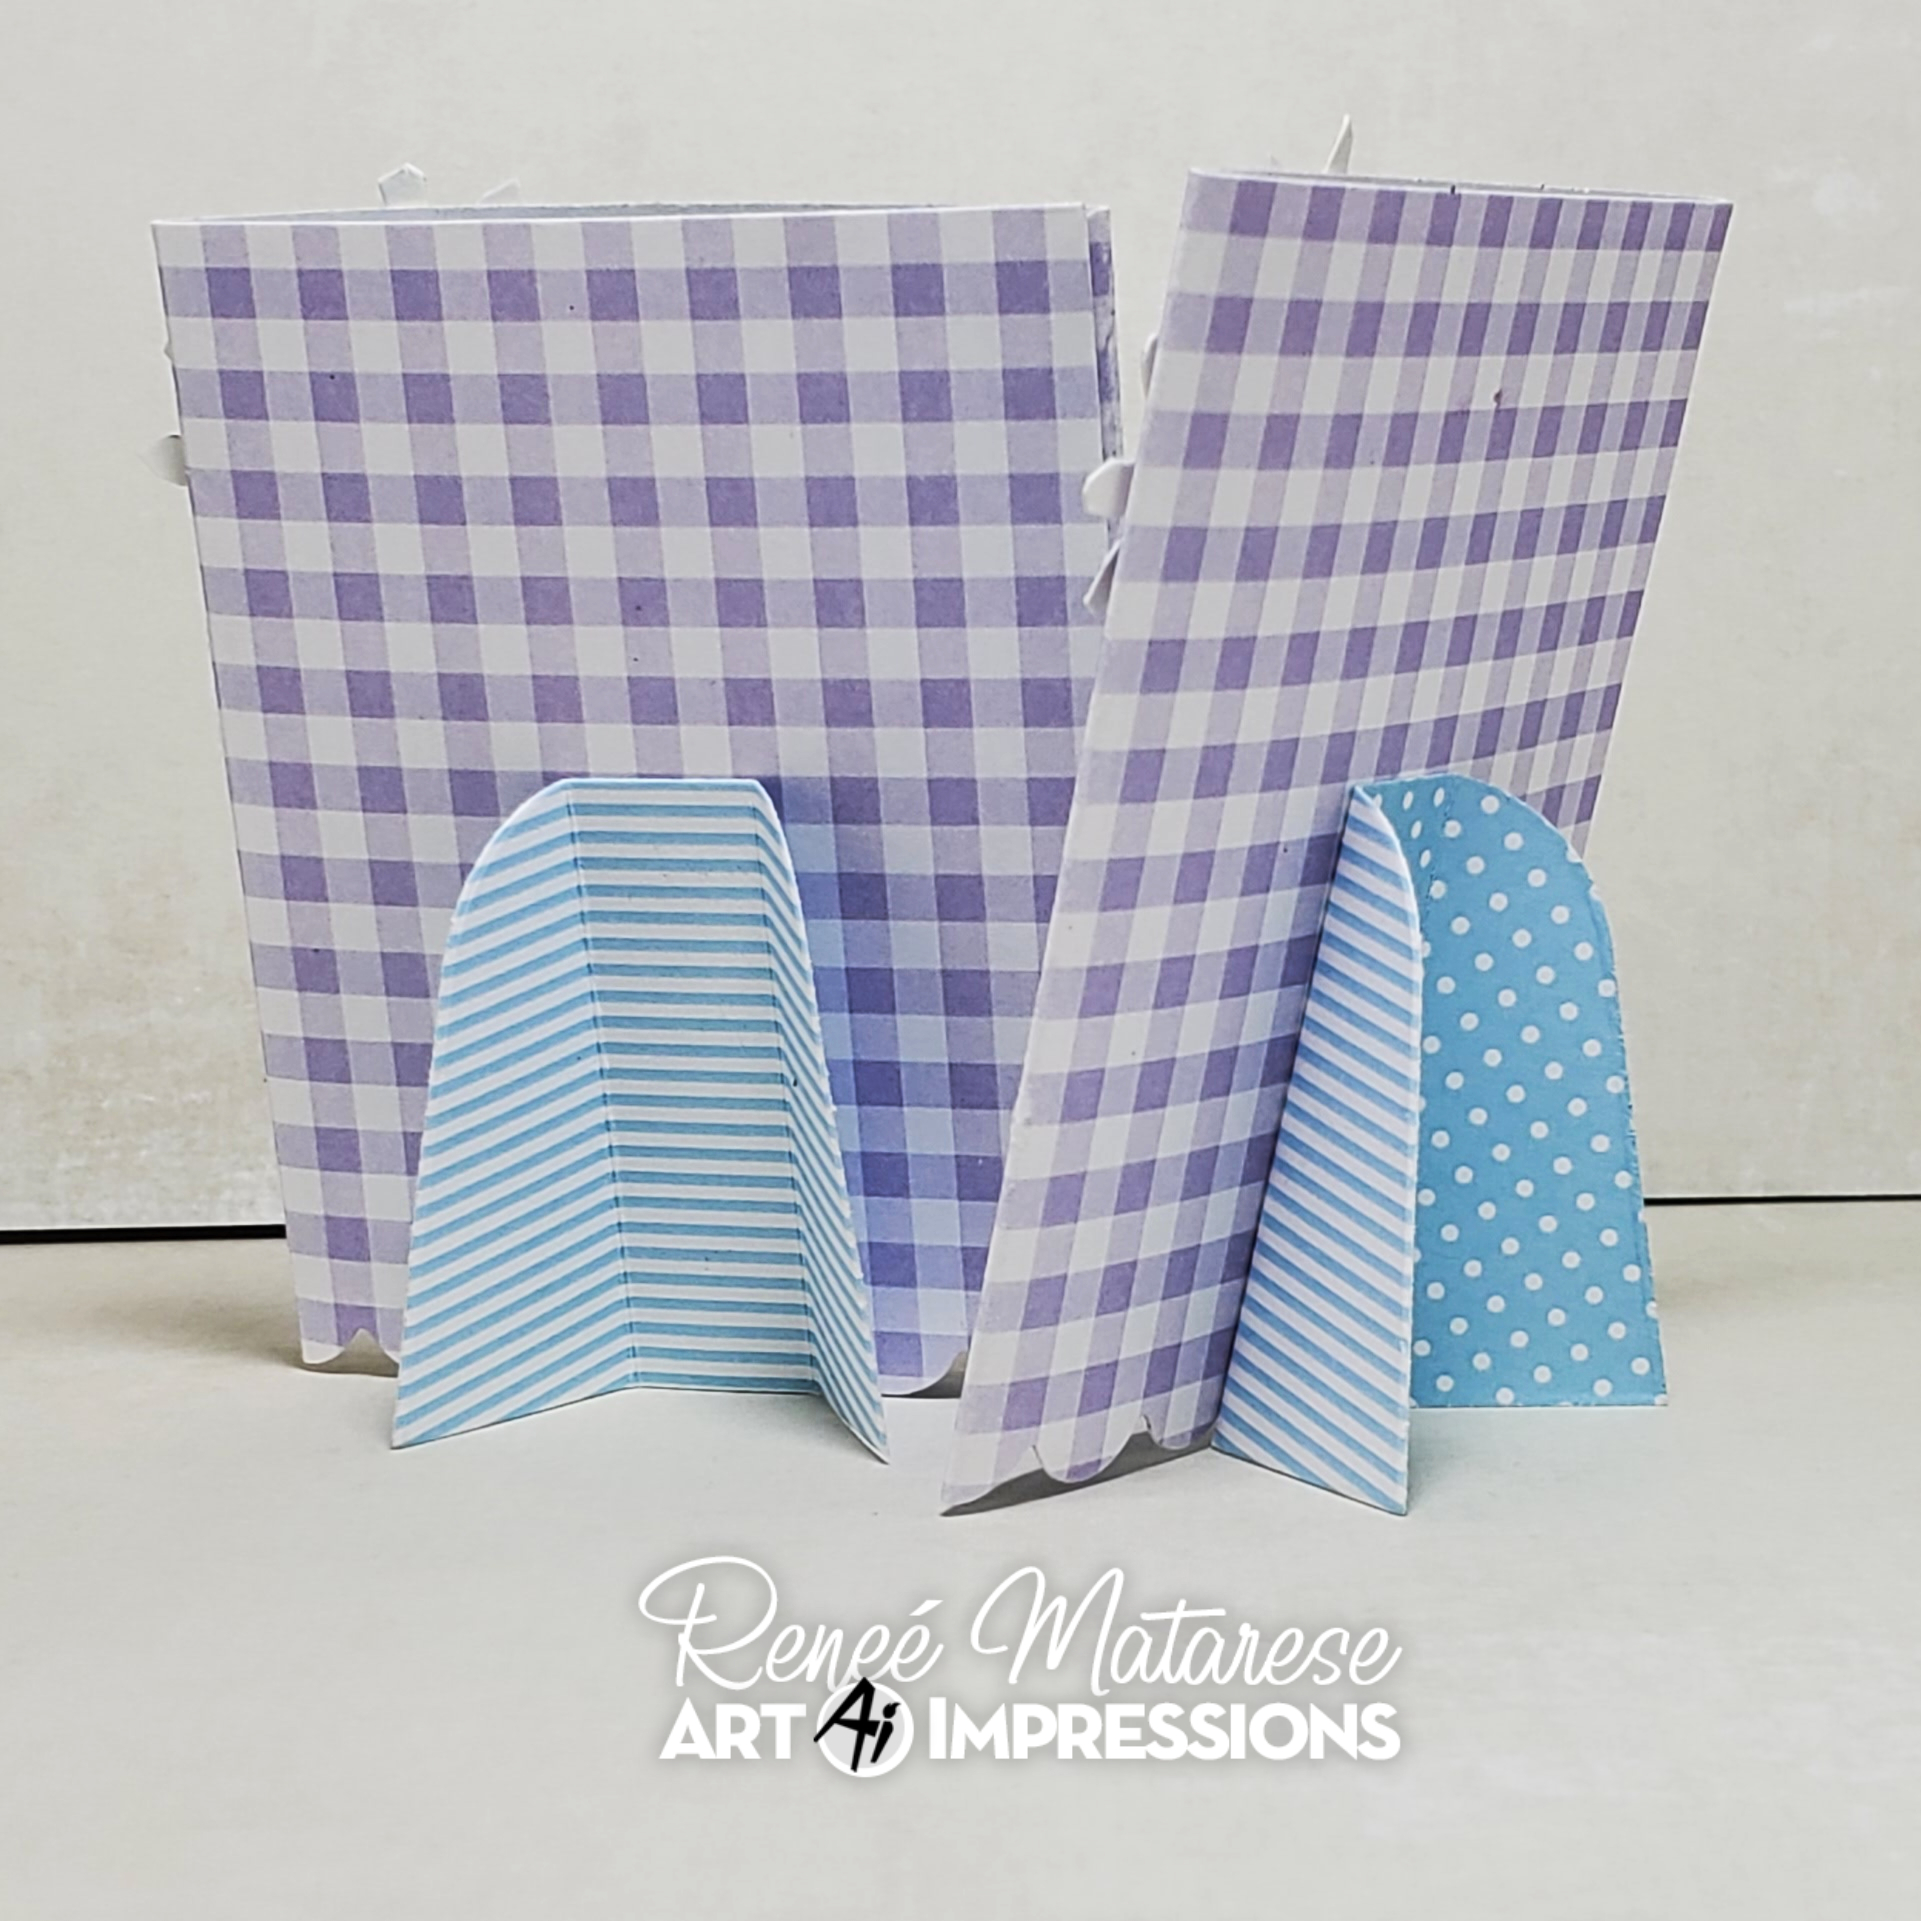
There is an easel to attach to the backs of the frames so that
they are free standing. What a great little piece of art they create.


Derwent Watercolour Pencils
Scarlet Lake 12
Light Violet 26
Kingfisher Blue 38
Turquoise Green 40
Ivory Black 67

Staedtler Watercolor Pencils
80, 124

Copic Markers
Y04, T2, B0000, B000, BV000, BV00

TwinTone
Gray, Sax Blue

Micron 005


Sunday, June 16, 2024

“Hit the Road” and “Buzzing by to Say Hi!” Cards by Diane Mason

Hello, and welcome to another Watercolor Weekend!

It’s Father’s Day here in the U.S. – shout out to all the amazing Dads out there! My first card today is inspired by Father’s Day. At first glance, it might look like a travel card, but let me explain. For many years while my children were growing up, we often found ourselves traveling for summer vacation, typically celebrating Father’s Day morning in some random hotel room along our journey. The bright summer colors of this card make me smile and take me back to all those fun summer vacations with my family.

"Hit the Road" Card:

I just love how a car stamp from a Christmas set (5823 – Christmas Cars Set) and a stamp from a travel set (5508 – Travel Accessories) can pair so well together to make an adorable travel scene! I started by inking the car stamp with N79, leaving off just a little of the top of the roof, and stamped it onto my Canson XL watercolor paper. Next, I inked the stack of suitcases in N79 and stamped them onto the roof of the car. Since the stamp is clear, I didn't need to use a stamp positioner. It was fun to color the suitcases in different colors for each family member. Guess which one is mine – lol! Starting from the top, I used the following colors: (case 1) 725, 977, and N25, (case 2) 403, 977, and 026 for the buckle, (case 3) 977 and N25, (case 4) N35 and N25. For the rope, I used 977 and a touch of 026. The car body was painted with 403 and I used 565 for the windshield. The tires were painted with N35. The headlight frames and bumper were colored in with a silver Signo gel pen. The license plate and headlights were shaded with 565.

I brushed in a watery sky in 403 and added shadows below the car in 565. Fine details were added where needed using a brown, black, or gray TwinTone marker. I stamped the “Little Moments” sentiment from 5797 – Little Things Sentiment Set onto teal cardstock and die-cut with a banner die. The multi-colored background paper is from 5892 – Easter S2 Paper Pack. I popped up the car panel and sentiment banner with foam tape.

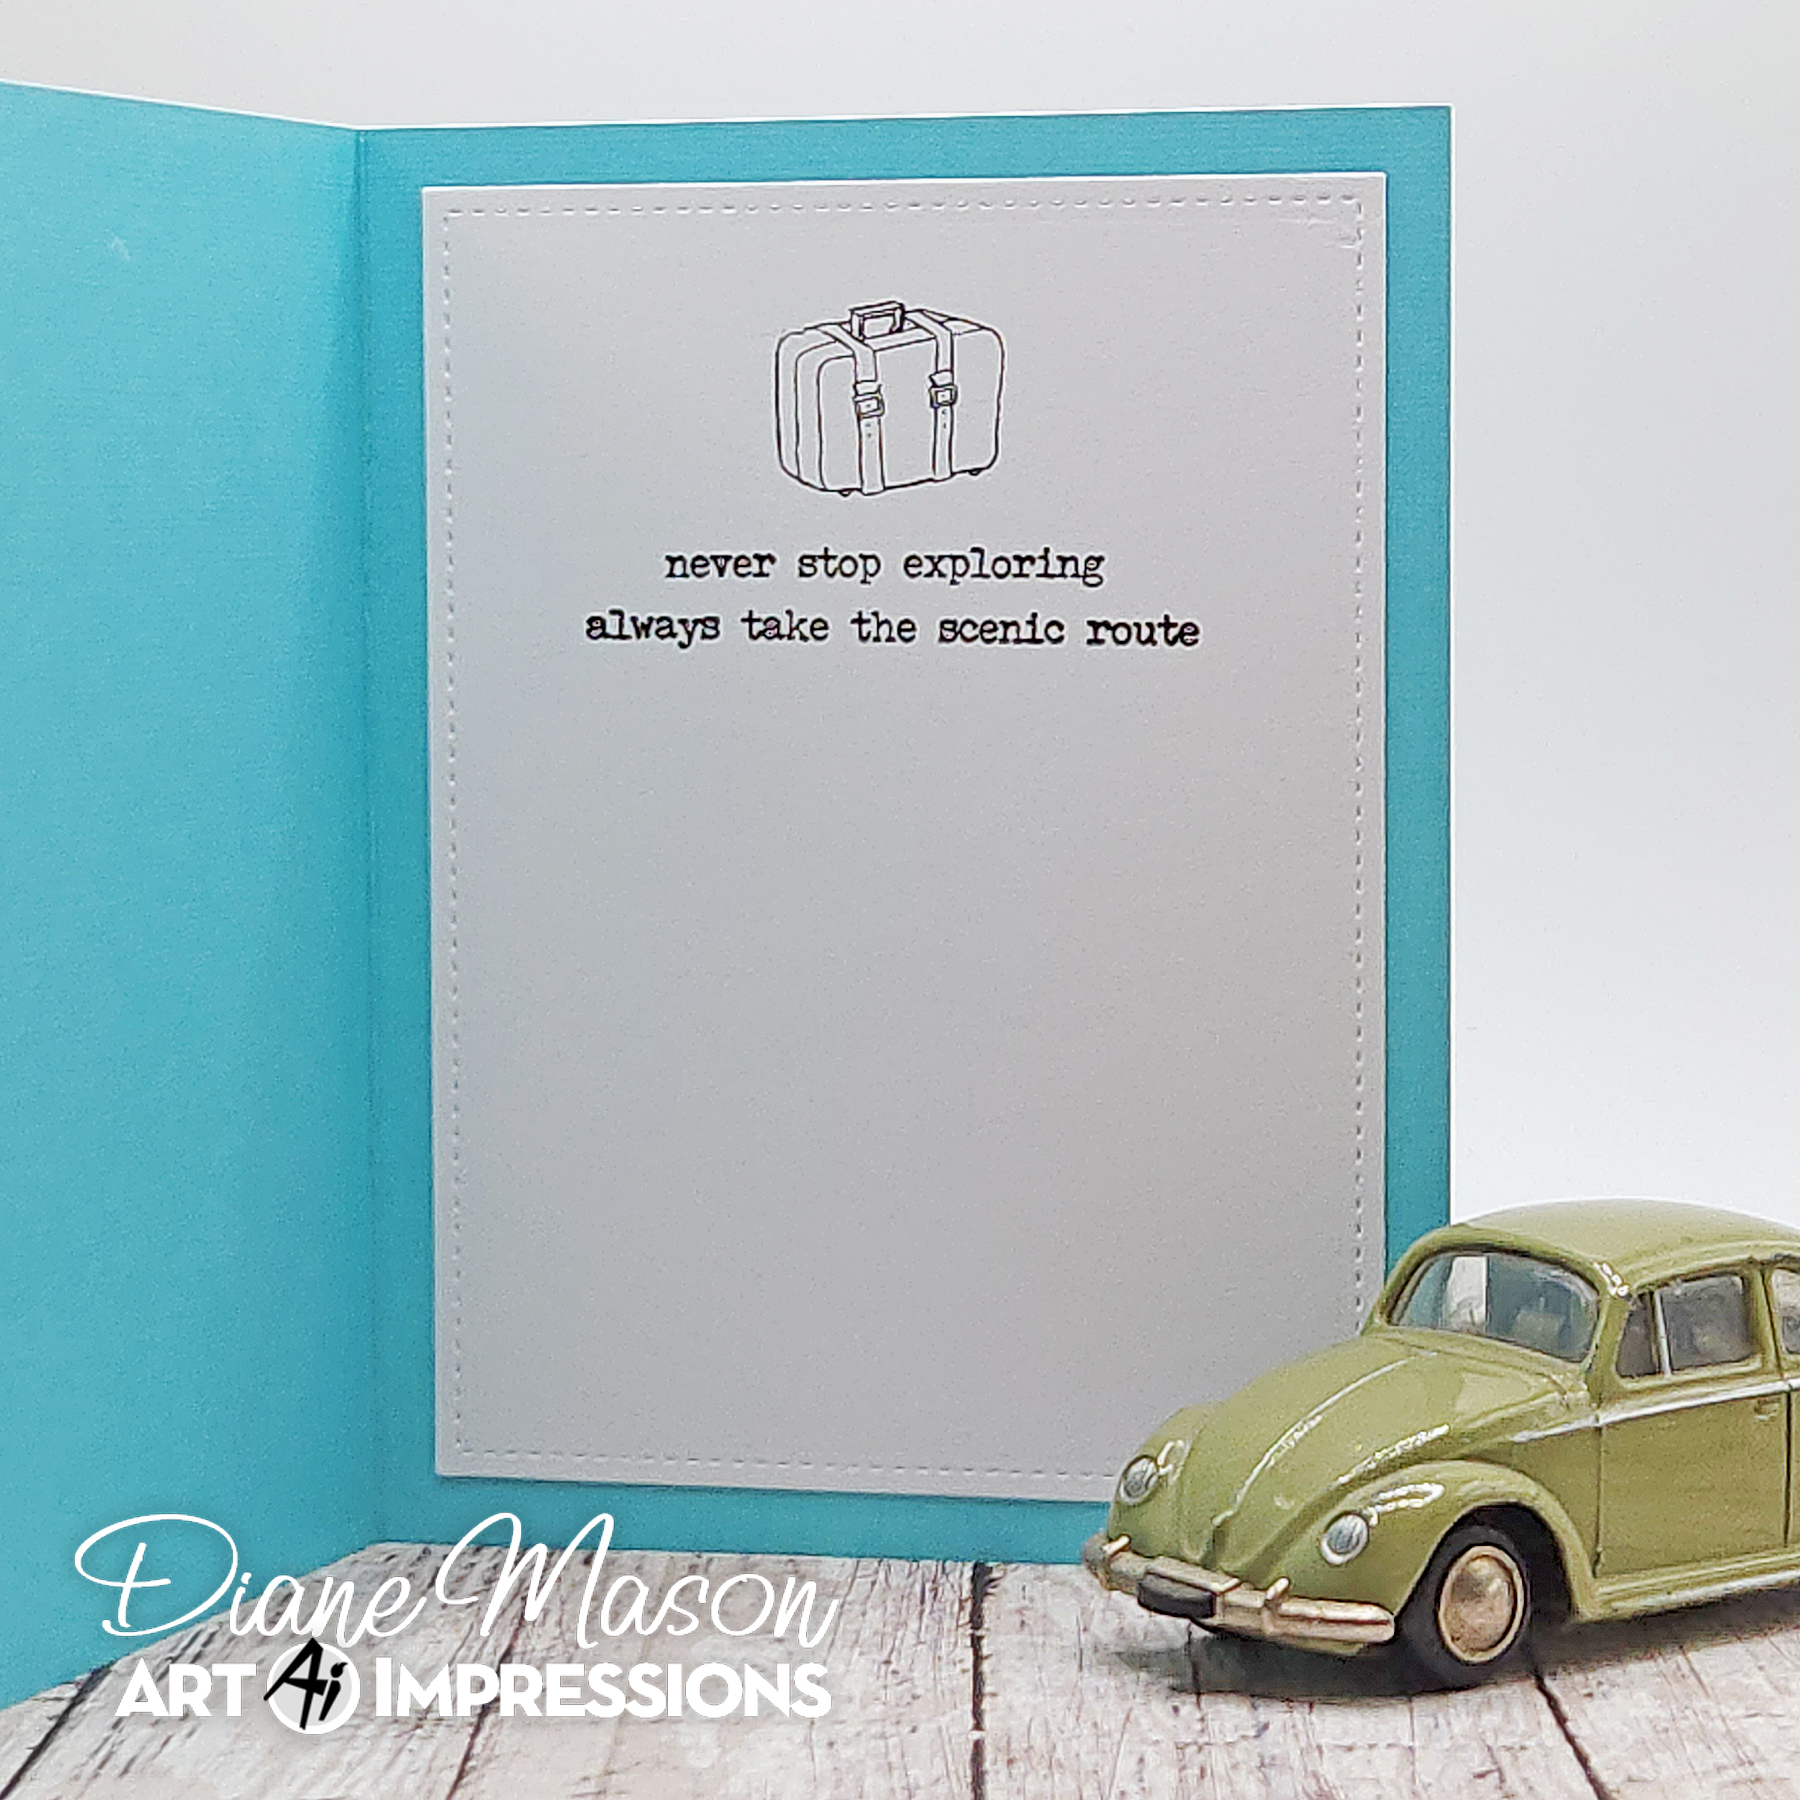
For the interior of my card, I stamped the sentiment and the suitcase in Versafine Onyx Black ink on white cardstock and adhered it to the inside. While I think this would be a nice Father’s Day card for my husband, for most it would make a great Bon Voyage or encouragement card. Now on to my next project…

"Buzzing by to Say Hi!” Card:

Just when I thought I couldn’t possibly love a new set more than the 5785 – Gnomes Set, Bonnie went and released the adorable 5925 – Honey Bee Set! Move over gnomes, hello bees! This fabulous new set includes multiple bees, sentiments, florals, a honeycomb, a honey pot, two beehives, and dies! I decided to make a “just bee-cause” type of card.

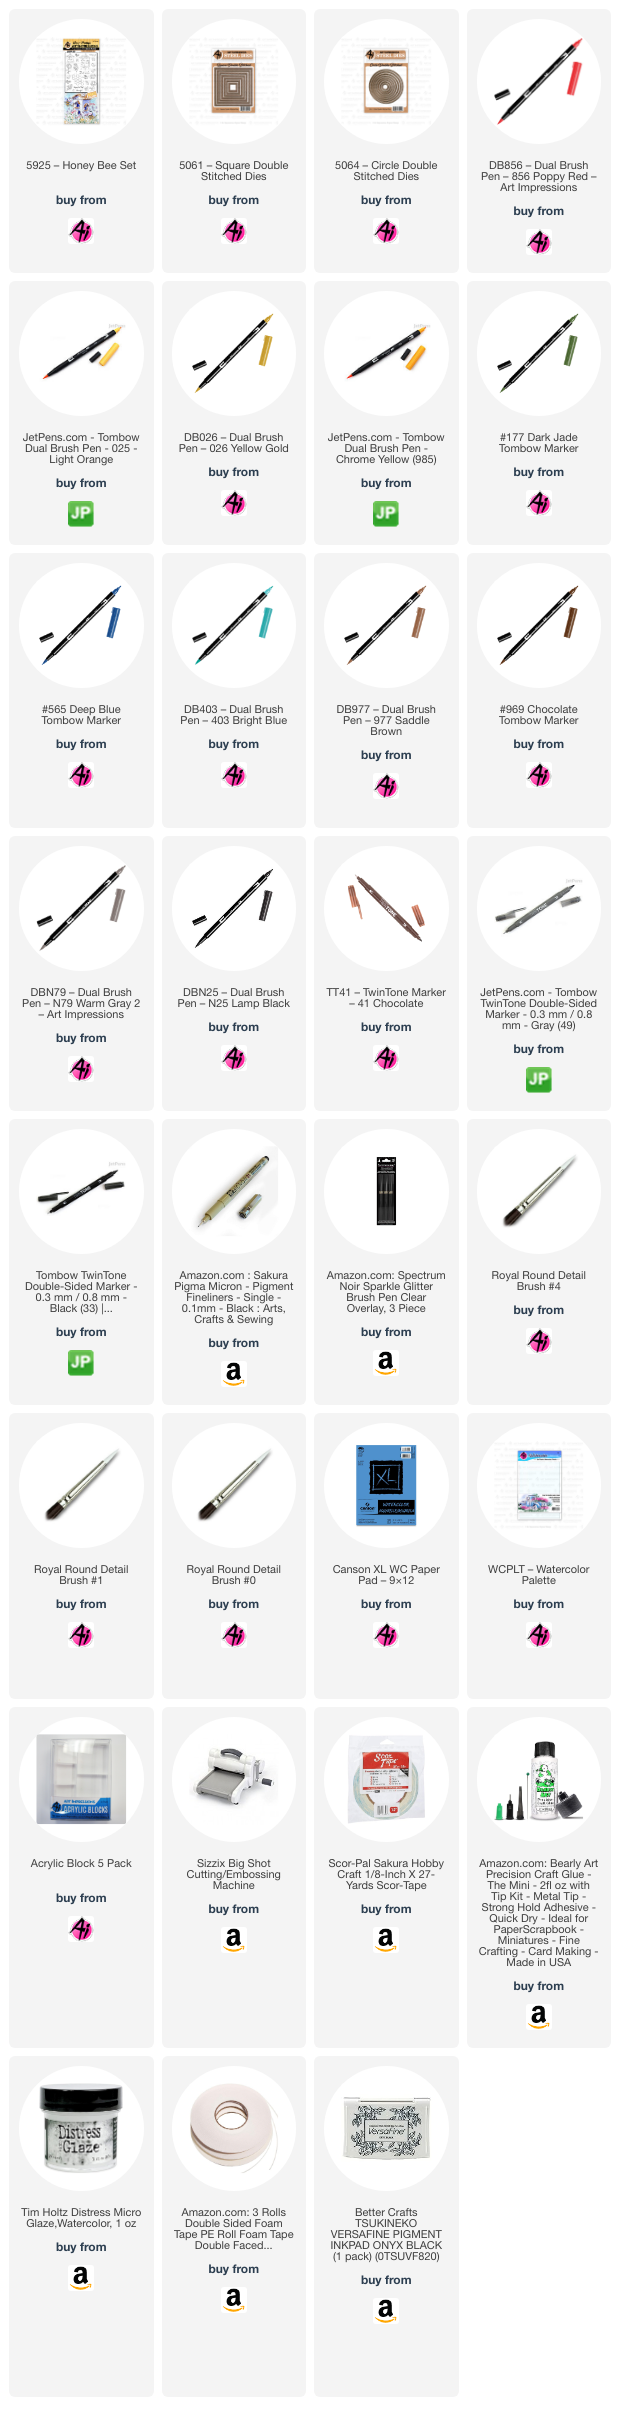
I started by die-cutting a piece of Canson XL watercolor paper using the largest square die from 5061 – Square Double Stitched Dies. Next, I inked the honeycomb stamp in 969 and stamped the image on the top left and again on the bottom right. With a damp brush, I pulled some color to shade the inside of the hexagon shapes of the honeycomb. I added 025 and then 985 to the hexagons to look like honey in the comb. For the areas surrounding the honey, I used 985. With a damp brush, I pulled out some color from the edges of the honeycomb to blend into the background. Where needed, I added a little 025. Next, I die-cut the center of the painting with an approximate 2.75-inch circle from 5064 – Circle Double Stitched Dies to create a window and set the circle aside for the interior of the card. I stamped the “Buzzing by to say hi!” sentiment in the top right using Versafine Onyx Black ink.

On another piece of watercolor paper, large enough to fill the window area and beyond, I brushed in a watery sky using 403. On another piece of watercolor paper, I stamped the bees in N79 and the hanging hive in 969. Using a scrap of watercolor paper, I die-cut a branch using the vine die from the Honey Bee set. The branch was painted with 177. Both bees were painted in the same way. N25 for the black areas and 025 and 985 for the yellow areas. I brushed the faces with a light mix of 977. Once dry, cheeks were added lightly with a small amount of 856. I used a black Micron pen to darken the antenna and facial features. A light amount of 403 was applied to the shadowed areas of the wings. For glimmer, I brushed the wings with Spectrum Noir Clear Sparkle pen.

Using a damp brush, I pulled color from the edges of the hive to add shadows and contours. For the roofs and decking, I used 977. The ring on top of the hive was lightly painted with N25. For the hive, I used 026 and 969. The opening was painted in 565. Additional shadows were added with 565. Details were added using a brown TwinTone. To assemble the 4 x 4-inch card, I glued the branch in place. I snipped the branch where the hive would hang down. I then glued the left end to the ring meeting the right interior. I glued the right end of the branch to the backside of the hive. Now the hive appears to be hanging from the branch. Foam tape was added to the frame, hive, and branch, attached to the sky piece, and then adhered to the card base. The bees were also adhered with foam tape.

For the interior of the card, I utilized the circle we set aside earlier. I stamped another bee with N79 and painted it in the same way as the other bees. The sentiment was stamped with Versafine Onyx black ink. I die-cut another square from white cardstock and matted the circle with gold cardstock and adhered it to the cardbase.

Thank you for joining me for another Watercolor Weekend! I hope you’ve enjoyed these cards. Remember, always take the scenic route and have a bee-utiful Sunday. Until next time, Happy Painting!

For the Hit the Road Card:

For the Buzzing by to Say Hi! Card:


Sunday, November 5, 2023

Christmas Cars and a Wintery Snowglobe by Karen Day

 Hello Ai Watercolour fans!  It's time for the Watercolour Weekend post.


It's Karen here with you this week, and I've been having a great time painting with many of the new Ai Christmas stamp sets.  I may have squealed when I first saw 5823 - Christmas Cars Set... it's possibly my favourite set ever created by Bonnie - so I couldn't wait to ink it up.


I'm using Bristol Smooth Cardstock today, as it is a lovely bright white colour, and it works well for snowy scenes.  I first cut out the decorative oval die shape, so I'd have my painting area defined for me.  I inked up first the car, then the presents using Tombows #969/565 - purposely stamping the presents just a little askew, as though they were precariously stacked on the roof, with the help of my stamp positioner.  I picked the larger wreath from 5830 - WC Mini Wreath Set, coloured it with #249, and stamped it on the front of the car.


I picked my colour palette according to my background paper, so started painting the car with #526, using a watered down layer on the hood of the car, which would be lighter, and a more saturated shade for the front and undersides of the vehicle.  #N45 was used to paint in the tires, and all the chrome bits around the headlights and grill.  I used #126/703/847/249 to paint in the presents, adding some diagonal stripes on some of the wrapping paper.  I painted in a wash of #565 as the sky, trying to indicate some snowbanks at the side of the road, and used it to shade under the tires, and on the windshield.  I lightly touched the wreath with a damp paintbrush, and added dots of #847 as berries.  To create my snow, I used Bleedproof White Paint to add snow on the parcels, car and wreath, along with a few snowflakes in the sky.

This was fairly quick and easy to paint - so I plan to make a bunch more to send this season.  To assemble my card, I cut out a slightly larger oval in the same warm pink shade as my present, and mounted it behind my scene.  I adhered it to my striped paper from the 5853 - Christmas Magic Paperpack

My second card to share is a Snowglobe Shaker card!  These are so little and fun to make - and there are so many possibilities to use with the shaker shape. 


I chose the snowmen duo from 5846 - Mini Christmas Set, using Tombows #969/565, and stamping them on Bristol Smooth Cardstock.  I then traced around them using the dome as a guide.  I cut out a mask, and covered up the snowmen, then used the smallest pine tree from 5826 WC Large Tree Set 2, and stamped it three times in #249 to appear behind them.  I painted in #526/847 on their scarves and clothes, and used #N45 for his top hat, adding layers to darken it at the sides to appear rounded.  I used my #933 marker directly on the paper for their noses, and then painted a wash of #565 as the sky, and as shadows around my snowmen - shadows are the key to making the snowmen stand out against a snowy background!  After touching the trees with a damp paintbrush, I used Bleedproof White paint to add snow to the branches, around the base of the snowmen, and as a few falling snowflakes.  I used my Twintone Navy marker to add in a few of the lines that needed to be darker - especially their faces.


I decided on a 5" square card, and chose several papers from the 5853 - Christmas Magic Paper pack, using the circle die that comes with the 5791 - WC Snowglobe Set to cut the opening in the striped paper.  I glued the scene to my card base, added some glitter and snowflakes on top of it, then adhered the 5808 - Snowglobe Shaker Dome onto it, sealing in all the shaker bits.  I added the striped paper over top, then added the base of the snowglobe, which I had stamped, painted and fussy cut out to complete my globe!  *Don't forget to remove the plastic coating that covers the dome, before you put the paper over top (ask me how I know!!)  The sentiment is included in the Snowglobe set.  I used a few of the snowflakes from the 5782 - Snowflake Frame Set to glue around my globe.


The air has turned cooler where I live in Canada, so I'm starting to feel festive, and am in the mood to create for the holidays.  I hope I've inspired you to pull out your supplies and get busy!  Have a wonderful Watercolour Weekend.

Christmas Cars:
Snowglobe Card: