


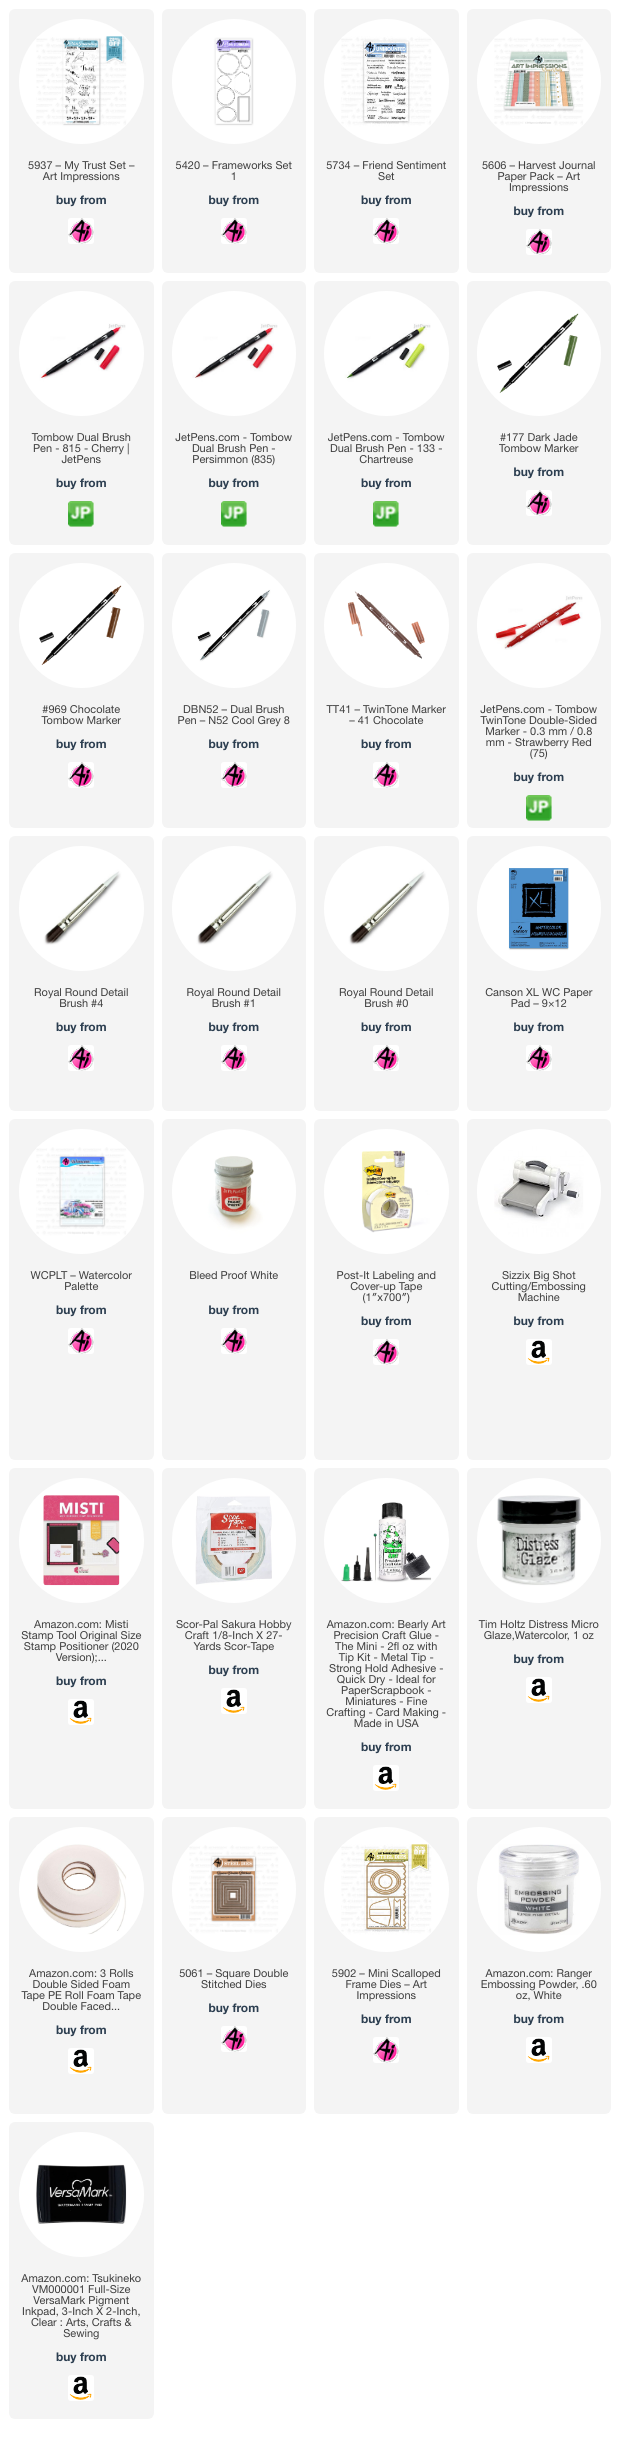
The first card showcases a beautiful floral wreath using the newly released 5937 - My Trust Set paired with an older set, 5420 - Framework Set 1. The second card features our sweet little gnome friend sitting on a park bench, enjoying a beautiful fall day in his quaint little village. For this card, I modified the 5745 - SF Stone Bridge set and inserted a woodland home from the newly released 5916 - Woodland Castle Set. Both cards include the "Friends Like You Make the World a Better Place" sentiment from 5734 - Friend Sentiments, making them perfect for spreading some cheer.


With all the flowers stamped and masks in place, I added extra leaves around the center flowers. I placed the vine wreath over the masked flowers, aligning with the pencil line, and inked in 969. Next, I used a damp brush to pull color from the lines of the flowers keeping in mind the direction of the light source for the shaded areas. For these small areas, I used a number 4 round brush and a number 0 round brush. I applied the same technique to the leaves and the vine wreath. To enhance the contours and shadows, I added more color from my palette as needed. For the leaves, I added highlights with 133. I darkened some of the areas of the flowers with 835. In areas of the flowers where I might have been a little heavy-handed, I used a small amount of our best friend, Dr. Ph. Martin’s Bleed Proof White, to add highlights. Next, I carefully painted in a dropped shadow along the wreath and flowers in N52. Using a Strawberry Red (75) TwinTone marker, I added dots to the flower centers and darkened some areas to enhance the details. I also used a brown TwinTone marker to add details to the vine wreath.

The painting was die-cut with a square die from 5061 – Square Double Stitched Dies and matted and popped up with foam tape on a 4 ½ inch square card base. The green-striped patterned paper is from 5606 – Harvest Journal Paper Pack. I heat-embossed the sentiment “Friends like you make the world a better place” from 5734 – Friend Sentiment Set in white and partially die-cut the banner strip with a banner die from 5902 – Mini Scalloped Frame Dies. I used scissors to cut the rest of the extended area and mounted it onto the card front with foam tape.

For the inside of the card, I inked and stamped a flower and placed it in the lower right-hand corner. I think this design would make a nice card for a variety of occasions.

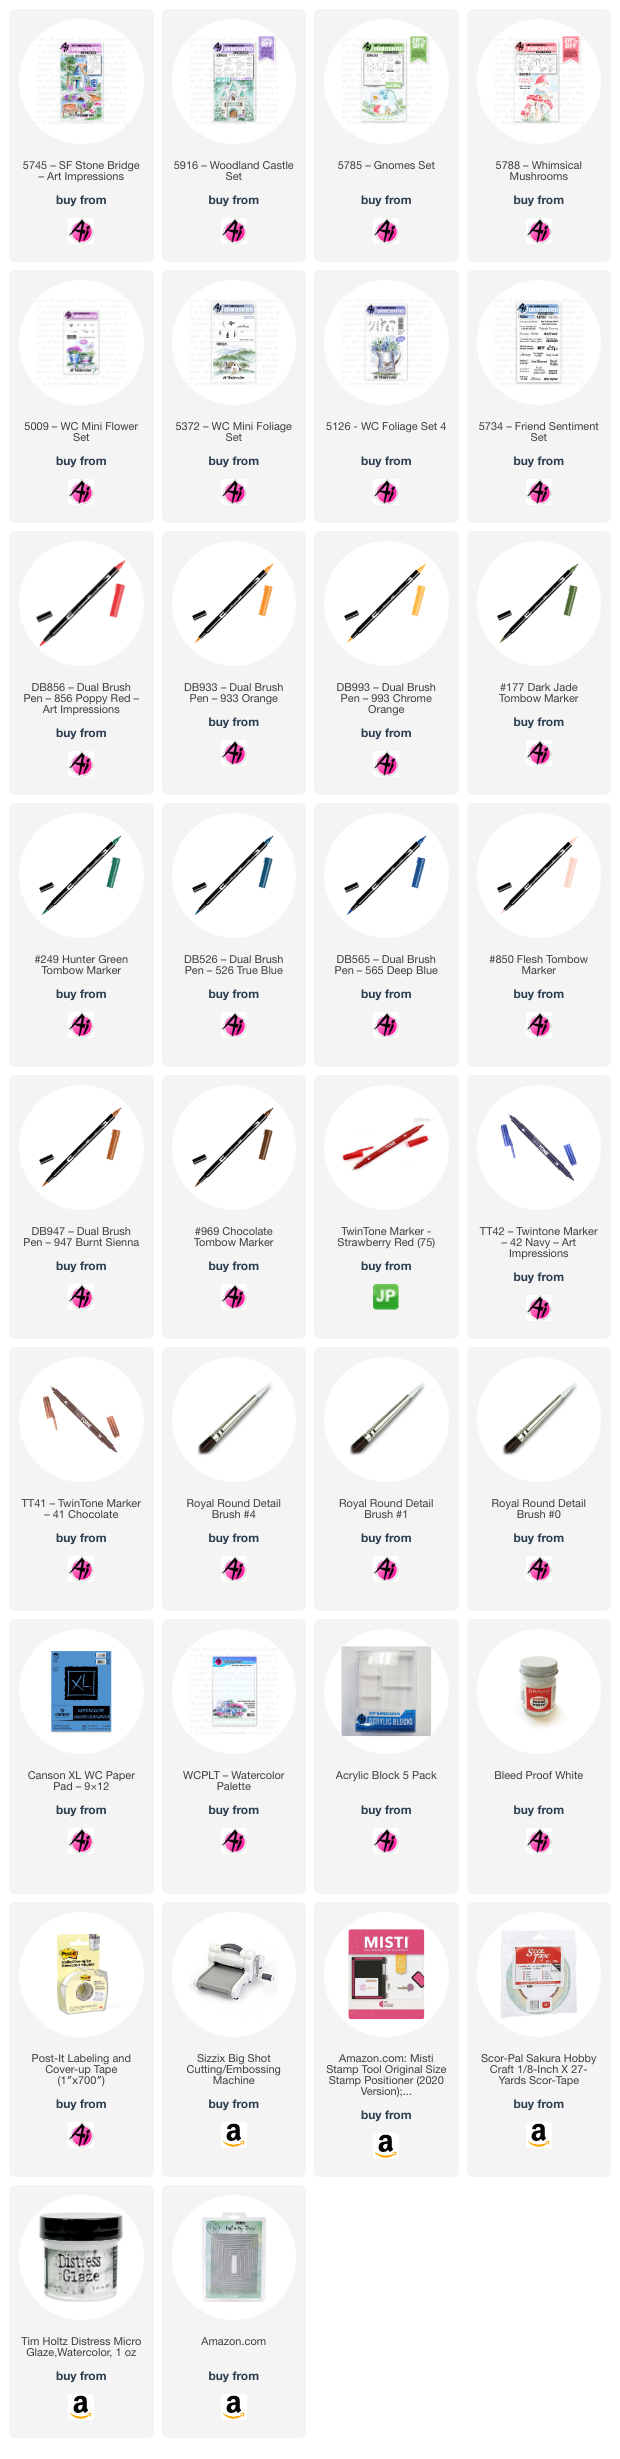
For my second version of the “Friends Like You Make the World a Better Place” card, I placed the sentiment on the inside. To create this whimsical scene, I modified the Scenic Foundations stamp 5745 – SF Stone Bridge by omitting the house and replacing it with one from the 5916 – Woodland Castle Set. I also added a sweet little gnome sitting on the bench to complete the scene.

This photo
shows the original house image from the packaging and the one I replaced it
with for a more whimsical look.


The placement of the gnome on the bench took a bit of planning. On a piece of printer paper, I mapped out the gnome placement by first stamping the scenic foundations stamp (I accidentally inked the house, but it didn’t matter since this was just a mock-up). Then I stamped the gnome on the bench. I used my MISTI for the stamping. Next, I stamped the gnome onto masking paper and carefully cut out a mask. In the first photo, you can see where the masking needs to be done before stamping the scenic foundation. The gnome’s hand needs to appear behind the arm of the bench. To achieve this, I placed my mock-up back into my MISTI, positioned the gnome mask in place, and aligned the scenic foundation stamp. I inked just the arm of the bench and stamped it over the gnome mask.


I removed the mask and trimmed away the area where the bench arm had stamped onto the mask. Then, I inked the gnome with 565/969, using the mask as a guide to carefully add ink, leaving off parts of the sleeve and parts of the hand where needed. Next, I stamped off the gnome once before stamping it onto my watercolor paper, using the mock-up as a guide for placement.


I stamped the
"Friends" sentiment on the inside of the card using blue ink and
added a stamped gnome to the bottom corner for a cute finishing touch.
Thank you for
joining me for Watercolor Weekend! I hope these cards have inspired you to
think outside the box and explore creative new ways to use your watercolor
stamps to create unique designs. Until next time, Happy Painting!


No comments:
Post a Comment