Showing posts with label 5785 - Gnomes Set. Show all posts

Sunday, August 31, 2025

When One Door Closes Gnome Home with GD Debbie Hedges

Hello Ai fans!

Every once in a while we just like to pick a talented artist and feature them as a Guest Designer.

This time we chose Debbie Hedges, and she's helping us out with our When One Door Closes challenge.


She created an amazing little gnome home and we're so excited to share it.

Please enjoy...

------------------------------------------------------------------------------------------------------------------------

Welcome to the newest bi-weekly challenge! I am excited to share Challenge #411 When One Door Closes. The first stamp set that came to mind was #5015 WC Hobbit Door set, so I built my project around that. For this challenge, think of anything with a door . . . houses, barns, cubbies, fairy houses, cars, etc.


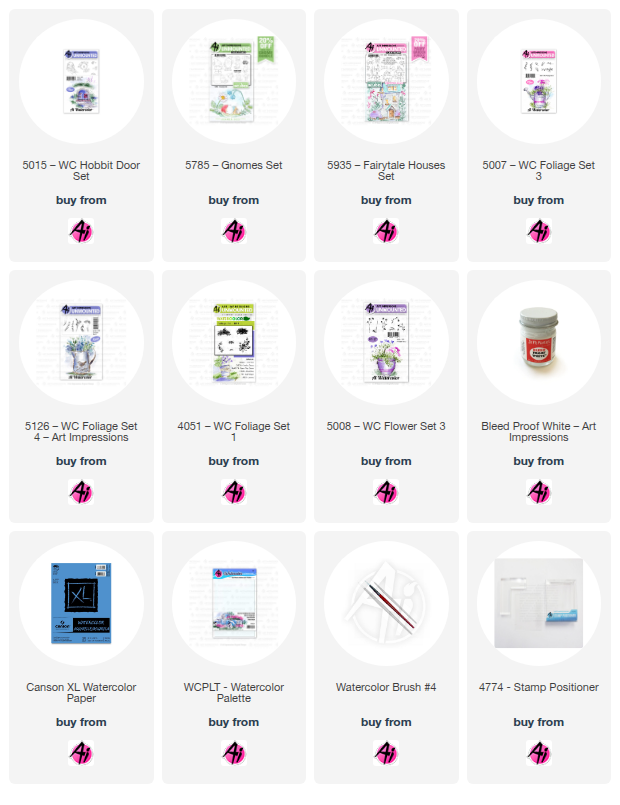
 I began by stamping the hobbit door in the center of my watercolor paper. I then used a ruler along the bottom of the door and lightly drew a horizon line for the base of my little “house.” I wanted the focus on the door. With my stamp positioner, I added the gnome and my three mushrooms. That gave me the base to work with for my scene. I began by painting the door in grey tones, adding shadows as needed. I then worked on the stone path, using sepia, grey and brown tones so that the stones were multi-colored and then went back and added shading to create dimension. Next I added a brown/sepia wash to create the idea of a wall for my door. I wanted it to have light and dark areas for interest. I then used the vine to climb one side of the door by stamping it once from the base of the door, then only inking portions of it to go around the arch. I used my positioner for placement. It is a great tool to preview what it will look like before you commit it to paper! I then touched each leaf with my brush to soften the color. I used a single flower bud and my stamp positioner to add the purple flowers in the vine and then touched each one with my brush to soften. My next step was to paint the mushrooms and gnome. This is not my first attempt on this project and for this one, I wanted the mushrooms to have added color – not just yellow and orange. So, they are shades of yellow at the base, to orange, to red and then some purple at the top of the largest mushroom. The base of the mushroom are shades of brown and I added some brown lines for ridges. For the gnome, I used the same red for his hat, and gave him a steel blue jacket, green pants and brown boots and belt. I added some grey tones to his white beard for shadows and used a flesh tone marker for his nose – adding pink to the bottom for shading. To finish this up, I needed to add teeny tiny grass along my horizon line along the base of the wall. I created a paper mask for the mushrooms and the gnome and just used post-it tape to protect the door area. Once the grass was stamped, I used the fine tip of my green marker to add some stalks of grass in front of the mushrooms. I also used the grass to stamp some grass along the steps on the stone path. Once that was stamped, I pulled the color out and then created a wash of green for the foreground. I then used the taller grass to create a clump of grass behind the gnome. I love to add a few leaves to the top of a project to finish it off. It gives the feeling that tree branches are hanging down. So, I used the leafy branch – it is one of my favorites – and just stamped it a few times along each top corner of my project. I then added water to each leaf to soften it. With a ruler and a pencil, I lightly added some horizontal lines to give the idea of siding and added a few vertical lines in random spots along with a couple dots for nails. All of this was very faint. Then with Dr. Ph Martins white paint, I added a small dot highlight to the door handle, a single dot in the middle of each flower bud, multiple dots on the mushrooms, and small dots on the grass along the path so it looks like tiny white flowers. There are a few random tiny white dots on my foreground as well. I then added dots to the top of the tall grass clump to create three daisies. When it was fully dry, I added orange dots for centers. I also added some white paint for dimension on the gnome’s beard. I hope you like it and will give it a try! Here are the stamps I used for this project along with the links for the stamp sets.


Thank you so much Debbie for your beautiful creation and inspiration.

You can enter your "door" craft HERE.

Thursday, August 7, 2025

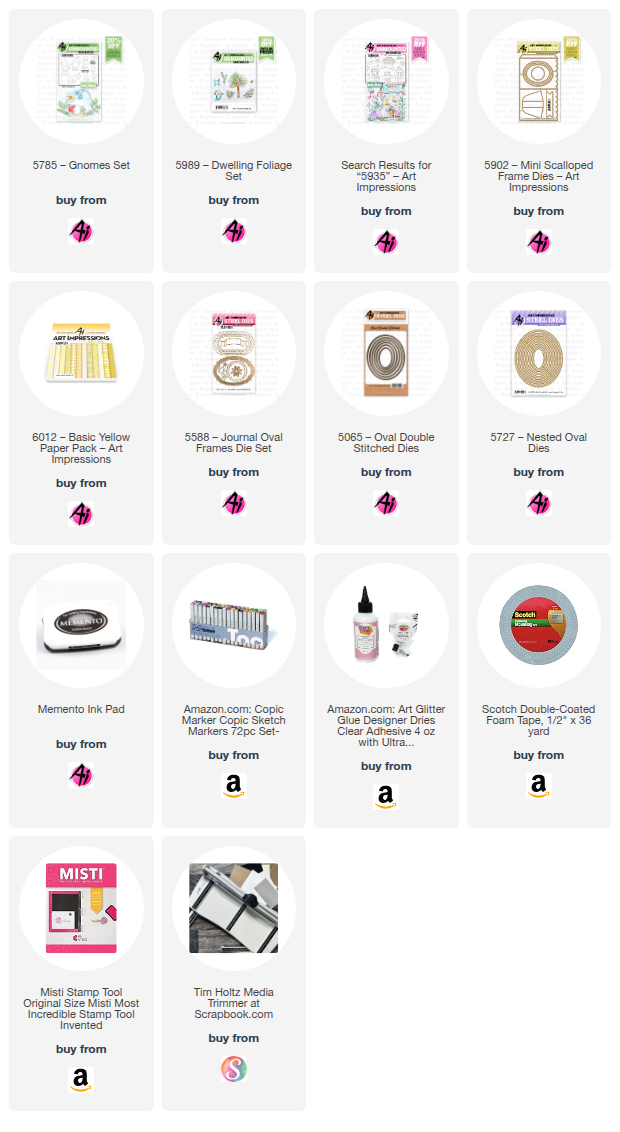
Gnome Frame by Dori Mendiola

Happy Thursday AI Friends!

Today I have a cute little frame that fits right in with the current blog challenge called "Stitches and Scallops".  I love this little #5902 - Mini Scallop Frame set.  It makes the cutest little display card for a desk, mantel, shelf or anywhere for that matter.  This one with the gnomes brings a smile to my face.
        

I began by stamping the images onto copic friendly paper with Memento black ink and coloring with my copic markers listed below.  The gnomes (5785 - Gnomes set) and the bees (5935 - Fairytale Houses) were cut using their corresponding dies that are included in these sets.  
The scene was stamped onto a 3 x 2 1/2" piece of copic friendly paper.  The tree stump is from the 2025 freebies part 1 - #5999 - Exclusive Stump House (still available, just request in the note section on your order).  If you don't have that freebie, you can use the stump from the KH5951 - Foxes set and draw in the door and window.  I colored, free hand, the walkway and the grass.  Don't look too close because they are pretty rough.  😞  The leaves were stamped with Memento black ink using the 5989 - Dwelling Foliage set and colored with my copic markers.

I die cut the frame from a piece of striped paper from the 6012 - Basic Yellow PP using the #5902 - Mini Scallop Frame die.  I also die cut the oval opening using the #5727 Nested Oval die.  I then die cut a stitched oval frame to place on the outside of the oval opening using the #5065 - Oval Double Stitch die with a slightly larger nested oval from the #5727 - Nested Oval dies.

I popped the gnomes up on foam tape and adhered one to the top of the stump and the other to the outer side of the stitched oval frame.  I adhered one bee directly to the image and the other to the outer frame.  Lastly, I cut the sentiment banner from the #5588 - Journal Oval Frame set and stamped the sentiment from the #5785 Gnomes set onto the center of the banner.  

Oops, almost forgot the easel.  Make sure to die cut one from the #5902 - Mini Scallop Frame die and adhere to the backside of the scallop frame so that it stands nicely.


That's it for me today.  Hope you play along and enter the challenge "Stitches and Scallops" to win a free stamp set of your choice.  It's easy and so fun (especially if you win). 😁

Have a great weekend and keep creating but make sure to share because we love inspiration!

Copics used:  E01, E11, E21, E23, E25
W0, W1, W3, W5
Y15, Y17
B32, B34
G40, G43

Monday, July 7, 2025

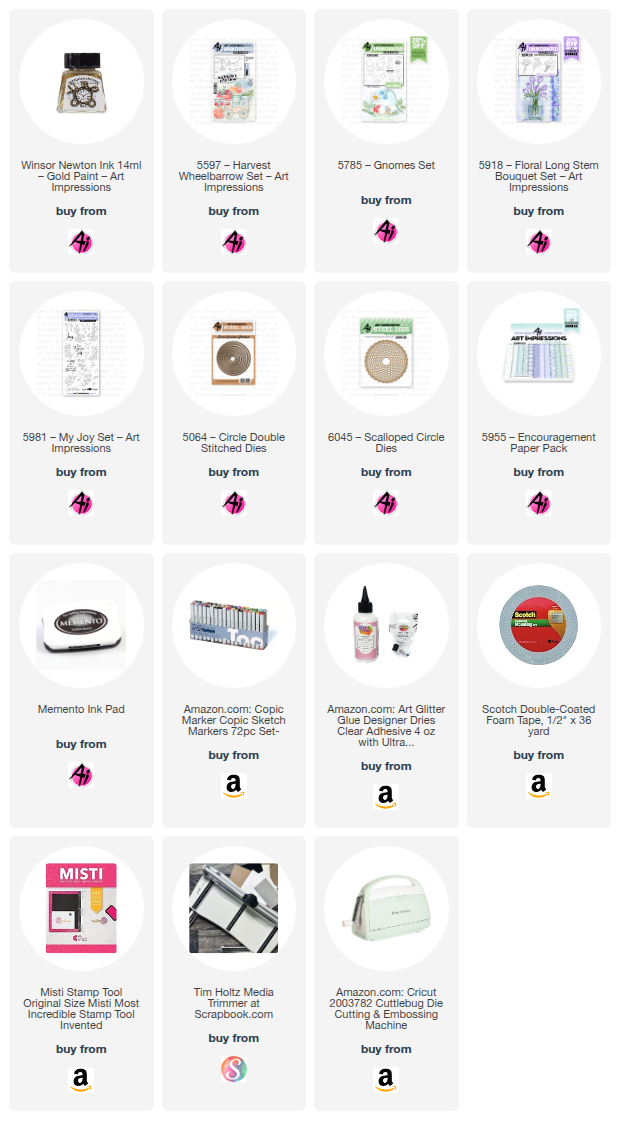
Rusty bucket of daisies by Sharon Caudle

 Hello AI Fans!!

I hope you've had a wonderful weekend and a safe and happy 4th of July if you celebrate! So, who doesn't love old rusty buckets, daisies, and gnomes?! LOL! I created a cute summer scene for you today using several different sets from Art Impressions. I started out using the bucket from 5597 Harvest Wheelbarrow Set. When I stamped it onto my Copic friendly paper, I also stamped another one onto masking paper. After applying the mask, I stamped one set of the daisies from 5918 Floral Long Stem Bouquet Set and also created a mask for that stamp.  That allowed me to stamp another set of them on the other side of the bucket to fill it up. Have you seen the new Winsor & Newton Gold Paint that Art Impressions is carrying now? Gorgeous and so easy to use! I grabbed it and a butterfly from 5981 My Joy Set. I messed one of them up (sad face), but I still love the way they look! I also added the paint to the centers of the flowers, the leaves, and the belt and button on one of the gnomes! I love the glimmer it added to the card! 


So that's it for me today! Thanks so much for stopping by for a visit and until next time - stay crafty!!


Saturday, February 15, 2025

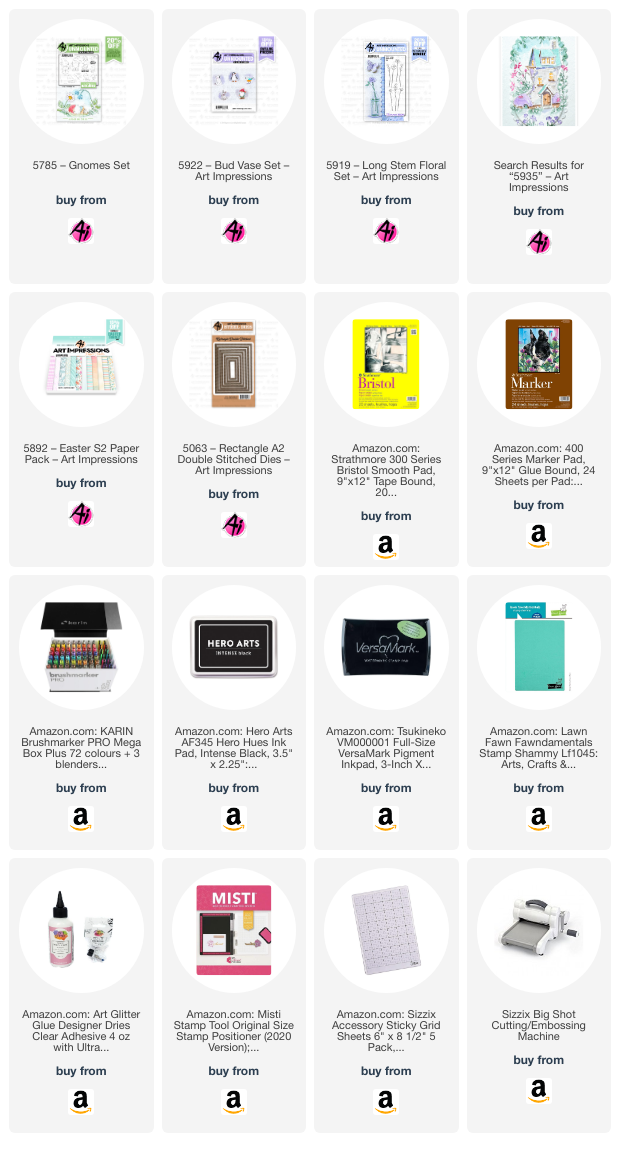
Friends Gnome Matter What! by Janet

Valentine's Day has come and gone but it's the first step in the march toward spring. I was feeling in a pastel mood and the light spring colors of the season inspired the card I made this week. There's no easier way to get a soft look than by using water colors. I used my Karin Brushmarker Pros for my images. I'm the first to admit that I'm not a pro watercolorist but I do like to take my pens out occasionally. It's fun to stretch my skills and though it's not my best medium, I still enjoy trying. Most times, the results are worth the effort and besides, you can't get better if you don't practice!

My card features many different stamp sets. The vase and flowers come from 5922 - Bud Vase Set and 5919 - Long Stem Floral Set. Once I stamped and colored this composition, I fussy cut it out. This is the only image that didn't come with matching dies but fussy cutting it wasn't hard. Next I stamped two butterflies and a set of mushrooms from 5935 - Fairytale Houses Set. Once I colored them, I cut them out with their matching dies. I also cut a small piece of grass with a die in the set and water colored it.

The next step was to create a wide stitched frame from cream pearlized cardstock. To make the frame I used two dies from 5063 - Rectangle A2 Double Stitched Dies. I love making frames with this set because both the outside and the inside of the frame are imprinted with stitch marks. I added a rectangle of acetate behind the frame and then I applied two layers of foam tape around the window. Before doing more, I stamped the acetate window with the sentiment using StazOn ink so it wouldn't smear. 

The A2 card is a pre-printed one from my stash. However, I added a scrap of striped coordinating paper from one of my most favorite paper packs, 5893 - Easter S2 PP. I then mixed up the filler for the shaker. I chose clay shaped sprinkles, flowers, and clear beads. I added a few large dark pink and light pink flower sequins as well. I placed the shaker bits in the middle of the striped paper and then secured the frame in the center of the card with all the bits securely inside. 

Finally I could arrange my little scene on the frame. I cut the lattice out of matching cream cardstock using 5589 - Journal Pocket Set and glued it in place to create a little fence at the base of the frame. I composed the flowers, gnome and grass on the right corner and placed the mushrooms on the left. I folded the wings of the two butterflies and glued them in place too. Then for the finishing touch, I glued two small white seed beads on the heads of each of the butterflies.

And there you have it! Thanks so much for joining me here at the blog today. As always, please visit the Ai Store for the products I used and all the things you need for your card, journal, and tag making projects. Happy creating!

Janet YouTube - Blog - Facebook - Instagram - Pinterest 

Thursday, February 6, 2025

Highlights Challenge #396 Week #2

 Hello and welcome to week #2 of our Highlights challenge.

We're looking for your projects using white gel pens or Dr. Ph Martin's to add some HIGHLIGHTS to your creation.

Last week, as our Featured Artist, Tasha created this DARLING mailbox scene.
Next we have Sharon with the absolute, most amazing double slider card.


I made a cute frog Valentine.


I also made a  fox card using Kimberley's fox set because...you know I love animals like she does!
5951 KH – Foxes Set


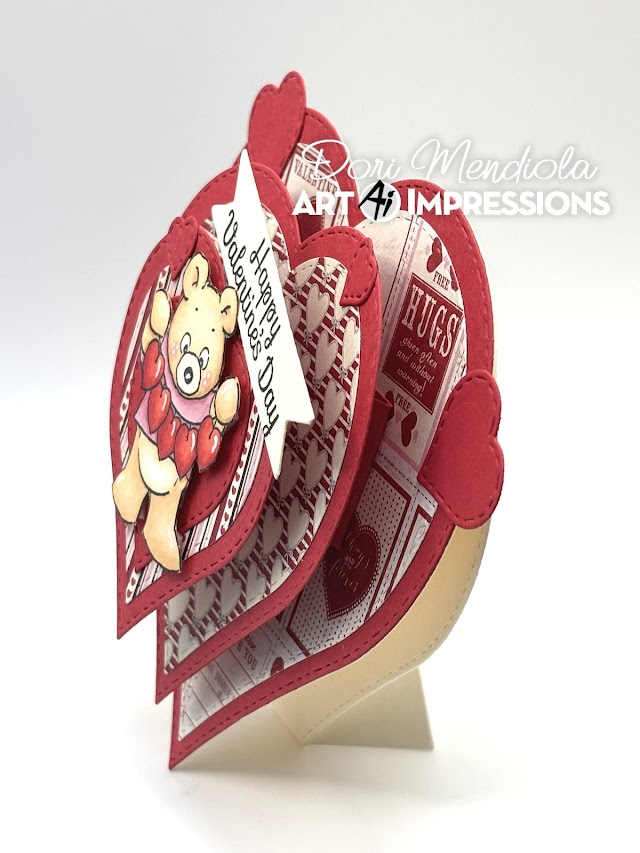
Dori created an incredible, dimensional Valentine using...
5005 - Valentine Bears


Visit her blog post to hear and see how she created the dimension on her hearts.


Lynn has a lovely floral card for you.
Visit her blog post to view her video tutorial.


Janet proves that bunnies aren't just for Easter with this sweet Valentine.
5221 – Sending Love Cubbies


I hope you enjoyed all of the wonderful inspiration from our Design Team members and hope that you'll decide to join in on our challenge! You may be the next winner of a free stamp set of your choice.

Did you see the latest release at Art Impressions this week?
Check out the website for new dies and the most recent stamp and paper releases.


Have you always wanted to meet Bonnie and Kim?
Here's your chance. This June is the 1st Annual Bible Journaling Retreat.
Visit the website for all of the details and sign up to reserve your spot.
Seating is very limited.


Now, get busy creating your project using a white gel pen or white paint.
We can't wait to see what you make!


You are invited to the Inlinkz link party!

Click here to enter


Monday, February 3, 2025

Double slider magical birthday card by Sharon Caudle

 Hello AI Fans!

I've got a double slider card to show you today that I created for the current Highlights Challenge. So it looks like this small, unassuming card when you first look at it. But when you pull on the pull tabs, it turns into this amazing scene. I loved creating this and I really do like how it turned out. I started by stamping all these amazing images onto a Copic freindly paper using Memento Tuxedo black ink and then coloring them with Copic markers. The colors I used are listed below. I cut the three panels and stenciled a cloud background using distress oxide ink and a cloud stencil. This card might look impressive, but it's really quite easy to assemble.  There's a piece on the inside that you wrap a slick piece of plastic baggie or something along those lines.  (I acutally used one of my doggie waste bags - unused of course...yuck!! - LOL! Then you attach one of the pull panels to the front of the baggie, and the other panel to the back of the baggie. So when you pull on them, they slide right out of their little pockets! It's really quite awesome! There are lots of You Tube videos out there that show you how to make them. Just do a search for double slider cards. You can either use dies that are made for them, or create it yourself. Either way - they are lots of fun and impressive, I think! I used several Art Impressions sets to create this. They are all linked below for your convenience. 


And the view with both sides pulled out to reveal the entire scene. 


That's it for me today! Thanks so much for stopping by for a visit and until next time - stay crafty!!


Copic markers used:
E000, 00, 11, 21, 23, 33, 51, 53, and 55
G43, 46, 82, and 85
Y000, 00, 02, 11, 13, 17, 35, and 38
B000, 00, 32, and 34
R01, 11, 12, 20, and 85
BV000, 00, and 02
RV32 and 34
BG34, 49, 90, 93, and 96
W1 and 2
C3 and 5
V01 and 04


Saturday, January 25, 2025

New Guest Designer Challenges for 2025: Welcome Simone and Sara!

 Hello Ai fans!

This year for 2025 we have a brand new challenge concept for you.

We will be featuring two Guest Designers who will take turns being our featured artists throughout 2025.

Drum roll please...

Welcome Simone Carr and Sara Furr!


These two artists have wowed us in 2024, so we will be sharing their art with you all year long.
We're calling this Spotlight on Simone and Sara.

On the first of most months we will be sharing two cards from one of our Guest Designers.  They will fill you in as to how they created their cards or projects.

Then, YOU can enter any Art Impressions creation at all that you've created for your chance to win a free stamp set from Art Impressions or a "freebie" from me! (The freebie from me will be for US addresses only but the set from Ai is open to international fans as well!)

This will be a RANDOM drawing so all ability levels are encouraged to enter.

There will be NO theme, so anything goes each month.
Create whatever you like. New baby on the way? Great! Special birthday or anniversary? Perfect. Maybe you just felt like creating something pretty. Enter it!! Just be sure to use Ai products on your creation.

Like with our Bi-Weekly challenge, there will be a limit of two entries per person.

Now, let's see what wonderful inspiration Simone has for you for her debut as our new Guest Designer!

------------------------------------------------------------------------------------------------------------------------

Hello Crafty Friends,

I feel honored that Renee approached me with the opportunity to be a guest designer throughout the year. I’m excited to share my projects and hope they inspire your creativity along the way!

For this card, I decided to repurpose some 1" white cardstock strips leftover from cutting my panels. Instead of discarding them, I inked the strips with Distress Oxide inks in Spun Sugar, Kitsch Flamingo, and Picked Raspberry. On a 4 1/4" x 5 1/2" piece of cardstock, I adhered double-sided tape and carefully arranged the inked strips. To give it a polished look, I added thin mirri mats over the joints where the strips met. Once the panel was complete, I die cut it using a rectangle die, adhered it to a mirri mat, and attached it to the card base.

I stamped the Love Birds (AiCS27) using Tombow markers (969 and 565) on Canson watercolor paper. Using a stamp positioner, I aligned and stamped the branch from the Branches Set (4964) beneath the birds. After coloring the images, I die cut the birds with the 7th largest circle die. I also die cut a vellum circle using the 2nd largest stitched circle die and layered the bird image on it with 1mm foam tape for added dimension.

To create the wreath—though you can use any wreath die or embellishment you have on hand—I die cut it from white cardstock and ink blended the flowers with the same colors I used for the background. The wreath was adhered to the bird circle for a cohesive design. For finishing touches, I placed heart embellishments on either side of the card and added Nuvo Crystal Glaze for a glossy, dimensional effect. To add a bit of sparkle, I placed rhinestones at the center of the flowers.

Materials Used:

Stamps: Love Birds (AiCS27, retired), Branches Set (4964), Foliage Set 4 (5126), Nest Circle (5726)

Dies: Double Stitched Circle (5064)

Inks: Distress Oxide (Spun Sugar, Kitsch Flamingo, Picked Raspberry)

Markers: Tombow (969, 565, 856, 452, 993, 177)

Other: Nuvo Crystal Glaze, Vellum, Foam Tape (1mm), Mirri Mats, Heart Embellishments, Double-Sided Tape

This card was a joy to make, and I hope it inspires you to give your scraps new life in creative ways!

Happy crafting,

Simone

For my second card, I worked with the charming Gnome Set. 


I began by stamping the image on Canson watercolor paper using Tombow markers in 969 and 565. With the help of a stamp positioner, I stamped the flowers in the pot, using 177 for the stems and leaves and 725 for the flowers.
After completing the stamping, I colored in the image with Tombow markers. I then die cut the image using the 5th largest die from the Nested Rectangle Set (5724) and added a mat just slightly larger than the image for a clean, layered look.
For the background, I used paper strips from the Valentines Paper Pack, measuring 1 ½” x 5 ¼” and ½” x 5 ¼”—a great way to use those smaller scraps of paper we all tend to have. I adhered the strips to the card base and added foam tape behind the gnome image to give it some dimension. Once everything was adhered, I stamped the sentiment to complete the design.
Materials Used:
Stamps: My Joy Set (5981), Gnome Set (5785), Foliage Set 4 (5126), Foliage Set 1 (4051), Bible Foliage Set 2 (5418), Little Things Sentiment Set (5797)
Dies: Nested Rectangle (5724)
Paper: Valentines Paper Pack (5741)
Other Supplies: Foam Tape (1mm)
Tombow Markers Used:
969, 569, 555, 027, 946, 985, 947, 526, 910, 912, 815, 195, 725, 177, N95, N65
Twin Tone Brown
This card was so much fun to make, and it’s a great reminder to make use of those leftover paper strips. I hope it sparks some inspiration for your next project!

Happy Crafting,
Simone


Here is the fine print...

✻ Please make a new card or handmade crafty creation.
✻You can make any item you wish; this is not limited to cards and it can be any theme you like.
✻ Limit two submissions per person. 
✻You MUST use Art Impressions stamps or dies! You may use other companies products but the main focus should be on Ai items.
✻If you win, you will receive one free stamp set of your choice. 
This will be a random drawing so all levels of ability are encouraged to enter!
 ✻Please include your first name and last initial on your submission.
✻We love to comment on your entries, but keep in mind if you use a private group or a platform that you need to sign up for, we probably won't be able to.
✻ The Ai Challenge is open to everyone, international submissions are welcome!
✻ Good luck and happy crafting!

You are invited to the Inlinkz link party!

Click here to enter

Sunday, August 18, 2024

"Friends Like You Make the World a Better Place" Card - Two Ways by Diane Mason

Hello, and welcome back for Watercolor Weekend!


Do you have a friend who could use a little extra encouragement or someone you’d like to remind just how special they are? Today, I’m sharing two "Friends Like You Make the World a Better Place" cards that are perfect for just that.

The first card showcases a beautiful floral wreath using the newly released 5937 - My Trust Set paired with an older set, 5420 - Framework Set 1. The second card features our sweet little gnome friend sitting on a park bench, enjoying a beautiful fall day in his quaint little village. For this card, I modified the 5745 - SF Stone Bridge set and inserted a woodland home from the newly released 5916 - Woodland Castle Set. Both cards include the "Friends Like You Make the World a Better Place" sentiment from 5734 - Friend Sentiments, making them perfect for spreading some cheer.


For the floral wreath card, I started by placing the wreath stamp from 5420 - Framework Set 1 onto my Canson XL watercolor paper and lightly traced around the outer shape of the stamp with a pencil to establish the shape of the wreath. I then stamped the flowers from 5937 – My Trust Set onto Post-It tape to make masks. The masks required a bit of fussy cutting, but you can save them to use again with future projects. I’m one of those strange people who doesn’t mind doing a bit of fussy cutting. Once I had my masks ready, I placed my watercolor paper in my MISTI stamp platform and positioned the double flower stamp onto the wreath area to the bottom left, matching the curvature of the pencil line. (If you don’t have a stamp platform, you could use a clear block to stamp the image). I inked the flowers in 815 and the leaves in 177 and stamped them in place. I then removed the stamp from my MISTI, placed the mask over the double flowers, and repeated the process with the additional flowers to the right and left, adding masks after each new image.


With all the flowers stamped and masks in place, I added extra leaves around the center flowers. I placed the vine wreath over the masked flowers, aligning with the pencil line, and inked in 969. Next, I used a damp brush to pull color from the lines of the flowers keeping in mind the direction of the light source for the shaded areas. For these small areas, I used a number 4 round brush and a number 0 round brush. I applied the same technique to the leaves and the vine wreath. To enhance the contours and shadows, I added more color from my palette as needed. For the leaves, I added highlights with 133. I darkened some of the areas of the flowers with 835. In areas of the flowers where I might have been a little heavy-handed, I used a small amount of our best friend, Dr. Ph. Martin’s Bleed Proof White, to add highlights. Next, I carefully painted in a dropped shadow along the wreath and flowers in N52. Using a Strawberry Red (75) TwinTone marker, I added dots to the flower centers and darkened some areas to enhance the details. I also used a brown TwinTone marker to add details to the vine wreath.

The painting was die-cut with a square die from 5061 – Square Double Stitched Dies and matted and popped up with foam tape on a 4 ½ inch square card base. The green-striped patterned paper is from 5606 – Harvest Journal Paper Pack. I heat-embossed the sentiment “Friends like you make the world a better place” from 5734 – Friend Sentiment Set in white and partially die-cut the banner strip with a banner die from 5902 – Mini Scalloped Frame Dies. I used scissors to cut the rest of the extended area and mounted it onto the card front with foam tape.

For the inside of the card, I inked and stamped a flower and placed it in the lower right-hand corner. I think this design would make a nice card for a variety of occasions.

For my second version of the “Friends Like You Make the World a Better Place” card, I placed the sentiment on the inside. To create this whimsical scene, I modified the Scenic Foundations stamp 5745 – SF Stone Bridge by omitting the house and replacing it with one from the 5916 – Woodland Castle Set. I also added a sweet little gnome sitting on the bench to complete the scene.

This photo shows the original house image from the packaging and the one I replaced it with for a more whimsical look. 


The placement of the gnome on the bench took a bit of planning. On a piece of printer paper, I mapped out the gnome placement by first stamping the scenic foundations stamp (I accidentally inked the house, but it didn’t matter since this was just a mock-up). Then I stamped the gnome on the bench. I used my MISTI for the stamping. Next, I stamped the gnome onto masking paper and carefully cut out a mask. In the first photo, you can see where the masking needs to be done before stamping the scenic foundation. The gnome’s hand needs to appear behind the arm of the bench. To achieve this, I placed my mock-up back into my MISTI, positioned the gnome mask in place, and aligned the scenic foundation stamp. I inked just the arm of the bench and stamped it over the gnome mask.


I removed the mask and trimmed away the area where the bench arm had stamped onto the mask. Then, I inked the gnome with 565/969, using the mask as a guide to carefully add ink, leaving off parts of the sleeve and parts of the hand where needed. Next, I stamped off the gnome once before stamping it onto my watercolor paper, using the mock-up as a guide for placement.


I placed the mask over the gnome, positioned the scenic foundations stamp, and inked everything but the house with 565/969. Again, I stamped it off once before stamping it onto the watercolor paper. After removing the mask from the gnome, I used a pencil to draw in any missing details.


I traced around a rectangle die to establish the boundaries of the painting. Next, I added the house from 5916 – Woodland Castle Set and mushrooms from 5788 – Whimsical Mushrooms Set. Using a pencil, I sketched some paths, stepping stones, and the hillsides to the right of the house. Before starting the painting, I masked the edges with Post-It tape.


The colors I used throughout the painting are 856, 933, 993, 177, 249, 526, 565, 850, 947, and 969. I used brown, navy, and strawberry red TwinTone markers to add details. The stamps I used for the flowers and foliage are from sets 5009 – WC Mini Flower Set, 5372 – WC Mini Foliage Set, and 5126 - WC Foliage Set 4.

I stamped the "Friends" sentiment on the inside of the card using blue ink and added a stamped gnome to the bottom corner for a cute finishing touch.

Thank you for joining me for Watercolor Weekend! I hope these cards have inspired you to think outside the box and explore creative new ways to use your watercolor stamps to create unique designs. Until next time, Happy Painting!

For the Floral Vine Wreath Card:

For the Gnome Card: