Showing posts with label 5937 - My Trust Set. Show all posts

Tuesday, June 10, 2025

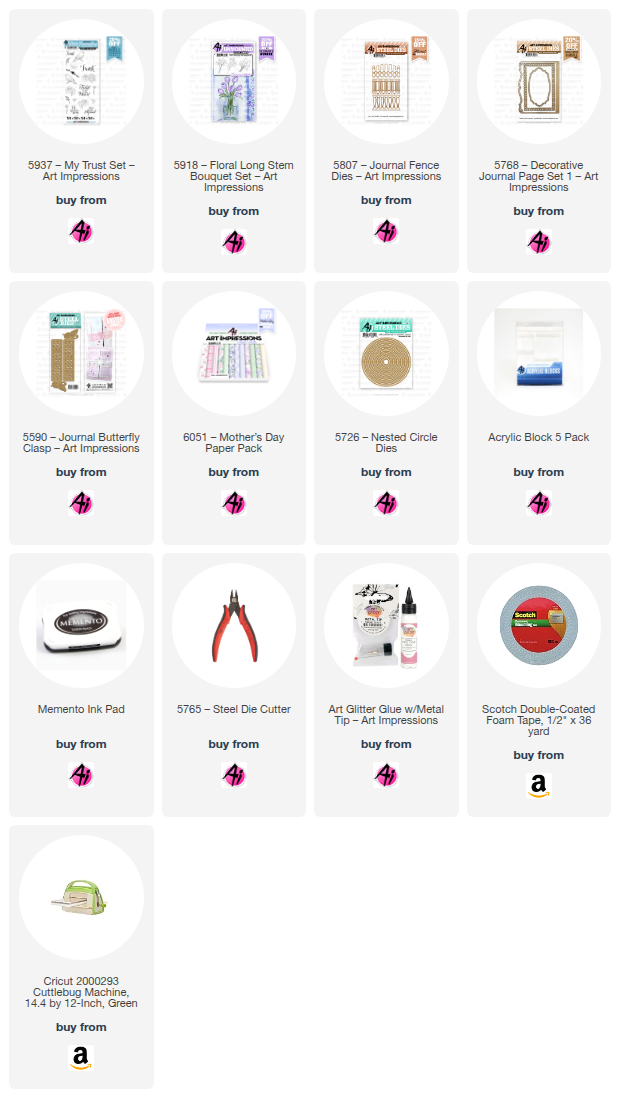
He will make a Way by Reneé Matarese

Hello Ai fans.
I have a co-worker going through a difficult time.
She's a very spiritual person so I created this card for her.
Several of us are planning to sign it. She likes purple so I used some of
the new floral paper with purple in it.


My card is perfect for the current Blossoms & Blooms challenge, which is simply to use flowers.

I love all of the decorative dies from Art Impressions.
They help make such elegant cards.


I cut three of the fences and glued them together to make it a little
sturdier because I have it popped up on foam tape to add some dimension.


Copic T2
Twintone Pale Purple & Lime Green
Marvy No. 18 Dark Brown


Sunday, May 11, 2025

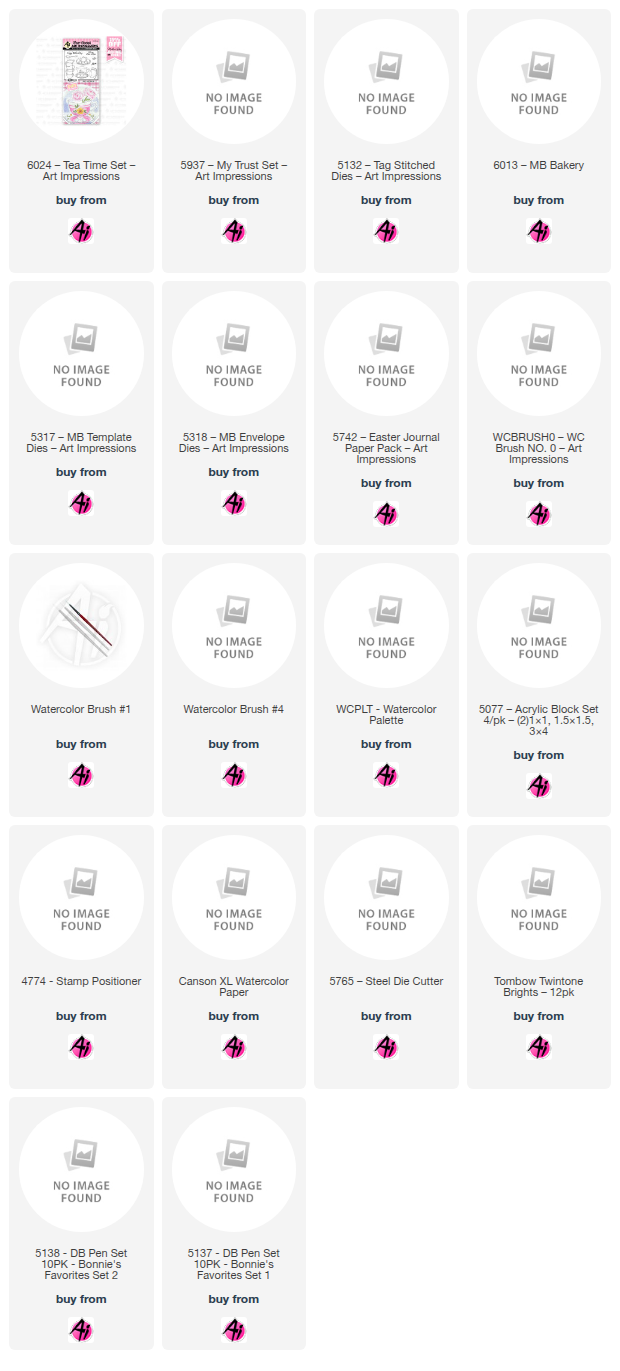
Happy Mother's Day and Bakery MB by Gennette Houghton


Hello and Welcome to Watercolor Weekend. Wishing all of the wonderful Mom’s out there a very happy Mother’s Day!!  The new 6024 Tea Time Set has sentiments just for Mom, and is a beautiful set.  

I decided to use the largest tea cup for my card today.  I started off with a piece of watercolor paper and die cut the panel and then die cut out a decorative section in the upper corner. I then stamped my image in N49, after stamping off once in the bottom corner.  I used set 5937 My Trust Set for the flowers. Using the stamp positioner and in N49, stamping off once, and placing the flowers in the teacup.  I started with the flowers first by adding 817. I like to place color in the darkest areas first to set the pedals apart. Pulling that color out to the ends of the pedals and adding more color as necessary.  For the inside of the flowers I added 025 with a touch of 947, which I have found works really well with yellows.  I shaded around the flowers inside the cup with 565, and used the same color to give definition to areas of the cup and saucer.  For the flowers on the cup I used 703, trying to give it dimension without giving it to much.  I wanted it to appear a bit on the “flat” side.  For the leaves and stems I used 126. I also used 565 to shade under the teacup and under the saucer.  I then added just a touch of 703 around the outside edges of the image just to give a bit more dimension to it without adding to much color.   

I matted my image onto some pink cardstock and then attached it to my card base. Now you could leave this as it is, it would make a perfect card for any day occasions.  Going through my dies I decided on 5132 Tag Stitched Dies for my sentiment. I first stamped Happy Mother’s Day on some watercolor paper and then centered my die over it and cut it out.  After attaching this to my card I was going to put a gem over the hole on the tag and then remembered I had some little flowers in my stash and chose to use them instead.


My 2nd project today I used one of the newly released Matchbooks, 6013 Bakery Matchbook, the sweetest scene, look at all those goodies. The MB’s require 2 other additional sets, the 5317 MB Template Dies and the 5318 MB Envelope Dies, these work with all of the other MB sets in Ai’s line. I started out with permanent black ink, mixed media paper, a #1 and #4 brush. Personally I prefer to stamp all of my images, color them, and then die cut them out. I cut out the base template out of 5742 Easter PP, I felt the soft pink was perfect for the Bakery.  There are a lot of elements to this scene, but if you keep your color palette simple, you will breeze right through it. For all of the wood elements I used 947, and 969. For the background on all of the signs I used 761.  The table cloth 990, and 992. Cherries I used 856, and 969.  The bread and rolls 992, 947 and 969. For all of the pink elements I used 761, 772, 817, and 837 was used on the pie.  For the spoon, and the cake stand, I used N60 and N52. The doily and pie stand I shadowed with 565.  Yellow cake I used 025.  Chocolate cake I used 992, 969, and 899.  Books are 817, 243, 403, 025, and 992. Blueberry tart I used 565, and the tin N60, and N52.  Cupcake stand I used 243, 969, and shadowed the glass with 565.  Once everything was colored, I then used the included dies. The dies have score lines so that you can easily fold the tabs on each piece.  I used the 5317 MB Template Die and 5742 Easter PP and assembled the Matchbook together. If you would like to see a tutorial on how to put these together, Bonnie has a wonderful tutorial that you can watch HERE. Don’t hesitate to ask if you have any questions, I will do my best to answer if I can.  Thank you for joining me today, and I hope you enjoyed my projects.  Until next time, Create….Share….Inspire!


Sunday, August 18, 2024

"Friends Like You Make the World a Better Place" Card - Two Ways by Diane Mason

Hello, and welcome back for Watercolor Weekend!


Do you have a friend who could use a little extra encouragement or someone you’d like to remind just how special they are? Today, I’m sharing two "Friends Like You Make the World a Better Place" cards that are perfect for just that.

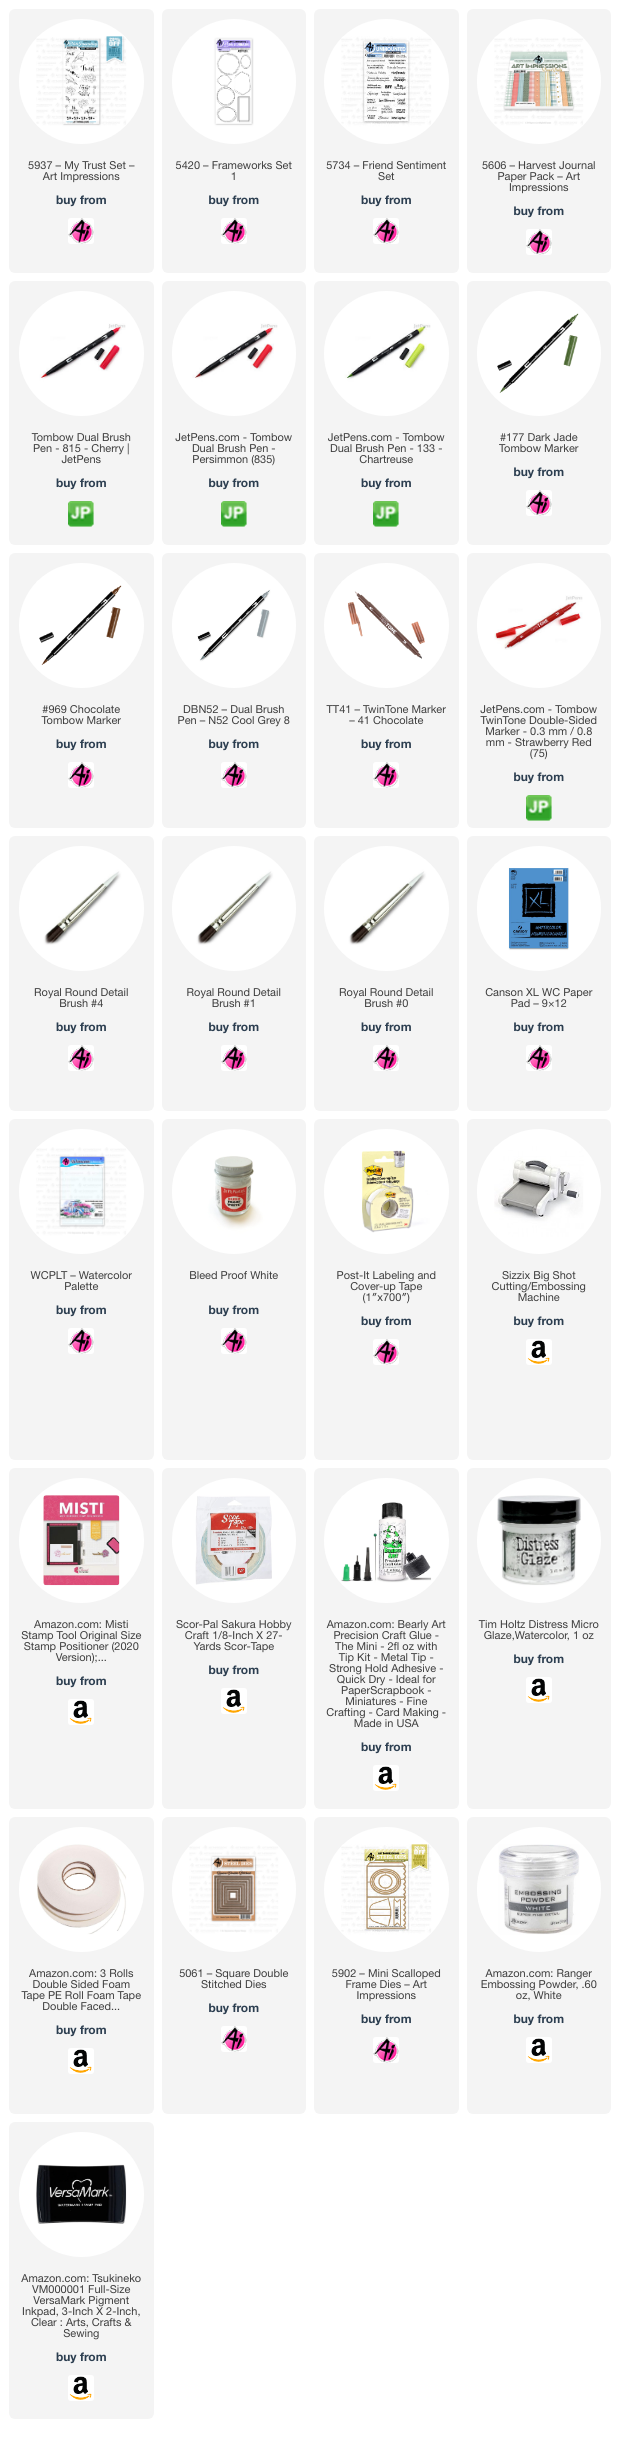
The first card showcases a beautiful floral wreath using the newly released 5937 - My Trust Set paired with an older set, 5420 - Framework Set 1. The second card features our sweet little gnome friend sitting on a park bench, enjoying a beautiful fall day in his quaint little village. For this card, I modified the 5745 - SF Stone Bridge set and inserted a woodland home from the newly released 5916 - Woodland Castle Set. Both cards include the "Friends Like You Make the World a Better Place" sentiment from 5734 - Friend Sentiments, making them perfect for spreading some cheer.


For the floral wreath card, I started by placing the wreath stamp from 5420 - Framework Set 1 onto my Canson XL watercolor paper and lightly traced around the outer shape of the stamp with a pencil to establish the shape of the wreath. I then stamped the flowers from 5937 – My Trust Set onto Post-It tape to make masks. The masks required a bit of fussy cutting, but you can save them to use again with future projects. I’m one of those strange people who doesn’t mind doing a bit of fussy cutting. Once I had my masks ready, I placed my watercolor paper in my MISTI stamp platform and positioned the double flower stamp onto the wreath area to the bottom left, matching the curvature of the pencil line. (If you don’t have a stamp platform, you could use a clear block to stamp the image). I inked the flowers in 815 and the leaves in 177 and stamped them in place. I then removed the stamp from my MISTI, placed the mask over the double flowers, and repeated the process with the additional flowers to the right and left, adding masks after each new image.


With all the flowers stamped and masks in place, I added extra leaves around the center flowers. I placed the vine wreath over the masked flowers, aligning with the pencil line, and inked in 969. Next, I used a damp brush to pull color from the lines of the flowers keeping in mind the direction of the light source for the shaded areas. For these small areas, I used a number 4 round brush and a number 0 round brush. I applied the same technique to the leaves and the vine wreath. To enhance the contours and shadows, I added more color from my palette as needed. For the leaves, I added highlights with 133. I darkened some of the areas of the flowers with 835. In areas of the flowers where I might have been a little heavy-handed, I used a small amount of our best friend, Dr. Ph. Martin’s Bleed Proof White, to add highlights. Next, I carefully painted in a dropped shadow along the wreath and flowers in N52. Using a Strawberry Red (75) TwinTone marker, I added dots to the flower centers and darkened some areas to enhance the details. I also used a brown TwinTone marker to add details to the vine wreath.

The painting was die-cut with a square die from 5061 – Square Double Stitched Dies and matted and popped up with foam tape on a 4 ½ inch square card base. The green-striped patterned paper is from 5606 – Harvest Journal Paper Pack. I heat-embossed the sentiment “Friends like you make the world a better place” from 5734 – Friend Sentiment Set in white and partially die-cut the banner strip with a banner die from 5902 – Mini Scalloped Frame Dies. I used scissors to cut the rest of the extended area and mounted it onto the card front with foam tape.

For the inside of the card, I inked and stamped a flower and placed it in the lower right-hand corner. I think this design would make a nice card for a variety of occasions.

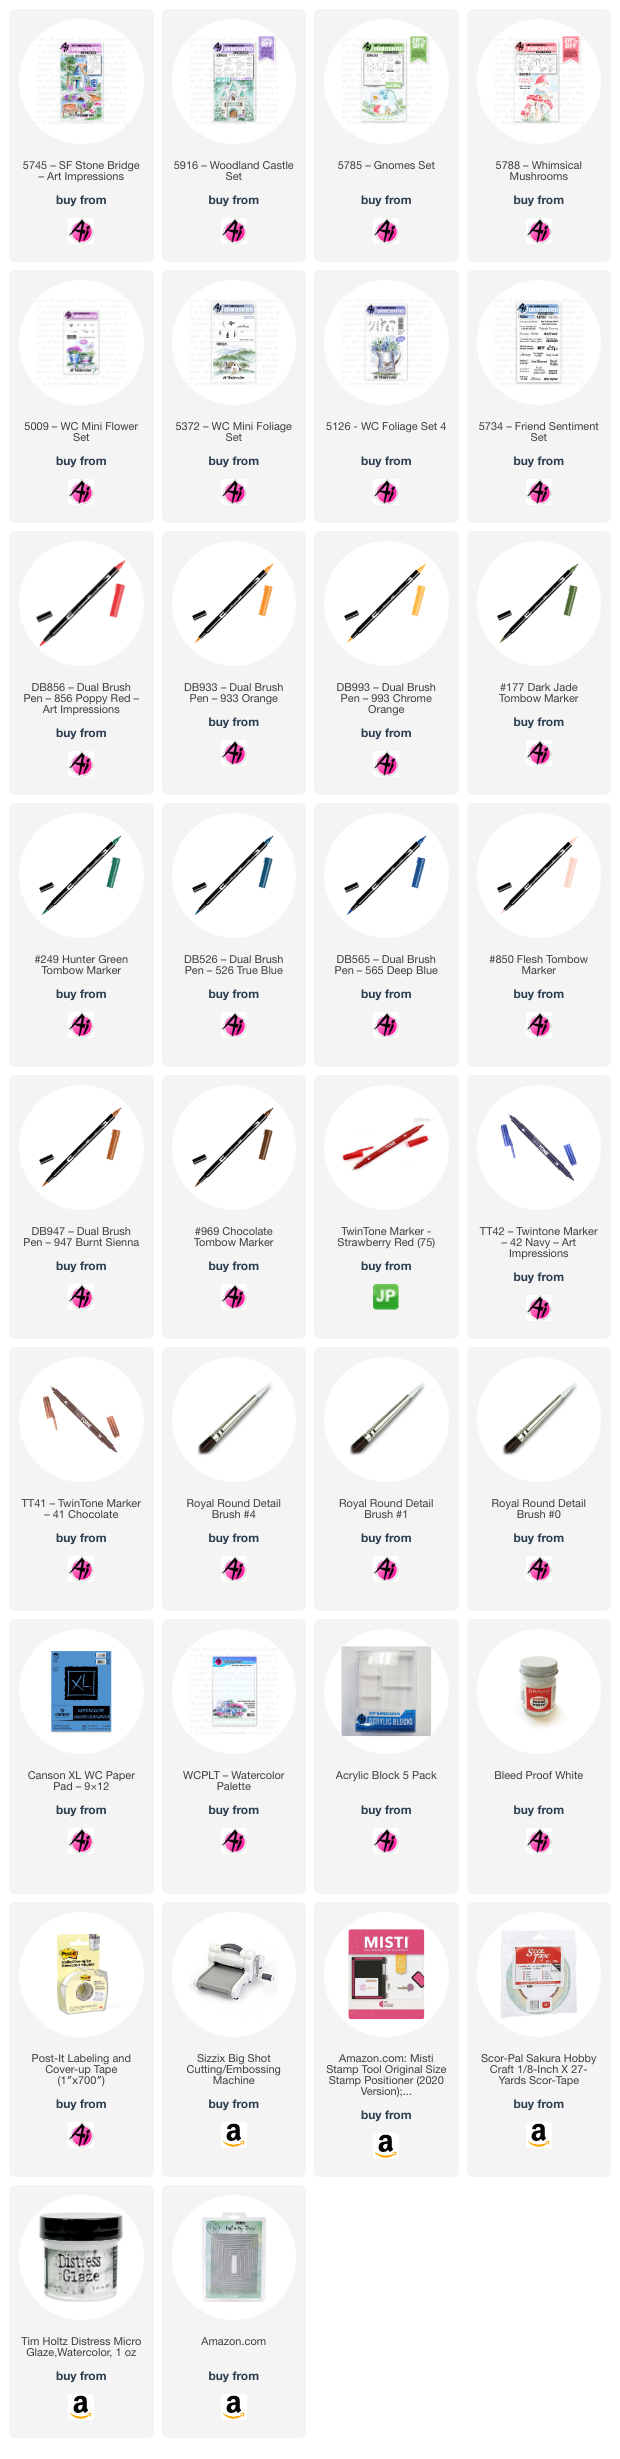
For my second version of the “Friends Like You Make the World a Better Place” card, I placed the sentiment on the inside. To create this whimsical scene, I modified the Scenic Foundations stamp 5745 – SF Stone Bridge by omitting the house and replacing it with one from the 5916 – Woodland Castle Set. I also added a sweet little gnome sitting on the bench to complete the scene.

This photo shows the original house image from the packaging and the one I replaced it with for a more whimsical look. 


The placement of the gnome on the bench took a bit of planning. On a piece of printer paper, I mapped out the gnome placement by first stamping the scenic foundations stamp (I accidentally inked the house, but it didn’t matter since this was just a mock-up). Then I stamped the gnome on the bench. I used my MISTI for the stamping. Next, I stamped the gnome onto masking paper and carefully cut out a mask. In the first photo, you can see where the masking needs to be done before stamping the scenic foundation. The gnome’s hand needs to appear behind the arm of the bench. To achieve this, I placed my mock-up back into my MISTI, positioned the gnome mask in place, and aligned the scenic foundation stamp. I inked just the arm of the bench and stamped it over the gnome mask.


I removed the mask and trimmed away the area where the bench arm had stamped onto the mask. Then, I inked the gnome with 565/969, using the mask as a guide to carefully add ink, leaving off parts of the sleeve and parts of the hand where needed. Next, I stamped off the gnome once before stamping it onto my watercolor paper, using the mock-up as a guide for placement.


I placed the mask over the gnome, positioned the scenic foundations stamp, and inked everything but the house with 565/969. Again, I stamped it off once before stamping it onto the watercolor paper. After removing the mask from the gnome, I used a pencil to draw in any missing details.


I traced around a rectangle die to establish the boundaries of the painting. Next, I added the house from 5916 – Woodland Castle Set and mushrooms from 5788 – Whimsical Mushrooms Set. Using a pencil, I sketched some paths, stepping stones, and the hillsides to the right of the house. Before starting the painting, I masked the edges with Post-It tape.


The colors I used throughout the painting are 856, 933, 993, 177, 249, 526, 565, 850, 947, and 969. I used brown, navy, and strawberry red TwinTone markers to add details. The stamps I used for the flowers and foliage are from sets 5009 – WC Mini Flower Set, 5372 – WC Mini Foliage Set, and 5126 - WC Foliage Set 4.

I stamped the "Friends" sentiment on the inside of the card using blue ink and added a stamped gnome to the bottom corner for a cute finishing touch.

Thank you for joining me for Watercolor Weekend! I hope these cards have inspired you to think outside the box and explore creative new ways to use your watercolor stamps to create unique designs. Until next time, Happy Painting!

For the Floral Vine Wreath Card:

For the Gnome Card: