
Happy Thursday AI Friends!
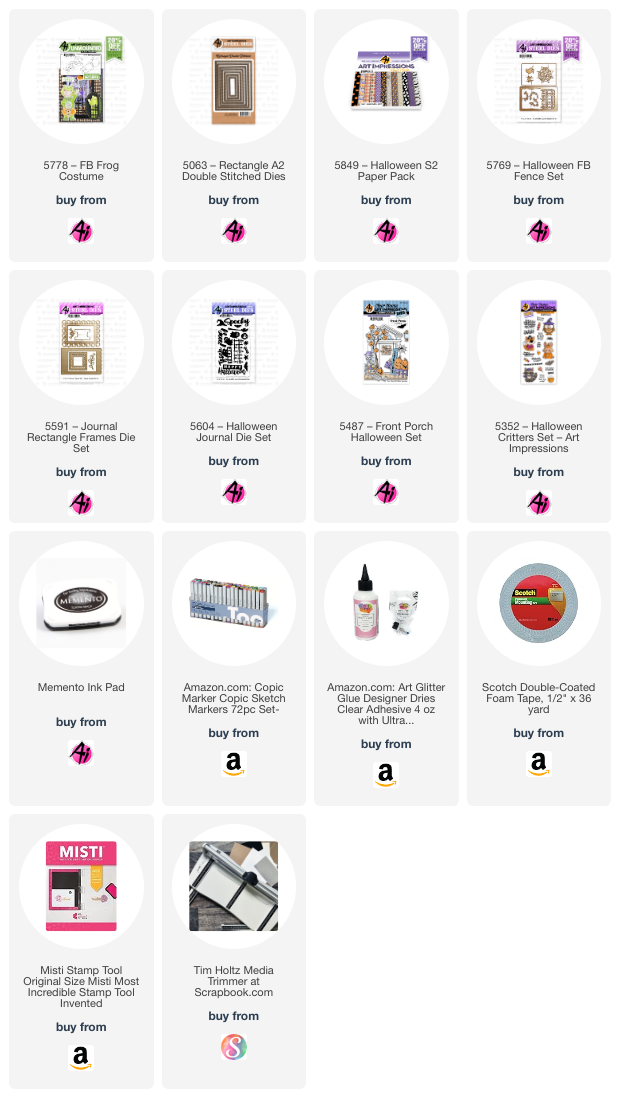
Today I have a fun Halloween interactive card for you. I love frogs and so when I saw this Front & Back stamp set - #5778 Frog Costume, I knew I had to have him. Soooooo cute!! This card is really very easy to put together and no special dies are needed.

I first stamped my images with Mememto black ink onto copic friendly paper and then I colored with my copic markers listed below. I die cut each with the corresponding dies.
To create the interactive card: Start with a base panel (I used black cardstock) cut 4 1/4" by 5 1/2". Place a pull tab to the right side before layering a patterned piece on top of the base. Die cut a rectangle or square out of this panel, wherever you'd like your slider to be (center, closer to top, etc.) Your base panel is ready.
Now for the mechanism slider piece: Die cut a piece of cardstock (again, I used black) with the larger corresponding die (best to use two sizes up). If you don't have a corresponding larger die, you can use your cutter, just add 1/2" more to the sides (for example, panel cut is 2 1/2" x 2 3/4", then cut a 3" x 3 1/4"). Score this piece at 1/2" (down long end) and fold towards you (see Pic 1). Now take your original die (the one used for the base panel) and place it along the non-folded edge leaving a 1/4" frame on top and bottom (see Pic 1). Tape down and mark the mid point on top and bottom. You need to do partial cutting to just past that point. After cutting, you should have a folded edge on the right and two tabs (one on top and one on bottom on opposite side (see Pic 2). Line up this panel piece to the left, under the opening on your base panel, so that 1/2 of this panel will fit through the opening (see Pic 3). Hold onto the right side and test to make sure the piece comes through the window. Place glue onto the B tabs and adhere to the back of the base panel. Place glue to the backside of the A tab and glue to your A2 base card. ONLY adhere this tab to your card base. At this point, you should be able to pull on the pull tab and your slider should work. You may need to pull the slider and enforce the A fold to make it move more freely.
Pic 1 Pic 2 Pic 3


I hope you try out this fun card for yourself. Once you make one, you'll want to make many more. You can rotate the opening to be on the top or the left as well, just rotate you mechanism piece.
Have a wonderful day!
Keep crafting!

Copics used: E000, E00, E01, E11, E21, E23, E25
YR12, YR14, YR16
YG21, YG23, YG35
C1, R20, G24
2 comments:
Your card is adorable!
Absolutely adorable, Dori!! Thanks so much for sharing how you made it!! Will have to give this a try!!
Post a Comment