Showing posts with label 5591-Journal Rectangle Frames Die Set. Show all posts

Thursday, October 17, 2024

Tres Chic Tags by Dori Mendiola

 Happy Thursday AI Friends!

I have a couple of tags for you today that are inspired by the "Tres Chic" challenge going on this week.  Have you ever tried something out of your norm?  Every challenge expands your creativity and it's fun seeing where your imagination will go.  Plus it's extremely inspiring to others!  Please join us for this challenge.  Check out the tab above for details and a chance to win a free stamp set.  WhooHoo!! 

Both tags were made with many of the same die sets but produced quite different looks.

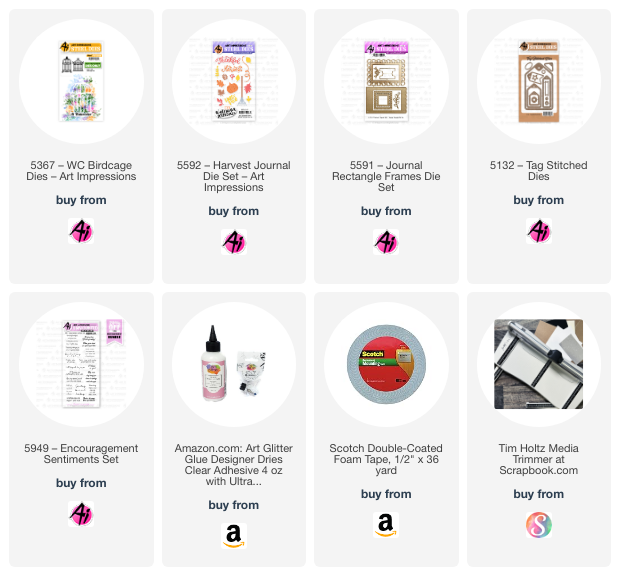
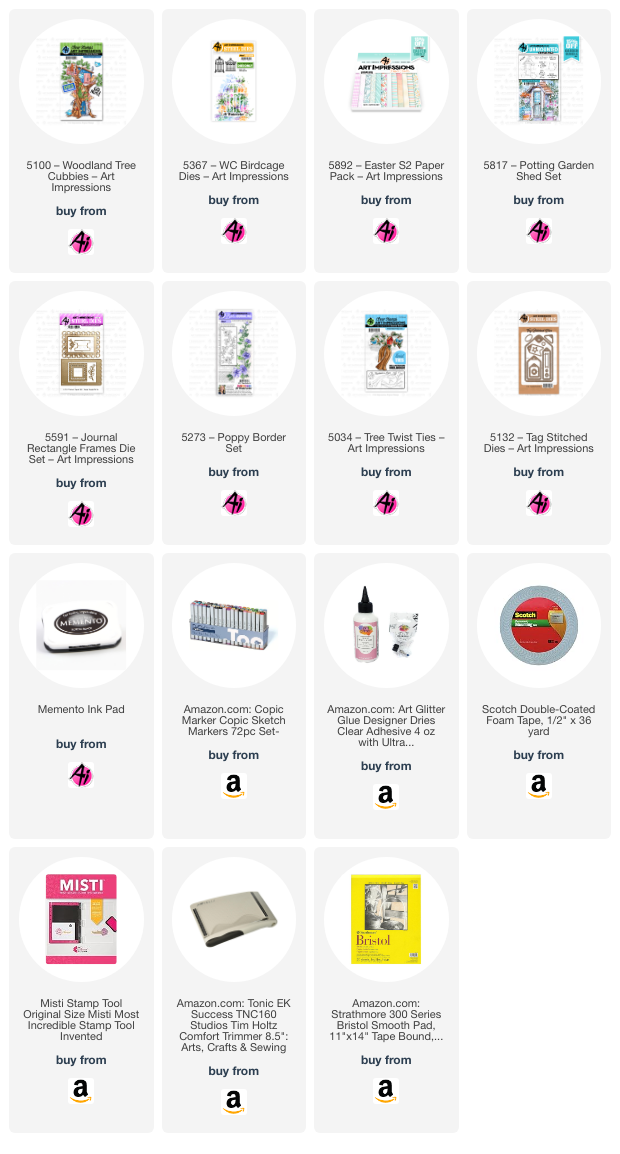
My first tag uses the #5367 Birdcage die.  I die cut it twice, once with black cardstock and one in a pattern paper.  I placed the black die cut behind the pattern piece slightly to the left to create a shadow look, plus to offset to give it more dimension.  I also used #5132 Tag Stitched Die and #5591 Journal Rectangle Frame die.  I inked all of the edges with Distress Oxide Vintage Photo.  The wood bird, heart, ribbon and flowers came from my stash that I have had for years.  Finally I can say I used them.  😄  


For my second tag, I used #5592 Harvest Journal Dies for the pumpkins, leaves and the "Hello Fall" die cuts.  I also used the #5132 Tag Stitched dies as well as the #5591 Journal Rectangle frame die.  Again, I inked all of the edges to give them a distressed look.  Placed a checked ribbon around the frame and at the top of the tag and, voila, tag is complete.  


I hope my tags today have inspired you to try something outside of your norm.  You never know where your imagination and creativity will go.  Have fun with it!!

Have a great day and keep creating!!

Thursday, October 10, 2024

Halloween Slider Card by Dori Mendiola

 Happy Thursday AI Friends!

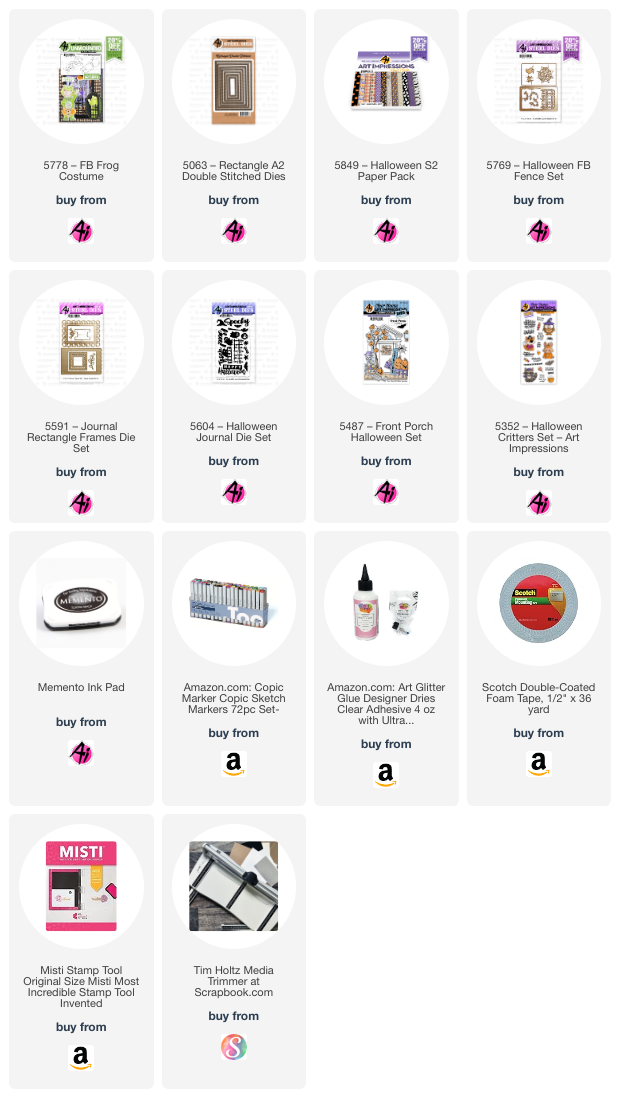
Today I have a fun Halloween interactive card for you.  I love frogs and so when I saw this Front & Back stamp set - #5778 Frog Costume, I knew I had to have him.  Soooooo cute!!  This card is really very easy to put together and no special dies are needed.   


I first stamped my images with Mememto black ink onto copic friendly paper and then I colored with my copic markers listed below.  I die cut each with the corresponding dies.

To create the interactive card:  Start with a base panel (I used black cardstock) cut 4 1/4" by 5 1/2".  Place a pull tab to the right side before layering a patterned piece on top of the base.  Die cut a rectangle or square out of this panel, wherever you'd like your slider to be (center, closer to top, etc.)  Your base panel is ready.  
Now for the mechanism slider piece:  Die cut a piece of cardstock (again, I used black) with the larger corresponding die (best to use two sizes up).  If you don't have a corresponding larger die, you can use your cutter, just add 1/2" more to the sides (for example, panel cut is 2 1/2" x 2 3/4", then cut a 3" x 3 1/4").  Score this piece at 1/2" (down long end) and fold towards you (see Pic 1).  Now take your original die (the one used for the base panel) and place it along the non-folded edge leaving a 1/4" frame on top and bottom (see Pic 1).  Tape down and mark the mid point on top and bottom.  You need to do partial cutting to just past that point.  After cutting, you should have a folded edge on the right and two tabs (one on top and one on bottom on opposite side (see Pic 2).  Line up this panel piece to the left, under the opening on your base panel, so that 1/2 of this panel will fit through the opening (see Pic 3).  Hold onto the right side and test to make sure the piece comes through the window.  Place glue onto the B tabs and adhere to the back of the base panel.  Place glue to the backside of the A tab and glue to your A2 base card.  ONLY adhere this tab to your card base.  At this point, you should be able to pull on the pull tab and your slider should work.  You may need to pull the slider and enforce the A fold to make it move more freely.

     Pic 1                                          Pic 2                                          Pic 3


I hope you try out this fun card for yourself.  Once you make one, you'll want to make many more.  You can rotate the opening to be on the top or the left as well, just rotate you mechanism piece.

Have a wonderful day!
Keep crafting!

Copics used:  E000, E00, E01, E11, E21, E23, E25
YR12, YR14, YR16
YG21, YG23, YG35
C1, R20, G24

Thursday, August 8, 2024

Lady Golfer by Dori Mendiola

 Happy Thursday AI Friends!

Today I am sharing a card that is inspired by the current bi-weekly challenge - "Never Have I Ever".  Check out the tab above for details and make sure to enter for a chance to win a free stamp set of your choice. 

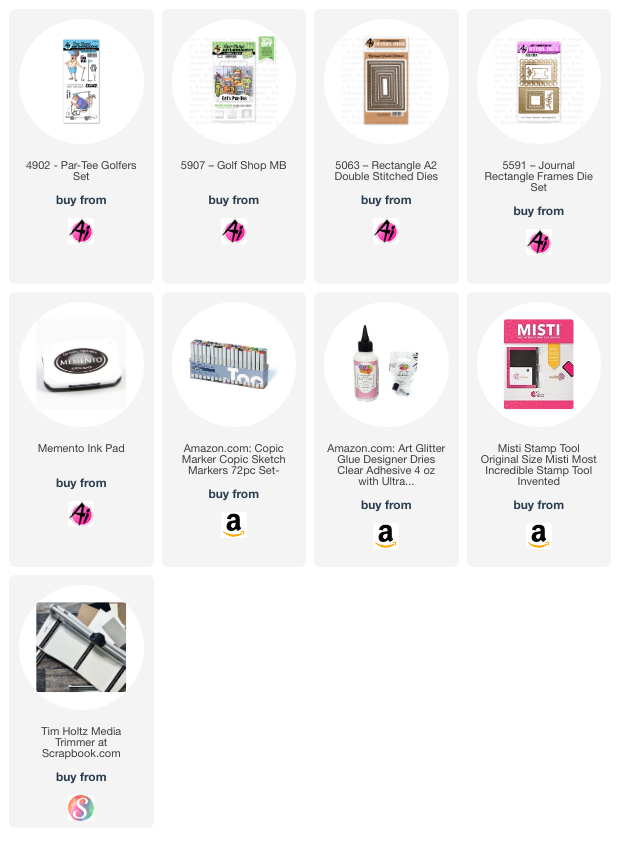
I laugh because I buy all these stamp sets and swear that I have used them all only to find out that there are many images on each set that I have never used.  Actually, more than I should admit.  LOL!   One I found in my collection of "Never Have I Ever" is the lady golfer from the #4902 Par-Tee Golfer stamp set.


I stamped the lady golfer image on copic friendly paper and colored her with copic markers.  I then used the #5063 Rectangle A2 Double Stitched Die to cut the panel.  I also cut a red frame with two of the dies to highlight the image.

 I also stamped the sentiment "Wanna Play Around" and the ball and tee from this same stamp set onto a slightly larger panel to fit under the frame.  The golf sign and the "Let's Par-Tee" sentiment comes from the #5907 Golf Shop Matchbook.

To make the Pop-Up Slider, check out the Jennifer McGuire - DIY Pop-Up Slider youtube video.  She explains it very well.


I hope you enjoyed my card for today.  Until next time, enjoying creating!!

Copics used:  E000, E01, E11, E21, E23, E25
N0, N1, N2, N3
B0000, B000
R20, R24
G43, G46
Y15, Y17


Thursday, July 18, 2024

Beautiful Cross and Saying by Dori Mendiola

Happy Thursday AI Friends!
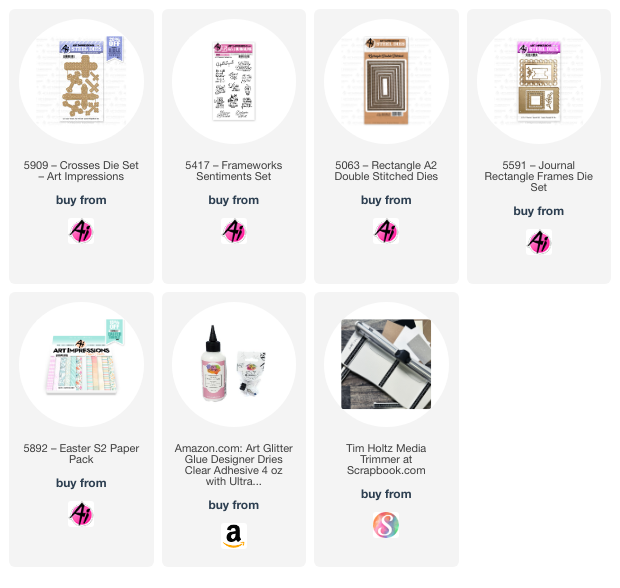
I have a spiritual card for you today using the new #5909 Cross Dies as well as the #5417 Frameworks Sentiment.  These cross dies are so beautiful and elegant.  Seven unique dies come in the set and can be used together, as I did below, or individually.


I created the background using Ranger alcohol inks, but you can also use your Copic marker refills for this technique.  I made this background awhile ago so not positive on the colors but I believe I used Butterscotch and Honeycomb.  I made several different backgrounds using this technique and it was so much fun creating different variations.  

Using a piece of felt and the straight edge of a protractor, any straight edge will work, I wrapped the felt over the straight edge and taped the sides down to hold into place.  I then placed a drop or two of the butterscotch alcohol ink onto half of the felt and honeycomb onto the other half.  For the paper, I used the back side of a piece of photo paper.  Place the straight edge onto the paper and zig zag it across the length of the paper.  This will create the sun-ray look.  You can do this same technique using rainbow colors and run your straight edge in a half circle across the paper.  These are just a few ideas, but there are so many other ways to create amazing backgrounds.  Have fun playing.

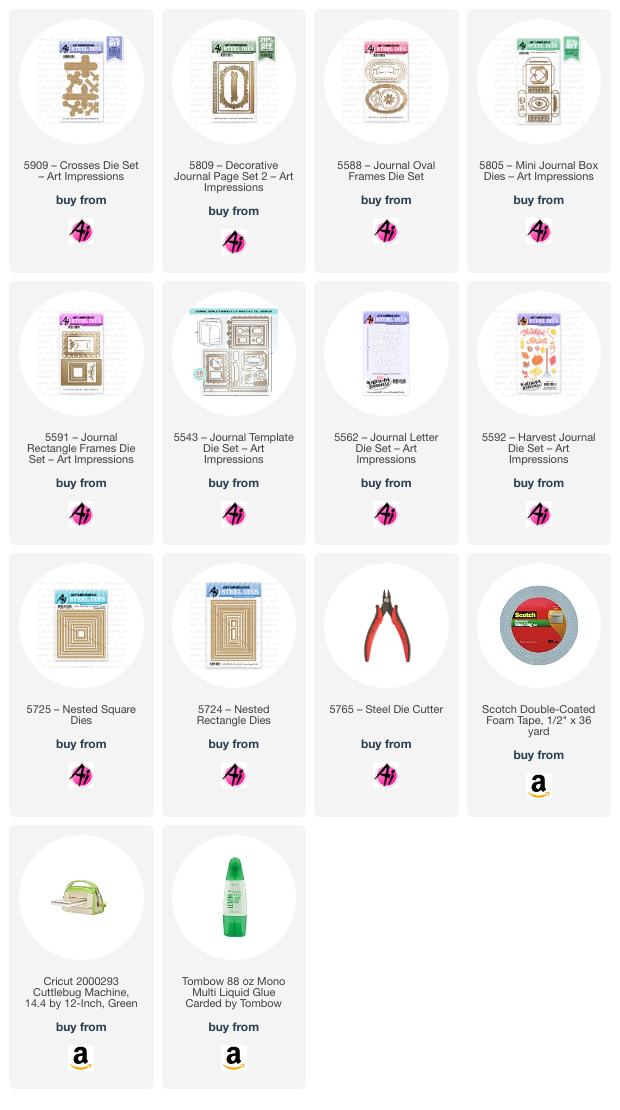
I used the largest rectangle die from the #5063 Rectangle A2 Double Stitched dies to cut the background and the #5591 Journal Rectangle Frames die,  using #5892 Easter S2 PP, to cut the scalloped frame for the sentiment.  I die cut the large cross out of white cardstock and the smaller cross out of a piece of yellow cardstock wrapped in packing tape to give it a glossy finish.  This is a nice alternative to using glossy accents and it die cuts wonderfully.  

Hope you enjoy my card today and have fun trying the alcohol ink technique.  


Tuesday, July 9, 2024

Baptism Cards with Cross Dies by Reneé Matarese

 Hello Ai fans!

I was recently asked for some baptism cards and I
instantly thought of Art Impressions new 5909 – Crosses Die Set.


My friend needed 2 cards but once I started, I couldn't stop...lol!


All 5 cards are "dies only" cards with the exception of the
embossing folders and pearls.


I just love these new crosses.
The larger ones are so intricate and beautiful.


Even though I used a die that's meant to create a corner pocket I didn't
cut it as a corner. I slid the corner of the paper over the the cutting edge
and only cut out the finial. The cutting side left a slight indentation after
being cut so I just went with it and uses my score board to emboss some
lines across each corner. I liked the way it looked so I kept it.


I also like that some of the crosses are kind of a "two for one" cross.
They have a center piece that can be removed and used on its own
or left in as I have done.


I wanted a decorative band on one of the cards but the one I wanted didn't
actually fit all the way across. I die cut it twice and then covered the seem
with some foliage and a flower. It's a good way to stretch your dies...
literally...lol!


I didn't share a photo of the insides because it has the children's full names
in them per the request of my friend but I used the Journal Letter Dies
to spell out God bless "names here."


Tuesday, May 28, 2024

From Sweet to Sassy! by Reneé Matarese

 Hello Ai fans!

Today I'm sharing two very glittery cards with you.

I made them for the current All That Glitters challenge.

Be sure to enter your creation.  You just may win a free stamp set.


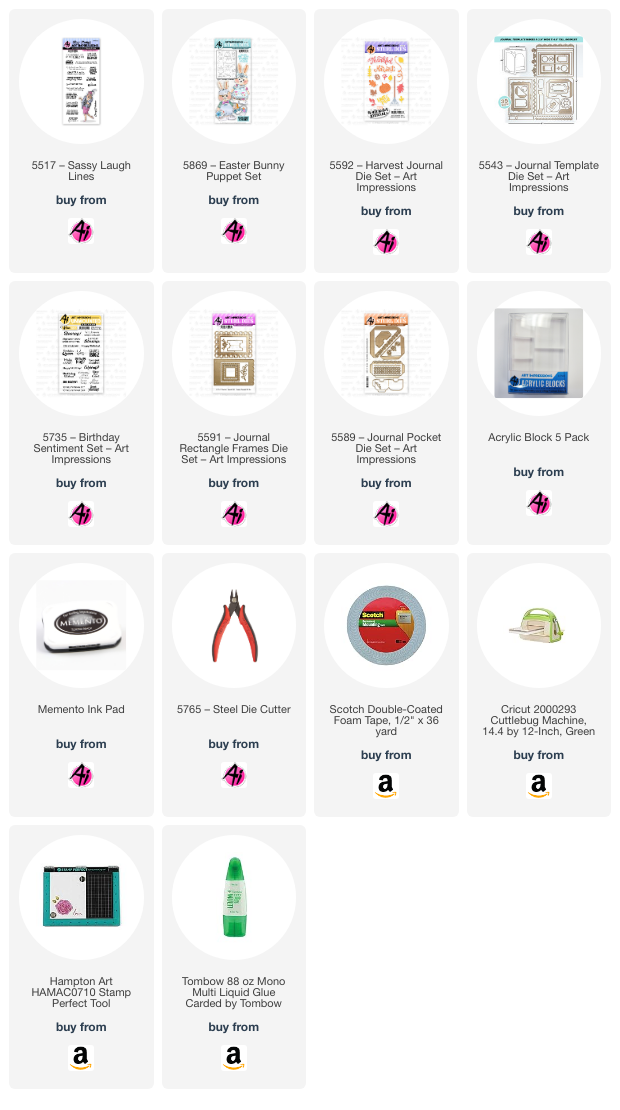
I used the image and two verses from 5517 – Sassy Laugh Lines.


My die cuts are from:


For my second card I went with the 5869 – Easter Bunny Puppet Set.
Since my first card was for a more..."mature" woman I wanted to do 
something appropriate for a little girl.


This fun fold is called a Diagonal Double Flap Fold.


On the inside of this one I used 5589 – Journal Pocket Die Set to create 
a gift card pocket. Maybe she will pick up some donuts for her birthday!
I also used a sentiment from 5735 – Birthday Sentiment Set.


Thursday, May 23, 2024

Bundle of Joy by Dori Mendiola

 Happy Thursday AI Friends!

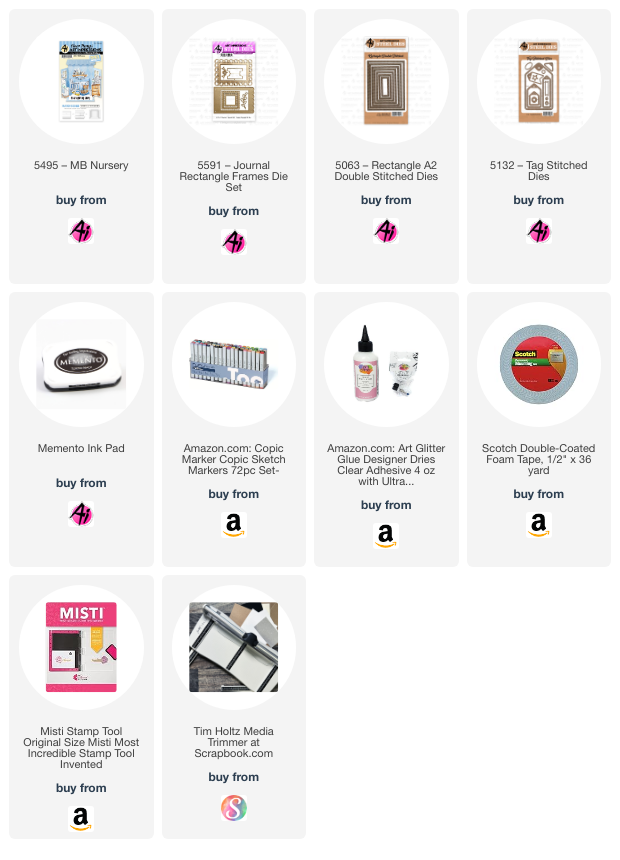
I don't know about all of you, but it seems this is the year for babies.  I figured I better get ready so I decided to make a few baby cards using the #5495 Matchbook Nursery set.  I like to stretch my supplies and create new ways to use stamp sets so I used this stamp set and created two A2 cards.

                        
I stamped the images from the #5495 MB Nursery set onto copic friendly paper and colored with my copic markers (see color list below).  I die cut each with the coordinating dies from the same set.  Since the stamps are made to be used in a matchbook, they die cut with the tabs, so I just trimmed the tabs off.  I die cut with plain cardstock as well and glued to the back of the colored image for dimension.  In the stamp set, the elephant sits on top of a dresser, so I colored him and fussy cut him out.  I then made a slit in the rocking chair and tucked him into the slit so that he looks like he is partially under the pillow.  I used #5591 Journal Rectangle Frames to frame the scene and put a piece of tulle behind the window to add dimension.  I also used #5063 Rectangle A2 Double Stitch die for the full panel and #5132 Tag Stitched dies for the sentiment. 

Thanks for stopping by today!  Hope you have a great day!

Copics used:  C00, C01, C03
E21, E23, E25
Y02, Y04, Y08, Y32, Y35
YR12, YR16, B41, B45
RV32, RV34
R81, R83, R85


Thursday, May 2, 2024

Love Birds and Friendly Blue Birds by Dori Mendiola

 Happy Thursday AI Friends!

I have two cards for you today that were inspired by the "Birds of a Feather" challenge (see the Bi-Weekly Challenge tab above for more details).  Both cards feature the #5367 - Birdcage Dies, the #5892 Easter S2 paper pack, the #5817 Potting Garden Shed plus several others.
  Let's take a look at the first card.

        Friendly Blue Birds:

I first stamped several of the birds using Memento Black ink on cryogen white cardstock and colored with copic markers.  I die cut each of the birds out with the coordinating dies that come with the stamp set.  Using a few of the sheets from the #5892 Easter S2 paper pack, I die cut the birdcage and also hand cut a backing for the birdcage.  I made the frame by cutting individual leaves (including the leaf from the #5591 Journal Rectangle Frame) from white cardstock and layering behind the arch frame.   The pattern paper behind the arch frame and the gingham paper are from the Easter S2 paper pack.  The sentiment is from the new stamp set #5817 Potting Garden Shed.  The arch frame and other leaf dies were from my stash. 

       Love Birds:

The patterned paper background and the birdcage die cut is from the #5892 Easter S2 paper pack.  I just love the Art Impressions paper packs.  Double sided, strong and soooo pretty.   What's not to love? 
I began by stamping the tree branch from #5034 Tree Twist Ties, leaves and birds from #5100 Woodland Tree Cubbies with Memento Black ink onto cryogen white cardstock and colored with copic markers (see list below).   The tree branch was stamped at the top of a 4" x 5" piece of cryogen.  I very lightly inked clouds into the sky around the tree branch to minimize the white space.  I stamped several of the leaves onto the branch and several I stamped, colored and die cut to place around the other leaves to add dimension.  I stamped and colored a poppy from the #5273 Poppy Border stamp and fussy cut it to place at the bottom of the frame along with two of the leaf springs from the #5591 Journal Rectangle Frame.  Lastly I stamped the words "Love" and "Friend" from the #5817 Potting Garden Shed stamp set and die cut with the #5132 Tag Stitched Die.  I attached the word tags to the birdcage with a safety pin.

I hope you enjoy my cards today and decide to play along in the current blog challenge "Birds of a Feather" for a chance to win a free stamp set. 

Have a wonderful day!
Copic Markers Used:
YG03, YG17, YG67
Y13, Y15, Y17, B00, B02, B14
E30, E33, E35, E59 & E97
 

Saturday, March 16, 2024

*NEW* Peeking Bunny Set by Janet


Every once in a while, Art Impressions puts out a set that I fall madly for and the new 5870-Peaking Bunny Set is one of those. Please RUN and get this set because it is stuffed with fantastic Easter images and dies that cleverly maximize them. Each image is sized so it can carry a card by itself but used together...oh my! You will love this one. 

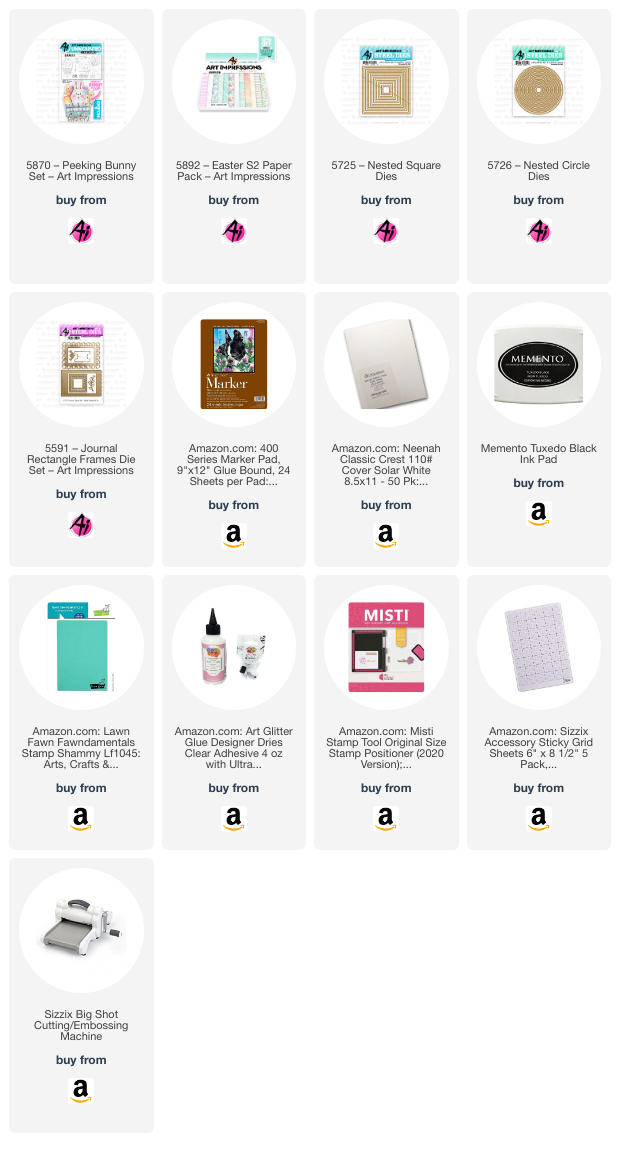
This is a 4" try-fold card base made from a piece of white 12 x 12 cardstock. Once the 4 x 12 strip was cut, I scored it at the 4" and 8" marks and folded it in a zig zag fashion. Then I cut a circle out of the front panel using the 5726-Nested Circle Set. I cut a pink frame for this window using the circle set as well. Next I stamped and colored the bunny twice, the bunny butt, the paint brush, the Easter basket and the tulips. The die for the rabbit cuts out the paws so they can be hooked on to the three main images in this set which include the basket, tulips, and an adorable wagon full of chicks and eggs. The dies cut invisible slits that work perfectly to hang the bunny and the bunny butt on. It's genius and soooo cute! I also used papers from the new 5892- Easter S2 Paper Pack throughout the card.

When closed, the card shows the Easter basket through the window. I free-handed the rainbow paint and stamped the sentiment that's included in the set on it. I though it would be fun to make it appear that the colors came from the paint brush. Once I colored the paint swatch, I coated it with a clear glitter pen. I hung the rabbit over the edge of the circle so that he's peeking out from inside the card. I also cut a tab from the 5591-Journal Rectangle Frames Set for fun. Enamel dots were added for additional decoration. 


On the backside of the window front, I made a wreath using sprigs cut from another die in the Journal Rectangle Frames and glued a second bunny over the back of the bunny that shows in the front. It works because they are near identical shaped when flipped. This way, another cute colored bunny is inside instead of a blank one. Since his hands are cut, I slipped an egg into his paws for a little extra bit of cuteness.


The next panel is the Easter Basket you see through the window. I decorated the eggs with metallic acrylic paint pens to make them a little more fun to look at. Just like real eggs, you can decorate or not decorate them any way you choose. So fun!


The last panel shows off the tulips in a pot. I placed the bunny butt in this which again hangs off of an invisible slit that the die cuts into the top of the pot for this purpose. If you didn't want to hang the bunny from it, the slit doesn't show. The basket also has a slit at the basket edge but you can't tell it's there. Before I glued the pot into the card, I cut three nested circles to create a background. It's an echo of the circle on the card front and enhances the image with more patterns and color.


This makes a darling Easter display on a shelf and you can still add your personal message to the back of the tulip panel for a personal touch.

I hope you enjoyed seeing 5870-Peeking Bunny Set in action. It's a must have set for Easter! Thanks for stopping by today. I hope you'll visit the store to see all the things you need for your card, journal, and tag making projects. 

Janet YouTube - Blog - Facebook - Instagram - Pinterest