Showing posts with label 5487 Front Porch Halloween Set. Show all posts

Tuesday, October 13, 2026

Bats in the Belfry: Haunted Mansion by Reneé Matarese

 Hello Ai fans!
Today I'm sharing a spooky little haunted house that I created for the
Bats in the Belfry
challenge.


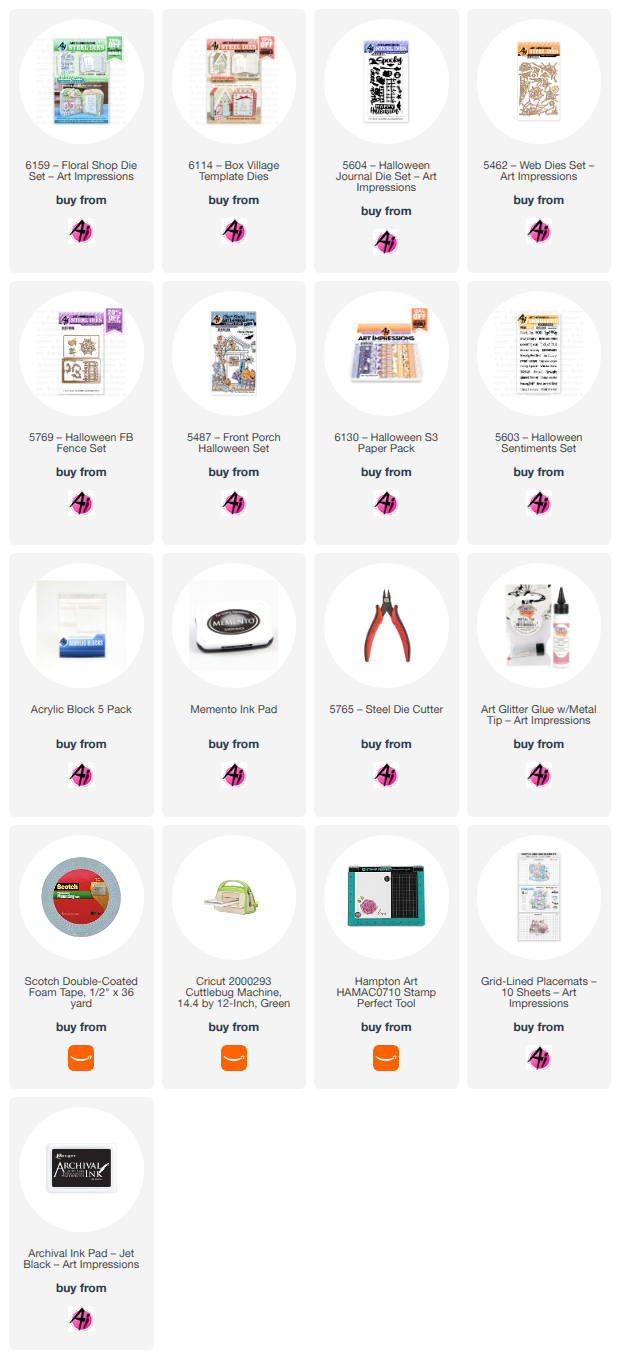
I adapted the 6114 – Box Village Template Dies by taking the little roof line piece
and moving it up further on the box. This created a taller house. I then used one of
the shingle pieces to create an awning. The front door is from Halloween FB Fence Set
and I used a piece of screen to create a screen door that you can see through to the 
designer paper.


The stamps and dies used to embellish the box all around are from several different sets.
All sets are linked below. I think my favorite is the little skull tucked into the window box.


Thursday, October 24, 2024

Witchy Spinner Card by Dori Mendiola

Happy Thursday AI Friends!

Halloween is almost here so I wanted to get one more card in before the witching hour.  😃
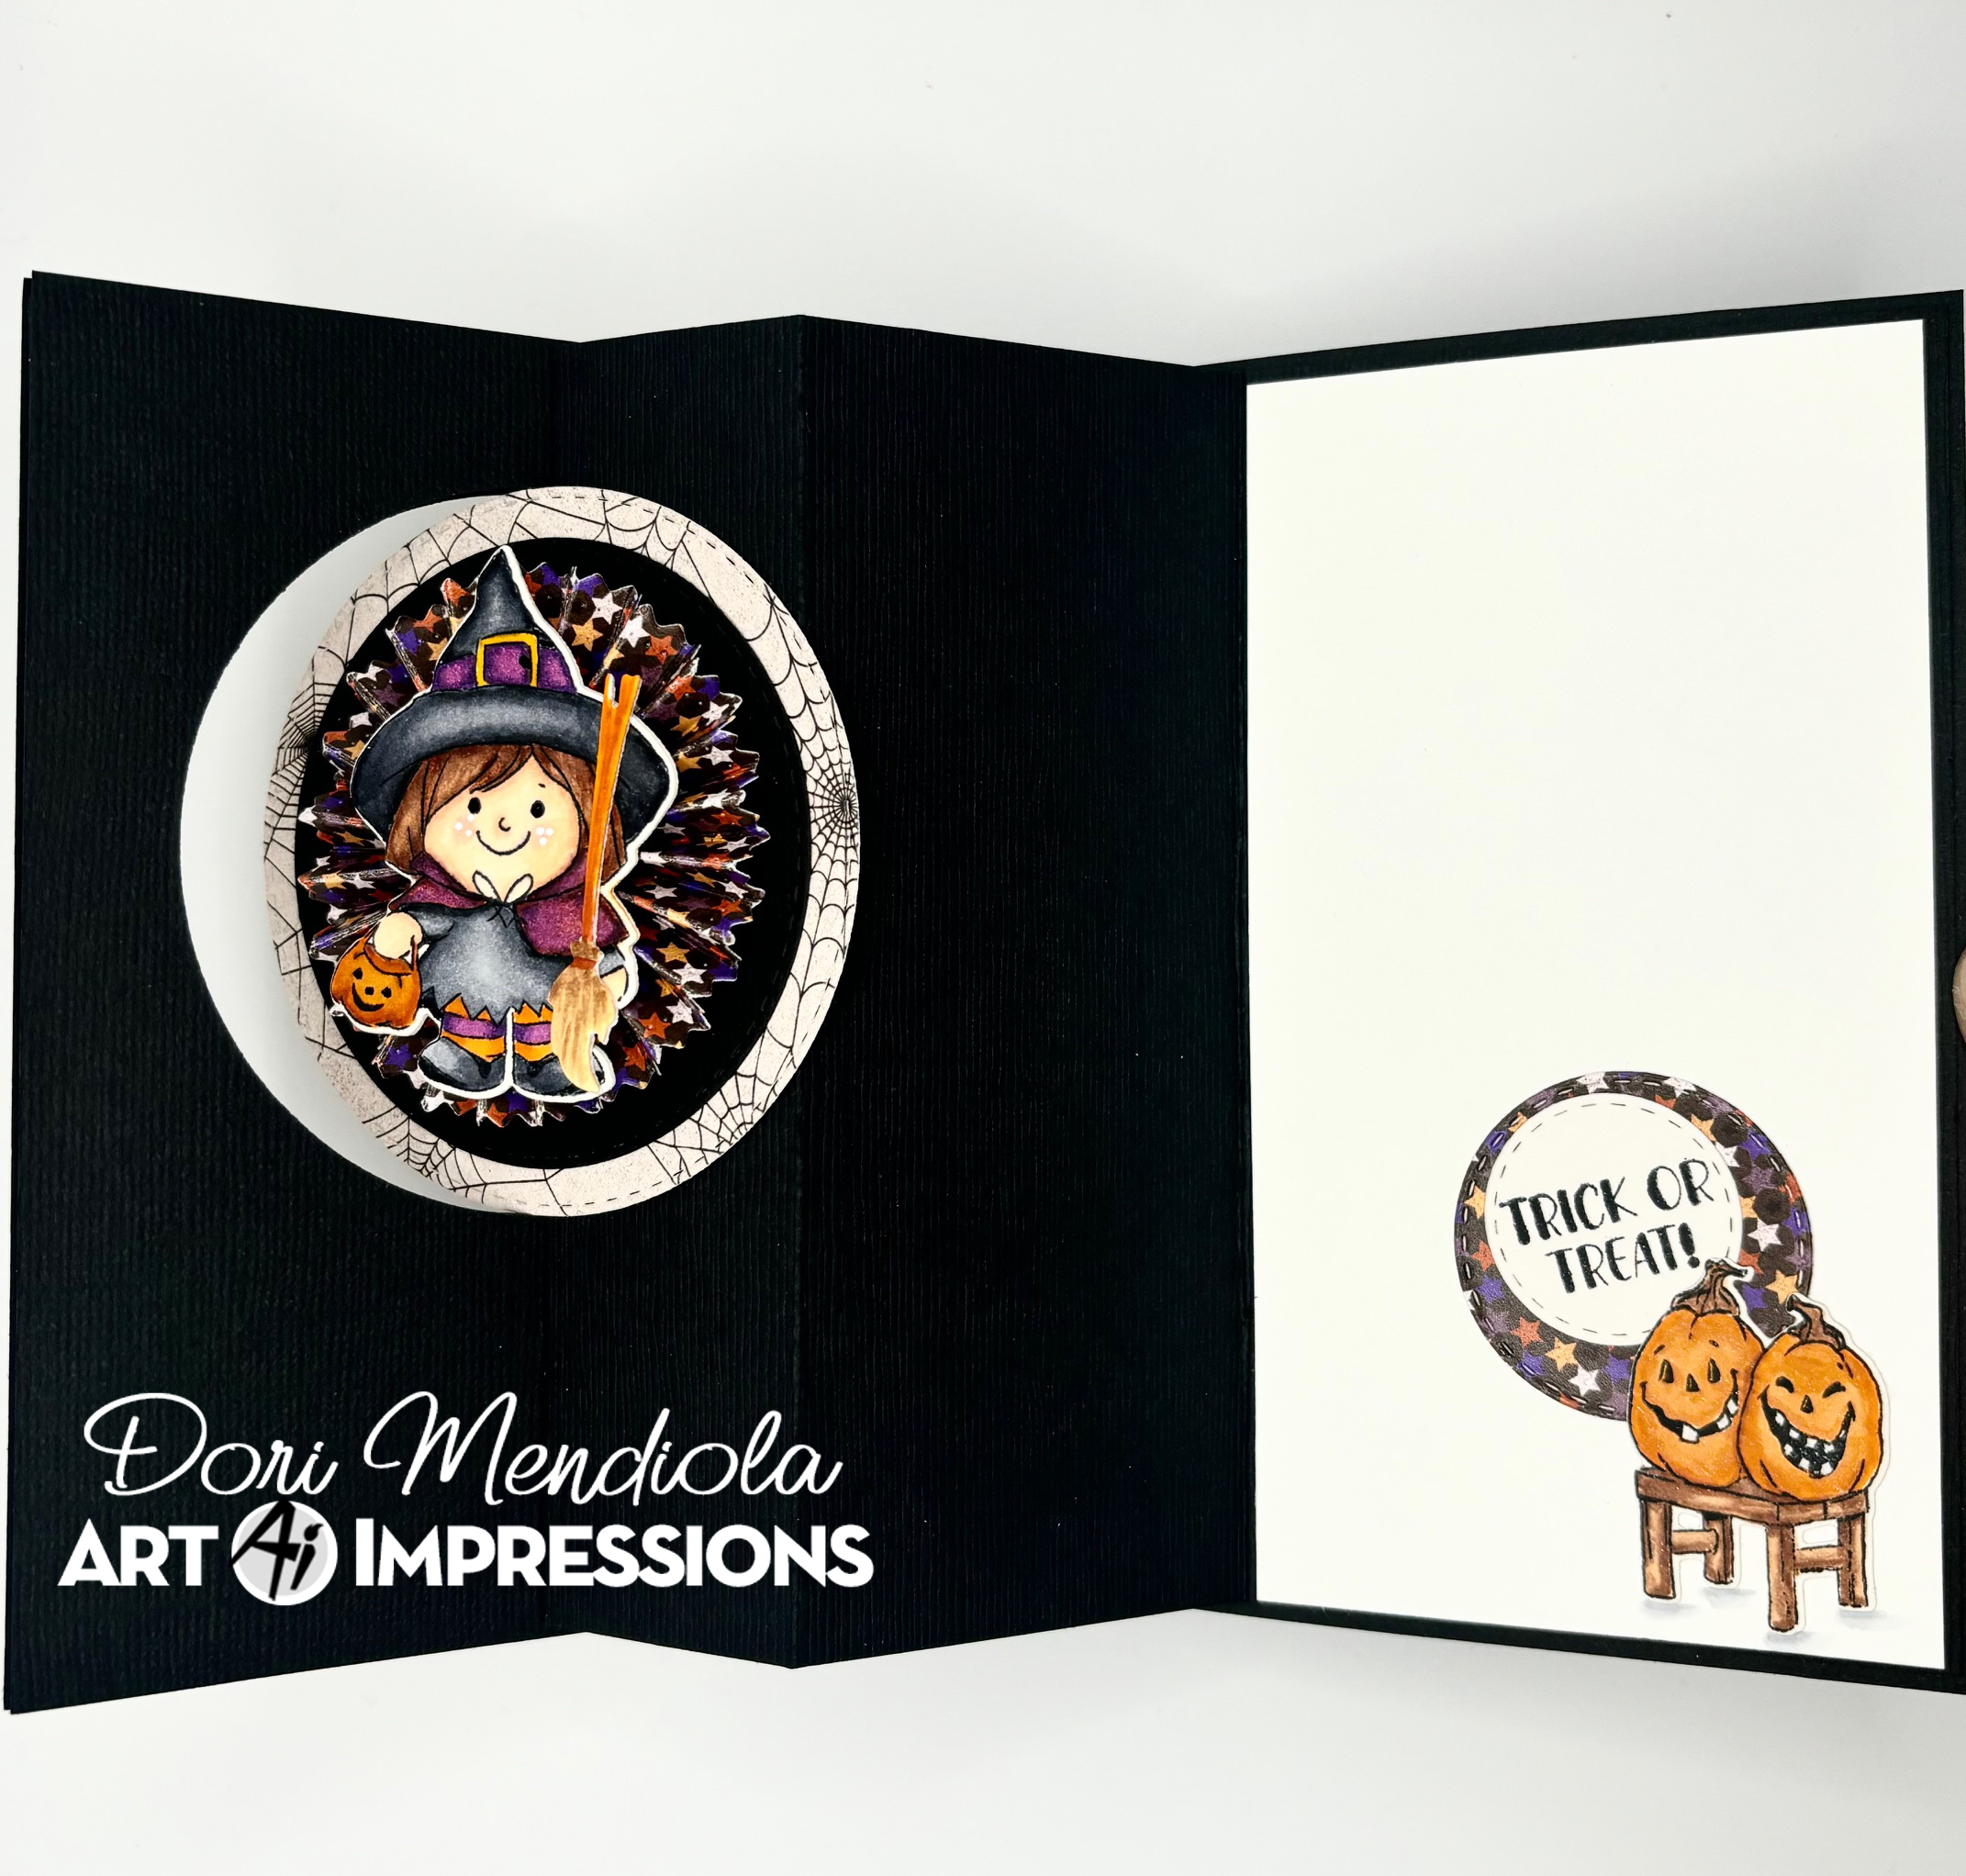
This one was created using the #5506 - Peek a Boo set.  This set has the cutest little characters plus an interactive window along with dies for each.  Such a cute fun set!  Several other sets were used to create the final card so make sure to check out the links below.


I started by stamping the images onto copic friendly paper and coloring with my copic markers listed below.  After coloring, I die cut each of the images out with their corresponding dies. 

To make the interactive spinner card:  I first cut a black A2 size card base.  I layered a piece of patterned paper (web pattern from the #5849 Halloween S2 PP) onto the front of the card base.  Then I cut a circle out of the front of the A2 card base (I used the #5064 Double Stitched Circle dies).  Keep this inner circle for later.  For the inside, cut a 5 3/8 x 8 3/8" piece of black card stock.  Score and fold at 2 7/8, 5, 6 1/4 (valley, mtn, mtn).  Flip this piece over and adhere the 2 7/8 to the inside right of the A2 card base leaving a slight border.  Fold it down onto itself and place glue on the left fold side.  Hold it in place and bring the front over to close onto the fold.  It should fit right into the score of the A2 card base.  For the last step - take the inner circle from before, and with the card shut, place glue onto the right half of the inside folded piece.  Fit the inner circle back into place over the glue on the right side.  Your spinner action is now working when you open the card.
 

  The witch is popped up on top of a rosette.  This can be created by taking a 12" x 1" strip of patterned paper.  Score and fold at every 1/4 inch.  Glue the ends together.  Cut two circles (1/2" and a 1" approx.) out of scrap paper.  Gather your rosette into a circle and glue the small one to the top of the rosette.   Place glue onto the larger circle and carefully slide the rosette onto that circle to glue to the bottom.  Hold until both are adhered nicely.  Glue the witch to the top side of your rosette. 
As for the spider webs, I die cut two from the #5769 Halloween FB Fence set and cut one in half and half again to create the corner edges.  I took the other web die cut and used the circle die to cut a portion to place on the outside circle edge.  

Hope you have a wonderful day.
Keep creating!

Copics used: C00, C1, C3, C5, C7 
E00, E01, E11, E21, E23, E25, E53, E55, E57
R20, Y17, Y19
YR12, YR14, YR16, YR18

Thursday, October 10, 2024

Halloween Slider Card by Dori Mendiola

 Happy Thursday AI Friends!

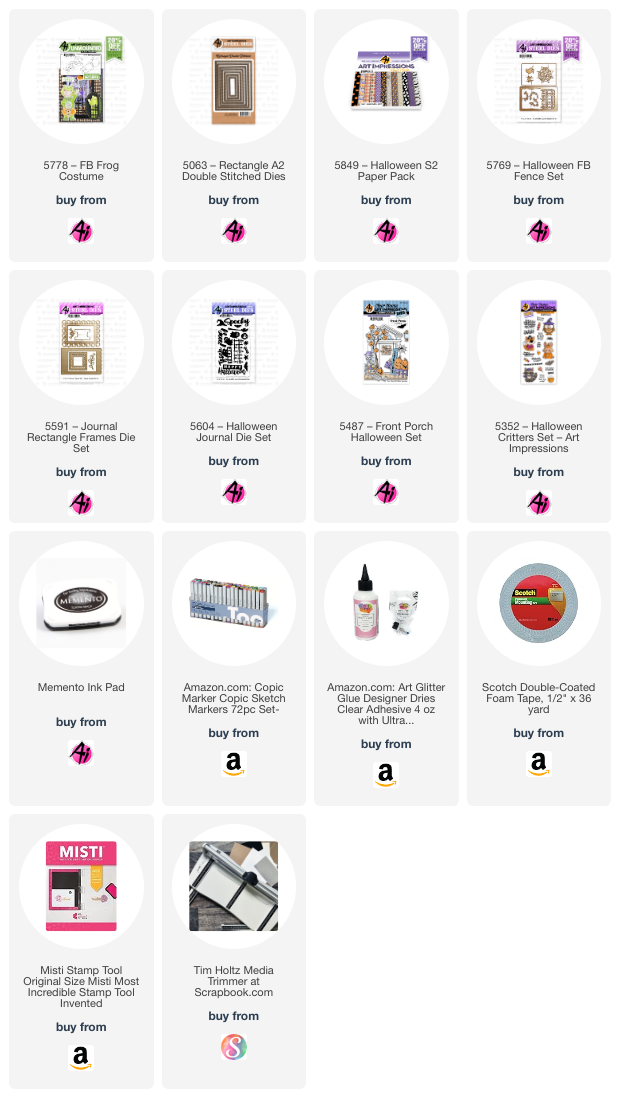
Today I have a fun Halloween interactive card for you.  I love frogs and so when I saw this Front & Back stamp set - #5778 Frog Costume, I knew I had to have him.  Soooooo cute!!  This card is really very easy to put together and no special dies are needed.   


I first stamped my images with Mememto black ink onto copic friendly paper and then I colored with my copic markers listed below.  I die cut each with the corresponding dies.

To create the interactive card:  Start with a base panel (I used black cardstock) cut 4 1/4" by 5 1/2".  Place a pull tab to the right side before layering a patterned piece on top of the base.  Die cut a rectangle or square out of this panel, wherever you'd like your slider to be (center, closer to top, etc.)  Your base panel is ready.  
Now for the mechanism slider piece:  Die cut a piece of cardstock (again, I used black) with the larger corresponding die (best to use two sizes up).  If you don't have a corresponding larger die, you can use your cutter, just add 1/2" more to the sides (for example, panel cut is 2 1/2" x 2 3/4", then cut a 3" x 3 1/4").  Score this piece at 1/2" (down long end) and fold towards you (see Pic 1).  Now take your original die (the one used for the base panel) and place it along the non-folded edge leaving a 1/4" frame on top and bottom (see Pic 1).  Tape down and mark the mid point on top and bottom.  You need to do partial cutting to just past that point.  After cutting, you should have a folded edge on the right and two tabs (one on top and one on bottom on opposite side (see Pic 2).  Line up this panel piece to the left, under the opening on your base panel, so that 1/2 of this panel will fit through the opening (see Pic 3).  Hold onto the right side and test to make sure the piece comes through the window.  Place glue onto the B tabs and adhere to the back of the base panel.  Place glue to the backside of the A tab and glue to your A2 base card.  ONLY adhere this tab to your card base.  At this point, you should be able to pull on the pull tab and your slider should work.  You may need to pull the slider and enforce the A fold to make it move more freely.

     Pic 1                                          Pic 2                                          Pic 3


I hope you try out this fun card for yourself.  Once you make one, you'll want to make many more.  You can rotate the opening to be on the top or the left as well, just rotate you mechanism piece.

Have a wonderful day!
Keep crafting!

Copics used:  E000, E00, E01, E11, E21, E23, E25
YR12, YR14, YR16
YG21, YG23, YG35
C1, R20, G24

Tuesday, October 24, 2023

Give us a Fright by Nina

 Hello Ai friends, Nina here with a new Scrapbook layout for our current "Give us a Fright" challenge. I am using multiple sets for this project, Ghoul Friend Set, Front Porch Halloween and MB Halloween.


I stamped the images using Memento Tuxedo Black Ink and Mini Misti.
I then colored them with Copic Markers that are Halloween colors.


I cut the images and attached them to a black background.
I used my white gel pen to draw a lot of webs between the images and around the edges then decorated with enamel dots and star stickers.


Monday, October 2, 2023

BOO! A Halloween card by Sharon Caudle

 Boo!

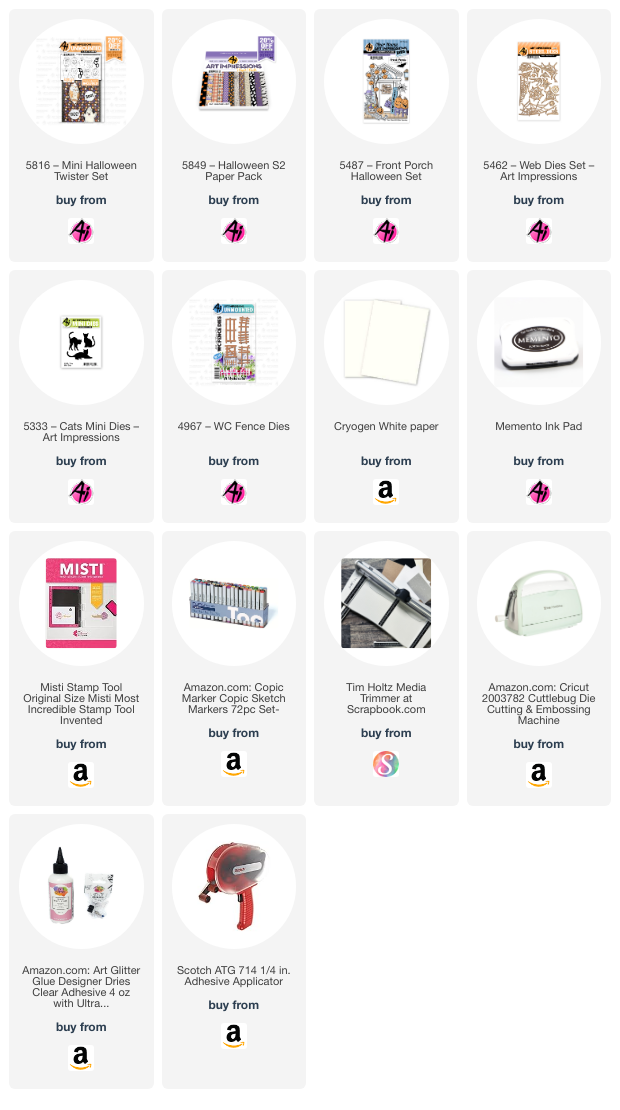
LOL!  Did I scare you? Today my card features the adorable new 5816 Mini Halloween Twister Set. I put three of them on the front of the card and love how the three of them look together! Then I decorated all around them using some other awesomely spooky dies from Art Impressions. I used 5849 the new Halloween paper pack from AI, that awesome tree is from 5487 Front Porch Halloween Set, 5462 Web Dies Set for the spider webs, spiders, and that awesome pumpkin by the fence, 5333 Cat Mini Dies for the cat on the fence, and 4967 WC Fence Dies. 


Thanks so much for stopping by for a visit today, and until next time - stay crafty!