Showing posts with label 5063 Rectangle Double Stitched Dies. Show all posts

Wednesday, May 27, 2026

Happy Bee-Day Card by Lynn Dionne

Happy Wednesday Ai Fans!


Watch video tutorial here!

Today's card was inspired by the new Ai "Yellow" Blog Challenge which is to simply use the color yellow somewhere on your card or project! Yellow is just such a happy, cheerful color and little bees were the first thing that came into my mind for this card!

We will be creating a fun grid layout with some pretty patterned papers from the brand-new Ai Floral Shop Paper Packs! The colors and patterns coordinate perfectly and will make this card super easy to create.

Let's begin by stamping, coloring and die cutting the bees and the cute little bear. The bees are from the Ai Honey Bee Set (5925) and the bear is the Ai FREEBIE Honey Bear. The FREEBIE is available with a $30 purchase. There are several bears to choose from so you can decide which one you like best!

For the coloring we will use the Zig Clean Color Real Brush Pens in the following colors: Blender, Sugared Almond Pink, Yellow, Bright Yellow, Flesh Colour, Beige, Mid Brown, Olive Green, and Haze Blue. We can die cut the bees with the coordinating dies and for the bear we can do a bit of fussy cutting, leaving a little white border all the way around, and cutting away the bee for the inside of the card.

For the stitched layers on the card, we will be using the Ai Rectangle A2 Double Stitched Dies (5063) in a few different sizes. And for the grid layout, I will give you all of the dimensions in today's video! Don't forget to die cut and additional panel for the inside of the card and add your sentiment and little bee!

For a bit more interest, we will wrap the front of the card with some pretty yellow ribbon and layer up the card.

For a finishing touch, let's add a few sparkly gems in a topaz color!

Thank you so much for joining me today!  Have a fun and crafty day!

Ai Floral Shop PP (6205)

Ai Floral Shop Cover PP (6206)

Ai FREEBIE Honey Bear Stamp (6170)

Ai Honey Bee Set (5925)

Ai Rectangle A2 Double Stitched Dies (5063)


Friday, August 15, 2025

Hatty Birthday! Card by Tasha

Happy Friday Art Impressions friends!

Tasha here sharing a new shaker card featuring the fun 5404-Miss Set. I love making birthday cards, and adding a shaker element makes it feel extra festive and special!

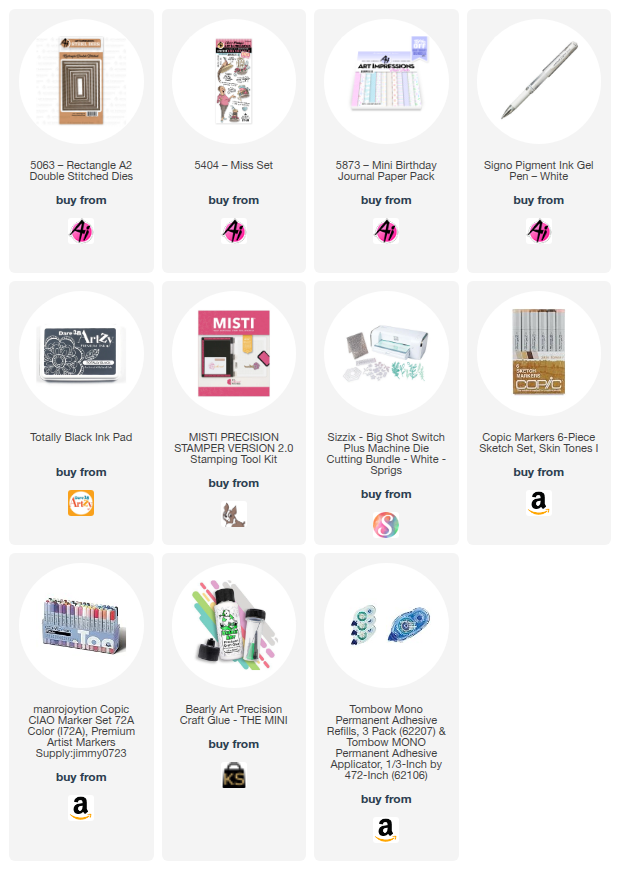
To start, I stamped the lady and her birthday hat with black hybrid ink and colored them with Copic Markers. The coordinating dies included in this set made cutting the images quick and easy; and I love that the hat die is designed to fit perfectly on top of her head!


For the shaker, I used the 5063-Rectangle A2 Double Stitched Dies along with foam tape to create a raised frame. I added a piece of “Happy Birthday” patterned paper for the background and filled it with pretty sequins before sealing it up. On the acetate, I stamped “Hatty Birthday” and added a layer of silver glitter paper for extra sparkle.

To finish the card, I layered gray, white, and pink cardstock with more glitter paper for a coordinated look. A few white enamel dots were the perfect final touch to complete this fun, celebratory design.


Friday, July 18, 2025

Vacation Vibes! Card by Tasha

 Happy Friday Art Impressions friends!

Tasha here, and today I’m excited to share a new card featuring the fabulous 6075-Cruisin’ Carol Set. I absolutely love tropical getaways, and Carol is clearly all set for sunshine, relaxation, and a fruity drink or two!

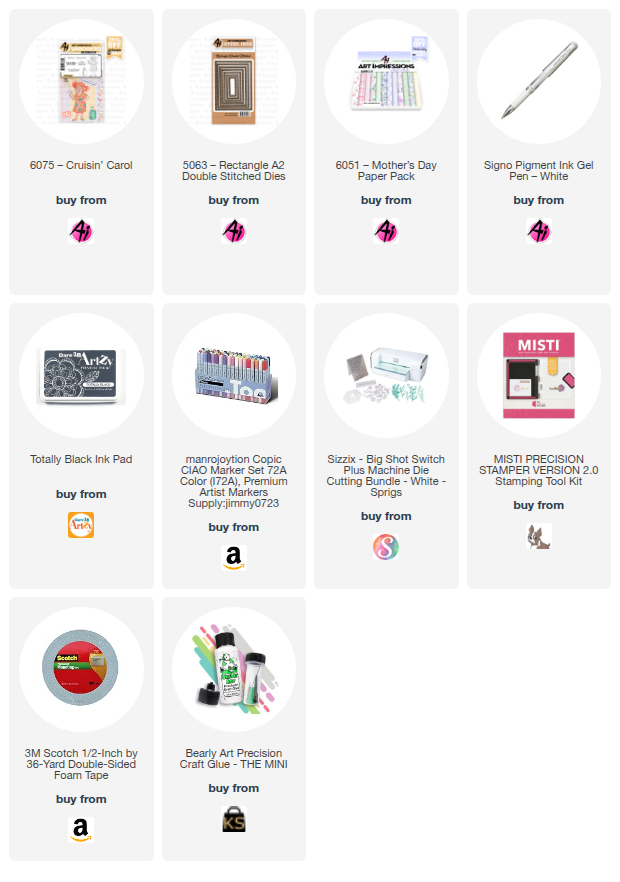
To start off, I stamped the fun Carol image along with the little suitcase using black hybrid ink. I then used the coordinating dies to cut them out before coloring with Copic Markers. I kept the color palette vibrant and tropical, and to match the theme, I created a beach-inspired background using layers of patterned paper. For the center card, I used the 5063-Rectangle A2 Double Stitched Dies to give it a clean, polished edge.

To add a bit of sparkle (because who doesn’t love a little glitter?), I layered in some silver glitter paper. Once that center piece was complete, I built up the rest of the card using dark purple, white, and lavender cardstock, along with a gorgeous floral patterned paper from Ai. The purple flowers really caught my eye and inspired the purples I used in Carol’s outfit; so fun to coordinate everything!


For the finishing touches, I stamped “Vacation Vibes” onto a small banner and added some white gel pen accents to highlight a few details to complete the design!

I hope today’s card inspires you to craft something sunny and fun using the Cruisin’ Carol Set!


Saturday, June 28, 2025

Warm With Love by Janet


Happy LEON, everyone! That's NOEL spelled backward, and it means we're halfway to Christmas! As card makers, many of us live for the winter and holiday season, so I'm thrilled to have an excuse to embrace those cozy vibes, especially during this scorching week here in Charlotte. Forget putting your head in the freezer—we can craft our way to a frosty escape with a card that positively radiates fresh, new snow!

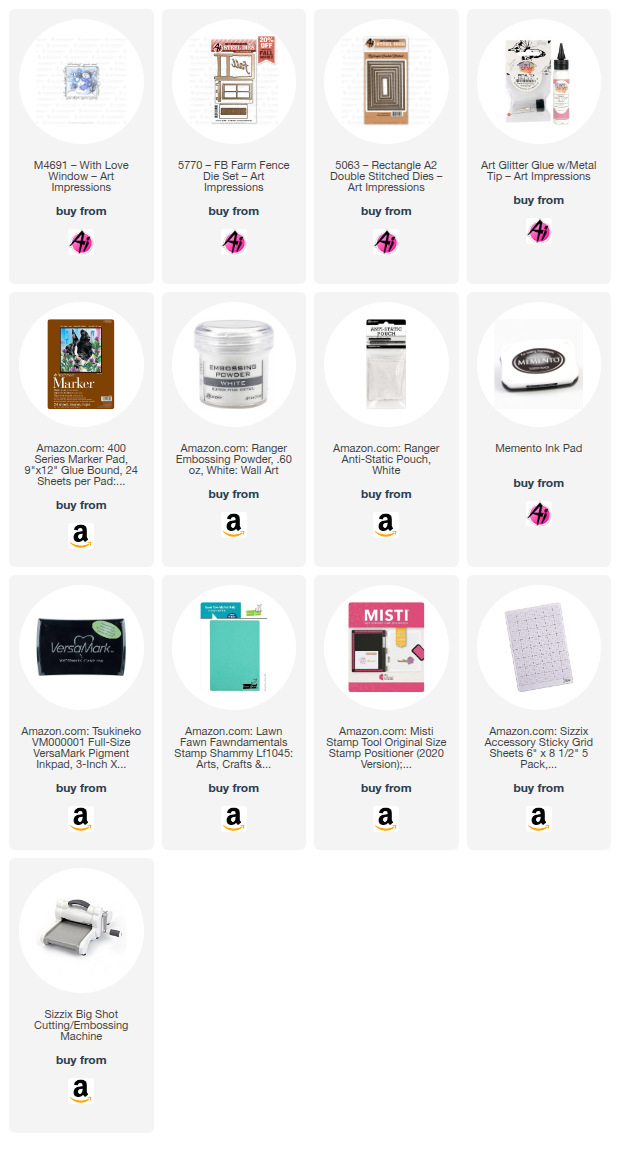
To meet the challenge, I created this scene featuring the M4691 - With Love Window stamp, truly making it a "Window to the World." To bring the window scene to life, I used dies from the 5770 - Farm FB Fence Set to craft two dark navy shutters. The window ledge die from the same set was a bit shorter than I needed, but no problem! I simply cut two, overlapped them, trimmed a few bits, and glued them together. Voilà! I now had a perfectly wide ledge, and you can't even tell it's two pieces.

I started the card with a stitched rectangle cut from white alcohol ink-friendly paper using 5063 - Rectangle A2 Double Stitched Dies. After coloring the cheerful snowman and his bird buddies, I glued this panel onto a pre-made striped A2 card base. For the sentiment, I used a retired set, 5183 - Christmas Kitty Flip Card Set, and heat embossed it with warm silver powder. Of course, any larger sentiment from your stash would work perfectly if you want to try this technique.

To add realistic depth, I applied a thin strip of foam tape to the outside edges of the shutters and wet glue on the inside. This made them mimic real shutters beautifully when adhered to each side of the window image. I also used a thin foam strip behind the window ledge, making it stand out with a 3D effect. I got inspired to add some snow to this scene so I applied white Nuvo Crystal Drops to the shutter edges and the top of the window ledge. For extra shine, I sprinkled white glitter on the Nuvo drops while it was still wet. The result is a cool snow effect. The finishing touch was three sparkling gem and pearl snowflakes at the top.

Thanks so much for stopping by today! I hope you'll embrace the LEON spirit and share your own holiday card for our challenge. Don't forget to find your favorite stamps, dies, and accessories at the Ai Store!

Until next time, happy creating!

Janet YouTube - Blog - Facebook - Instagram - Pinterest     


Friday, June 20, 2025

Seas the Day! Card by Tasha

 Happy Friday, Art Impressions friends!

Tasha here, sharing a cheerful Summer card featuring the adorable 5399-Gull-Friends Set.


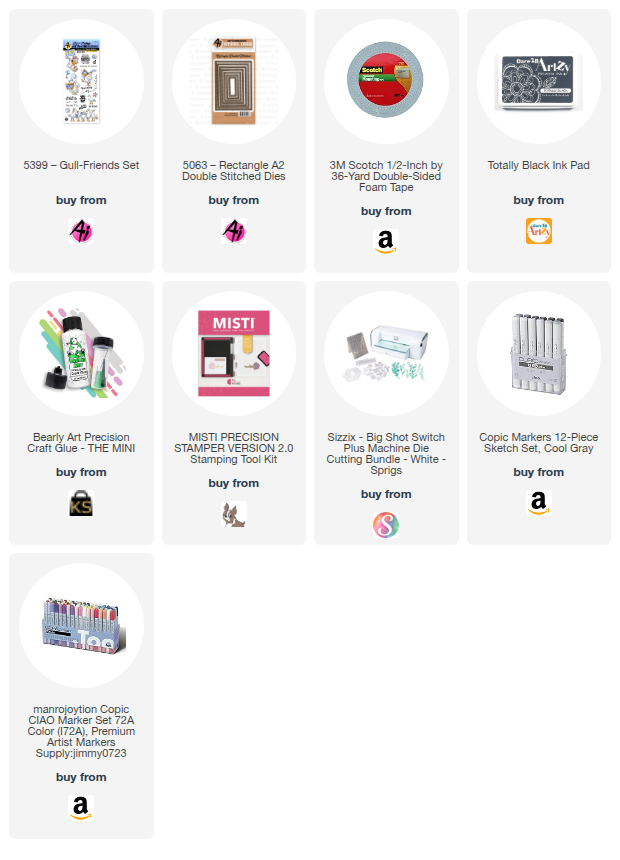
I just love these playful gulls and all their fun beachy accessories; they’re so much fun to create with! For this card, I stamped the main image and used the included dies to cut it out (coordinating dies = game changer!).

To build my little seaside scene, I layered paper to look like sand, water, and sky, then used the 5063-Rectangle A2 Double Stitched Dies to cut the center panel. For a splash of sparkle and color, I added layers of silver glitterteal, and gray cardstock, plus a touch of Art Impressions plaid pattern paper.

To finish it off, I stamped the sentiment "Seas the Day" which is perfect for a Summer card!

Thank you for checking out today's card and I hope you are having a wonderful day!


Thursday, June 12, 2025

Father's Day Cubs by Dori Mendiola

 Happy Thursday AI Friends!

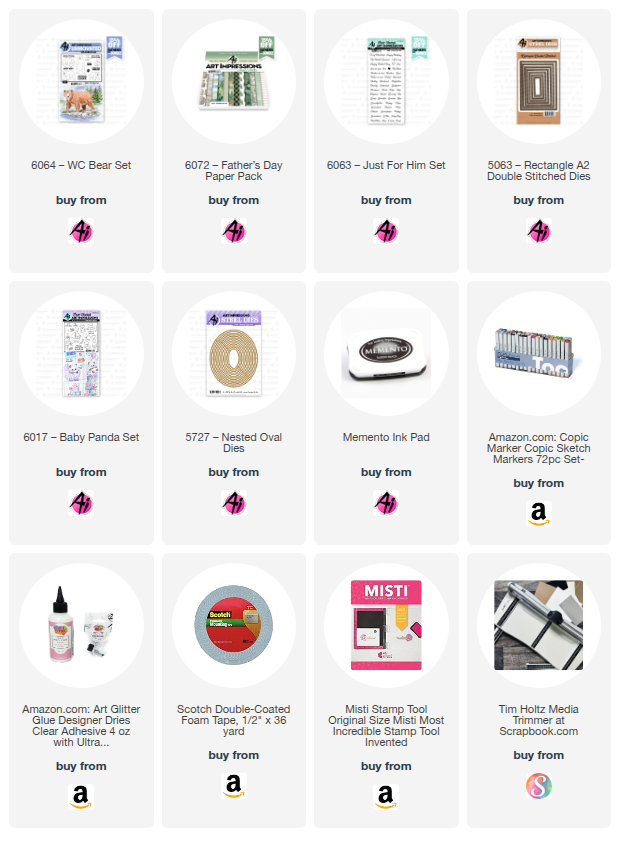
Thanks for joining me today!  I thought I'd share a couple of Father's Day cards I made for a few of the men in my life.  I used the #6064 - WC Bear set and the #6072 - Father's Day PP for both cards but changed the layouts.   


I started by stamping the images on copic friendly paper with Memento black ink and colored with my copic markers, listed below.  I then fussy cut each of the bears and cubs.  For the little girl cubs, I stamped the little girl panda from the #6017 - Baby Panda set and fussy cut the bow from her hair. 
 
For the top card, I die cut the pattern paper panels using the #5063 - Rectangle A2 Double Stitch die set.  I also cut a couple of trees from dies in my stash.  I popped up the Papa bear and the littlest cub with foam tape and placed onto the background pattern paper.  I stamped the sentiment from the #6063 - Just for Him set onto an oval die cut using the #5727 - Nested Oval dies.  I finished this card off with a couple of red hearts to add color and love. 

For this card, I used a postage background die for the base and placed pattern papers within each square.   Everything else is basically the same as the top card, but just wanted to show how different they can look by using different backgrounds.

I hope you enjoyed my cards today and they inspire you to create a few for the men in your lives.

Have a great day and keep creating!

Copics used:  R20, R22
E50, E51, E53, E55, E57

Thursday, April 10, 2025

Easter Card and Treat Containers by Dori Mendiola

 Happy Thursday AI Friends!

Today I have a couple of fun Easter items for you.  I was having too much fun and got carried away which is so easy to do with all of the fun AI Easter stamps sets.

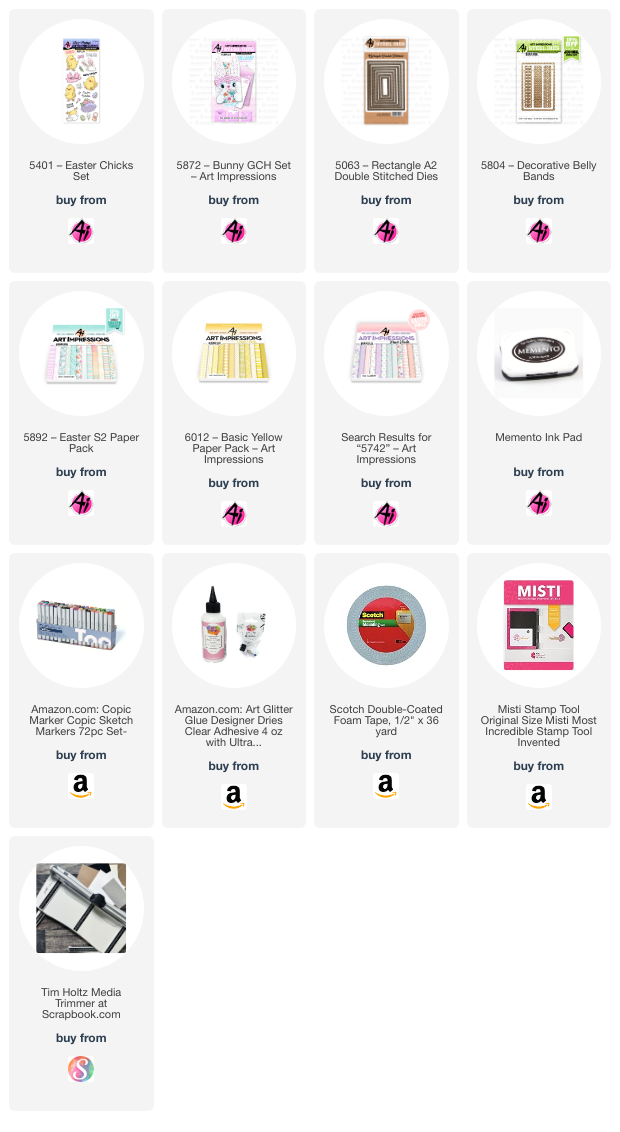
  Let's start with my Easter card using the #5401 - Easter Chicks set.  The images, sentiment and the little Easter accessories come with this set as well as the dies.  The interactive slider was created using the Lawn Fawn Magic Picture Changer die.  The pattern papers are from the #5892 - Easter S2 and the #6012 - Basic Yellow Paper packs.  


 For the other Easter project, I got carried away with the #5872 - Bunny GCH set and the #5742 - Easter Journal Paper Pack.  I decided to make treat containers and this was sooo much fun.  One I made as a box for treats and the other is a shaker, but I used small jelly beans to fill it.  It opens so the candy can be eaten.  However, you could use shaker bits and glue it shut.

For the treat box, I cut a 6" x 6" piece of heavy cardstock.  I scored it at 2" and 4" then turned 1/4 turn and scored again at 2" and 4".  On one side, cut the two score lines to the first fold.  On the opposite side, cut the two score lines to that first fold.  You should have three connected squares on the left of first cut score line and three on the right of the second cut score line.   Fold in the middle pieces and then fold in the sides and glue down each flap.  Your open box is ready.  I then cut a panel of pattern paper to cover the sides as well as a belly band using the #5804 - Decorative Belly Bands die.  For the back side of the bunny, I cut two extra paws for the back feet.  I used the eye die to cut the bottom of the paw and a hole punch for the toes of the paw and glued a solid pink paw to the bottom.  I also used a small white pom pom for the bunny tail.

For the second treat container, I used a round container from the Dollar Tree (or you can use condiment cups).  I cut the bunny face from a nested circle die vs. the square die included in the #5872 - Bunny GCH die set.  I also altered the headband to fit the circle face.  I adhered the top of the container to the back of the bunny face with strong adhesive.  I decorated the bottom of the container with the paws and tail prepared the same as above.  I filled the cup with the desired candies and sealed the lid to close.  The candy cup is complete and ready for your little one.

I hope you enjoyed my projects today.  Have a great day and keep creating!!

Copics used on card:  T0, T2, R30
YR12, YR14, YR18
Y13, Y15, Y17
G40, G43, G46
B000, B00, B01

Tuesday, April 1, 2025

New Baby card by Reneé Matarese

Hello Ai fans!
One of my coworkers recently had a baby.
We didn't initially have time to plan a shower for her because Baby D came REALLY early.
Fortunately, everything was okay. She's back to work now and we had time to plan a shower this time.

I wasn't sure what type of card I wanted to make for her until I saw her invitations.
The Pooh on my card was cut out of her invite and I proceeded from there.
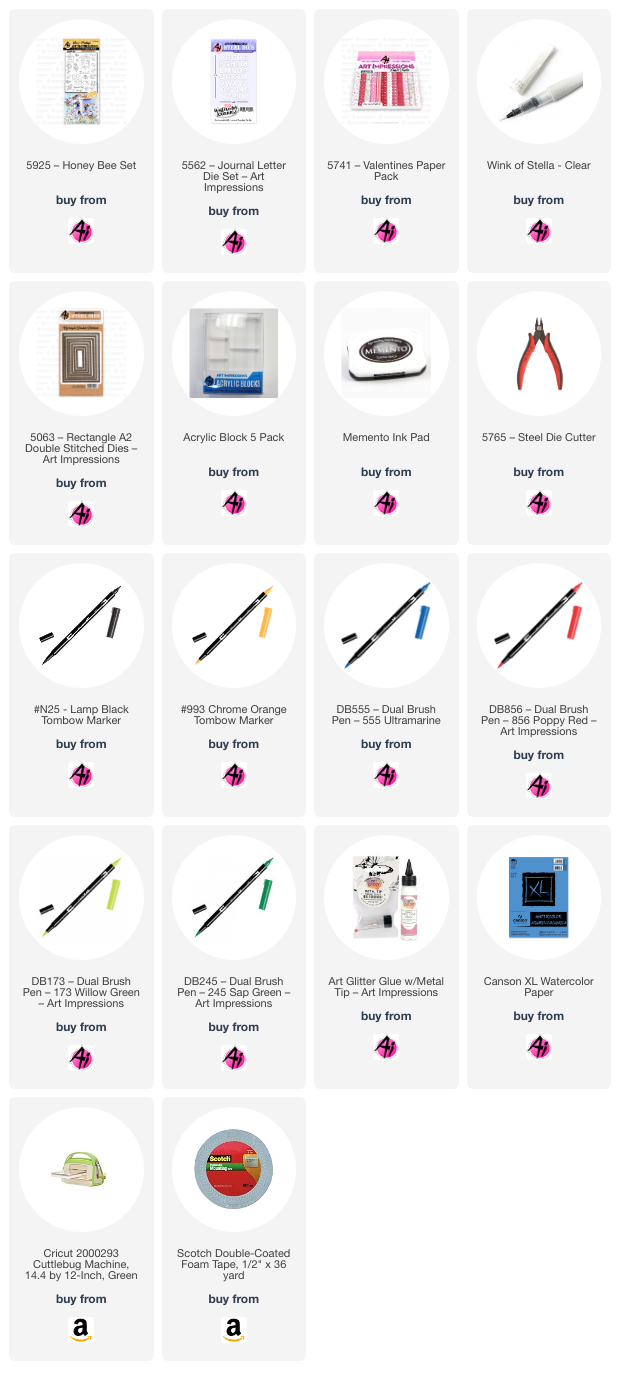
I knew instantly that I wanted a red and yellow card to match Pooh. The Valentine paper worked perfect for this. Then I used a die set from another company to make the HUNNY pot. I spelled out HUNNY using the Journal Letter die set.


Of course if there's honey on your card then you MUST have BEES!!
And how do bees make honey, from flowers of course.

I used Watercolor Paper from Art Impressions to create the pot and used Tombow markers to WC it.
I used cardstock and Tombow markers to color the bees and flower images. All colors and products are linked below.


I used Wink of Stella on the bees wings and then added some Glossy Accents to them and the honey pot.


Thursday, March 20, 2025

Crazy Garden Lady by Dori Mendiola

 Happy Thursday AI Friends!

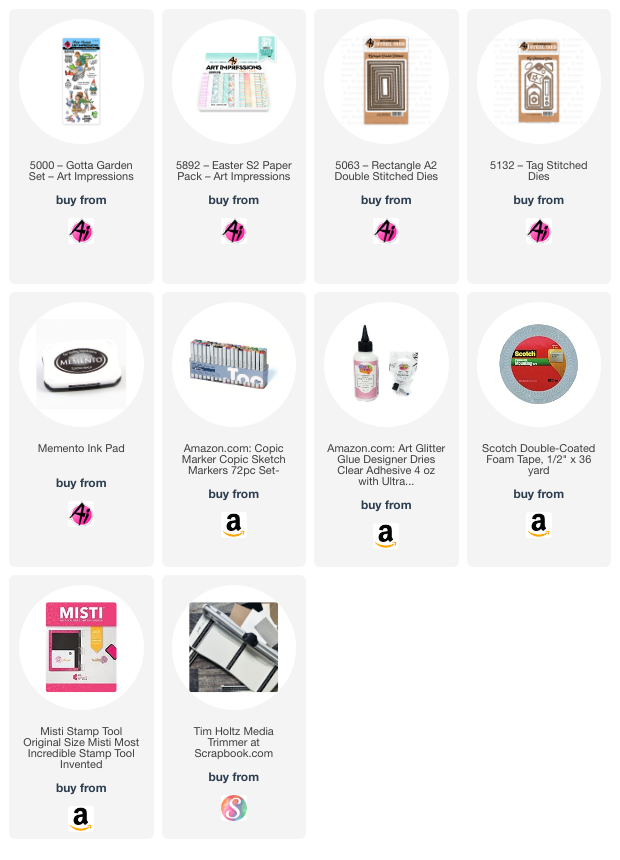
Today I have a fun birthday card featuring the #5000 Gotta Garden set.  A friend of mine loves to garden so this image was just perfect for her birthday card.  I definitely would not call her crazy but she is crazy about gardening.  LOL!

I stamped the image on copic friendly paper with Memento black ink and colored her with my copic markers listed below.  I just love the expressions on all of Bonnie's people stamp sets.  They just exude fun and laughter!  


I die cut the image panel with one of the #5063 Rectangle A2 Double Stitch die and then placed onto a pattern paper panel from the #5892 Easter S2 PP.  I then matted it with orange cardstock.  I die cut each of the sentiments, that also came in this stamp set, with a tag die from the #5132 Tag Stitched die set.  I partial cut the tag and then used the same die to also cut off the flag portion and leave the stitch pattern.
I used a scallop edge die from my stash to cut the narrow strips on each side and placed a long narrow strip of orange cardstock over the seams of the pattern paper and the scallop border.  Placed some enamel dots on the card to finish it off. 

I hope you enjoy my card today.
Have a wonderful day and keep creating!
Copics used:  N1, N3, N4
E000, E01, E11, E21, E23
R20, R24, G43, G46
B000, BG32, BG34
Y21, Y23, Y25, YR12, YR14

Saturday, February 22, 2025

Shake Your Shamrocks! by Janet


It's going to be St. Patrick's Day soon so I decided to make a card for the occasion before it's too late! I have a couple friends who get such a kick out of me sending them St. Patrick's cards. And why not? They are fun to make and give!

Art Impressions has a super fun set for the holiday called 5006 - Shan-rock Set. I chose to make the leprechaun the focal point of my card. He's doing a good Irish jig for the occasion. I also colored and fussy cut out the hat, shamrock, pot of gold, and the beer mug. It's hard to tell in my photo but I stamped the coins on gold metallic paper, cut and pieced them into the pot. 

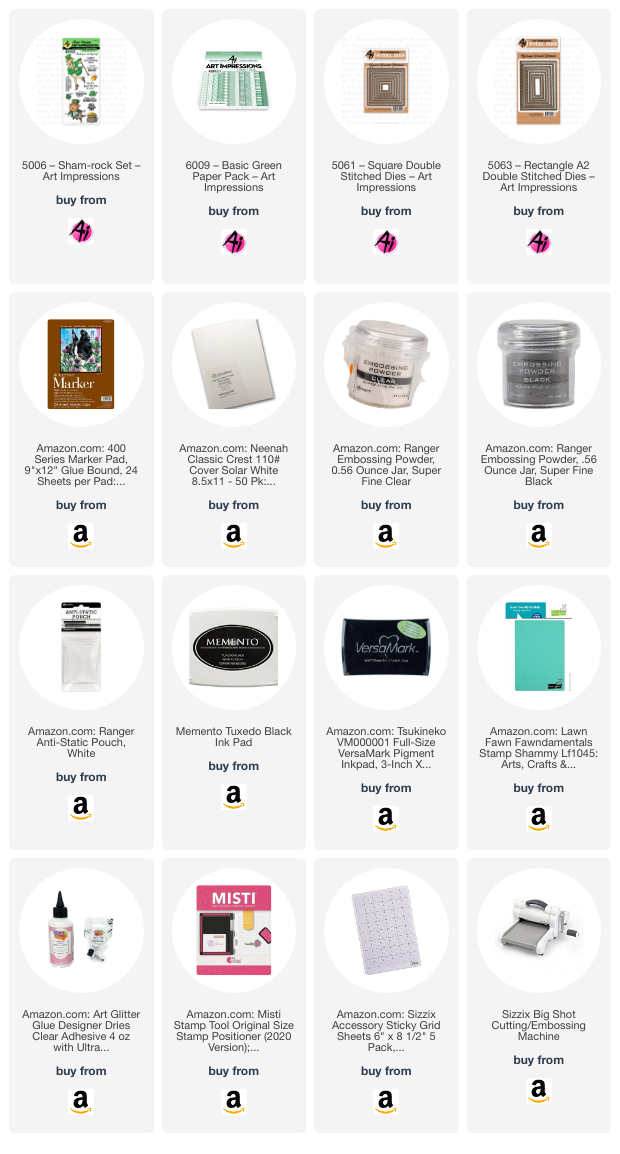
To make this card I used the 5061 - Square and 5063 - Rectangle Double Stitched Dies to make windows in a piece of 4" x 5 1/4"cardstock from 6009 - Basic Green PP. You can buy dies that will cut windows out but why do that when you can make your own with your Ai stash of dies? Because they are double-stitched, the windows are framed in stitches which provides a professional and finished look. 

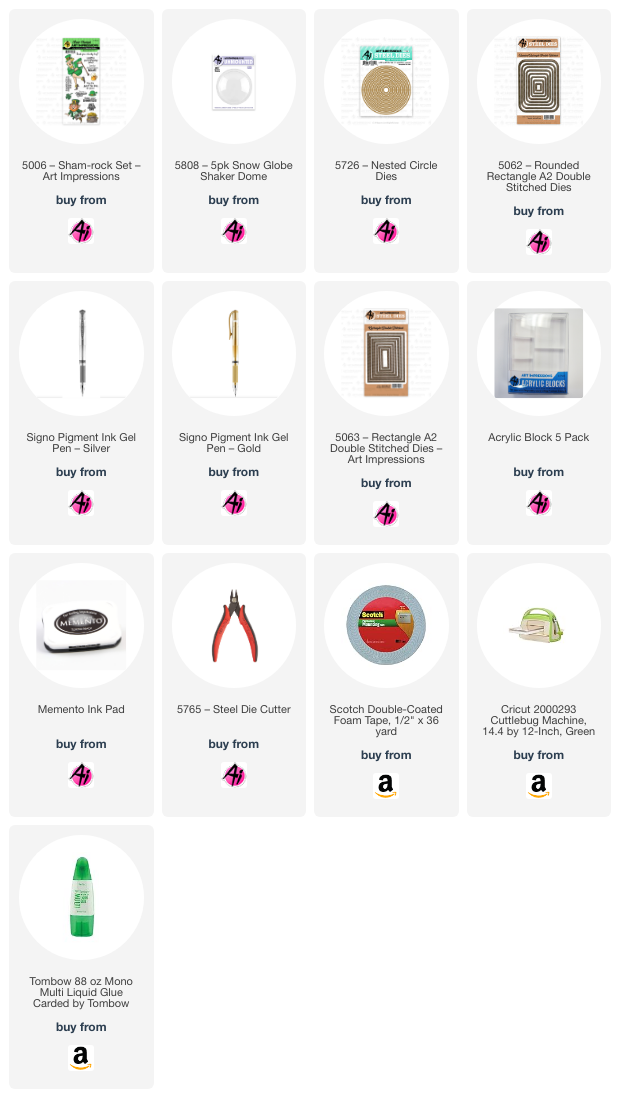
I heat embossed the sentiment with gold embossing powder and then glued the window panel on top of a piece of dark green cardstock. I put gold glitter cardstock behind the pot for some added interest. The finished window panel was glued on a white A2 card base. I mounted the images using foam tape. The final step was to add three gold stars as accents.

I hope you get to shake your shamrocks this St. Patrick's Day! Thanks so much for joining me here at the blog. As always, please visit the Ai Store for the products I used and all the things you need for your card, journal, and tag making projects. Happy creating!

Janet YouTube - Blog - Facebook - Instagram - Pinterest 


Tuesday, February 18, 2025

Let the shenanigans BEGIN! by Reneé Matarese

 Hello Ai fans!

Today I'm sharing the card that I made for the current Drink Up! challenge.


You all know that I'm obsessed with the Ai shaker domes.
I couldn't wait to put some green and gold bits in this one for St. Patrick's Day.


I made my card a little on the masculine side but most women would love this too. The little beer mug is what makes it fit the Drink Up challenge.


Copics used:
W3, E84, YR21, Y000, Y04, Y35

Saturday, February 15, 2025

Friends Gnome Matter What! by Janet

Valentine's Day has come and gone but it's the first step in the march toward spring. I was feeling in a pastel mood and the light spring colors of the season inspired the card I made this week. There's no easier way to get a soft look than by using water colors. I used my Karin Brushmarker Pros for my images. I'm the first to admit that I'm not a pro watercolorist but I do like to take my pens out occasionally. It's fun to stretch my skills and though it's not my best medium, I still enjoy trying. Most times, the results are worth the effort and besides, you can't get better if you don't practice!

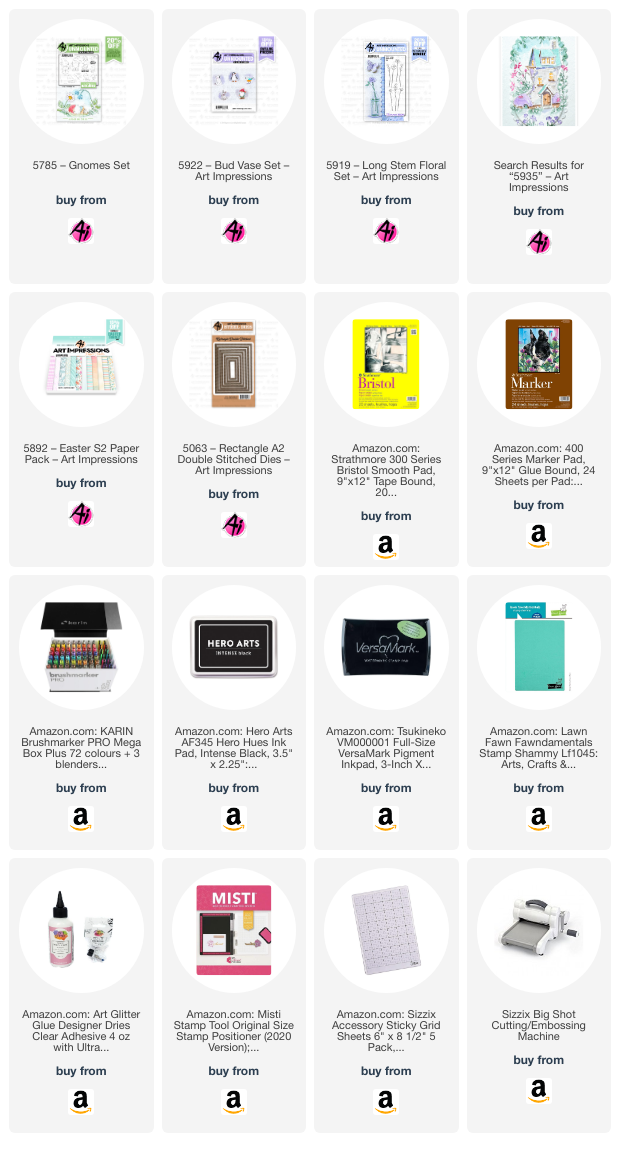
My card features many different stamp sets. The vase and flowers come from 5922 - Bud Vase Set and 5919 - Long Stem Floral Set. Once I stamped and colored this composition, I fussy cut it out. This is the only image that didn't come with matching dies but fussy cutting it wasn't hard. Next I stamped two butterflies and a set of mushrooms from 5935 - Fairytale Houses Set. Once I colored them, I cut them out with their matching dies. I also cut a small piece of grass with a die in the set and water colored it.

The next step was to create a wide stitched frame from cream pearlized cardstock. To make the frame I used two dies from 5063 - Rectangle A2 Double Stitched Dies. I love making frames with this set because both the outside and the inside of the frame are imprinted with stitch marks. I added a rectangle of acetate behind the frame and then I applied two layers of foam tape around the window. Before doing more, I stamped the acetate window with the sentiment using StazOn ink so it wouldn't smear. 

The A2 card is a pre-printed one from my stash. However, I added a scrap of striped coordinating paper from one of my most favorite paper packs, 5893 - Easter S2 PP. I then mixed up the filler for the shaker. I chose clay shaped sprinkles, flowers, and clear beads. I added a few large dark pink and light pink flower sequins as well. I placed the shaker bits in the middle of the striped paper and then secured the frame in the center of the card with all the bits securely inside. 

Finally I could arrange my little scene on the frame. I cut the lattice out of matching cream cardstock using 5589 - Journal Pocket Set and glued it in place to create a little fence at the base of the frame. I composed the flowers, gnome and grass on the right corner and placed the mushrooms on the left. I folded the wings of the two butterflies and glued them in place too. Then for the finishing touch, I glued two small white seed beads on the heads of each of the butterflies.

And there you have it! Thanks so much for joining me here at the blog today. As always, please visit the Ai Store for the products I used and all the things you need for your card, journal, and tag making projects. Happy creating!

Janet YouTube - Blog - Facebook - Instagram - Pinterest