Showing posts with label Halloween FB Fence Set. Show all posts

Tuesday, July 21, 2026

Happy Fright Night by Reneé Matarese

Hello Ai fans!
Welcome to Summerween.

That's when we celebrate Halloween in summer time.


I love Halloween and was excited for this challenge.
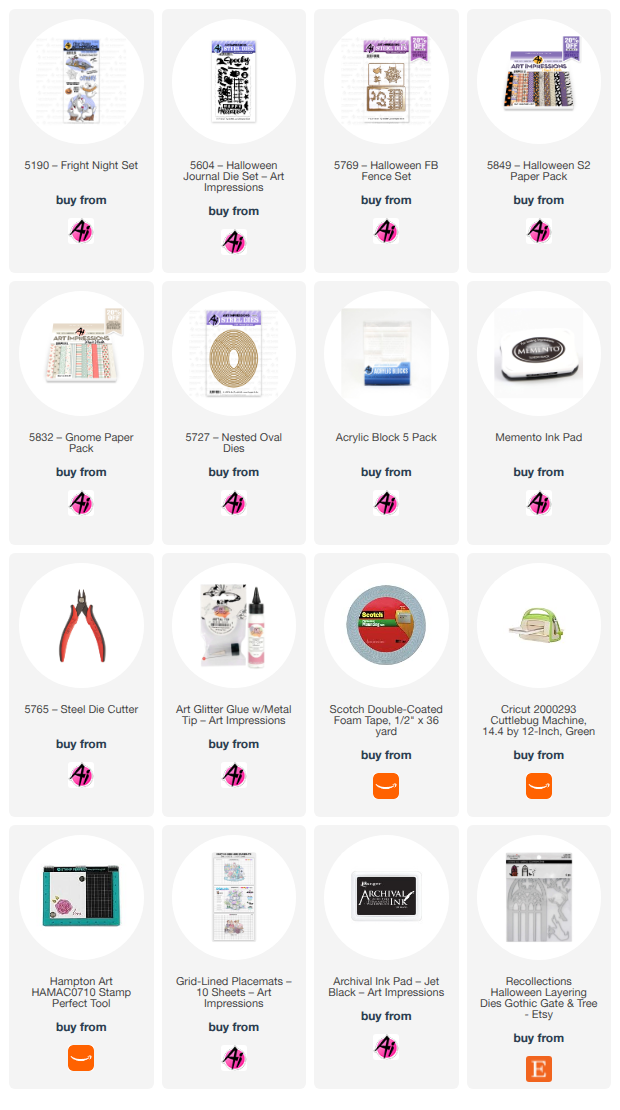
I chose to make a tunnel card with three layers.
Though it's a little difficult to see in the photos, my blue
and orange paper are glittery.


All of the fun little dies are from Art Impressions with the exception of the tree/branch.
I love the character that these dies add to a card. I decorated the inside of my card as 
well. The ovals were left from what I cut out of on the front of the card and the bats
were the piece I trimmed off. I love not wasting anything.


Tuesday, October 21, 2025

Meet the Bride of Frankenstein! by Reneé Matarese

Every Frankenstein needs a bride, so...
without further adieu...
Meet the Bride of Frankenstein! 


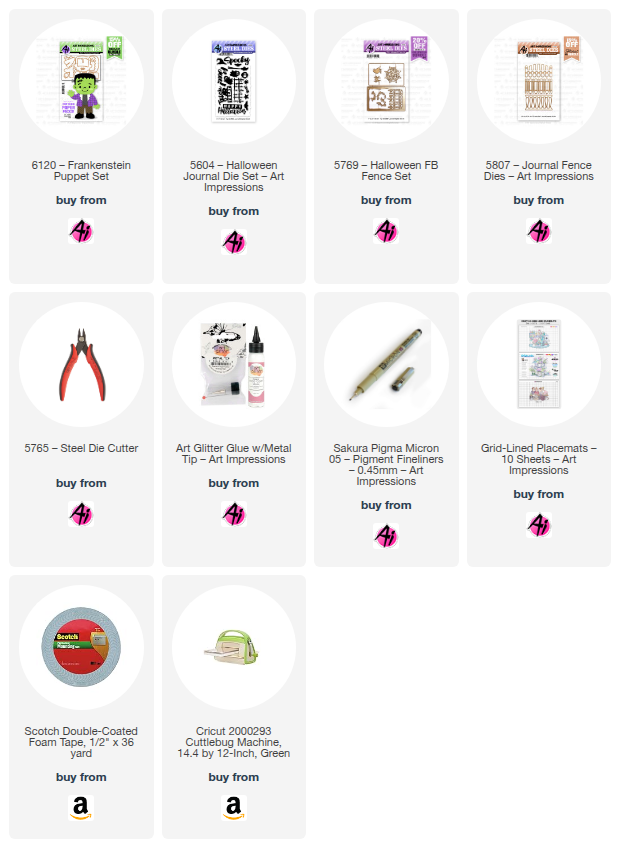
I used the 6120 – Frankenstein Puppet dies and altered them to 
create his "lovely" bride.


I used Frank's pants for sleeves on her gown and then I freehand cut
the rest of her dress. The stitches for the face served to "stitch" up the seams
and create a V on her neckline and stitches on her shoes.
I originally was planning to go with a unibrow that I cut from Frank's
hair but I changed my mind and just drew some on.


The stripe in her hair was cut from Frank's hair.


The fence is from 5807 – Journal Fence Dies

I just love this Frankenstein Puppet so much!
I enjoy that you can personalize him (even turning him into a girl)
and each time he turns out so different.

Here are two other versions that I made.


Thursday, October 16, 2025

Bobble Head Frankenstein Coffin Treat Box by Dori Mendiola

 Happy Thursday AI Friends!

We have a new challenge going on called "Keep It Contained".  What a fun challenge!  Make sure to check out the tab above for details.

I created a coffin shaped treat box with the new #6120 - Frankenstein Puppet.   His head bobbles so he will entertain the little ones while they enjoy the goodies inside.  😀  


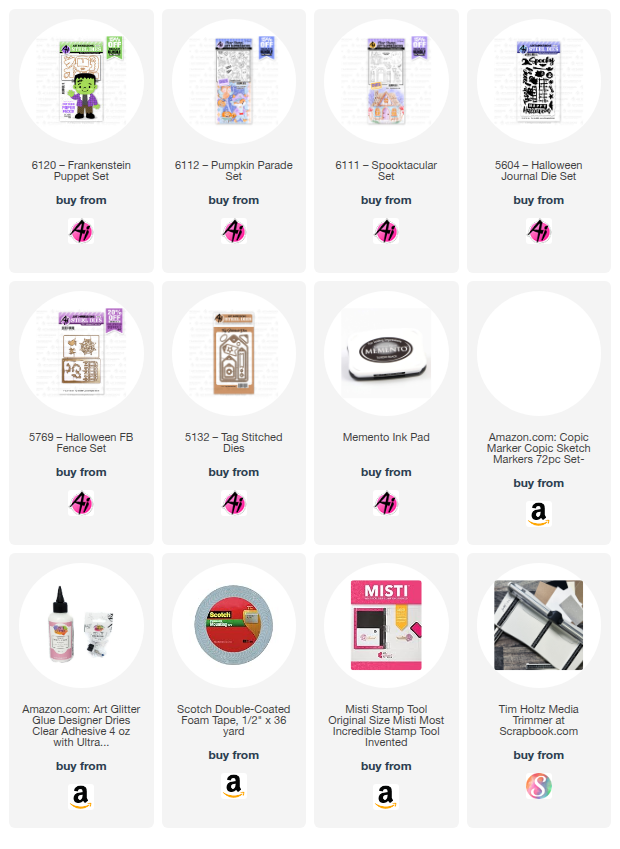
I stamped a few images onto copic friendly paper with Memento black ink and colored with my copic markers listed below.  I punched a hole into the top of several of them and linked them onto a chain and created a dangle for the opening of the treat box.  I tied a "webbie" yarn to the top link and attached to the ghost eyelet at the treat box opening.


The Frankenstein puppet is sooo fun to create and decorate with scrap pieces of paper.  I two-tiered the pants by offsetting slightly and created a small patch piece onto his pants for an added touch.  For his face, I die cut the scar several times and glued into a mouth shape and then added some wiggle eyes for movement when his head bobbles.  To create the bobble head, I die cut an extra shirt piece and extended the length to attach the mini wobble base.  Then I attached the head to the top of the wobble. 

To create the coffin box, I followed a youtube tutorial by Positively Papercraft called "Spooky Coffin Treat Box".  I tweaked her measurements a bit but her tutorial works great and is fairly simple.


Wobble head video:


Thanks for checking out the blog today!  Hope you join in the AI Bi-weekly challenge for a chance to win a free stamp set of your choice.  

Have a great day and keep creating!

          Copics used:  T0, T2, T4, T6
G43, G46 
Y13, Y17 
YR12, YR14, YR16, YR18 

Friday, September 12, 2025

Happy Halloween! Card by Tasha

 Happy Friday, Art Impressions fans! 

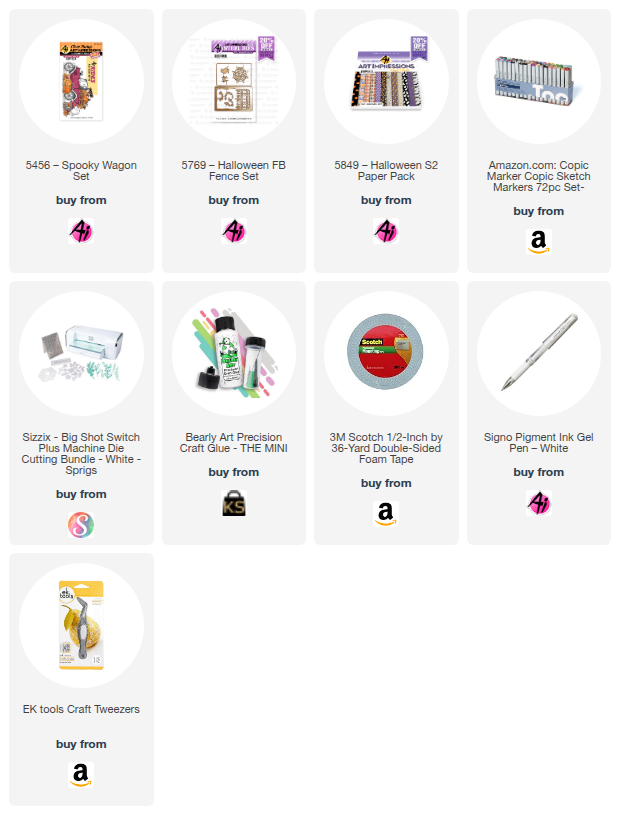
Tasha here with a fun new Halloween card to share. Fall is right around the corner, and I’m so excited to dive into festive Halloween designs! For today’s project, I used the 5769-Halloween FB Fence Set and the 5456-Spooky Wagon Set to create a playful, not-so-spooky scene.

I started by layering the fence frame over a piece of Art Impressions star pattern paper; one of my favorites for Halloween! The purple sky sets the perfect backdrop. From there, I added two little ghosts and two bats (with their eyes drawn in using a white gel pen for extra detail).

In front of the fence, I tucked in autumn leaves, a tiny pumpkin, and the cutest kitty wearing a witch hat; I just love cat stamps! Of course, I couldn’t resist adding a spider crawling on the pumpkin for a little Halloween charm.


To finish it off, I layered golden yellow, white, and black metallic paper, and a piece of candy corn pattern paper for that extra festive touch. This card was so much fun to make, and I can’t wait to create even more Halloween designs this season!


Tuesday, September 2, 2025

Tonight We Fly! by Reneé Matarese

 Hello Ai fans!
Who is a fan of all things spooky like I am?
I start work back at school today so for me, summer is officially over and fall is here.
I was inspired by a black lacy butterfly adorned with jewels in the Michael's Halloween Dept. and came up with this card.


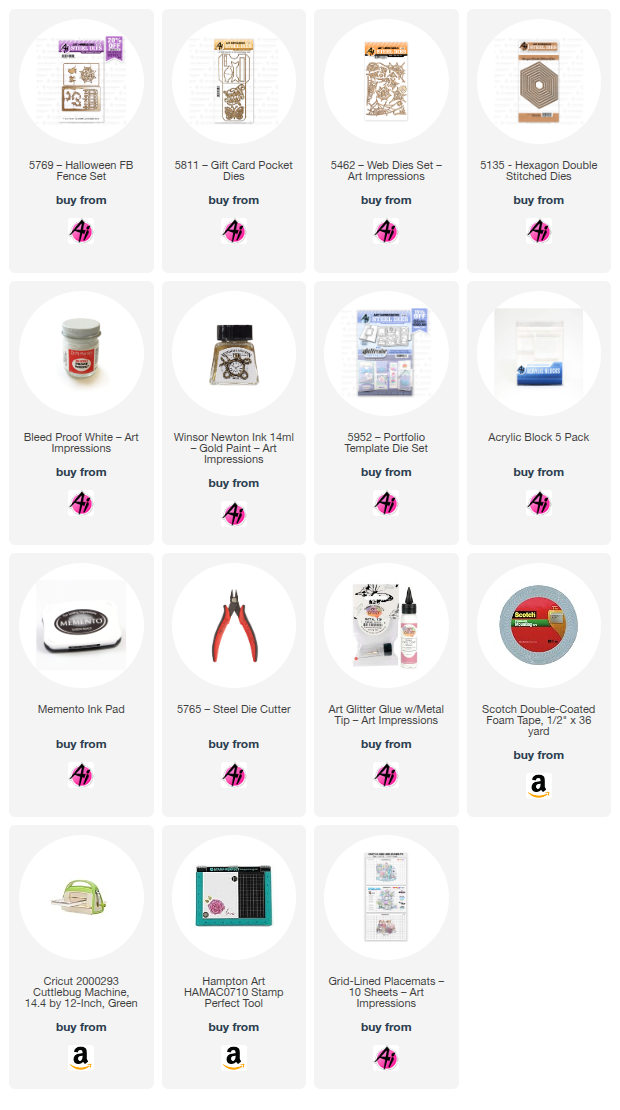
I used lots of sets from Art Impressions to create my card and you can find everything linked below.
The matte for the butterfly was made using the double stitched hexagons. The butterfly is from the Gift Card Pocket Dies.


I used other things that "fly" on my card too. The raven, bats, web and spider are from the Halloween Front and Back Fence set. Although spiders don't technically fly, if you Google "flying spiders," you'll see plenty of them. Eek and GAG!

Tonight We Fly is from the Halloween Sentiments Set and it's stamped on a banner from the Portfolio Dies Set.


One last thing...paint.
I used the Winsor & Newton Gold paint to paint some cardstock that I then cut a matte for using the butterfly to trace. I wanted his wings to really pop so I added the gold under them. I also used Dr. Ph Martin's Bleed Proof White to paint the silk strand that the spider is dangling from.


Thursday, October 24, 2024

Witchy Spinner Card by Dori Mendiola

Happy Thursday AI Friends!

Halloween is almost here so I wanted to get one more card in before the witching hour.  😃
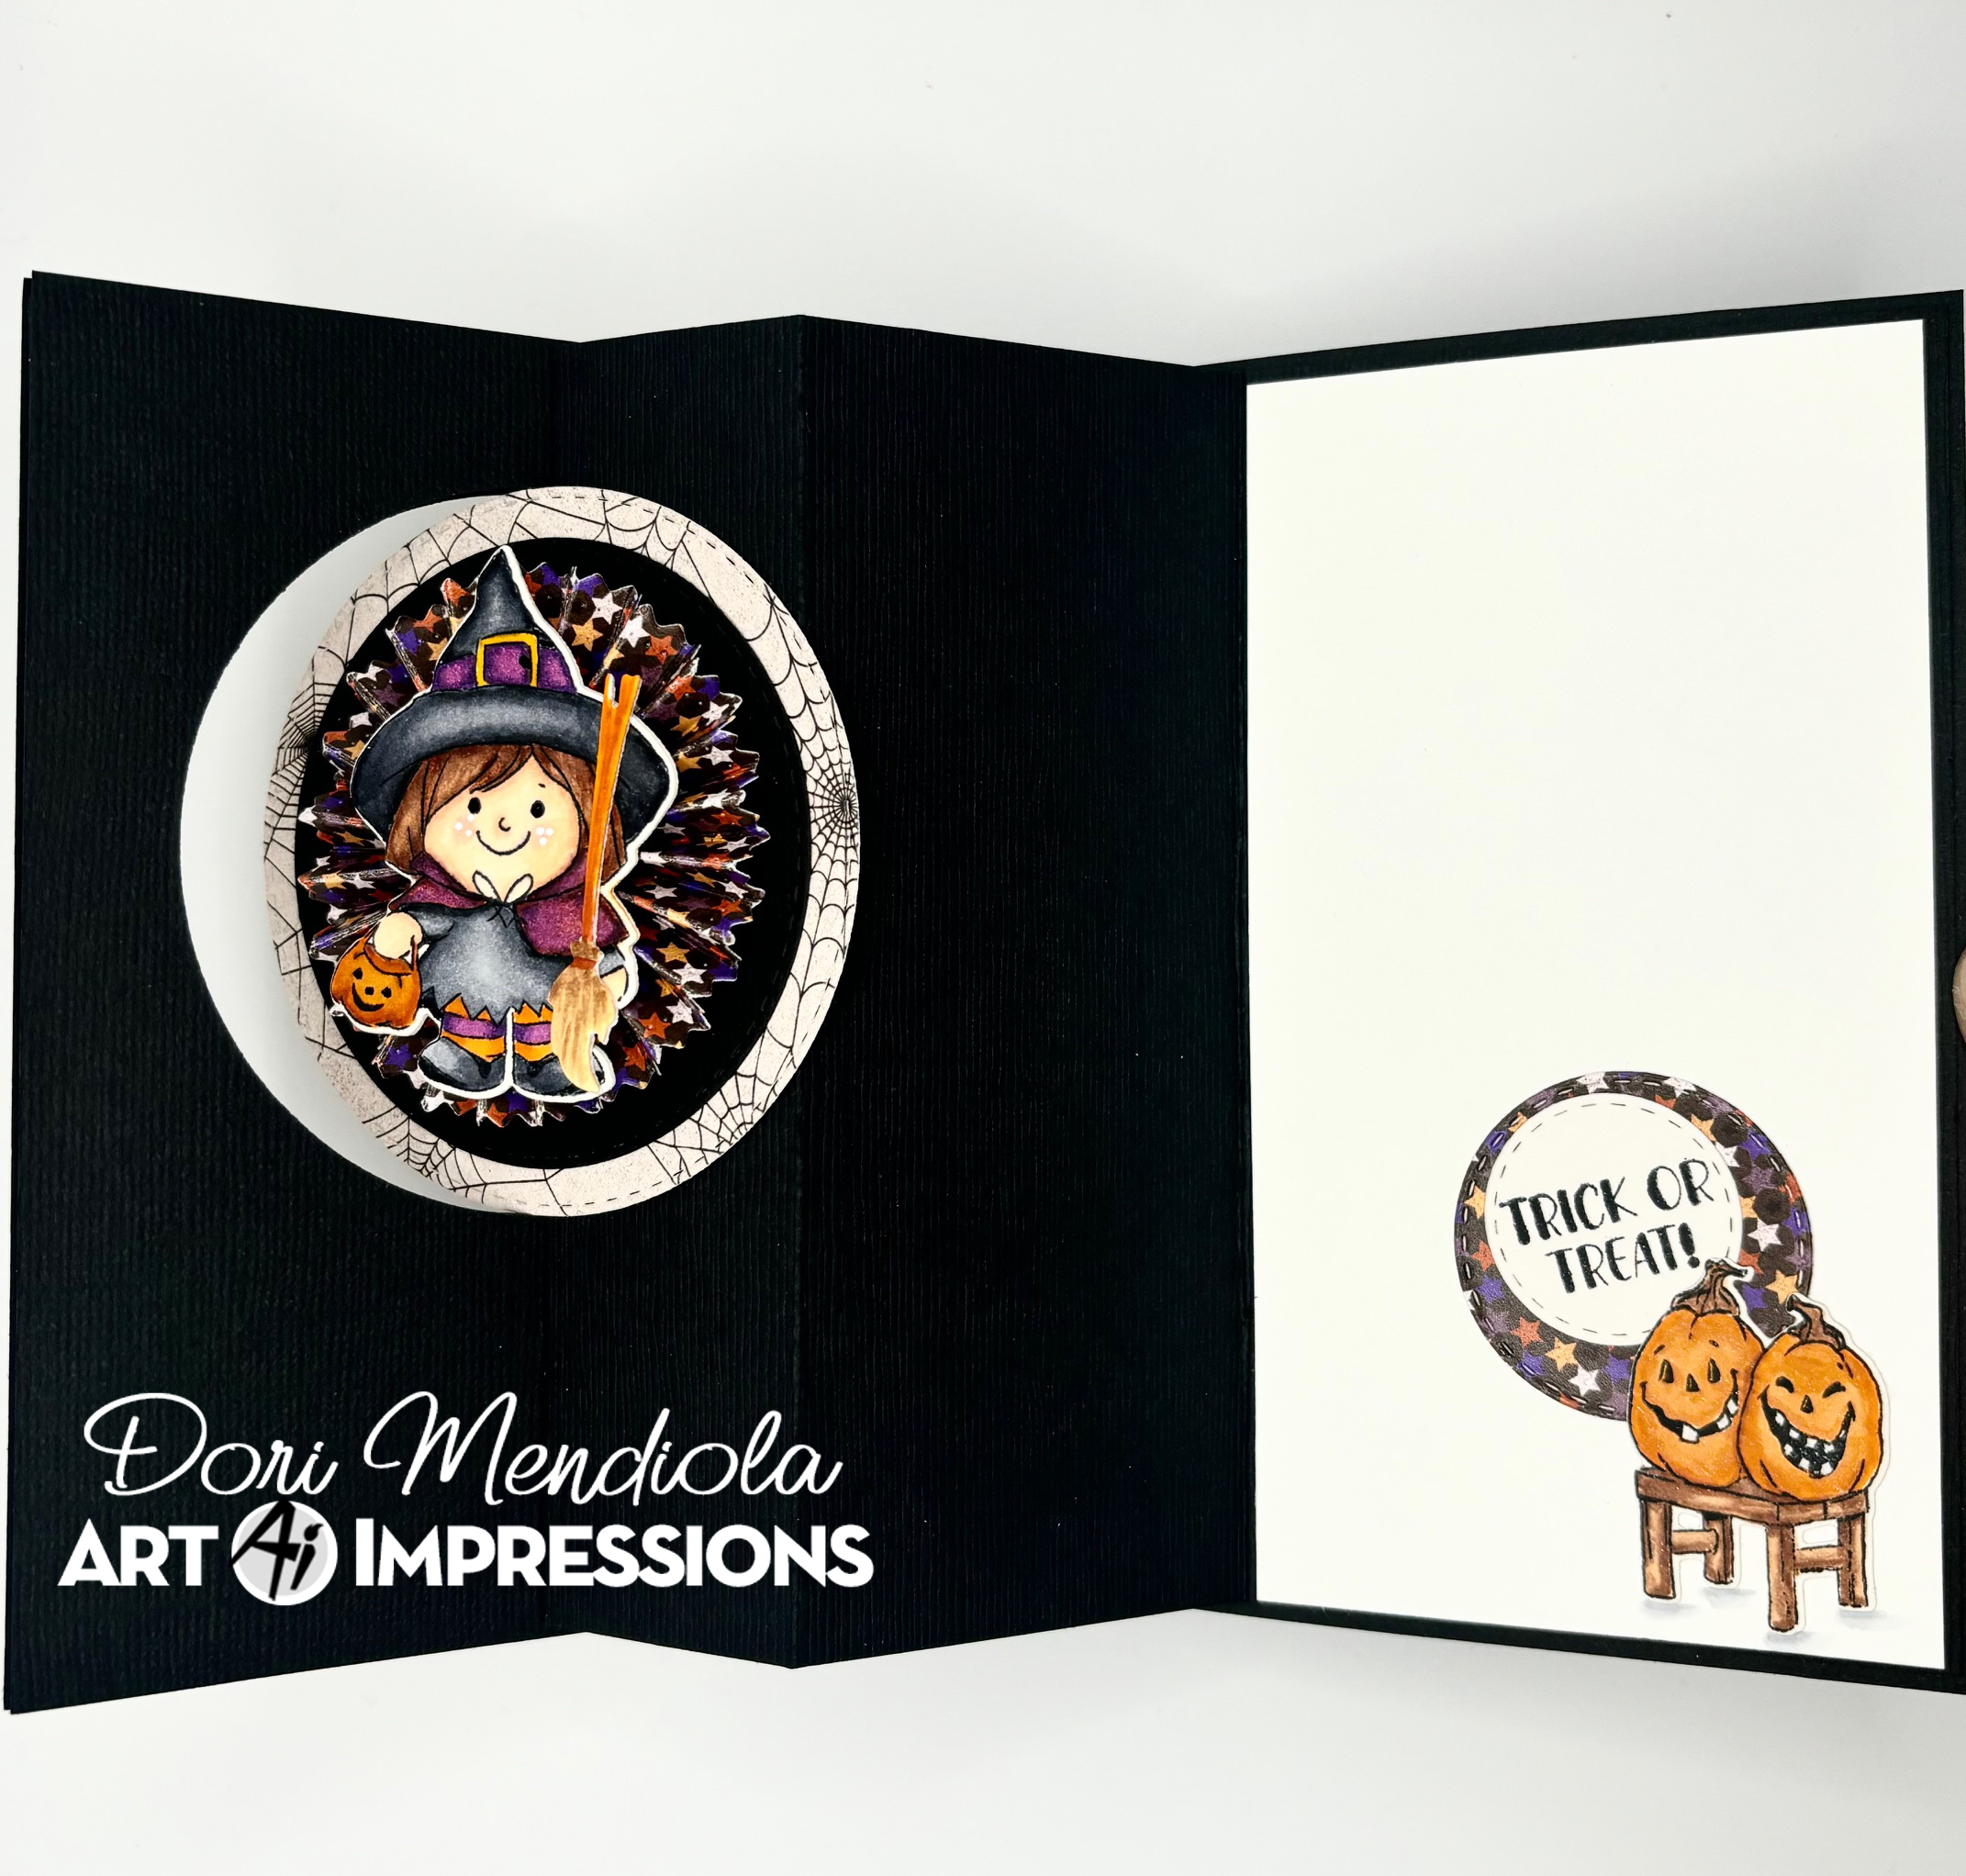
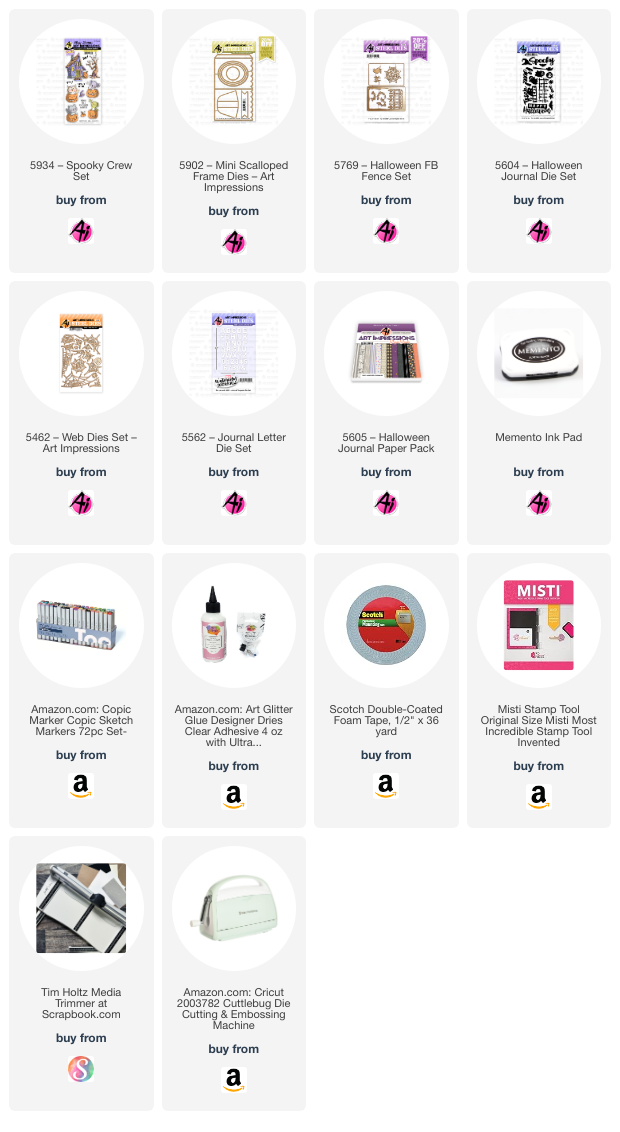
This one was created using the #5506 - Peek a Boo set.  This set has the cutest little characters plus an interactive window along with dies for each.  Such a cute fun set!  Several other sets were used to create the final card so make sure to check out the links below.


I started by stamping the images onto copic friendly paper and coloring with my copic markers listed below.  After coloring, I die cut each of the images out with their corresponding dies. 

To make the interactive spinner card:  I first cut a black A2 size card base.  I layered a piece of patterned paper (web pattern from the #5849 Halloween S2 PP) onto the front of the card base.  Then I cut a circle out of the front of the A2 card base (I used the #5064 Double Stitched Circle dies).  Keep this inner circle for later.  For the inside, cut a 5 3/8 x 8 3/8" piece of black card stock.  Score and fold at 2 7/8, 5, 6 1/4 (valley, mtn, mtn).  Flip this piece over and adhere the 2 7/8 to the inside right of the A2 card base leaving a slight border.  Fold it down onto itself and place glue on the left fold side.  Hold it in place and bring the front over to close onto the fold.  It should fit right into the score of the A2 card base.  For the last step - take the inner circle from before, and with the card shut, place glue onto the right half of the inside folded piece.  Fit the inner circle back into place over the glue on the right side.  Your spinner action is now working when you open the card.
 

  The witch is popped up on top of a rosette.  This can be created by taking a 12" x 1" strip of patterned paper.  Score and fold at every 1/4 inch.  Glue the ends together.  Cut two circles (1/2" and a 1" approx.) out of scrap paper.  Gather your rosette into a circle and glue the small one to the top of the rosette.   Place glue onto the larger circle and carefully slide the rosette onto that circle to glue to the bottom.  Hold until both are adhered nicely.  Glue the witch to the top side of your rosette. 
As for the spider webs, I die cut two from the #5769 Halloween FB Fence set and cut one in half and half again to create the corner edges.  I took the other web die cut and used the circle die to cut a portion to place on the outside circle edge.  

Hope you have a wonderful day.
Keep creating!

Copics used: C00, C1, C3, C5, C7 
E00, E01, E11, E21, E23, E25, E53, E55, E57
R20, Y17, Y19
YR12, YR14, YR16, YR18

Monday, October 14, 2024

Boo!! A spooky Halloween creation by Sharon Caudle

 Hello AI Fans!!


It's getting pretty close to Halloween! Are you ready? Do you decorate for the holiday and hand out candy? I love it when all the littles come to the door all dressed up and excited to get some candy!! I even love it when the teenagers come a knocking! I love that they enjoy it and I want them to be kids for as long as they can. Adulthood comes soon enough, so enjoy the heck out of while you're there! So I had a lot of fun decorating up this frame and I confess I used a ton of different sets, but they're all linked below, so don't be shy to go click on them and check them out!! This was really a blast to put together!!


Thanks so much for stopping by for a visit today! Until next time - stay crafty!!


Copics used:
Y06 and 32
YR12, 14, and 27
YG01, 91, 93, and 95
E33, 35, and 37


Thursday, October 10, 2024

Halloween Slider Card by Dori Mendiola

 Happy Thursday AI Friends!

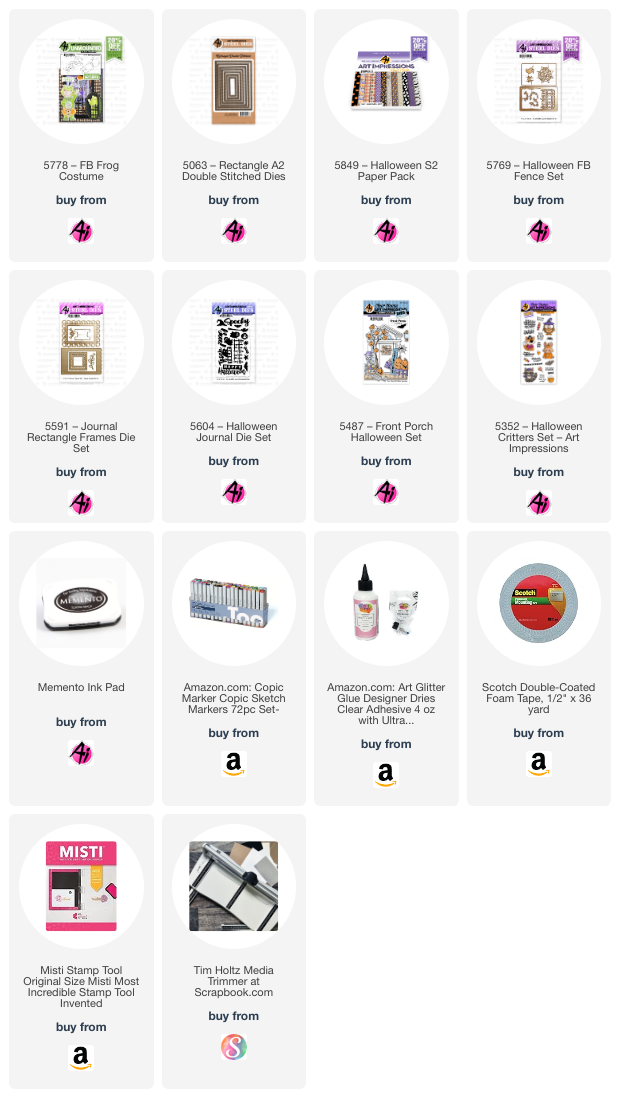
Today I have a fun Halloween interactive card for you.  I love frogs and so when I saw this Front & Back stamp set - #5778 Frog Costume, I knew I had to have him.  Soooooo cute!!  This card is really very easy to put together and no special dies are needed.   


I first stamped my images with Mememto black ink onto copic friendly paper and then I colored with my copic markers listed below.  I die cut each with the corresponding dies.

To create the interactive card:  Start with a base panel (I used black cardstock) cut 4 1/4" by 5 1/2".  Place a pull tab to the right side before layering a patterned piece on top of the base.  Die cut a rectangle or square out of this panel, wherever you'd like your slider to be (center, closer to top, etc.)  Your base panel is ready.  
Now for the mechanism slider piece:  Die cut a piece of cardstock (again, I used black) with the larger corresponding die (best to use two sizes up).  If you don't have a corresponding larger die, you can use your cutter, just add 1/2" more to the sides (for example, panel cut is 2 1/2" x 2 3/4", then cut a 3" x 3 1/4").  Score this piece at 1/2" (down long end) and fold towards you (see Pic 1).  Now take your original die (the one used for the base panel) and place it along the non-folded edge leaving a 1/4" frame on top and bottom (see Pic 1).  Tape down and mark the mid point on top and bottom.  You need to do partial cutting to just past that point.  After cutting, you should have a folded edge on the right and two tabs (one on top and one on bottom on opposite side (see Pic 2).  Line up this panel piece to the left, under the opening on your base panel, so that 1/2 of this panel will fit through the opening (see Pic 3).  Hold onto the right side and test to make sure the piece comes through the window.  Place glue onto the B tabs and adhere to the back of the base panel.  Place glue to the backside of the A tab and glue to your A2 base card.  ONLY adhere this tab to your card base.  At this point, you should be able to pull on the pull tab and your slider should work.  You may need to pull the slider and enforce the A fold to make it move more freely.

     Pic 1                                          Pic 2                                          Pic 3


I hope you try out this fun card for yourself.  Once you make one, you'll want to make many more.  You can rotate the opening to be on the top or the left as well, just rotate you mechanism piece.

Have a wonderful day!
Keep crafting!

Copics used:  E000, E00, E01, E11, E21, E23, E25
YR12, YR14, YR16
YG21, YG23, YG35
C1, R20, G24

Friday, October 20, 2023

Trick or Treat Card by Tasha!

 Good morning and Happy Friday Ai Fans!

Tasha here sharing a Halloween card featuring the new 5778 - FB Frog Costume Stamp and 5769 - Halloween FB Fence Set. I love Halloween and this little trick or treater is just perfect for a not-so-spooky card or project!

The Trick or Treater was stamped with black ink and colored with Copic Markers before using the included die to cut the image out. I LOVE when stamp sets include the coordinating dies! I also used a white gel pen to add little white accents to the costume and pumpkin. I thought the white stitch lines made the costume look homemade. 


For the background, I used a night sky pattern paper from the new 5849 - Halloween S2 Paper Pack and glued on a little glitter moon and stars; I love glitter paper! I also attached the spooky fence from the 5769 - Halloween FB Fence Set to go with the Halloween scene. 

For the greeting, I embossed "Trick or Treat" from the 5603 - Halloween Sentiments Set. I think the Ai Sentiment stamp sets are awesome and are great to mix and match with all their cute characters!


Lastly, I attached lime green, purple, and black paper to bring in more color. I also added another piece of Ai Halloween paper to complete the design. 

I hope you enjoyed today's project and are inspired to create a fun Halloween card!