Valentine's Day has come and gone but it's the first step in the march toward spring. I was feeling in a pastel mood and the light spring colors of the season inspired the card I made this week. There's no easier way to get a soft look than by using water colors. I used my Karin Brushmarker Pros for my images. I'm the first to admit that I'm not a pro watercolorist but I do like to take my pens out occasionally. It's fun to stretch my skills and though it's not my best medium, I still enjoy trying. Most times, the results are worth the effort and besides, you can't get better if you don't practice!
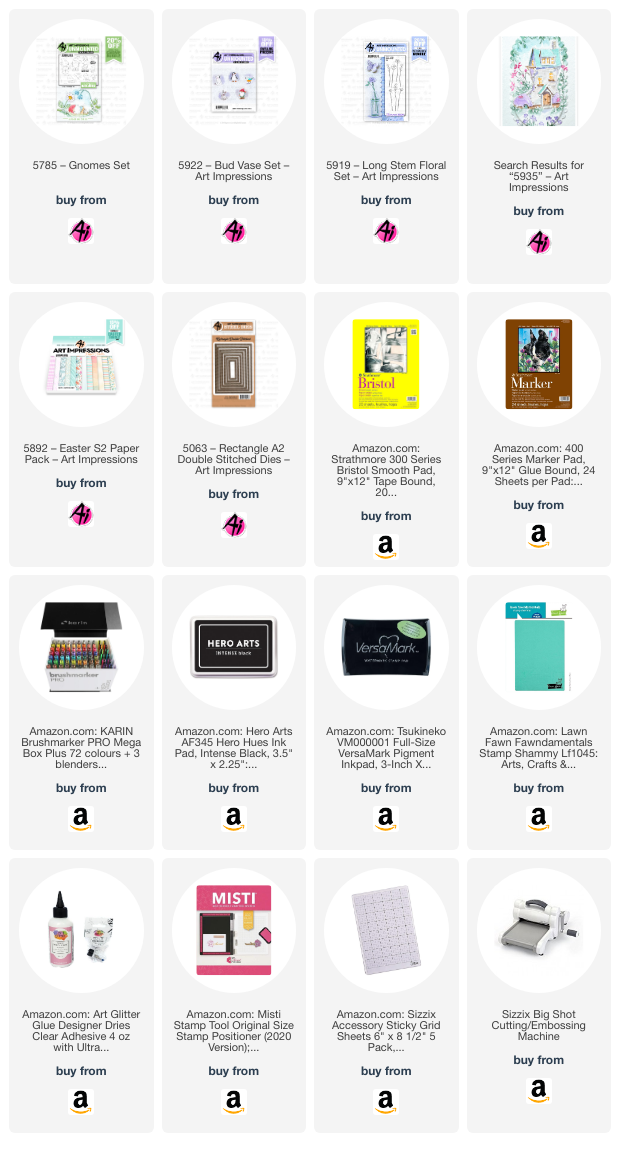
My card features many different stamp sets. The vase and flowers come from 5922 - Bud Vase Set and 5919 - Long Stem Floral Set. Once I stamped and colored this composition, I fussy cut it out. This is the only image that didn't come with matching dies but fussy cutting it wasn't hard. Next I stamped two butterflies and a set of mushrooms from 5935 - Fairytale Houses Set. Once I colored them, I cut them out with their matching dies. I also cut a small piece of grass with a die in the set and water colored it.
The next step was to create a wide stitched frame from cream pearlized cardstock. To make the frame I used two dies from 5063 - Rectangle A2 Double Stitched Dies. I love making frames with this set because both the outside and the inside of the frame are imprinted with stitch marks. I added a rectangle of acetate behind the frame and then I applied two layers of foam tape around the window. Before doing more, I stamped the acetate window with the sentiment using StazOn ink so it wouldn't smear.
The A2 card is a pre-printed one from my stash. However, I added a scrap of striped coordinating paper from one of my most favorite paper packs, 5893 - Easter S2 PP. I then mixed up the filler for the shaker. I chose clay shaped sprinkles, flowers, and clear beads. I added a few large dark pink and light pink flower sequins as well. I placed the shaker bits in the middle of the striped paper and then secured the frame in the center of the card with all the bits securely inside.
Finally I could arrange my little scene on the frame. I cut the lattice out of matching cream cardstock using 5589 - Journal Pocket Set and glued it in place to create a little fence at the base of the frame. I composed the flowers, gnome and grass on the right corner and placed the mushrooms on the left. I folded the wings of the two butterflies and glued them in place too. Then for the finishing touch, I glued two small white seed beads on the heads of each of the butterflies.
And there you have it! Thanks so much for joining me here at the blog today. As always, please visit the Ai Store for the products I used and all the things you need for your card, journal, and tag making projects. Happy creating!
Janet - YouTube - Blog - Facebook - Instagram - Pinterest


1 comment:
I love this so much Janet! Your butterflies look like stained glass, so cool!
Post a Comment