
Hello, and welcome back for Watercolor Weekend!

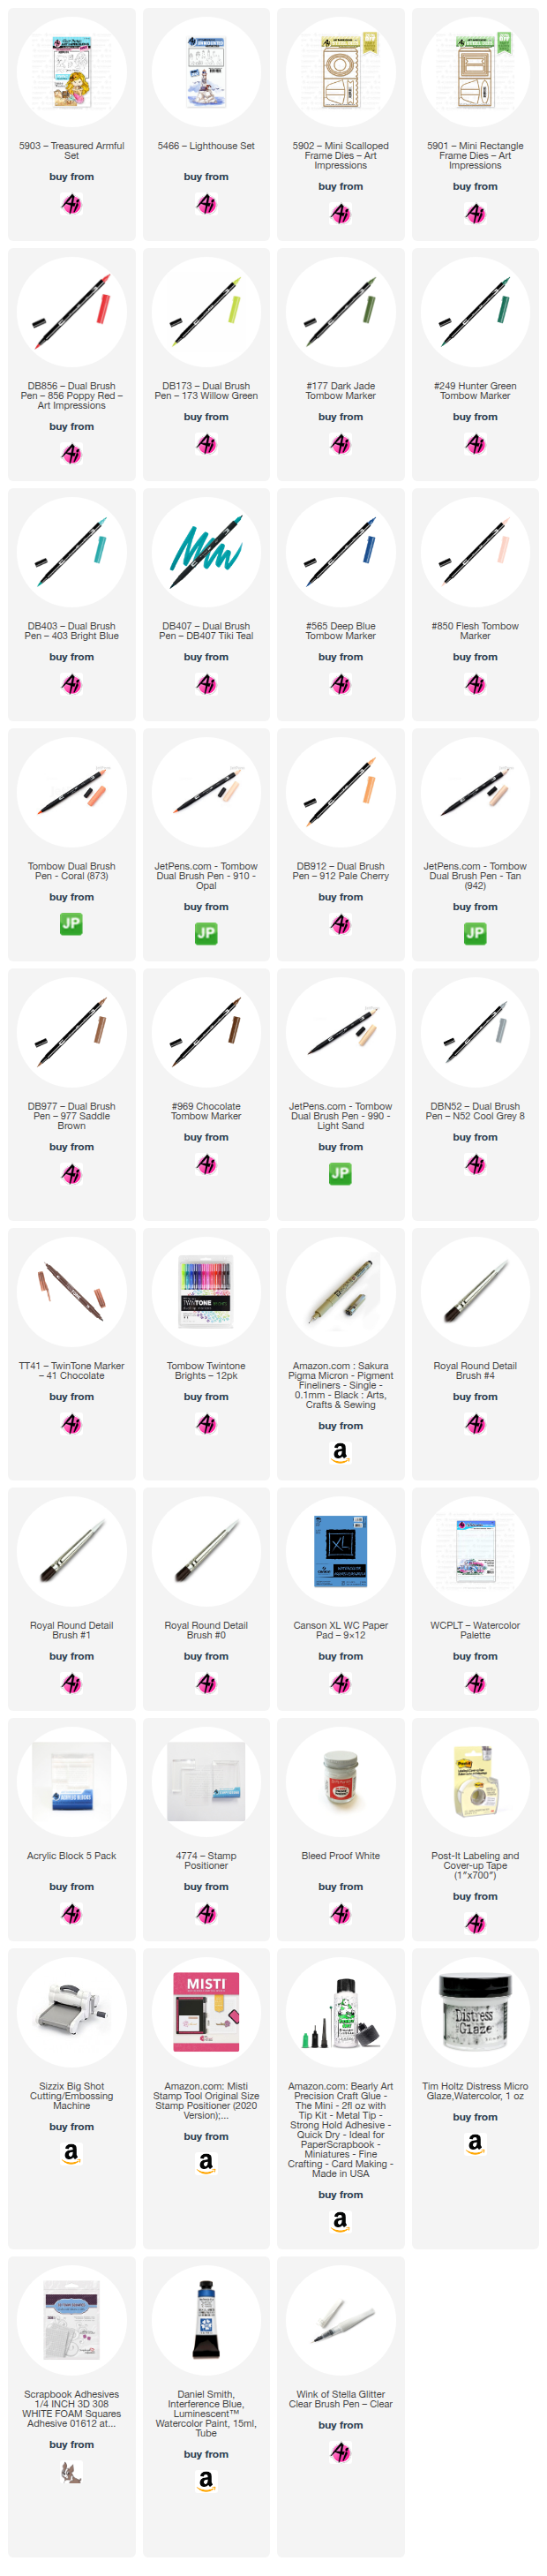
Welcome to Watercolor Weekend! I'm so glad you're here. Today, I'm excited to share two fun projects using the adorable mermaid and puppy images from the 5903 – Treasured Armful Set. I’ll also be using two fantastic die sets: 5902 – Mini Scalloped Frame Dies and 5901 – Mini Rectangle Frame Dies. These dies are perfect for creating small frames to showcase your art. You can give them as gifts, as a card on its own, or even tuck the mini frames into a larger card or journal. Let’s get started!

You’re a Treasure – Mermaid Frame:
Can you believe we're already halfway through August? Today's projects were inspired by summer beach days. I saw plenty of happy puppies running on the sand, but I'm still on the lookout for a mermaid!


Here is a list of colors I used for the mermaid:
- Hair: 403, 407 for shading
- Face, Arms and Body: 850, 910
- Bikini Top: 873
- Cheeks: 873
- Tail: 173, 177 for shading
- Shell: 910, 873 (highlight) and 912 (shade), 565 (shadow)
- Treasure Chest: 977, 969 for shading
Once I had the image watercolored, I went back and added fine details to the painting. First, to add some shimmer to the hair and tail, I painted a layer of Daniel Smith Interference Blue watercolor paint over those areas. It adds a nice transparent opal sheen to the images; I love how it turned out! I used a fine black micron pen to define the eyes and facial features. Additional details where added to the tail using an Emerald Green TwinTone marker.
I also used Interference blue on the shell and added fine details with a brown TwinTone marker. (Note: Instead of Interference Blue watercolor paint, you could always add shimmer with a Wink of Stella clear glitter brush pen). For the details on the treasure chest, I used a brown TwinTone marker. I then die-cut the mermaid, shells and treasure chests.

For the background frame insert, I inked just the rocks from the largest lighthouse of the 5466 – Lighthouse Set using 565/969. Then, I stamped the image near the bottom center of one of the 2 5/8 x 3 1/4 inch watercolor paper pieces.
I placed the mermaid die-cut on top of the rocks to get an idea of where the horizon should be, and then I lightly sketched in a horizon line with a pencil. With a damp brush, I pulled some color from the lines of the rocks to add shadows and contours. I added additional color from my palette to the rocks using 565/969 mix and 565 and 969 on their own. I brushed in the sky with a watery mix of 407. For the water, I also used 407. I painted the water in layers to create light and dark waves. Near the base of the rocks, I brushed in darker shadows with 407. Water splashes and light reflections were added to the water and rocks with Dr. Ph. Martin’s Bleed Proof White.
The frame and stand were die-cut from light teal cardstock using the dies from 5902 – Mini Scalloped Frame Dies. I used the largest oval die to cut the opening. I stamped “You’re a Treasure” on the front with 407 and constructed the frame.
Since the bottom of this frame is scalloped, I added a little glue to edges of the scallops so the insert wouldn’t peek out of the bottom. I slid the insert into the frame and trimmed off any excess from the top. The mermaid was popped up with foam squares as well as the treasure chest. I then slid the shell into the arms to complete the frame. And now, on to the Puppy frame!
You’re a Treasure – Puppy Frame:

This sweet little pup was so excited to find some buried treasure at the beach! The process for this framed painting is just like the one above, only this time I used 5901 – Mini Rectangle Frame Dies for the frame. I inked the puppy stamp with 969.

Here is a list of colors I used for the puppy:
- Body and tail: 977, 969 for shading
- Cheeks and tongue: watery mix of 856
- Overalls: 249
- Shell: 910, 873 (highlight) and 912 (shade), 565 (shadow)
- Treasure Chest: 977, 969 for shading

For the background frame insert, I placed the puppy die-cut on top of the paper to get an idea of where the beach and water line should be. I lightly sketched a curvy sand line for the beach and a horizon line with a pencil. I brushed in the sky with a watery mix of 407. For the water, I also used 407. I painted the water in layers to create light and dark waves. For the sand I used 990 as the base and 942 for shadows. I used a brown TwinTone to dot in some grains of sand and touched some of the dots with a damp brush to lighten and blend for interest.
The frame and stand were die-cut from kraft cardstock using the dies from the 5901 – Mini Rectangle Frame Dies set. I used the largest rectangle die to cut the opening. I also embossed another piece of kraft cardstock with an embossing folder from my stash to create a decorative frame for the front, which I then glued in place. Finally, I stamped "You’re a Treasure" on a piece of teal cardstock with 407 ink and fussy-cut the sentiment.
I glued the shell directly to the insert and popped up the puppy with foam squares. I also popped up the sentiment on the upper left corner of the frame. I then slid the treasure chest into his arms to complete the frame.
That’s all for now—thanks so much for stopping by for Watercolor Weekend! I hope you have enjoyed today’s projects and have inspired you to get creative and make something fun. Until next time, Happy Painting!


1 comment:
Diane you are amazing! Both of these are so beautiful! Love them!
Post a Comment