Showing posts with label 5901 Mini Rectangle Frame Dies. Show all posts

Thursday, June 4, 2026

Enjoy the Ride Challenge #429 Week #1

 Hello Ai fans!

Welcome to our new challenge.

Enjoy the Ride!


We want to see all of your projects featuring something you can ride on or in.

Cars, trucks, trains, planes, wagons, scooters, motorcycles, wheelbarrows,
hot air balloons, tractors, boats, skateboards, campers...did I miss anything?? lol!

We always like to provide you with some inspiration.
This time, Dori is our Featured Artist and you're going to LOVE her fun fold card.
She came up with one that wasn't on my list, a golf cart. It's SO CUTE!!

After checking out her card, be sure to scroll down to see if you won our Yellow challenge.

-------------------------------------------------------------------------------------------------------------------------

Happy Thursday AI Friends!

Welcome to the new “Enjoy the Ride” Blog Challenge! There are so many fun stamp sets that feature things you can ride on or ride in, and I couldn’t resist reaching for the Par‑Tee Golfers #4902 for my project. I created a playful Z‑fold style card, which this golfer looks like he’s having way more fun driving the cart than actually golfing. My style of golf. LOL!

Here’s the finished card opened up so you can enjoy the full scene.

Here's a picture of the card when shut:


Many of you have probably made many Z fold cards, but for those that have not, here is how you make one.  Cut your cardstock to 8 1/2" by 5".  Along the 8 1/2" edge, score at 4 1/8 and 6 1/4.  
If you want to add the Z fold strip along the bottom (you can also put this strip higher up on the card, if you prefer), cut a strip of cardstock at 8 1/2" x 1 1/8" (or wider, if preferred).  Score along the 8 1/2" edge at 4 1/8" x 6 1/4".  Flip the main card base so that the score panels are opposite each other.  See picture below.  The scored panel of the card base is in the front and the scored panel of the strip is toward the back.


I made a yellow and green mat for each panel.  Cut the yellow mats to be 1/8" less than the white base for each panel.  Cut the green mats to be 1/8" less than the yellow mats so that there is a nice mat layer for each.  Using the Golf PP #6101, I cut the two matching pattern papers down to fit on the green mat (approx. 3 3/4 wide by 4 3/4 tall), cutting the bottom portion of the pattern paper off first (you will need for the strip).  

Adhere the long edge of the strip to the front scored panel of the base.  Adhere the right edge of the strip to the back right edge of the base.  Do NOT place glue along the whole strip as two portions do not get adhered down.  See the picture above.

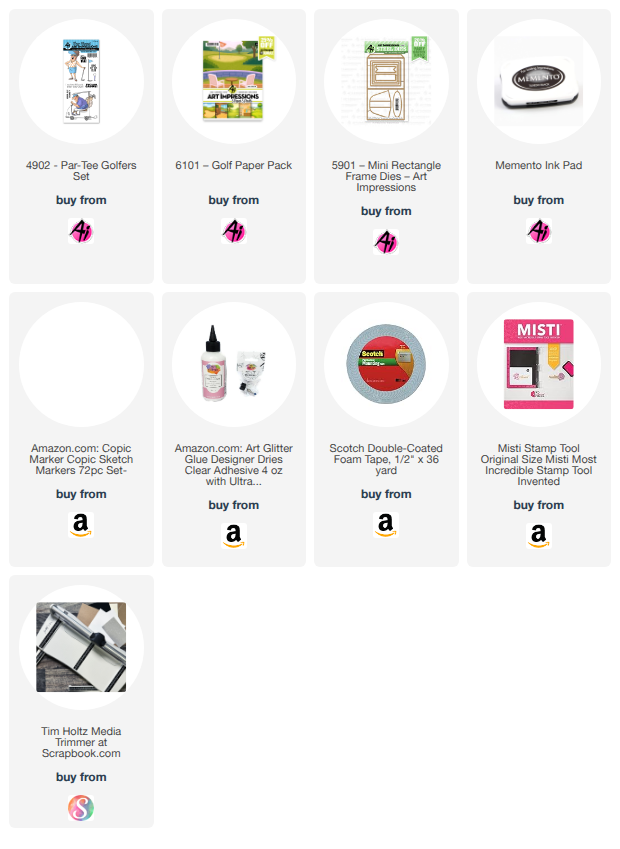
I stamped the images onto copic friendly paper with Memento black ink and colored with my copic markers listed below.  This stamp set does not contain dies but these images are fairly simple to fussy cut.  For the inside cuts of the cart, I used a craft knife.  

I adhered the gal golfer directly onto the pattern paper with the golf club head adhered to the top of the strip.  I popped up the flag with foam tape.  I also popped up the golf cart, placing foam tape to the wheel base and only the left half of the cart.  The right half of the cart will not be adhered down.  The sentiment is also popped up, but again, only the left half.

Use the back side of the card for your personal sentiment.


Thanks for joining me today.  I hope you have fun making a card/project for the "Enjoy the Ride" challenge.  Can't wait to see what you create!

Have a great day and keep crafting!

Copics used:  N1, N2, N3, N4
E00, E01, E11, E50, E51, E53, E55, E57
R20, R22   B01, B12, B14
G40, G43    Y21, Y32, Y35, Y38
Thank you Dori!
Your card is absolutely adorable.

Now let's see who won our last challenge.


For our Top Spot we selected: Cynthia O.

Please contact Leah at Feedback@artimpressions.com
to claim your free stamp set.


Our Lucky Random Winner was #9
Andrea W.


Please contact Leah at Feedback@artimpressions.com
to claim your free stamp set.

Congratulations to both of you. We loved everything we saw. Don't be discouraged
if you didn't win this time. There's always the new challenge or hop on over to our 
Monthly Challenge. That one has no theme so anything goes, as long as you use something
from Art Impressions to create it.


 ✻ Please make a new card or handmade crafty creation using either stamps, dies and or designer paper from Art Impressions. You can make any item you wish; this is not limited to cards! (unless specified)

✻ Limit two submissions per person.
✻Top Spot Winner and Lucky Random Winner each receive a free 
stamp set from Art Impressions
 ✻Please include your first name and last initial on your submission. You may include your entire last name, but it's not necessary.
✻We love to comment on your entries, but keep in mind if you use a private group or a platform that you need to sign up for, we probably won't be able to.
✻ The Ai Challenge is open to everyone, international submissions are welcome!
✻ Include a link back to the Ai Blog or grab our button on the top right of our sidebar!
✻ Share the Ai love if you can, by clicking and commenting on your fellow crafters.
✻ Make sure to get your link up by the deadline to enter your creations.
✻ Good luck and happy stamping! 

You are invited to the Inlinkz link party!

Click here to enter

Saturday, May 9, 2026

Mother's Day Tulips and Hi Honey! Bear Frame by Diane Mason

Hello, and welcome back for Watercolor Weekend! 

Hello, my Ai watercolor friends and fans — I’m so happy to be back! My lovely daughter was married last weekend, and it was such a beautiful celebration for our whole family. With the help of guest designers Kristen Brown and Julie Worthing, I was able to take some time off in April to finish up all the wedding preparations. I’m so grateful to these very talented ladies for stepping in and sharing their creativity while I was away.

Now that the festivities have wrapped up and life is settling back into its rhythm, I’m excited to jump back into the studio and share two new projects with you today. First is a Mother’s Day card featuring the newly released 6186 – FG Tulip Border. The second is an adorable honey bear frame using the 6170 – Exclusive Honey Bear 2026 Freebie.

Mother's Day Tulips Card:

Happy Mother’s Day weekend to all the amazing moms celebrating this Mother’s Day!

The new Countryside Series includes two structure sets and three floral foreground border sets. These fabulous new sets make it easy to create endless mix‑and‑match watercolor scenes. You can use the Euro Cottage Set or Swiss Villa Set as your background focal points (or any other small structure that fits), then layer tulips, poppies, or daisies in the front to create depth.


For my card, I used 6186 – FG Tulip Border. Each floral border set includes a sentiment, but since this was a Mother’s Day card, I chose the sentiment from 6039 – Just For Her Set.

Using a stamp platform, I inked the tulip border stamp in 177 for the stems and leaves, and 603 and 743 for the tulips and stamped onto Canson XL watercolor paper.

Colors and supplies used:

Tombow Dual Brush Pens: 

  • 177, 177+565 – leaves and stems
  • 603, 606 – purple tulips
  • 743 – pink tulips
  • 555 – sky

Tombow TwinTone Pens used for details:

  • Fuchsia (80)

Dies: 

  • 5065 – Oval Double Stitched Dies

Patterned Paper: 

  • 5939 – Fairy Garden Paper Pack (purple gingham)

Other:

  •  foam squares
  •  purple cardstock
  •  white organza ribbon

Hi Honey! Bear Frame:

How darling is this sweet little Honey Bear? To create this honey-themed framed scene, I used the frame die from 5901 – Mini Rectangle Frame Dies and the oval dies from 5902 – Mini Scalloped Frame Dies. I love how elements from each set work beautifully together.

The honey bear is one of six brand-new 2026 exclusive Art Impressions Freebies:

Using my stamp platform, I inked the 6170 – Exclusive Honey Bear in Versafine Onyx Black Ink and stamped onto Canson XL watercolor paper. On another piece of watercolor paper, I stamped the honeycomb from 5925 – Honey Bee Set in Versafine Vintage Sepia twice — once in the top left and once in the bottom right.

Colors and supplies used:

Honey Bear: 

  • 947 – bear
  • 856+947 – cheeks
  • 025, 985 – honey pot
  • 526 – honey pot lid
  • 025 – bee body
  • 526 – bee wings
  • 177 – grass (4051 – WC Foliage Set 1, Teeny Tiny Grass)
  • 555 – sky 
  • Dr. Ph. Martin’s Bleed Proof White - highlights on nose and eyes

Honeycomb: 

  •  985, 026 – honeycomb framework 
  • 025, 985 – honeycomb cells

Dies:

  • 5901 – Mini Rectangle Frame Dies
  • 5902 – Mini Scalloped Frame Dies

Paper for frame:

  • Coordinating Yellow cardstock


The die set includes a stand piece to keep the frame upright. The sentiments are from 5925, stamped in Versafine Onyx Black. This sweet little frame is perfect for gifting or slipping into a card to brighten someone’s day!


Thank you for joining me today for Watercolor Weekend. I can’t wait to see what you create with the new Countryside Series! When sharing your work, be sure to tag Art Impressions on social media. Until next time, Happy Painting!


Sunday, August 17, 2025

You're a Treasure! - Mermaid and Puppy Frame Cards by Diane Mason

  Hello, and welcome back for Watercolor Weekend!

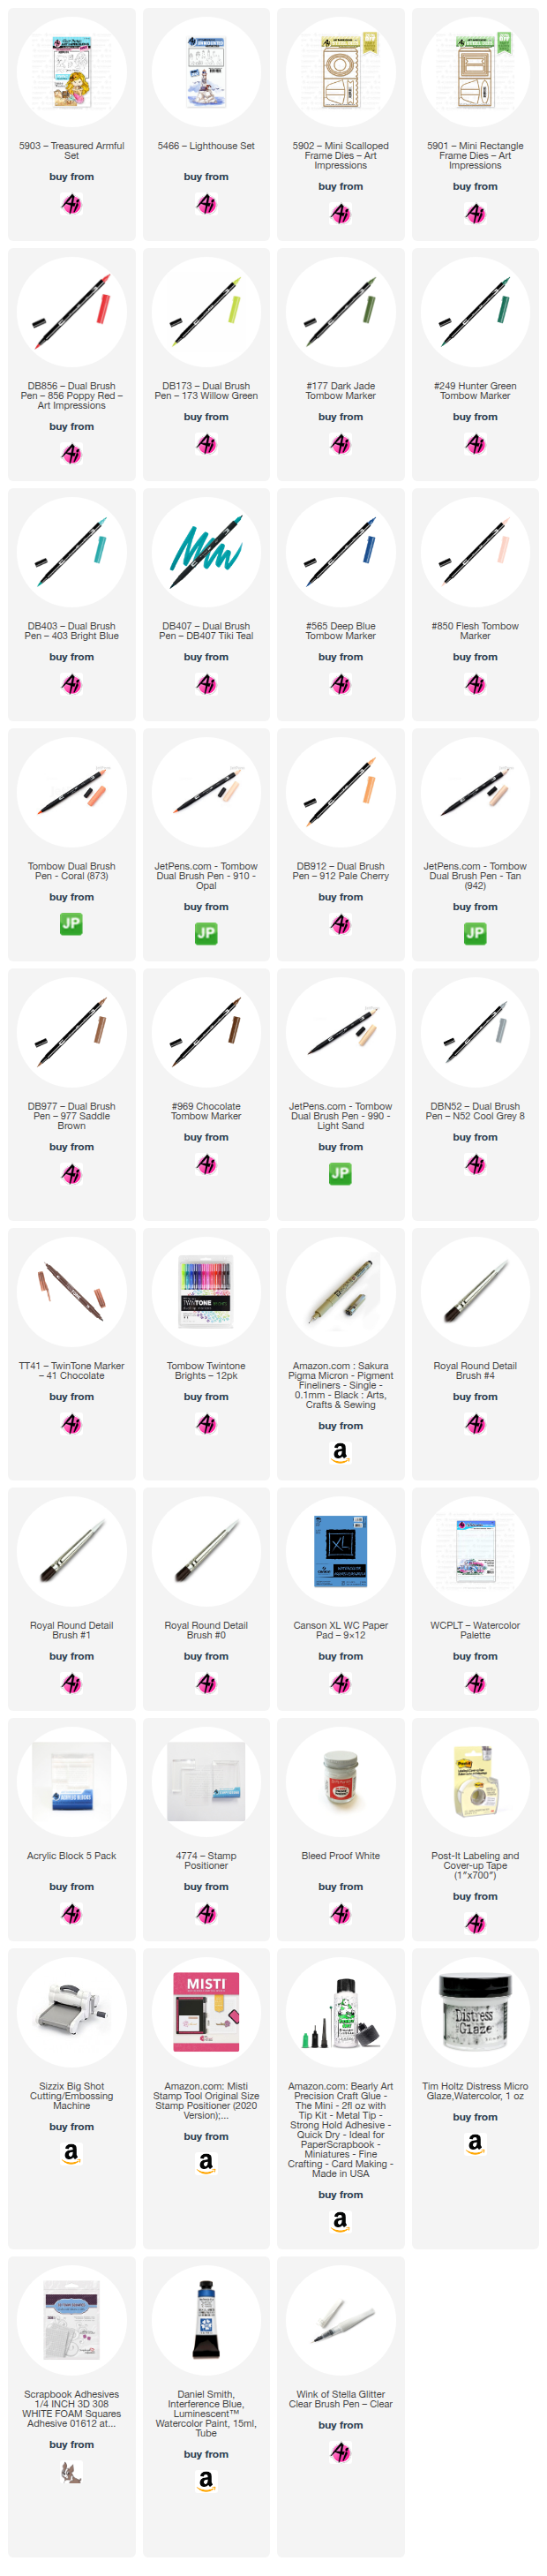
Welcome to Watercolor Weekend! I'm so glad you're here. Today, I'm excited to share two fun projects using the adorable mermaid and puppy images from the 5903 – Treasured Armful Set. I’ll also be using two fantastic die sets: 5902 – Mini Scalloped Frame Dies and 5901 – Mini Rectangle Frame Dies. These dies are perfect for creating small frames to showcase your art. You can give them as gifts, as a card on its own, or even tuck the mini frames into a larger card or journal. Let’s get started!


You’re a Treasure – Mermaid Frame:

Can you believe we're already halfway through August? Today's projects were inspired by summer beach days. I saw plenty of happy puppies running on the sand, but I'm still on the lookout for a mermaid!


To begin, I cut two pieces of Canson XL watercolor paper to 2 5/8 x 3 1/4 inches. These will be the inserts for the mermaid and puppy frames, so I set them aside. On a separate piece of watercolor paper, I stamped the mermaid image in N52, and stamped two each of the shell and treasure chest images in 969. All of these images will be die-cut after painting.

Here is a list of colors I used for the mermaid:

  • Hair: 403, 407 for shading
  • Face, Arms and Body: 850, 910
  • Bikini Top: 873
  • Cheeks: 873
  • Tail: 173, 177 for shading
  • Shell: 910, 873 (highlight) and 912 (shade), 565 (shadow)
  • Treasure Chest: 977, 969 for shading

Once I had the image watercolored, I went back and added fine details to the painting. First, to add some shimmer to the hair and tail, I painted a layer of Daniel Smith Interference Blue watercolor paint over those areas. It adds a nice transparent opal sheen to the images; I love how it turned out! I used a fine black micron pen to define the eyes and facial features. Additional details where added to the tail using an Emerald Green TwinTone marker.

I also used Interference blue on the shell and added fine details with a brown TwinTone marker. (Note: Instead of Interference Blue watercolor paint, you could always add shimmer with a Wink of Stella clear glitter brush pen). For the details on the treasure chest, I used a brown TwinTone marker. I then die-cut the mermaid, shells and treasure chests.


For the background frame insert, I inked just the rocks from the largest lighthouse of the 5466 – Lighthouse Set using 565/969. Then, I stamped the image near the bottom center of one of the 2 5/8 x 3 1/4 inch watercolor paper pieces.

I placed the mermaid die-cut on top of the rocks to get an idea of where the horizon should be, and then I lightly sketched in a horizon line with a pencil. With a damp brush, I pulled some color from the lines of the rocks to add shadows and contours. I added additional color from my palette to the rocks using 565/969 mix and 565 and 969 on their own. I brushed in the sky with a watery mix of 407. For the water, I also used 407. I painted the water in layers to create light and dark waves. Near the base of the rocks, I brushed in darker shadows with 407. Water splashes and light reflections were added to the water and rocks with Dr. Ph. Martin’s Bleed Proof White.

The frame and stand were die-cut from light teal cardstock using the dies from 5902 – Mini Scalloped Frame Dies. I used the largest oval die to cut the opening. I stamped “You’re a Treasure” on the front with 407 and constructed the frame.

Since the bottom of this frame is scalloped, I added a little glue to edges of the scallops so the insert wouldn’t peek out of the bottom. I slid the insert into the frame and trimmed off any excess from the top. The mermaid was popped up with foam squares as well as the treasure chest. I then slid the shell into the arms to complete the frame. And now, on to the Puppy frame!

You’re a Treasure – Puppy Frame:

This sweet little pup was so excited to find some buried treasure at the beach! The process for this framed painting is just like the one above, only this time I used 5901 – Mini Rectangle Frame Dies for the frame. I inked the puppy stamp with 969.

Here is a list of colors I used for the puppy:

  • Body and tail: 977, 969 for shading
  • Cheeks and tongue: watery mix of 856
  • Overalls: 249
  • Shell: 910, 873 (highlight) and 912 (shade), 565 (shadow)
  • Treasure Chest: 977, 969 for shading
With the image watercolored, I went back and added fine details to the painting. I added plaid stripes to the overalls with 249 and a No. 0 round brush. A fine black micron pen was used to define the eyes and facial features. All other fine details were added with a brown TwinTone marker. Once complete, I die-cut the puppy with the coordinating die.

For the background frame insert, I placed the puppy die-cut on top of the paper to get an idea of where the beach and water line should be. I lightly sketched a curvy sand line for the beach and a horizon line with a pencil. I brushed in the sky with a watery mix of 407. For the water, I also used 407. I painted the water in layers to create light and dark waves. For the sand I used 990 as the base and 942 for shadows. I used a brown TwinTone to dot in some grains of sand and touched some of the dots with a damp brush to lighten and blend for interest.

The frame and stand were die-cut from kraft cardstock using the dies from the 5901 – Mini Rectangle Frame Dies set. I used the largest rectangle die to cut the opening. I also embossed another piece of kraft cardstock with an embossing folder from my stash to create a decorative frame for the front, which I then glued in place. Finally, I stamped "You’re a Treasure" on a piece of teal cardstock with 407 ink and fussy-cut the sentiment.

I glued the shell directly to the insert and popped up the puppy with foam squares. I also popped up the sentiment on the upper left corner of the frame. I then slid the treasure chest into his arms to complete the frame.

That’s all for now—thanks so much for stopping by for Watercolor Weekend! I hope you have enjoyed today’s projects and have inspired you to get creative and make something fun. Until next time, Happy Painting!