Showing posts with label 5902 Mini Scalloped Frame Dies. Show all posts

Wednesday, September 9, 2026

Gnome Storybook by Dori Mendiola

 Happy Wednesday AI Friends!

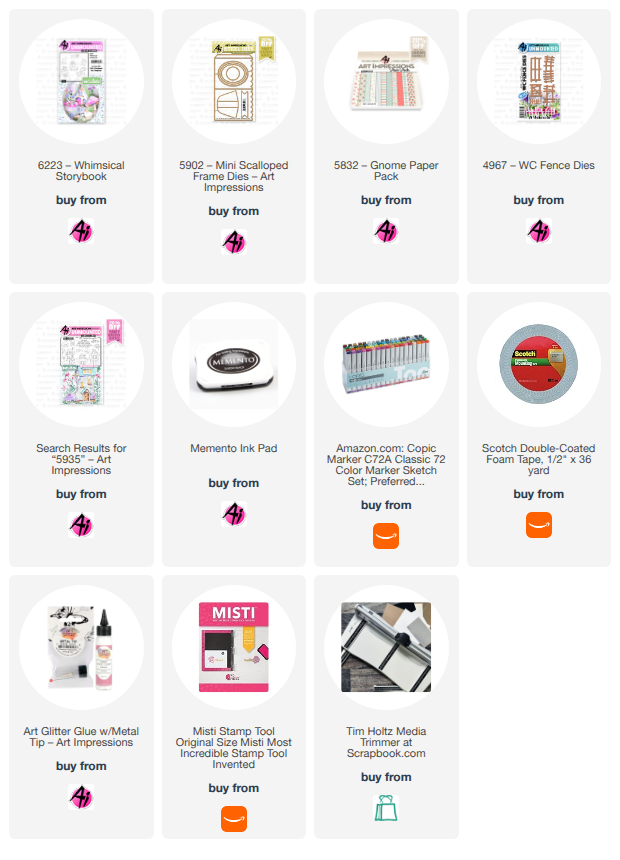
Have you seen the latest storybook stamp and die sets?  Bonnie knocked it out of the park with the #6223 - Whimsical Storybook set with the little gnome and fairy!  Who doesn't love gnomes and fairies? 

There is a perfect little storybook box die that fits this set but I chose to use the #5902 - Mini Scallop Frame set and pop up the layers using foam tape instead of frame layers.   I thought I would show you how versatile these sets are and how you can use them with other products you may have in your collection.


With Khaki colored cardstock, I cut the mini scallop frame with the oval window die placed in the middle.  I then placed the scallop edge of the die on the straight edge of the frame piece and did a partial die cut so that the straight edge had a scallop cut as well.  I cut a piece of pattern paper with the same process and adhered to the front of the frame.  I also cut a small piece of pattern paper to fit the inside of the frame as the background.  
I stamped the images of the storybook stamp set onto copic friendly paper using Memento black ink and colored with my copic markers listed below.  I die cut each with the coordinating dies that are included with the stamp set.  I added stickles to the fairy wings.


You can trim off part of the curved tabs from the images but leave some for gluing into the frame.  I adhered the house flat to the background and then popped up the other pieces to create dimension within the frame.  


I added the sentiment from the #5935 - Fairytale Houses set to the label die, included with the frame set, and adhered it to the front of the frame with some twine.  To finish off, I added the easel to the back of the frame so that this little cutie can be placed on display.

Thanks for joining me today!  I hope you have a wonderful week and you find time to create with this cute set!

Copics used:  R20, R22, R24
E00, E01, E11, E21, E23, E50, E51, E53, E55
N0, N1, N2, N3    B0000, B000, B00, B01
   Y15      YG61    G12     BG93

Monday, June 1, 2026

Seek Wisdom by Sharon Caudle

 Hello AI Fans!

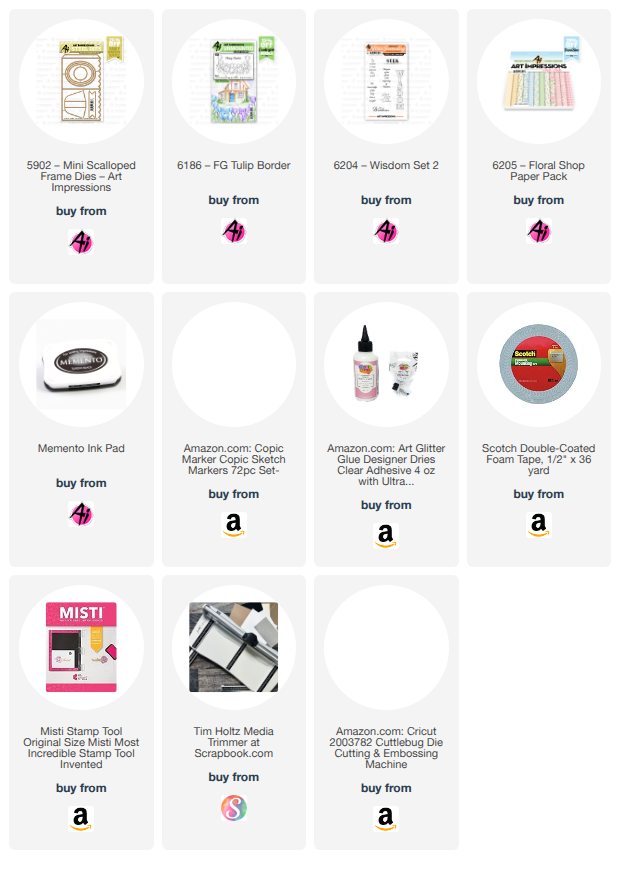
I hope you had a wonderful weekend and are getting a nice fresh start to a brand new week and month. Today I have created a small decoration that you can tuck anywhere to hopefully help inspire someone. This was so quick and easy to create! I started off by grabbing #5902 Mini Scalloped Frame. This is such a cute little frame and I love the added touch of the scallops. I learned that if you cut out the oval frame and turn it on it's side, the new Flower Border Sets (#6186 FG Tulip Border and #6187 FG Poppy Border), they fit perfectly. I wanted to add a small inspirational quote to it, so I reached for #6204 Wisdom Set 2. The beautiful paper is from #6205 Floral Shop PP. This also fits right in with the current "Yellow" Challenge that is still going on! I hope you've entered your creations for a chance to win a free prize! 


So that's it for me today! Thank you so much for stopping by for a visit and until next time - stay crafty!!


Saturday, May 9, 2026

Mother's Day Tulips and Hi Honey! Bear Frame by Diane Mason

Hello, and welcome back for Watercolor Weekend! 

Hello, my Ai watercolor friends and fans — I’m so happy to be back! My lovely daughter was married last weekend, and it was such a beautiful celebration for our whole family. With the help of guest designers Kristen Brown and Julie Worthing, I was able to take some time off in April to finish up all the wedding preparations. I’m so grateful to these very talented ladies for stepping in and sharing their creativity while I was away.

Now that the festivities have wrapped up and life is settling back into its rhythm, I’m excited to jump back into the studio and share two new projects with you today. First is a Mother’s Day card featuring the newly released 6186 – FG Tulip Border. The second is an adorable honey bear frame using the 6170 – Exclusive Honey Bear 2026 Freebie.

Mother's Day Tulips Card:

Happy Mother’s Day weekend to all the amazing moms celebrating this Mother’s Day!

The new Countryside Series includes two structure sets and three floral foreground border sets. These fabulous new sets make it easy to create endless mix‑and‑match watercolor scenes. You can use the Euro Cottage Set or Swiss Villa Set as your background focal points (or any other small structure that fits), then layer tulips, poppies, or daisies in the front to create depth.


For my card, I used 6186 – FG Tulip Border. Each floral border set includes a sentiment, but since this was a Mother’s Day card, I chose the sentiment from 6039 – Just For Her Set.

Using a stamp platform, I inked the tulip border stamp in 177 for the stems and leaves, and 603 and 743 for the tulips and stamped onto Canson XL watercolor paper.

Colors and supplies used:

Tombow Dual Brush Pens: 

  • 177, 177+565 – leaves and stems
  • 603, 606 – purple tulips
  • 743 – pink tulips
  • 555 – sky

Tombow TwinTone Pens used for details:

  • Fuchsia (80)

Dies: 

  • 5065 – Oval Double Stitched Dies

Patterned Paper: 

  • 5939 – Fairy Garden Paper Pack (purple gingham)

Other:

  •  foam squares
  •  purple cardstock
  •  white organza ribbon

Hi Honey! Bear Frame:

How darling is this sweet little Honey Bear? To create this honey-themed framed scene, I used the frame die from 5901 – Mini Rectangle Frame Dies and the oval dies from 5902 – Mini Scalloped Frame Dies. I love how elements from each set work beautifully together.

The honey bear is one of six brand-new 2026 exclusive Art Impressions Freebies:

Using my stamp platform, I inked the 6170 – Exclusive Honey Bear in Versafine Onyx Black Ink and stamped onto Canson XL watercolor paper. On another piece of watercolor paper, I stamped the honeycomb from 5925 – Honey Bee Set in Versafine Vintage Sepia twice — once in the top left and once in the bottom right.

Colors and supplies used:

Honey Bear: 

  • 947 – bear
  • 856+947 – cheeks
  • 025, 985 – honey pot
  • 526 – honey pot lid
  • 025 – bee body
  • 526 – bee wings
  • 177 – grass (4051 – WC Foliage Set 1, Teeny Tiny Grass)
  • 555 – sky 
  • Dr. Ph. Martin’s Bleed Proof White - highlights on nose and eyes

Honeycomb: 

  •  985, 026 – honeycomb framework 
  • 025, 985 – honeycomb cells

Dies:

  • 5901 – Mini Rectangle Frame Dies
  • 5902 – Mini Scalloped Frame Dies

Paper for frame:

  • Coordinating Yellow cardstock


The die set includes a stand piece to keep the frame upright. The sentiments are from 5925, stamped in Versafine Onyx Black. This sweet little frame is perfect for gifting or slipping into a card to brighten someone’s day!


Thank you for joining me today for Watercolor Weekend. I can’t wait to see what you create with the new Countryside Series! When sharing your work, be sure to tag Art Impressions on social media. Until next time, Happy Painting!


Saturday, April 11, 2026

Spring Front Porch & Easel Card with Guest Designer Kristen Brown

 Hello Ai fans!

Today we have a special treat for you...

Guest Designer Kristen Brown.
She's filling in for Diane Mason who needed the day off.

She created two GORGEOUS Spring cards to inspire you.

Please enjoy...


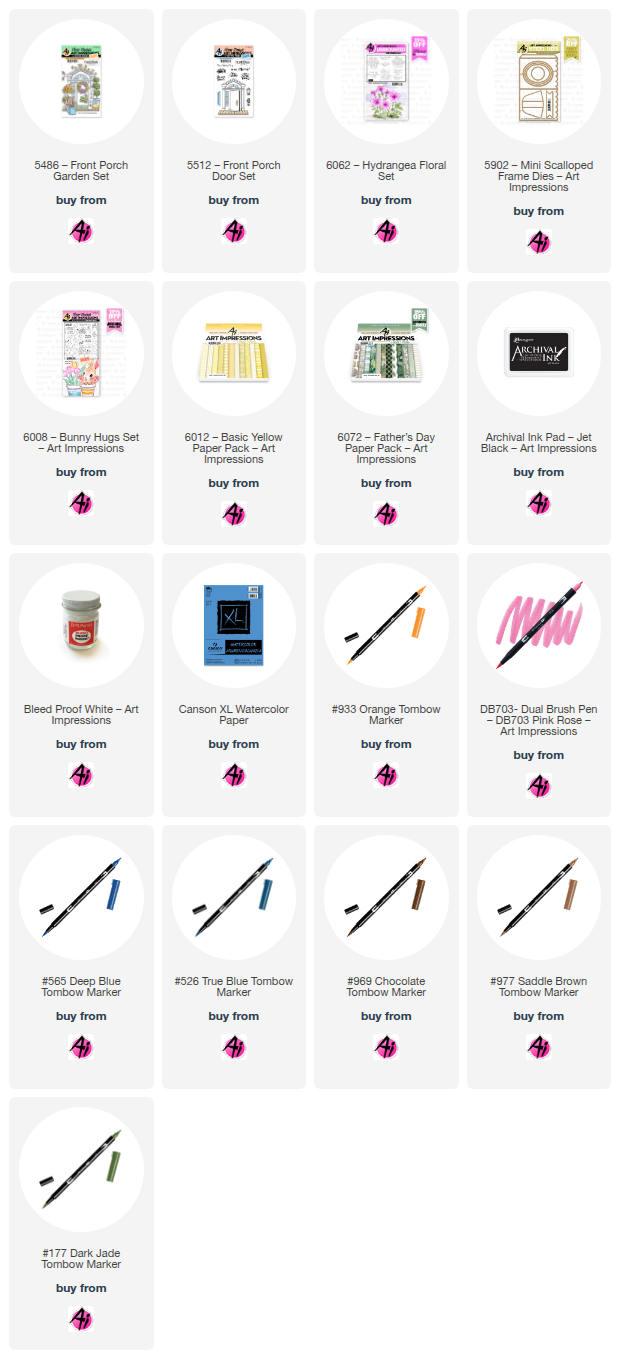
I love using the front porch sets, they are so easy to use. I just stamp, color, die cut, arrange and then attach with any adhesive handy.  The stamp sets I used are 5486 and 5512 and the sentiment is from 6062. The Tombow pen colors I used are 177, 977, 969, 526, 703, 025 and 933. The brick paper is from the 6072 Father’s Day paper pack.


Very quick project using the mini scalloped frame die set #5902 and the hydrangea floral set #6062 for the daisies and sentiment. I used only three Tombow pen colors #177, #565 and #933 and the paper is from the Yellow paper pack #6012. Butterfly is from #6008.

Sunday, January 18, 2026

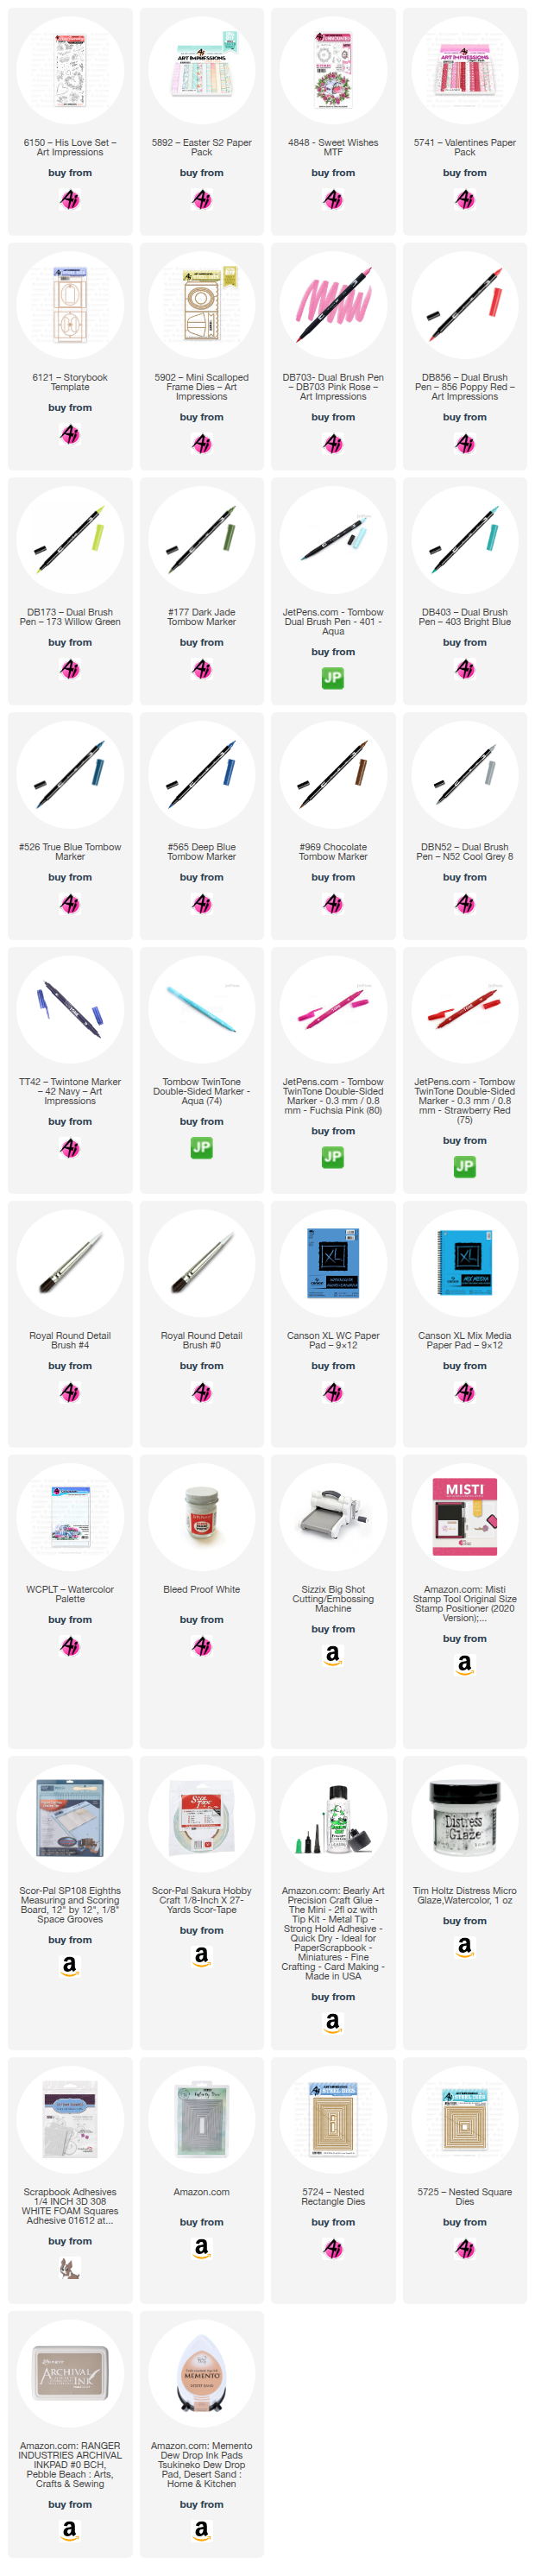
Valentine Wreath Gate-fold Card and Sweet Wishes Storybook Frame by Diane Mason

 Hello, and welcome back for Watercolor Weekend! 

Hello all my Ai watercolor friends and fans, and Happy 2026! This is my first post of the year, and January 1st is always special to me—not only does it mark the start of a new year, but it’s also my Art Impressions Watercolor Design Team anniversary. I can’t believe it’s already been three years!

Today I’m excited to share two Valentine’s Day projects with you: a Valentine Wreath Gate‑fold Card and a cute little Valentine’s Storybook Frame.

Valentine Wreath Gate-fold Card:

This soft, romantic gate‑fold card features images from the recently released Bible Journaling Set 6150 – His Love. Although it’s designed for Bible journaling, it’s also perfect for all kinds of love‑themed projects. I always enjoy sharing ideas for stretching your stamp collection and using sets in unexpected ways.

Using my stamp platform, I inked the wreath image with Memento Desert Sand and stamped it onto Canson XL watercolor paper. This light ink keeps the lines soft while still preserving the details. (You can ink the flowers and foliage separately in pink and green, but this particular stamp is quite detailed.)

I began by adding a light wash of 703 to each rose, leaving white space for highlights. To deepen the petals, I layered additional 703 into the shadowed areas until I was happy with the value. The hearts on the vine were also painted with 703.

For the rose centers, I dotted in a touch of TwinTone Chrome Yellow and softened it with a damp brush. The leaves were painted with 177, deepening the bases for contrast.

To create a soft, ethereal glow, I brushed a watery mix of 403 around both the inside and outside edges of the wreath. Once dry, I used a fine #0 brush to scatter tiny hearts in 703—just two simple strokes forming a little “V” shape. I also used the #0 brush to add 177 to the vines and refine the leaf details.

Where needed, I added definition to the roses with a Fuchsia Pink TwinTone and blended lightly with water. A touch of Dr. Ph. Martin’s Bleed Proof White restored any missing highlights.

I cut a piece of blue shimmer cardstock to 8½” x 5½”, scored at 1½” and 5¾”, and folded in the sides.

  • Left panel: pink patterned paper from 5892 – Easter S2 Paper Pack, cut to 1¼” x 5¼”
  • Right panel: blue‑green vine pattern from the same pack, cut to 2½” x 5¼”

Both panels were adhered with double‑sided tape.

The watercolor panel and its mat were die‑cut using 5725 – Nested Square Dies (3” x 3” and 3¼” x 3¼”). I mounted the finished piece to the card front, applying adhesive only to the left side so the gate‑fold can open properly.

Inside the card, I added a 4” x 5¼” pink mat and a 3¾” x 5” white panel.

  • The Valentine sentiment from 4848 – Sweet Wishes MTF was inked in 703.
  • The heart stems from 6150 were inked in 703 and 401.
  • The small heart border was stamped repeatedly along the bottom in 401.

Sweet Wishes Storybook Frame:

Late last year, Art Impressions released the Storybook Template Die along with two coordinating stamp sets for creating adorable Christmas ornaments. The template forms a 3D box where you can build a little scene inside. At the time, Bonnie hinted that more coordinating sets might be coming—I can’t wait to see what she dreams up next!

That got me thinking: why not use the Valentine images from the Sweet Wishes Mini TryFold to create a little Valentine storybook scene?

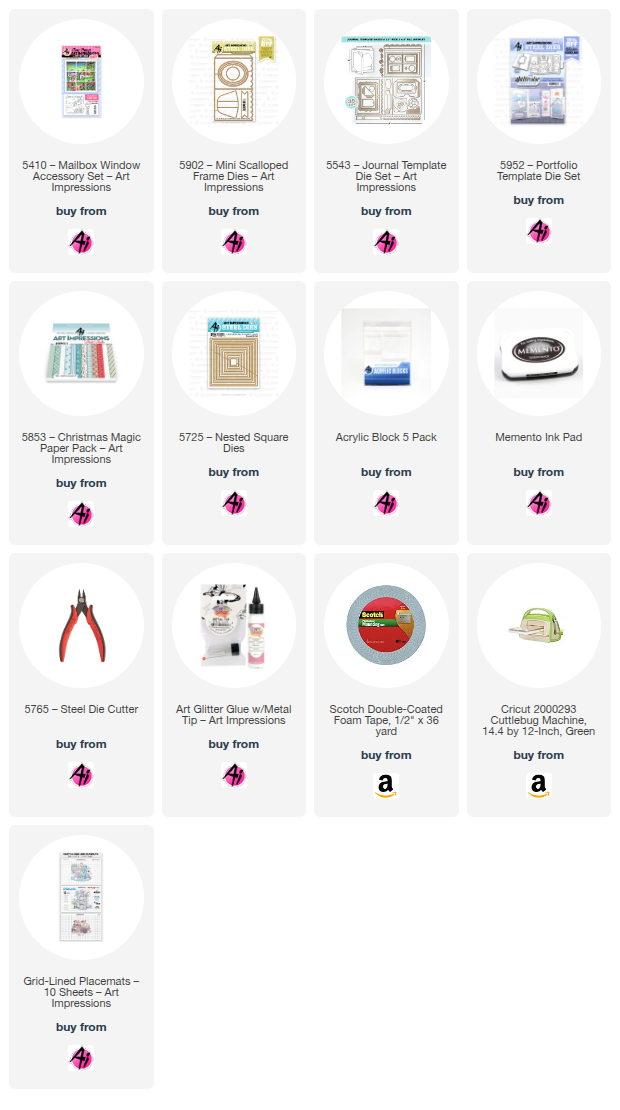
For this sweet frame, I combined the 4848 – Sweet Wishes MTF set with the 6121 – Storybook Template. The tag was created using a banner die from 5902 – Mini Scalloped Frame Dies. The box is cut from white shimmer cardstock, and the heart patterned paper is from the 5741 – Valentines Paper Pack.

All images were stamped in Memento Desert Sand onto Canson XL Mix Media Paper.

Here’s the color palette I used for each element:

Rose Wreath

  • 177 (vine and leaves)
  • 856 (roses)
  • Dr. Ph. Martin’s Bleed Proof White

Mailbox

  • 256 (mailbox and interior lid)
  • 565 (post, flag clips, slot, knob)
  • 856 (ribbon, flag)
  • N52 (flag post)
  • 403 (sky)

Bird with Letters & Candy

  • 856 (heart and letter)
  • 703 (letter)
  • 403 (letter)
  • 703 + 565 (bird, mailbox interior)


Once everything was painted, I die‑cut the center from the wreath and die-cut the opening for the mailbox lid. The mailbox piece was trimmed to match the die size of the die with the oval opening (approximately 2⅝” x 3”). I cut a second piece the same size to mount the bird image on.

The included die cuts the interior of the wreath, but not the outer edge, so I fussy‑cut the wreath with fine detail scissors, leaving a small white border. Mix Media paper cuts easily, so this step went quickly.

The oval opening on the Storybook die was slightly too large for the wreath to sit neatly on top. To fix this, I cut the heart patterned paper again at 2⅝” x 3” and used a smaller oval from 5902 – Mini Scalloped Frame Dies to create a better‑sized opening. The wreath was then adhered to the box front with double‑sided tape.


To assemble the layers, I used foam squares to pop up each piece, starting with the bird layer and working forward. I positioned the bird so it peeks out when the mailbox lid is opened—such a fun little surprise for the recipient. Once all the layers were in place, I glued the box closed.

I die‑cut an ornament topper from white shimmer cardstock and attached it to the top of the box to hold the ribbon and tag. I folded and glued the topper about two‑thirds of the way down, then folded out small tabs on each side so it could be secured to the box.

For the tag, I stamped a sentiment from 4848, die‑cut it with the banner die from 5902, and tied it on with red baker’s twine. A double bow of red ribbon was added with a glue dot.

To finish the back, I layered more red heart paper with Mix Media paper. The Valentine sentiment and heart border from 6150 were stamped in 856, and the rose was painted using the same colors as the wreath.

Just look at that cute little guy peeping at you from the mailbox! I think it will be fun for the recipient to open the mailbox lid and get a sweet little surprise.

That’s all for now—thanks so much for stopping by for Watercolor Weekend! I hope these ideas inspire you to experiment with some “out of the box thinking” and create something fun for Valentine’s Day with your stamp collection.

Until next time, Happy Painting!
Tuesday, January 6, 2026

Mailbox Window Set by Reneé Matarese

 Hello Ai fans and welcome to my first post of 2026!

I'm starting off with the card that I made for my Mother-in-law's birthday at the end of this month.
(and a spare for my stash)


Her birthday is Jan. 22nd so sometimes I go with a winter theme but since she lives in Florida and it's sunny with flowers there this time of year, sometimes I go with something like this card.

The mailbox is a separate image that comes with the cottage and has it's own die. I popped it up to add some interest.


I love these little easel frames. You can cut a hole in the front to make a frame to display your image or you can glue an image to the front and put a card or tag inside like I've done.


My husband and I can send her our well wishes on the back of the tag.
An added bonus is that these fold flat and can be mailed from home with one stamp!