Showing posts with label 5903 Treasured Armful Set. Show all posts

Thursday, February 5, 2026

Lots of Love Card pack by Dori Mendiola

 Happy Thursday AI Friends!

I have a fun card gift pack for you today that fits in perfectly for Valentine's day and for the bi-weekly challenge "Love, Love Me Do".  Do you have a friend that loves to give their family members a card for Valentine's day?  What a perfect little gift for you to give them.  My mind instantly goes to our elderly in the senior homes or your cute little elderly neighbor.   I created a fun, quick gift set of six cards all bundled in a sweet pouch.   The cards do not have a sentiment, so they can fit any occasion, if Valentine's day is not your thing.

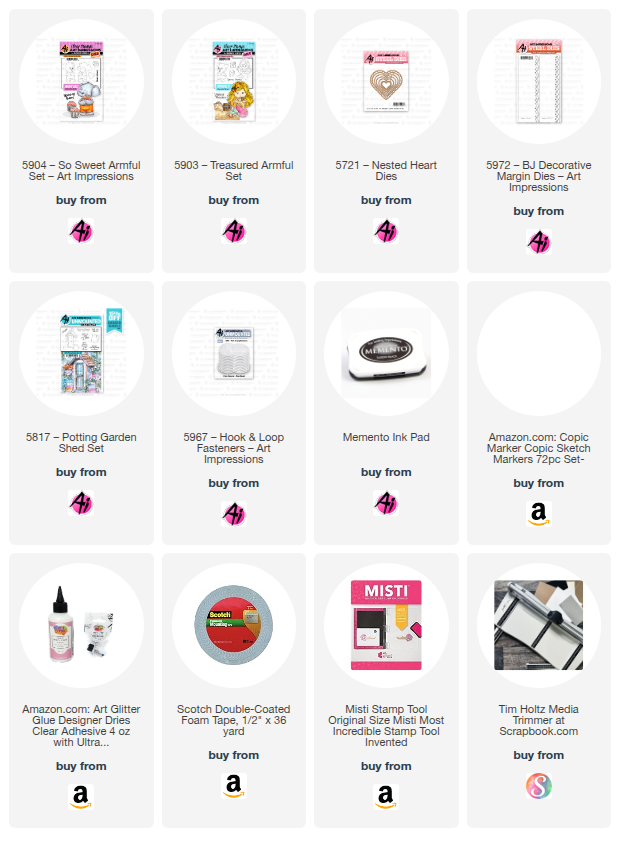
For the images, I used the Armful stamp sets - #5903 Treasured Armful and #5904 - So Sweet Armful.  The arms of each animal have a slit cut to allow you to slip a cute little heart, flower, star, etc.  These sets also include the corresponding dies.


I stamped each of the images twice on copic friendly cardstock with Memento black ink and colored with copic markers listed below.  I also stamped, colored and die cut the heart, that is included in the "So Sweet Armful" set, 6 times - one for each card.  I learned a little copic technique from my fabulous copic teacher and friend, Sharon Caudle, many years ago in a class and I use it whenever I can.  For the little bear image, I color him in the browns leaving the overalls until later.  I then take a little piece of wash cloth and dab some blender solution onto it.  Lightly tap that part of the cloth onto the colored part of the bear and it will make him look fuzzy (see the individual card below for a better visual).  Let it sit for a little bit and then finish coloring the overalls.
It's a great effect!  Many thanks, Sharon!  


Above is the A2 Card Gift pouch that will hold up to 6 cards (with minimal dimension) and 6 envelopes.  I found the template for this on The Paper Pixie or you can youtube A2 card gift pouch.  It uses one 12x12 piece of heavy weight pattern paper.   I then decorated using the #5972 - Bible Journal Decorative Margin dies and #5721 - Nested Heart dies.   The sentiment is from the #5817 - Potting Garden Shed set.  Lastly, I used one of the #5967 - Hook and Loop Fasteners to keep the pouch shut.


Here are the six cards in the pack:


That's it for me today!  Thanks for stopping by and I hope you have a great day!

Make sure to check out the bi-weekly challenge and play along for a chance to win a free stamp set.  
We love to see your creations!

Copics used:  C0, C1, C3
R20, R11, R12, R14
E21, E23, E25, E31, E33, E35

Sunday, August 17, 2025

You're a Treasure! - Mermaid and Puppy Frame Cards by Diane Mason

  Hello, and welcome back for Watercolor Weekend!

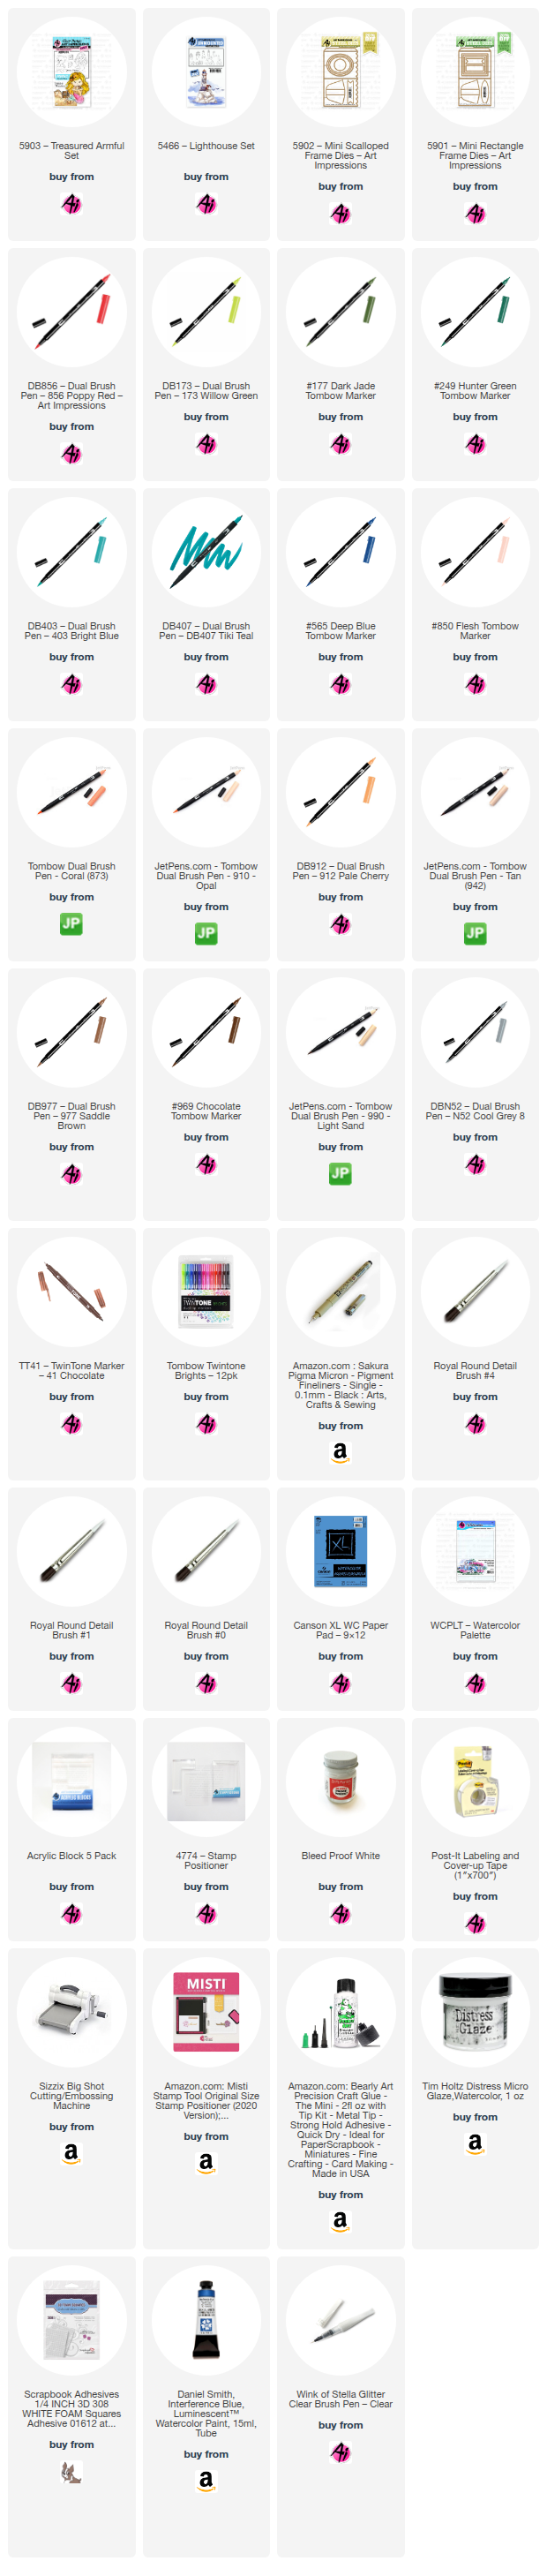
Welcome to Watercolor Weekend! I'm so glad you're here. Today, I'm excited to share two fun projects using the adorable mermaid and puppy images from the 5903 – Treasured Armful Set. I’ll also be using two fantastic die sets: 5902 – Mini Scalloped Frame Dies and 5901 – Mini Rectangle Frame Dies. These dies are perfect for creating small frames to showcase your art. You can give them as gifts, as a card on its own, or even tuck the mini frames into a larger card or journal. Let’s get started!


You’re a Treasure – Mermaid Frame:

Can you believe we're already halfway through August? Today's projects were inspired by summer beach days. I saw plenty of happy puppies running on the sand, but I'm still on the lookout for a mermaid!


To begin, I cut two pieces of Canson XL watercolor paper to 2 5/8 x 3 1/4 inches. These will be the inserts for the mermaid and puppy frames, so I set them aside. On a separate piece of watercolor paper, I stamped the mermaid image in N52, and stamped two each of the shell and treasure chest images in 969. All of these images will be die-cut after painting.

Here is a list of colors I used for the mermaid:

  • Hair: 403, 407 for shading
  • Face, Arms and Body: 850, 910
  • Bikini Top: 873
  • Cheeks: 873
  • Tail: 173, 177 for shading
  • Shell: 910, 873 (highlight) and 912 (shade), 565 (shadow)
  • Treasure Chest: 977, 969 for shading

Once I had the image watercolored, I went back and added fine details to the painting. First, to add some shimmer to the hair and tail, I painted a layer of Daniel Smith Interference Blue watercolor paint over those areas. It adds a nice transparent opal sheen to the images; I love how it turned out! I used a fine black micron pen to define the eyes and facial features. Additional details where added to the tail using an Emerald Green TwinTone marker.

I also used Interference blue on the shell and added fine details with a brown TwinTone marker. (Note: Instead of Interference Blue watercolor paint, you could always add shimmer with a Wink of Stella clear glitter brush pen). For the details on the treasure chest, I used a brown TwinTone marker. I then die-cut the mermaid, shells and treasure chests.


For the background frame insert, I inked just the rocks from the largest lighthouse of the 5466 – Lighthouse Set using 565/969. Then, I stamped the image near the bottom center of one of the 2 5/8 x 3 1/4 inch watercolor paper pieces.

I placed the mermaid die-cut on top of the rocks to get an idea of where the horizon should be, and then I lightly sketched in a horizon line with a pencil. With a damp brush, I pulled some color from the lines of the rocks to add shadows and contours. I added additional color from my palette to the rocks using 565/969 mix and 565 and 969 on their own. I brushed in the sky with a watery mix of 407. For the water, I also used 407. I painted the water in layers to create light and dark waves. Near the base of the rocks, I brushed in darker shadows with 407. Water splashes and light reflections were added to the water and rocks with Dr. Ph. Martin’s Bleed Proof White.

The frame and stand were die-cut from light teal cardstock using the dies from 5902 – Mini Scalloped Frame Dies. I used the largest oval die to cut the opening. I stamped “You’re a Treasure” on the front with 407 and constructed the frame.

Since the bottom of this frame is scalloped, I added a little glue to edges of the scallops so the insert wouldn’t peek out of the bottom. I slid the insert into the frame and trimmed off any excess from the top. The mermaid was popped up with foam squares as well as the treasure chest. I then slid the shell into the arms to complete the frame. And now, on to the Puppy frame!

You’re a Treasure – Puppy Frame:

This sweet little pup was so excited to find some buried treasure at the beach! The process for this framed painting is just like the one above, only this time I used 5901 – Mini Rectangle Frame Dies for the frame. I inked the puppy stamp with 969.

Here is a list of colors I used for the puppy:

  • Body and tail: 977, 969 for shading
  • Cheeks and tongue: watery mix of 856
  • Overalls: 249
  • Shell: 910, 873 (highlight) and 912 (shade), 565 (shadow)
  • Treasure Chest: 977, 969 for shading
With the image watercolored, I went back and added fine details to the painting. I added plaid stripes to the overalls with 249 and a No. 0 round brush. A fine black micron pen was used to define the eyes and facial features. All other fine details were added with a brown TwinTone marker. Once complete, I die-cut the puppy with the coordinating die.

For the background frame insert, I placed the puppy die-cut on top of the paper to get an idea of where the beach and water line should be. I lightly sketched a curvy sand line for the beach and a horizon line with a pencil. I brushed in the sky with a watery mix of 407. For the water, I also used 407. I painted the water in layers to create light and dark waves. For the sand I used 990 as the base and 942 for shadows. I used a brown TwinTone to dot in some grains of sand and touched some of the dots with a damp brush to lighten and blend for interest.

The frame and stand were die-cut from kraft cardstock using the dies from the 5901 – Mini Rectangle Frame Dies set. I used the largest rectangle die to cut the opening. I also embossed another piece of kraft cardstock with an embossing folder from my stash to create a decorative frame for the front, which I then glued in place. Finally, I stamped "You’re a Treasure" on a piece of teal cardstock with 407 ink and fussy-cut the sentiment.

I glued the shell directly to the insert and popped up the puppy with foam squares. I also popped up the sentiment on the upper left corner of the frame. I then slid the treasure chest into his arms to complete the frame.

That’s all for now—thanks so much for stopping by for Watercolor Weekend! I hope you have enjoyed today’s projects and have inspired you to get creative and make something fun. Until next time, Happy Painting!


Thursday, July 10, 2025

Golden Mermaid by Dori Mendiola

 Happy Thursday AI Friends!

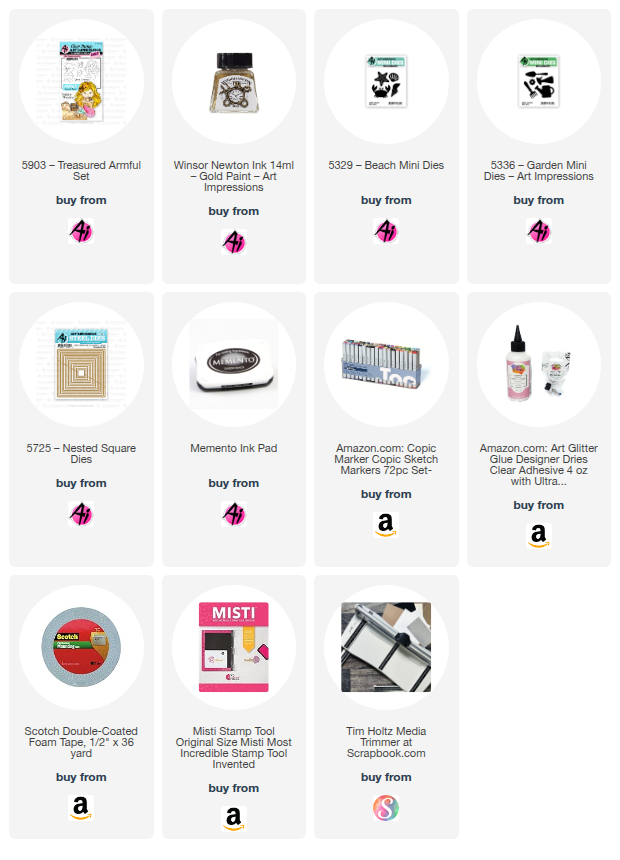
My card today was inspired by the current blog challenge "Spritz, Splatter and Paint!"  A perfect way to showcase the new Winsor Newton Ink 14ml - Gold Paint sold now on the Art Impressions website.  Although the challenge does not stipulate that you have to use gold, you can use any spritz, splatter or any color paint.  I chose to use the new product, since it was new to me too.

This gold paint is awesome and adds such glimmer and shimmer to your project.  I played with it a little bit to see how I wanted to use it.  I loved the look with stencils and a makeup sponge, smooshed onto the paper and spritzed or splattered.  For my card, I chose to paint with it, stamp it and also used it in a mister (mix with a touch of water in a mister).  


I stamped the #5903 - Treasured Armful Mermaid images onto copic friendly paper with Memento black ink and colored with my copic markers listed below.  I then die cut each of the images using the coordinating dies that come with the stamp set.  I'm using a background that I made awhile back but thought it would be perfect for this card.   Using the backside of photo paper, I believe I used Ranger alcohol inks - Mermaid and Glacier - but any blues will work.  I also used a bubble frame die that I had in my stash.    


I painted the treasure chest with the Winsor Newton gold paint as well as the middle of the flower in her hair.  When you zoom in, you can really see the result.  I painted some gold onto the sentiment stamp and stamped it onto white cardstock.   But, I liked the use of the gold paint in a mister the best.  This produced the best shimmer and still left the color underneath showing through.  See the sand in the picture above and the mermaid tail and hair in the picture below.  One or two mists will do the trick, but it's hard to stop.  I actually sprayed too much the first time but was able to wipe some of it off.  Wait until it slightly dries first, then wipe a paper towel lightly over it.    


After all the images were colored, painted and sprayed, I assembled the card.  This little mermaid actually swings back and forth as if swimming.  
Punch a hole in the background behind where her head will be, large enough for a foam pop dot.  Glue a penny, button or paper disc to one side of the pop dot.  Place the pop dot through the hole from the backside and adhere the mermaid (approx. forehead) to the pop dot poking through.  She should rock nicely at this point.  Place a thicker layer of foam tape on the backside of the background avoiding the penny, button, or disc.  Adhere onto your card base.  Test to make sure that she moves freely.  Pop up the frame so it is slightly higher than the inner square.  This will help stop her movement so she doesn't flip all the way around.

I hope you join in our blog challenge for a chance to win a free stamp set.  We love to see what you create!
Have a wonderful day and keep crafting!

Copics used:  E000, E01, E11, R20
E30, E31, E33, E35, E37, YR31
RV63, RV66; V05
YG09, BG05
Tuesday, April 22, 2025

Just a Mermaid and Her Treasures! by ReneƩ Matarese

 Hello Ai fans!

I've loved this little mermaid since the moment I saw her.

How precious is this card for a little girl's birthday?

Or a big girl...we can all love mermaids!


I know we often hear about octopuses collecting little trinkets and sparkly things but I kind of feel like mermaids probably do that too. I made sure to deck out her space with all sorts of shells and treasures.


Even though my card has a lot going on, I feel like she is still the star. The dies that come with this set cut a little opening in her arms to hold her beloved conch shell or treasure chest or anything else you might think she'd enjoy.


I recently did an Easter craft at school and took one of my chalk palettes. It reignited my interest in them. I used them to add some subtle color to my embossing folder and die cuts.


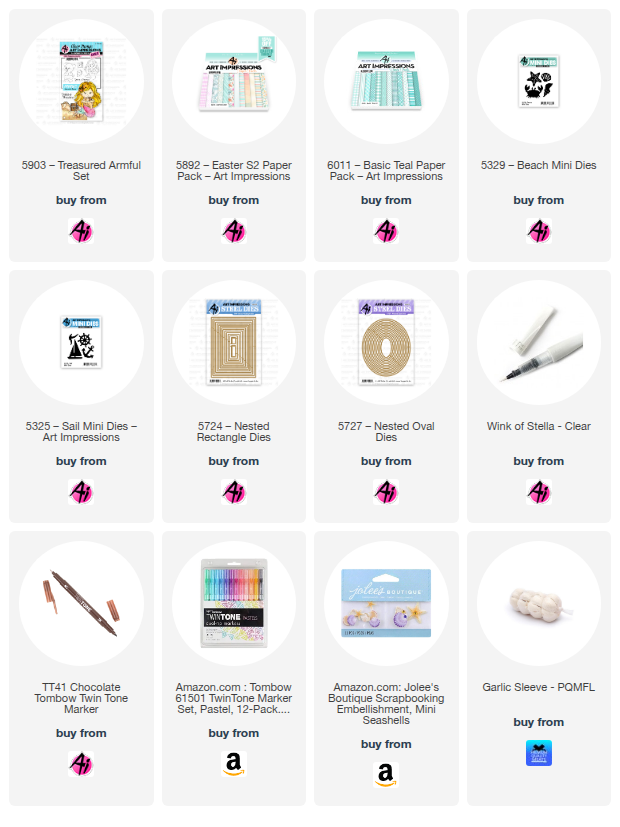
Do you repurpose items from around your house for your cards? For the fish netting here, I used a sleeve that 3 heads of garlic came in.


This last photo is just for fun. When my daughter saw my card she remarked that it looked like our tissue box.  LOL! Maybe Joel uses Kleenex too and was inspired by the box for his paper! 


P.S. Let me tell you! I DID NOT SPEND ALMOST $9.00 on this tiny bag of shells that I added to my card. Over 10 years ago, these were gifted to me by a co-worker. I can't believe they're still available and I can't believe how expensive they are. Thank goodness for Art Impressions VERY reasonably priced 5329 – Beach Mini Dies. I can color those however I like and make as many as I want.

I made a second, slightly different version because I remembered that I had the nautical wax melt stamper and wanted to add that. I like this version too.


Copics used:

G40, BG02, BG07, E34, RV42, RV52, R000, R85, Y04, Y15

Marvy LePlume:

R810 IVORY, R812 APRICOT, OR821 BEIGE

Thursday, July 11, 2024

Magical Creatures #382 Week 2

 Hello Ai fans and welcome to week #2 of our 
Magical Creatures challenge!


Last week, Lynn was our Featured Designer and she created this little beauty.
You can find links to products and her video tutorial HERE.


Dori's magical creation can be found HERE.


Sharon is hoping you have a magical day HERE.


Janet thought of something I didn't...Santa and his magical reindeer!
She used 5040-Sleigh Bells Set and one of my absolute favorite sets...


Plus...Janet's little pop up pocket makes her card 
perfect for our current Pockets Guest Designer Challenge!
You can enter more than one challenge to increase your chances
of winning a free stamp set.


Tasha has a summery HELLO from her mermaid HERE.
I also used the mermaid to create a thank you card for a little girl at school.
You can find links HERE.


Thank you to our incredible Design Team for all of the MAGICAL inspiration!
Amazing job ladies.
Now let's see what YOU create!
Remember, we pick one Top Spot and one Lucky Random Winner so
you have TWO chances to win a free stamp set!

Also remember, the July Throwback ends tonight at 11:59 PM PST.
Don't miss out!


✻ Please make a new card or handmade crafty creation. You can make any item you wish; this is not limited to cards!

✻ Limit two submissions per person. You will receive extra votes if you use Art Impressions stamps!
 ✻Please include your first name and last initial on your submission.
✻We love to comment on your entries, but keep in mind if you use a private group or a platform that you need to sign up for, we probably won't be able to.
✻ The Ai Challenge is open to everyone, international submissions are welcome!
✻ Include a link back to the Ai Blog or grab our button on the top right of our sidebar!
✻ Share the Ai love if you can, by clicking and commenting on your fellow crafters.
✻ Make sure to get your link up by the deadline to enter your creations.
✻ Good luck and happy stamping! 


You are invited to the Inlinkz link party!

Click here to enter

Friday, July 5, 2024

Hello Summer Card by Tasha!

Happy Friday!

Tasha here sharing a new Summer card featuring the super cute 5903-Treasured Armful Set. This mermaid has quickly become my new go to stamp for the Summer and I just love coloring her pretty hair!

For this card, I decided to make an underwater scene and layered seashells and sea plants to frame the mermaid. I wanted to use pink on this card and thought the long blonde hair looked great with all the pink colors used on the mermaid's tail and her treasure chest; I love the color pink!
Lastly, I glued on the word "Hello" and attached gold glitter paper, pink card stock, and a coordinating seashell pattern paper. I also attached several shell embellishments and a made a textured floor to make it look like the bottom of the ocean. I think she looks happy with her treasures!

I hope you enjoyed today's card and are having a wonderful day!