

Hello Fellow Crafters!
Welcome to another Watercolor Weekend! I’m excited to share this week’s card with you. I was especially excited to use the new Flower and Foliage Sets with this image. I love when one stamp can create an entire scene, and this image has so many fun little details to bring to life with watercolor.
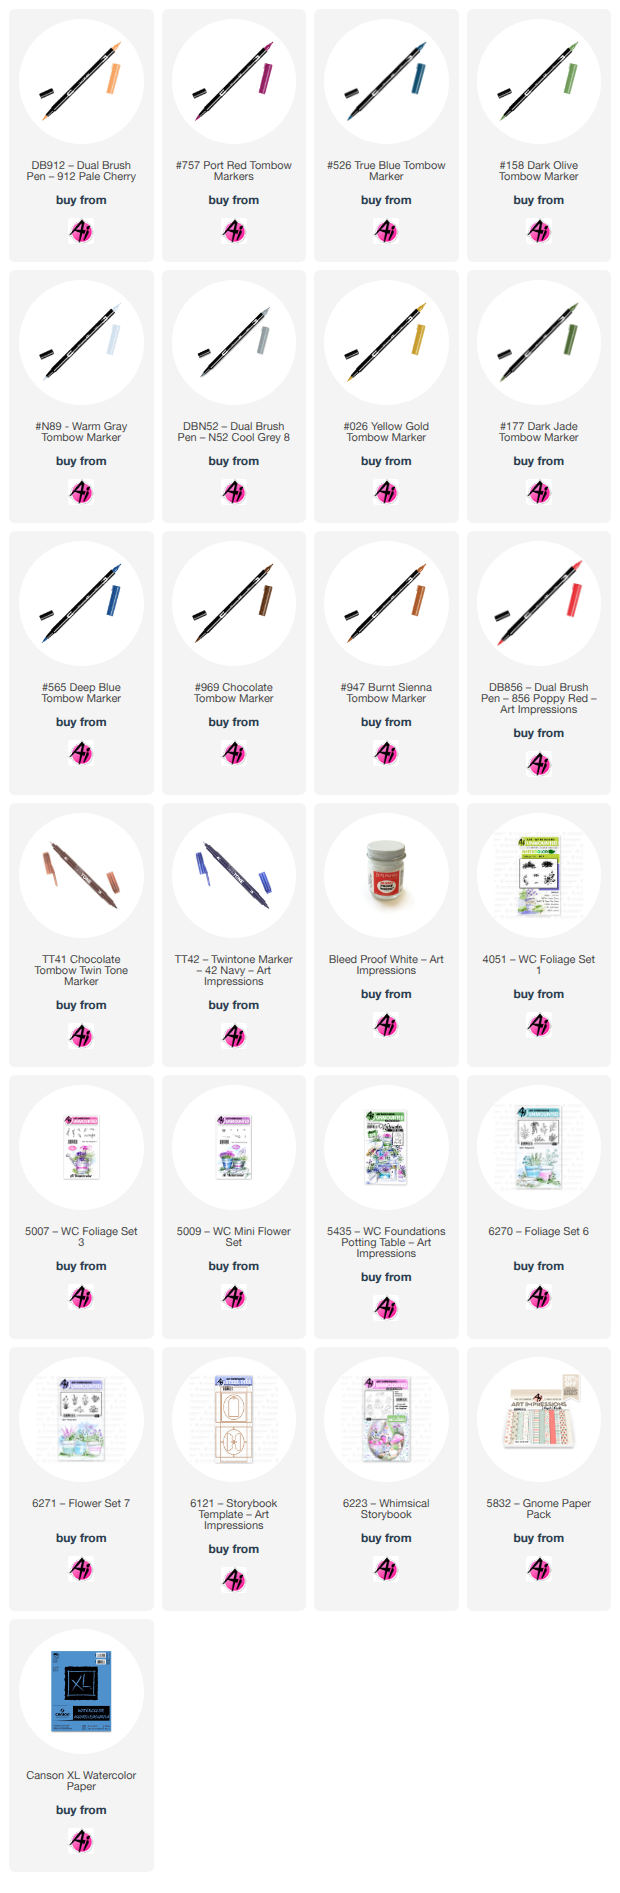
On Canson Watercolor Paper, I stamped the image using 565 + 969, stamping off twice for a softer impression. With a damp #4 brush, I pulled out the stamped color first. Before I added color to the pots, I started with the larger elements of the scene and worked my way through each of the smaller details. The Tombow colors I used for each element are listed below.
After I had my pots colored. I started to stamp in the flowers and foliage. With a damp #4 brush, I dabbed the flowers and foliage to soften the look.
Once I finished the flowers and foliage, I added the final details to complete the scene. I really enjoyed bringing all the little elements of this image to life.

Materials Used
Stamps & Dies
• 5435 – WC Foundations: Potting Bench
• 6270 – Foliage Set 6
• 6271 – Flower Set 7
• 5009 – Mini Flower Set (Dots)
• 4051 – Foliage Set 1 (Grass)
Paper
• Canson Watercolor Paper
Inks & Mediums
• Dr. Ph. Martin’s Bleed Proof White
• TwinTone Markers – Brown, Gray
Tombow Markers
• N52, 757, 158, 177, 565 – Bucket with Foliage
• 026, 177, 565 – Pot, Bottom Shelf
• 947, 158, 565 – Birdhouse
• 947, 946, 177, 026 – Pot
• 158, 026, 757 – Watering Can
• N89, 177, 817, 526 – Crate
• 991 – Hat
• N89, 565, 177, 757 – Pot Next to Hat
• 947, 946, 565, 177 – Double Pots
• 026, 757, 158, 526 – Last Pot
For an extra project this week, I decided to create a little storybook scene using the new Whimsical Storybook Set.
I stamped all of the images onto Canson Watercolor Paper using Distress Ink Lost Shadow. Once the images were stamped, I colored each piece using the Tombow markers listed below and then used the coordinating dies to cut them out.
I chose a heavier cardstock to build the main outer box as well as the three inner layers.
I used the square die that comes with the set to cut three squares. I then stacked the three squares together and used the included oval die to cut the center opening. I attached an image to each inner layer and then stacked the layers together using foam dots in the corners to create dimension.
I hope you enjoyed this week’s projects and found some inspiration for your next watercolor creation. Thanks for stopping by, and I hope to see you again next time!

Materials Used
Stamps & Dies
• 6121 – Storybook Template
• 6223 – Whimsical Storybook
Paper
• 5832 – Gnome PP
• Canson Watercolor Paper
Inks & Mediums
• Distress Ink – Lost Shadow
• Dr. Ph. Martin’s Bleed Proof White
• TwinTone Marker – Brown
• 2mm Foam Dots
Tombow Markers
• 126, 757, 565, 947 – House
• 856, 947, N49, 606, N15, 757, 177 – Wheelbarrow
• 947, 969, 177, 856, 985 – Stump
• 757, 126, 947, 969, 942, 912 – Gnome

1 comment:
These are gorgeous Simone!
Post a Comment