Showing posts with label 6223 Whimsical Storybook. Show all posts

Sunday, September 6, 2026

Garden Scenes & Storybook Dreams by Simone Carr


Hello Fellow Crafters!

Welcome to another Watercolor Weekend! I’m excited to share this week’s card with you. I was especially excited to use the new Flower and Foliage Sets with this image. I love when one stamp can create an entire scene, and this image has so many fun little details to bring to life with watercolor.

On Canson Watercolor Paper, I stamped the image using 565 + 969, stamping off twice for a softer impression. With a damp #4 brush, I pulled out the stamped color first. Before I added color to the pots, I started with the larger elements of the scene and worked my way through each of the smaller details. The Tombow colors I used for each element are listed below.

After I had my pots colored. I started to stamp in the flowers and foliage. With a damp #4 brush, I dabbed the flowers and foliage to soften the look.

Once I finished the flowers and foliage, I added the final details to complete the scene. I really enjoyed bringing all the little elements of this image to life.


Materials Used

Stamps & Dies
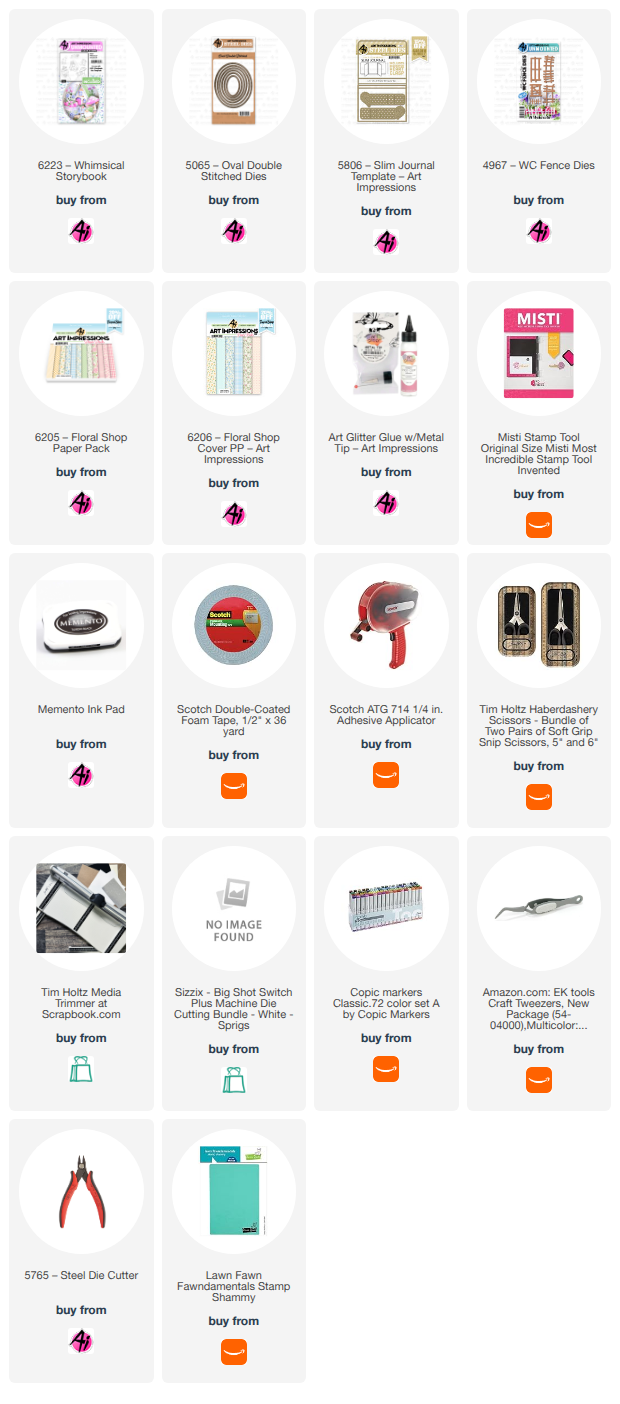
• 5435 – WC Foundations: Potting Bench
• 6270 – Foliage Set 6
• 6271 – Flower Set 7
• 5009 – Mini Flower Set (Dots)
• 4051 – Foliage Set 1 (Grass)

Paper
• Canson Watercolor Paper

Inks & Mediums
• Dr. Ph. Martin’s Bleed Proof White
• TwinTone Markers – Brown, Gray

Tombow Markers
• N52, 757, 158, 177, 565 – Bucket with Foliage
• 026, 177, 565 – Pot, Bottom Shelf
• 947, 158, 565 – Birdhouse
• 947, 946, 177, 026 – Pot
• 158, 026, 757 – Watering Can
• N89, 177, 817, 526 – Crate
• 991 – Hat
• N89, 565, 177, 757 – Pot Next to Hat
• 947, 946, 565, 177 – Double Pots
• 026, 757, 158, 526 – Last Pot


For an extra project this week, I decided to create a little storybook scene using the new Whimsical Storybook Set.

I stamped all of the images onto Canson Watercolor Paper using Distress Ink Lost Shadow. Once the images were stamped, I colored each piece using the Tombow markers listed below and then used the coordinating dies to cut them out.

I chose a heavier cardstock to build the main outer box as well as the three inner layers.

I used the square die that comes with the set to cut three squares. I then stacked the three squares together and used the included oval die to cut the center opening. I attached an image to each inner layer and then stacked the layers together using foam dots in the corners to create dimension.

I hope you enjoyed this week’s projects and found some inspiration for your next watercolor creation. Thanks for stopping by, and I hope to see you again next time!


Materials Used

Stamps & Dies
• 6121 – Storybook Template
• 6223 – Whimsical Storybook

Paper
• 5832 – Gnome PP
• Canson Watercolor Paper

Inks & Mediums
• Distress Ink – Lost Shadow
• Dr. Ph. Martin’s Bleed Proof White
• TwinTone Marker – Brown
• 2mm Foam Dots

Tombow Markers
• 126, 757, 565, 947 – House
• 856, 947, N49, 606, N15, 757, 177 – Wheelbarrow
• 947, 969, 177, 856, 985 – Stump
• 757, 126, 947, 969, 942, 912 – Gnome


Monday, August 24, 2026

Whimsical Storybook by Sharon Caudle

 Hello AI Fans!

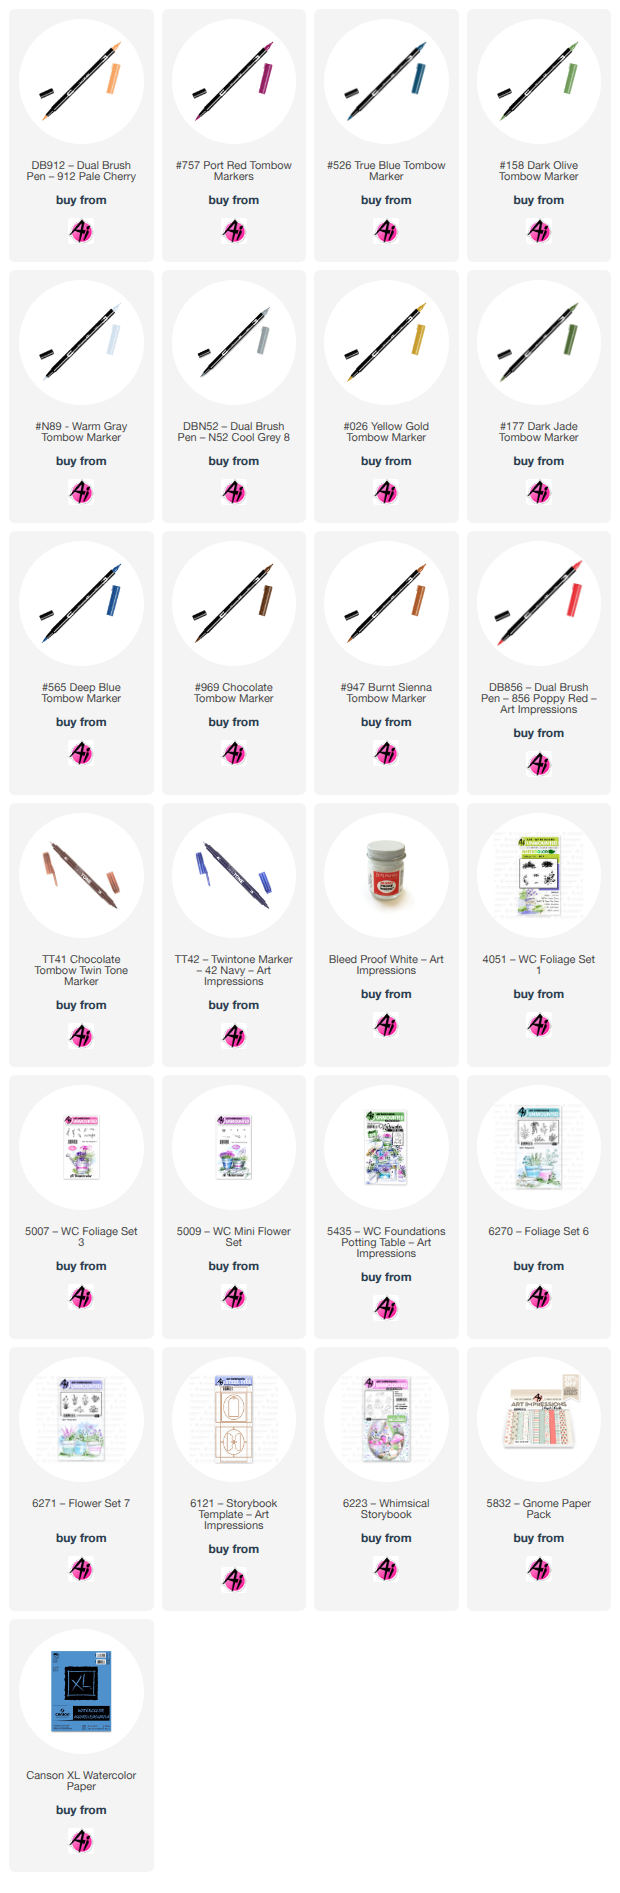
Art Impressions just released two brand new sets for the Storybook Line and I'm in love with both of them! They are soooo cute and perfect for little pieces of decor to place around the house. My post today shows you the project I created using #Whimsical Storybook. I wanted this one to actually be like a little book where you could flip the pages, so instead of using #6121 Storybook Template, I grabbed #5806 Slim Journal Template. The slim journal is perfect for doing so many different types of projects!! I stamped all the images from #6223 Whimsical Storybook Set onto a Copic friendly paper using Memento ink. The colors I used are listed below this post. After coloring and die cutting them all out, I set out to create a home for them. 


I die cut the slim journal out of cardstock and then added paper from #6205 Floral Shop PP. To make the frame around the center cutouts, I taped together two dies from #5065 Oval Double Stitched Dies and cut enough for all the pages of the journal. I thought the size of the fence from #4967 WC Fence Dies was perfect for this project!  Here's a look at the inside layers of my project. 


I added a few layers of clouds for fun. 


There's plenty of room to sign this I want to give it away as a card to someone! 


And one last look at the finished piece. 


So that's it for me today! Thanks so much for stopping by for a visit and I hope I was able to inspire you to get and use the brand new Whimsical Storybook Set #6223. Until next time - stay crafty!!


Copic markers used:

E000, 00, 11, 17, 31, 33, 35, 40, 41, 42, 43, 44, 51, 53, 55, and 57
YR20, 21, 23, 24, and 27
YG01, 03, and 05
V25 and 28
Y13, 15, and 19
G000, 82, and 85
B000 and 01
W0 and 2
C0, 1, 2, 3, 4 5, 6, and 7
R00, 20, 22, 24, and 27


Saturday, August 22, 2026

Last Days of Summer Card and Interactive Whimsical Storybook Box by Diane Mason

  Hello, and welcome back for Watercolor Weekend!


Hello, my Ai Watercolor friends and fans! I have two projects to share with you today. The first is a card featuring a darling, sleepy little girl resting in her favorite rocking chair, soaking up the sunshine and enjoying the last days of summer. The second project highlights one of the newest additions to the Storybook Box Series.

Last Days of Summer Card: 

This square card was inspired by all the kids heading back to school. I was always a little sad when Summer Break came to an end — it always seemed to fly by too quickly. This sweet little girl is nestled in her rocking chair in the garden, soaking up the sunshine and savoring those final, carefree days of summer.


Colors and Supplies Used

Paper: Canson XL Watercolor Paper

Cardstock: Purple

Patterned Paper: 5939 – Fairy Garden Paper Pack

Brushes: No. 4 round brush, No. 0 round brush

Stamps & Dies:

  • 5360 – WC Rocking Chair Set
  • 5578 – Little Angels Set
  • 5475 – Flower Set 6
  • 6271 – Flower Set 7
  • 4051 – WC Foliage Set 1
  • 6270 – Foliage Set 6
  • 6047 – Scalloped Square Dies

Ink for stamped images: Versafine Smokey Gray & N52

Tombow Dual Brush Pens: 177, 249, 555, 565, 603, 606, 910, 912, 977, 969, 772

Other: Post-It tape, Masking Paper, Dr. Ph. Martin’s Bleed Proof White, Brown TwinTone Markers

Since I knew I’d need to do some masking for this scene, I first stamped the rocking chair (5360 – WC Rocking Chair Set) and the girl (5578 – Little Angels Set) on scrap paper. This helped me see exactly where to place the masks so the girl would look naturally seated in the chair. I also left off her wings for this design. The rocking chair was inked with Versafine Smokey Gray, and the girl was selectively inked with N52. Once I had the placement figured out, I stamped the images on to Canson XL watercolor paper.

Painting:

I brushed in the sky with a watery mix of 555. For the foliage, I stamped with 177 and 249, and the flowers were stamped in 555 and 606. I used 603 for the girl’s dress and 277 for her hair and shoes. Her skin was painted with 910 and 912, with 172 added to her cheeks. The rocking chair was shaded with 565.

White highlights were added with Dr. Ph. Martin’s Bleed Proof White, and I finished the scene by adding small details where needed with a brown TwinTone marker.

I matted the painting using the largest square scalloped die (6047 – Scalloped Square Dies), cut from purple cardstock, and layered it onto a 4¼ x 4¼‑inch piece of patterned paper from the 5939 – Fairy Garden Paper Pack. The panel was then adhered to a square white card base of the same size.

Interactive Whimsical Storybook Box:

My next project features the newly released 6223 – Whimsical Storybook Set. This set includes both a fairy and a gnome that can perch on the wooden stump, and I couldn’t choose between them — so I used both and made the box interactive! I attached tiny magnets to the backs of the fairy and the gnome, as well as to the inside front and back of the box, so you can swap them out whenever you like. It’s such a fun little detail that brings the whole Storybook scene to life.

Here are all the images painted and die cut. Colors used: 679, 177, 249, 885, 847, N25, N52, 565, 555, 905, 845, 992, 977, 925,192,133, 526, 912, and 942. I used branches from 4964 – WC Branches Set for the trees and leaves from 5372 – WC Mini Foliage Set. The grass is from 4051 – WC Foliage Set 1. The images were stamped with Versafine Vintage Sepia Ink. Red, blue and brown TwinTone markers were used to add detail.

Adding the magnets:


Interactive Options (front):

Interactive Options (back):

The gnome and fairy can be attached magnetically to the back too!

The sentiment is from 5935 – Fairytale Houses Set. Patterned paper is from 5832 – Gnome Paper Pack.

I think anyone would be super excited to receive this adorable interactive Storybook Box as a gift! Reminder: Safety First - this should not be given to a small child – tiny magnets are a chocking hazard and should not be ingested!

Thank you so much for joining me for Watercolor Weekend. I hope you have enjoyed today’s projects! Until next time, Happy Painting!