Showing posts with label 5832 Gnome Paper Pack. Show all posts

Thursday, August 22, 2024

Happy Retirement by Dori Mendiola

 Happy Thursday AI Friends!

My card today was inspired by the current challenge - Keep Calm and Celebrate On!  This challenge only asks you to create and enter a card/project for any type of celebration.  How easy and fun is that?  Check out the tab above - "Bi Weekly Challenge" for details.  Hope you play along for a chance to win a free stamp set.  

Since I recently retired, I decided to create a Happy Retirement card.  This seems to be the year for many of us.  Finally!!  LOL!

I love making fun fold cards so this one is a twist on the standard easel card.  I call it the reverse easel.  Very simple to make!  Let's create the base first.  Cut a standard A2 card base (5 1/2 by 8 1/2) and score the long side at 2 1/8" and 4 1/4".  Fold at the 4 1/4 and opposite fold at the 2 1/8 to create a valley and a mountain fold towards you.  See card picture above.  For the background base, cut two from green cardstock (one - 4 1/8 x 5 3/8 and one - 2 x 5 3/8).  For the pattern paper, I used the 5832 Gnome Paper Pack and cut two pieces (one, 4 x 5 1/4 and one, 1 7/8 x 5 1/4).  At this point I mounted the pattern paper to the corresponding green base.  Before adhering these to the A2 card base, I used the 5223 bookmark die and placed the top part of the bookmark over the pattern paper, making sure to place the bookmark portion of the die underneath the pattern paper so that won't cut.    See Picture 1.


                        Picture 1:

Then, I partially cut the tab on the large green/pattern paper piece.  I want the tab to remain intact so to partial die cut you need to place your cutting mat only over the portion you wish to cut.  See picture 2.
As you can see, I did this upside down so make sure you put the cut edge of the die facing the cutting mat.  😞  Since I'm admitting my boo boos, I suggest you cut the tab before adhering the A2 card base.  As you can see in the picture, I adhered to the A2 base first.  You'll find it's easier to cut through without the A2 card base plus it won't make an indent into your card base.   

                        Picture 2:

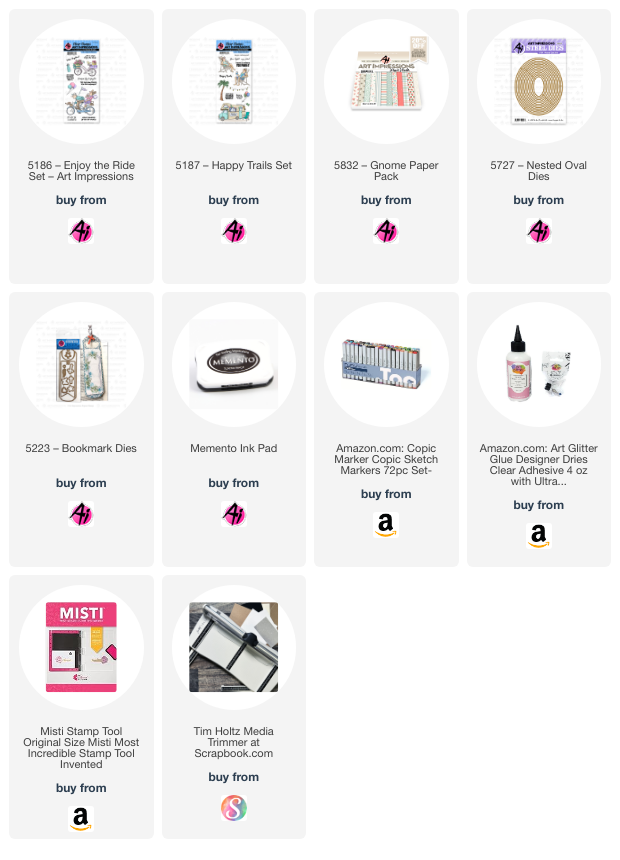
Okay, now that the base is done, let's go to the image.  I used the 5186 Enjoy the Ride stamp set.  I love this fun little couple and their dog, but I especially love the lady drinking her coffee with her feet up.  No help from her!  My husband says that is exactly why we'll never own a tandem bike.  LOL!  
He knows me too well!  

I stamped the image on copic friendly paper and colored with my copic markers listed below.  I stamped the sentiment, from the 5187 Happy Trails set, into a rounded shape by curving onto my stamping platform.  I used the two largest dies from the 5727 Nested Oval dies to cut the image and also the pink frame.  I adhered the bottom half to the folded part of the card and tucked it into the tab for display.  I added some enamel dots and a bow and it's ready to go.

I hope you enjoyed my card today and it inspired you to join the challenge.

Have a great day and keep creating!

Copics used:  E000, E00, E11, E21, E23
T0, T2, T4, T6
R20, R32, R81
BG000, BG01
G20, G21, G24


Monday, August 19, 2024

Live Simply by Sharon Caudle

 Hello AI Fans!

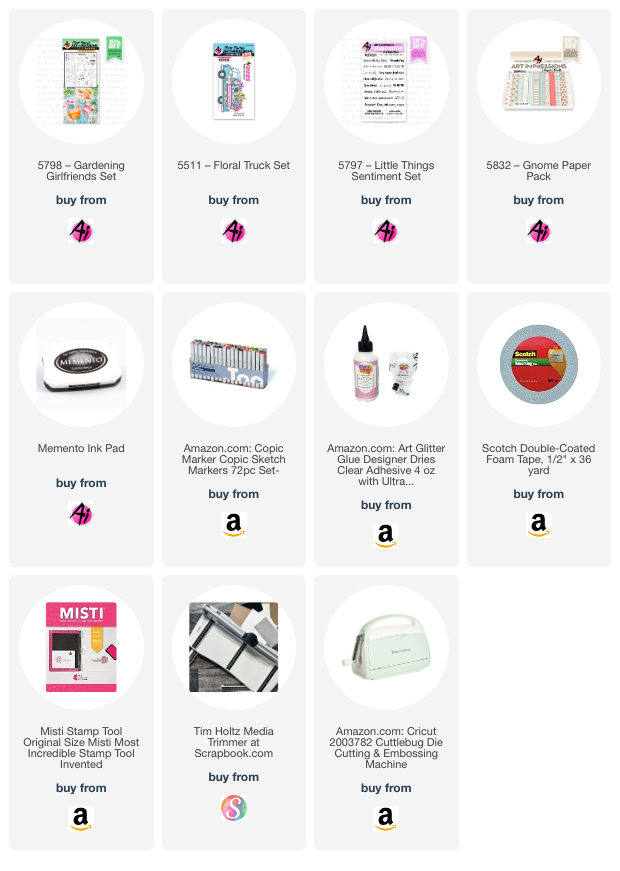
Hope you're having a good start to your week and that life is treating you well! And that's exactly what my card is for. Our current blog challenge to to Keep Calm and Celebrate On!  My card is to simply celebrate life. It features #5798 Gardening Girlfriends Set. I stamped the images onto Copic friendly paper and colored them with Copic markers which are listed below. The flowers are from #5511 Floral Truck Set and the paper is from #5832 Gnome Paper Pack and the Sentiment is from #5797 Little Things Sentiment Set. 


Thank you for stopping by for a visit today and until next time - stay crafty! 

Copics used:
E000, 00, 11, 21, 23, 51, 53, 55, 95, 97, and 99
R20, 81, 83, and 85
Y13, 17, and 23
G21 and 24
YG01 and 03


Saturday, July 20, 2024

Carry a Big Tumbler! by Janet

Hello everyone. Today I bring you a square card. It measures 4 1/2" and features the hard working, but very cool lady of the 5928-Stay Hydrated Set. The heart paper is one of the great little patterns in the 5832-Gnome Paper Pack.

To make this card, I started by stamping and coloring the lady. She's obviously a very busy lady with a HUGE tumbler to keep her going. I had some fun with her outfit by adding the vertical (and slimming, ha ha ha!) stripes in coffee colors on her shirt. A white shirt is worn over the top but I added a pink striped collar and folded sleeve trim. I stamped and colored another of the cups to add to the top of the first cup. It gives it more dimension and emphasizes the hugeness of the tumbler. Before fussy cutting the second cup out, I chose the swirl pattern and stamped it with Versamark and applied white heat embossing powder to it. I added it to the top of the first cup with foam tape.

I stamped the sentiment and heat embossed it in white to match the tumbler. I cut it and the scallop background with punches in my stash. Finally I added a wax seal and brown ribbon. I made the seal over a month ago and have been waiting for the right project to use it. I think I found it!

 Thanks for stopping by today. I hope my card gives you some ideas of your own. Please visit the store to see all the things you need for your card, journal, and tag making projects. Be sure to take a look at all the new releases while you are there. Have a great weekend!

 Janet YouTube - Blog - Facebook - Instagram - Pinterest   

Thursday, July 4, 2024

Critters Mini Trifold by Dori Mendiola

Happy Thursday AI Friends!

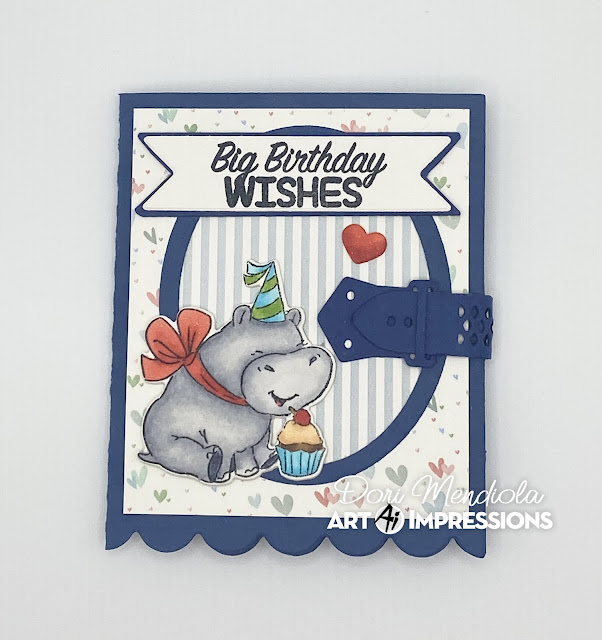
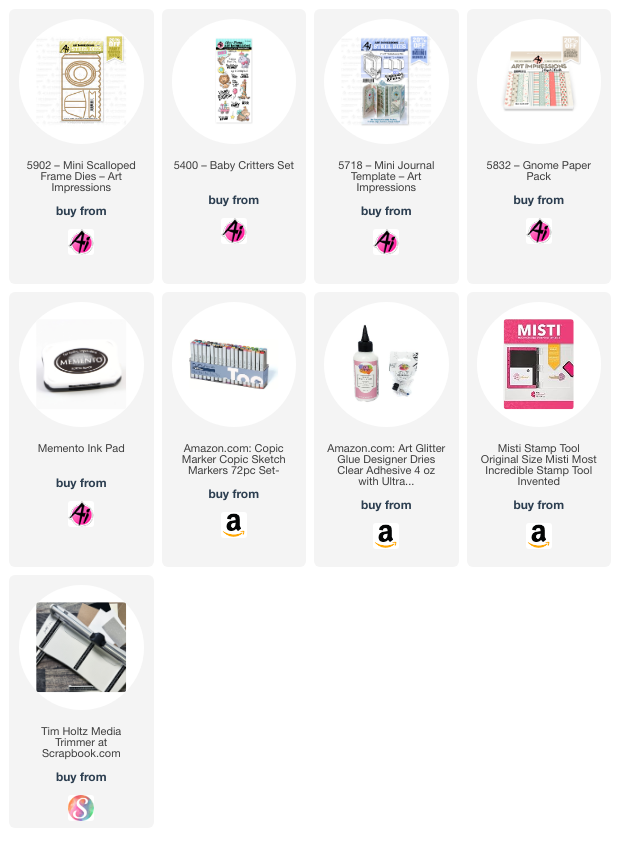
Today I wanted to share my Mini Scallop Frame Trifold.  I had soooo much fun making this and I love the way it turned out.  I used the 5902 Mini Scallop Frame die set along with the 5400 Baby Critters stamp set.  


I die cut the mini scallop frame from cardstock and then partial cut another non-tab side of the die. I matched up this partial cut with the front of the frame and cut off an edge to create the third side.  Instead of gluing the frame together, I glued the buckle from the 5718 Mini Journal Template to the tab and also the partial piece to the tab to make the trifold.  I glued the other half of the buckle to the front over the oval frames.
 
I cut an oval frame using the two larger ovals and placed over an oval die cut of striped paper from the 5832 Gnome paper pack.  I used the blue oval cut from the frame for the inside message trim.  Lastly, I cut rectangle pieces of the heart paper from the same paper pack to fit each of the trifold sides. 

I stamped all of the images from the 5400 Baby Critter stamp set with Memento black ink onto copic friendly paper.  I colored each of the images with copic markers listed below.  To add dimension, I die cut extra images to glue to the back side of the colored images.  I then adhered the images within the trifold as desired.  Lastly, I stamped the sentiment and die cut with the banner die from the Mini Scallop Frame set and adhered onto the front of the card.


 I hope you enjoyed my trifold card today.  Until next time, keep creating!


Copics used:  C00, C01, C03, C05
 B0000, B000, B00, B01, B14
E51, E53, E55, E57
Y13, Y17, YG23, YG25
R20, R22, R24


Saturday, June 29, 2024

Gnome Sweet Home Dimensional Card by Janet


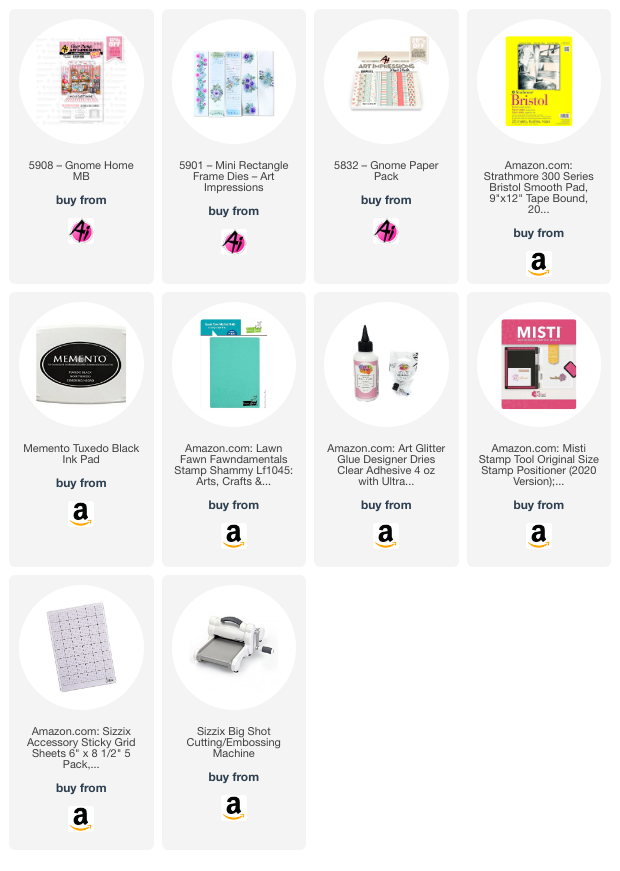
Hello and happy Saturday! Today I've got a fun little card made with the new 5901-Mini Rectangle Frame Dies. The Matchbook Series cards work really well in this frame. For mine, I used the new 5908-Gnome Home Matchbook Set. The papers come from the 5832-Gnome Paper Pack.

To make this card, I started by stamping and coloring with Karin Brushmarker Pro watercolor pens. It's been a while since I used them and it really was fun. I LOVE bright colors and this really made me happy to paint. It just makes me happy! I'm definitely going to use the Karin markers a little more regularly. Once colored, I used the dies from the matchbook set to cut out the shapes. 

The Frame Dies create the card base. To make it, I cut out the main card shape with the included die. Before I ran it through my die cutter, I placed the largest rectangle included in the set in the middle of the front so that a window was cut into it. Similarly I cut a patterned paper with hearts from the paper pack with the same window placement so it could be glued to the face of the card. I cut out a background in matching plaid and glued it in. Then I cut another piece with a mushroom pattern to put in the middle. It's a rectangle the same size as the card but I used a smaller rectangle die to cut the window in it. I placed all the pieces in layers and glued them in. I strategically placed a few pieces of foam tape behind a few pieces to make the layers stand up a little more. This card has a slight curve to it but still folds flat for mailing. The fold helps pop the layers too so you don't really need the foam tape. I just decided I liked it best that way. I added a sentiment and a couple small heart enamels. The last touch was to add the easel back made from another of the Mini Rectangle Die set so that it stands nicely on it's own. The easel also folds flat for mailing. All the dies and more are part of the 5901 Mini Rectangle Frame Die set. It's rather genius! Many of the sets beyond matchbooks can be used in this set and I look forward to playing with it more. It's a must have for your collection!

 Thanks for stopping by today. I hope my card gives you some ideas of your own. Please visit the store to see all the things you need for your card, journal, and tag making projects. Be sure to take a look at all the new releases while you are there. Have a great weekend!

 Janet YouTube - Blog - Facebook - Instagram - Pinterest 

Thursday, June 20, 2024

Golfer Dad by Dori Mendiola

 Happy Thursday Ai Friends!

I realize that Father's Day was last weekend but I wanted to share the card I made for my husband.  He likes to golf.   However, lately he isn't such a fan.  😏  I think every golfer has those days, right?

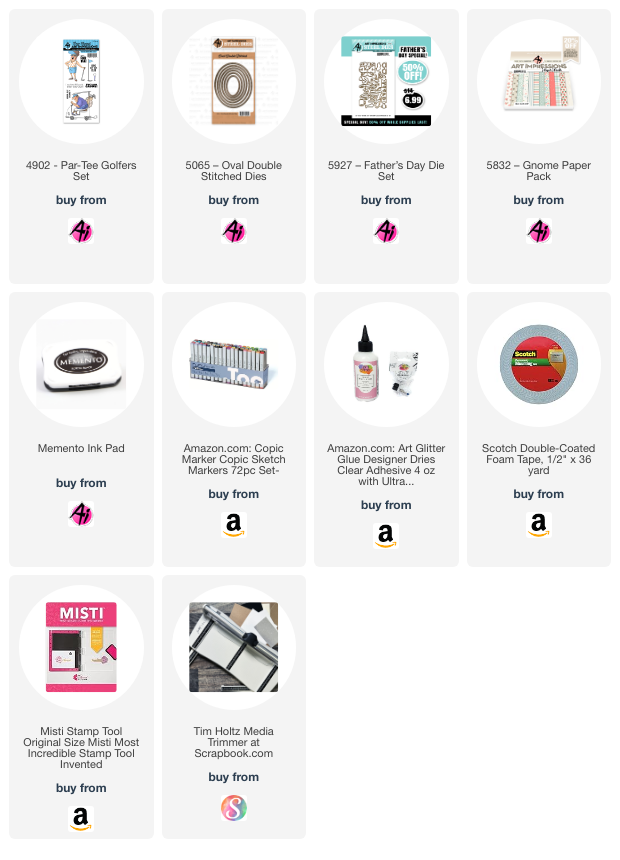
The #4902 Par-Tee Golfers has always been one of my favorite stamp sets.  I just love this golfer guy!  So, to show him off, as well as the #5927 Father's Day die set, I decided to make my card an easel card.  This Father's Day die set is on sale while supplies last, so make sure you visit the website and grab your die set today.  It's a great one and so is the Par-Tee Golfers stamp set!

Opened it looks like this:

And closed, it looks like this:

I stamped the image on copic friendly paper and colored with copic markers.  (Colors listed below) After coloring the golfer, I cut him out using the #5065 Oval Double Stitched Die.  I also cut a piece of kraft cardstock out of the same oval die to adhere to the back of the colored image to hide the copic coloring on the back side and also add strength to the colored image.  I used the #5832 Gnome paper pack for the striped background paper and also used a small piece for his hat.  The easel card is a 5 1/2 x 5 1/2 card with the front side scored at 2 3/4 and folded in half.  I then cut two 2 1/2 x 5 1/4 panels of kraft cardstock and two 2 1/4 x 5 panels of the striped pattern paper for each of the front folds.  I die cut the #1, Super Dad and the Happy Fathers Day out of the kraft cardstock.  I cut the "Dad" out of the Super Dad die cut and made the card say #1 Dad.  Easy Peasy card!

I hope you enjoyed my card today!

Have a great day!

Copics used:  

E000, E01, E11, E21, E23, E42, E43, E44

T0, T2, T4

R20, B000, B32, B34

BG90, BG93, BG96


Friday, May 17, 2024

Gnome Magnet Treat Box by Dori Mendiola

Happy Friday AI Friends!

Today I have a fun little treat (pun totally intended - LOL) that goes with the "Just For You" challenge.  Who doesn't LOVE Gnomes?  I decided to make a little gnome magnet to go with this treat box.  He's tucked away in a little pocket but can be removed to reside on the fridge, a teacher's whiteboard or in your scrapbook room on a magnetic surface.  

He's so darn cute!  


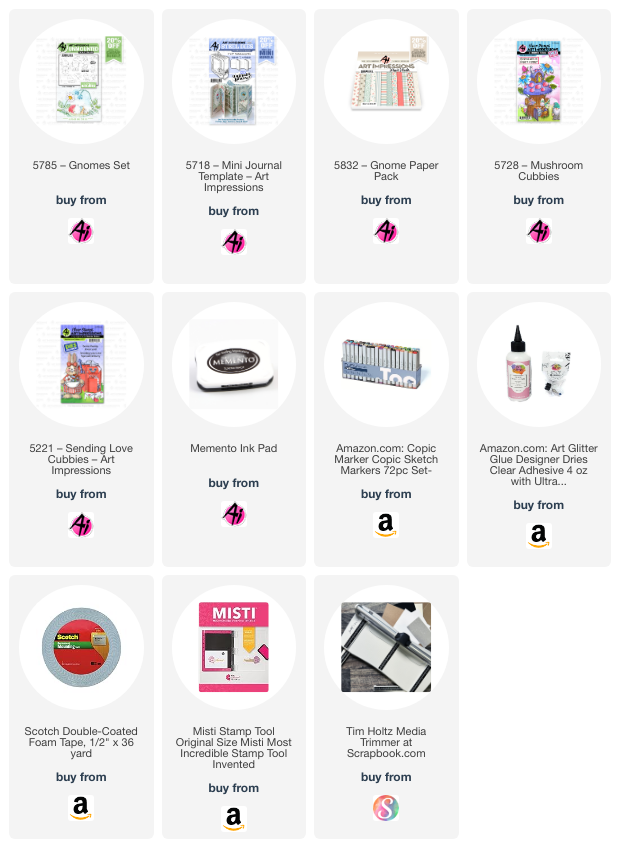
I used the Art Impressions #5832 Gnome paper pack for the treat box as well as the pocket that the gnome sits in.  The Gnome is from the #5785 Gnome set which has the matching dies.  I stamped the front only of this little gnome onto copic friendly paper and colored him with copic markers (see color list below).  After coloring the gnome, I covered him with a piece of clear packing tape to protect the coloring and make him sturdy.  I then die cut him with the coordinating dies and also cut a corresponding piece of adhesive magnet to attach to his back side.  I colored and die cut a few other images from #5728 Mushroom Cubbies and #5221 Sending Love Cubbies to decorate the pocket, which is from the #5718 Mini Journal Template set.  

Treat box:  Dimensions 5 x 1 1/4 x 1.  Use one piece of 6x6 paper.  Score (pattern facing up) at 1, 2 3/4, 3 3/4 and 5 1/2.  Turn clockwise (pattern facing to the right) and score at 1, 4 1/2 and 5 1/2.  Score each of the lines with your bone folder.  With pattern facing up, cut off the bottom right corner piece (s/b 1/2" x 1"). Then across that same row, snip each score point up to the nearest fold to create the bottom of the box when folded in.  Put glue on the pattern side right edge 1/2" piece (above the cut off corner).  Fold into a box shape and seal the glued edge inside.  Lastly fold in the slit pieces (small pieces first) then glue inside of one large piece and seal to create the bottom.

Fill the box with candies and give to a teacher, friend or just for you.   

Hope this brings you a smile!  Thanks for stopping by!
Copics used:  C00, C01, C02
E00, E02, E11, E53, E55, E57
 B91, B93, B95
R22, R24, R27 
YR21, YR23, YR24
YG03, YG17, YG63


Thursday, May 9, 2024

Just For You! Challenge #378 Week #1

 Welcome to our new challenge!

For the next two weeks we want to see what you make for someone else.

Something just for them.

We're calling it Just For You!


We want to see your Gift Card Holders and Gift Pockets, Gift Boxes and Bags, treat holders...anything that says this is Just For You!

This is perfect with graduations coming up. Or, create something for a birthday, wedding, retirement, housewarming, new baby or just because you care about someone.

Before we see what our Featured Designer Tasha has made "Just for You,"
let's see who won our Birds of a Feather challenge.

We were SO excited to see that we had a Page 2 for this challenge. We're so glad that so many of you entered. We hope you'll give our new challenge or our Guest Designer challenge a try as well.

For our Top Spot we selected Yvette Jacobs.


Please contact Leah at Feedback@artimpressions.com
to claim a free stamp set of your choice!
Also, be sure to grab our badge to display on your blog, Facebook or Instagram!

Our Lucky Random Winner was:
#7 April J.


Please contact Leah at Feedback@artimpressions.com
to claim a free stamp set of your choice!
Also, be sure to grab our badge to display on your blog, Facebook or Instagram!

-----------------------------------------------------------------------------------------------------------------------------------------------

Now let's see what Tasha has created to help inspire you.
She's our Featured Artist for this challenge and she has an amazing, Multi-Pocket Gift Card Holder to help inspire you. 


 Hi everyone! 

My "Just For You!" Challenge project is a multi-pocket gift card holder featuring the new 5811-Gift Card Pocket Dies. This gift card holder is easy to make and perfect for any occasion!

Step 1: Cut a piece of card stock to 3" x 11" 

Step 2: Score at 8-1/2", 7-3/4", 4", and 3-1/4". 

Step 3: Use the pocket base die to cut several pockets. I used four (4) for my holder, but you can cut more pockets. This holder can easily hold six (6) with gift cards.


Step 3: After you assemble the pockets, use a small circle die or punch to cut the same size hole on the back side of the pocket as shown below. This makes it super easy to pull the pockets.


Step 4: After the holes are cut, use a trimmer to even out the pockets as shown below. 


Step 5: Use the shorter side of the pocket base die to cut a piece of pattern paper. This is a great way to use scraps and it will add a pretty pattern to the inside of the card holder.


Step 6: (Optional) I used the 5780 - FB Sitting Dog stamp set to add a little doggie to the front pocket. I love how cute the doggie looks peeking over the pocket!
Step 7: To attach the pockets to each other, use liquid adhesive and only apply glue to the center of the back of each pocket. You want to be able to pull out the pockets and gluing them completely down will not allow them to extend all the way. 

Step 8: After all the pockets are connected, cover the back of the last pocket with liquid glue and attach it to the inside of the holder.


Step 9: (Optional) I used the included "Thank You" die to add a greeting to the inside of the pocket holder.  This large script lettering looks awesome against the plaid paper.

Step 10:  To add more color to the front of the holder, I attached a piece of Art Impressions heart paper paper to the front panels. I also stamped "A Gift For You" on to a layered frame and added a teal enamel heart sticker. 


Step 11: To complete the project, attach a small Velcro dot to keep the holder closed. 


I hope you enjoyed today's project and will join in the "Just For You!" Challenge.

Have a wonderful day!
Fabulous job Tasha!

✻ Please make a new card or handmade crafty creation. You can make any item you wish; this is not limited to cards!

✻ Limit two submissions per person. You will receive extra votes if you use Art Impressions stamps!
 ✻Please include your first name and last initial on your submission.
✻We love to comment on your entries, but keep in mind if you use a private group or a platform that you need to sign up for, we probably won't be able to.
✻ The Ai Challenge is open to everyone, international submissions are welcome!
✻ Include a link back to the Ai Blog or grab our button on the top right of our sidebar!
✻ Share the Ai love if you can, by clicking and commenting on your fellow crafters.
✻ Make sure to get your link up by the deadline to enter your creations.
✻ Good luck and happy stamping! 
You are invited to the Inlinkz link party!

Click here to enter

Friday, May 3, 2024

Thinking of You Card by Tasha!

 Happy Friday Ai Friends!

Tasha here sharing a new card inspired by the current "Birds of a Feather" Challenge. My card features the swans from the new KH5820-My Favorite Birds Set. This set includes several different bird stamps, but I love swans and could not wait to use it on a project.

I started by stamping the swan couple on to white card stock and used masking paper to cover the images before creating the background. To make sure I had a crisp line, I used purple tape across the card so I wouldn't get any ink on the bottom. 

For the water, I used two shades of blue Distress Oxide Ink and a white gel pen to add a water-like detail around the birds; I love gel pens! After the color for the water was done, I used two shades of ink to make a colorful sky. The glow around the swans is so pretty!

Lastly, I stamped the "Thinking of You" greeting from the 5797 - Little Things Sentiment Set and added some white splatter to the sky. I also attached layers of black paper, gold glitter paper, heart pattern paper, and a pink enamel heart to complete the card.

I hope you enjoyed todays card and are having a great day!