
Hello Ai fans, and welcome to our new challenge...
GLITTER ALL THE WAY!

Glittery paper, embellishments, gel pens, gems...whatever.
These don't need to be cards either. Whatever crafty
project you create is just fine, as long as you use something from Art Impressions.
Our Featured Designer this week is Janet and you're going to LOVE her
sparkly Frankenstein Puppet card.
sparkly Frankenstein Puppet card.
After you check out her card, be sure to scroll down to see who won our
Bats in the Belfry challenge.
Bats in the Belfry challenge.

Hi Ai fans. It's my turn to make the feature card for Ai's latest blog challenge. It's #439, Glitter All The Way. This one is certainly up my alley as I love putting shine into my creations. The challenge gives me a legit reason to do what I love doing anyway! My project features the adorable 6120-Frankenstein Puppet Set and it's perfect for a youngster in your life.
I enjoy making interactive cards. This one has a pop and twist interior. When opened, four panels pop out with four Halloween scenes and sentiments! The top and bottom panels can be used to write your message to your lucky recipient. Overall, it's a lot of creepy fun.

To start the card, I first created the Frankenstein puppet. The die set includes all the pieces shown on the back of the package. It's easy to put him together because the packaging clearly explains each die and what part of Franky it is. I used green and black cardstock for his face, hands, and boots. His clothing is made from 5605-Halloween Journal Paper Pack. I used a touch of black glitter paper for his jacket lapels. I used an acrylic paint pen to draw his eyebrows, nose and mouth following the sample shown on Frankie's packaging. You can either draw his eyes or use googly eyes like I did. I also added some some green chalk to his cheeks.

The next step was to cut a 4" x 10" piece of purple metallic cardstock. I scored the long side at the 5" mark to create a 4" x 5" top fold card base.
The next thing was creating the pop-up mechanism for the inside. This is the piece that makes the panels lay flat when the card is closed and pop up and out when it's opened.


Place glue on the triangle shaped on both sides of the mechanism. Glue one side in first with the point flush and centered with the card fold. Apply glue to the remaining triangle as shown and close the card and hold until the glue sets. Give this a little time as it needs to be fully set before you try to open and close the card and the mechanism.

Next, cut another piece of metallic cardstock 2 1/4" x 5 1/4." Fold it in half, then fold each half again to create four folded panels in a valley, mountain, valley, mountain formation. This will be glued on to the mechanism after it's decorated.
To make the panels, I used a few die sets. I utilized 5604-Halloween Journal Die Set (pictured) and 5769-Halloween FB Fence Set. I also used a tag die from 5543-Journal Template Dies Set and cut four tags out of patterned papers from the Halloween paper pack.

Below you can see the four tags I decorated using the Halloween die sets. Once done, I added bakers twine in the tag loops and glued each of them to one of the four pop-up panels. Then I applied glue to the mechanism in the areas as shown and attached the pop-up panel to it. Do not apply glue in any other places on the mechanism or it won't open or shut correctly.

Hold the pieces in place until the glue sets. Make sure you've given time for the glue to fully adhere because there is a lot of pressure on the glued areas when folding and unfolding the card and you don't want it to release because the glue hasn't dried enough.
The next step was using dies to create the black and white panels that I glued on the top and bottom interior of the card. These look like they were torn but they are created with a die in the 5769-Halloween FB Fence Set.

Here's a close-up of the first two panels with the decorated tags.

And here are close-ups of the last two panels.

With the interior done, I worked on the front of the card. First I cut a piece of black cardstock 3 1/2" by 4 1/2." I cut strips of various heights from patterned cardstock in the 5605-Halloween Journal Paper Pack and in purple glitter cardstock. I glued them at an angle and then trimmed the edges flush with the cardstock edges. Then I glued the panel on to another mat of silver glitter cardstock sized 3 3/4" x 4 3/4." The layered panel was then adhered to the front of the purple card base shown on the left. Once that was complete, I glued Frankie to the finished card front.

The final step was to stamp, color and cut out Frank's candy bucket and candies from 5601-Halloween Accessory Set. Then I staged them in Frankie's hands. Don't you love his googly eyes?

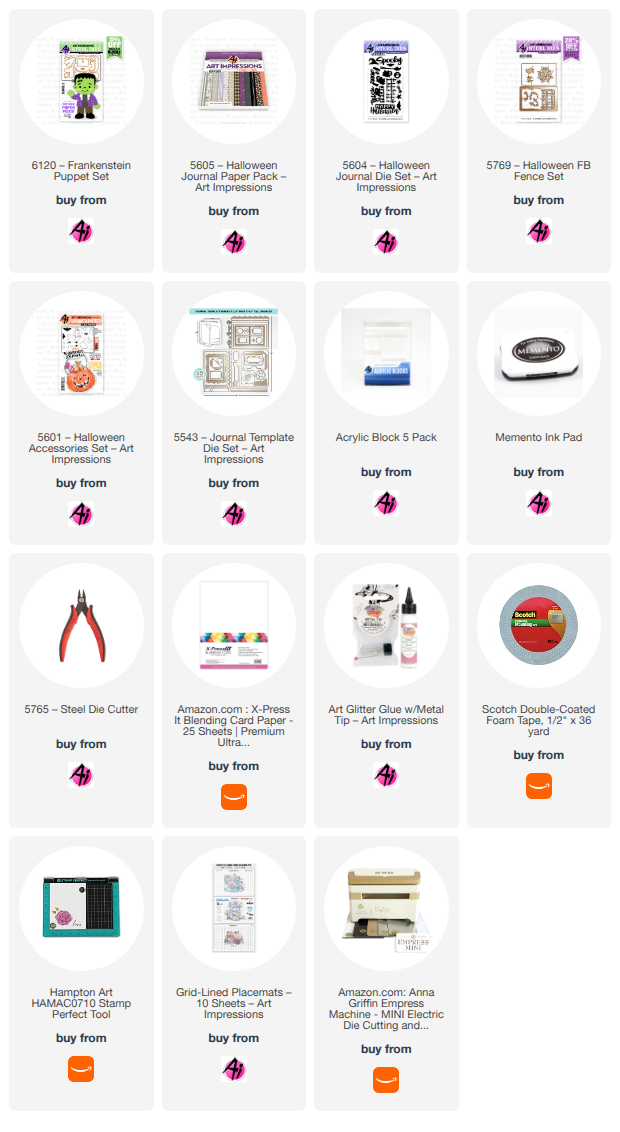
Thanks for joining me today for the Glitter All The Way Challenge. We love seeing all your cards and remember, all you need is something with glitter - a lot or a little meets the criteria. Please visit the Ai store to pick up your favorite stamps, dies, papers, accessories, and supplies, including all the supplies I used in this card.
Happy Crafting!

Thank you so much Janet!!
That card is incredibly cute and the puppet series is so fun!
Now, let's see who won our Bats in the Belfry challenge.
Our Top Spot went to:
Dawn W.
How phenomenal is her version of Phil in a Halloween setting?!


Be sure to grab and share your Top Spot banner and then,
please contact Leah at Feedback@artimpressions.com
to claim your free stamp set.
Our Lucky Random Winner was #1
Cathlyn A.
Cathlyn A.


Please contact Leah at Feedback@artimpressions.com
to claim your free stamp set.
Congratulations to our winners!
Here are the rules...
✻ Please make a new card or handmade crafty creation using either stamps, dies and or designer paper from Art Impressions. You can make any item you wish; this is not limited to cards! (unless specified)
✻ Limit two submissions per person.
✻Top Spot Winner and Lucky Random Winner each receive a free
stamp set from Art Impressions
✻Please include your first name and last initial on your submission. You may include your entire last name, but it's not necessary.
✻We love to comment on your entries, but keep in mind if you use a private group or a platform that you need to sign up for, we probably won't be able to.
✻ The Ai Challenge is open to everyone, international submissions are welcome!
✻ Include a link back to the Ai Blog or grab our button on the top right of our sidebar!
✻ Share the Ai love if you can, by clicking and commenting on your fellow crafters.
✻ Make sure to get your link up by the deadline to enter your creations.
✻ Good luck and happy stamping!
No comments:
Post a Comment