Happy November, everyone! How many of you have started your Christmas cards?

For my November project, I chose a winter scene with a snowman! I love snowmen and Art Impressions has so many cute ones to choose from. I started with a scene that I’ve used for simple Christmas cards in the past as my background. I cut a hill and a 1.5” circle out of scrap paper for a mask. Using my mask, I traced the hill in pencil on my watercolor paper (approx. 4.5” wide x 3” tall) and then positioned the circle for my sun and traced that in pencil as well. Using a small paintbrush, I traced the line for the hill in African Violet (#86) for my snow line. I then painted the sun in Brilliant Yellow (#43), keeping the darker color near the bottom. Once that had dried, I erased my pencil lines. Next, I added my sky using Sky Blue (#75), keeping the color along my snow line and around the sun.

Next, I added the trees using Pine Green (#72). For this, I used the mask I had created to protect the area below my hill. I wanted a group of them in the valley I had created, so I stamped them in repeat, inking once and stamping twice for light and dark. I used a stamp positioner for placement, but you could just stamp them randomly. You want to stamp them different heights. On the opposite side, I only stamped three trees and then positioned one lone tree on the hill in front of the sun. I then touched my brush to each bough to bring out the color.
I had stamped a few snowmen on mixed media paper using Pumice Stone Distress ink. I then used my dies and a mask to line it up and cut them out. I started by adding the shadows on the snowman around the edges of his face with Brownish Grey (#40). I continued under the bottom of his jacket and along the edges of his legs and feet. On the very bottom of his left foot, I used a little African violet for the shadow. Next, I added color to his carrot nose with Pumpkin #87). I used the fine tip to carefully darken along the bottom. I also added really faint cheeks with Bubble Gum (#67).
I painted the jacket next in Pine Green (#72) and used Taupe (#84) for the buttons. For the scarf and ear muffs, I used Steel Blue (#17). I decided to make the gloves headband for the ear muffs Taupe (#84) as well. The ornaments were next using Cherry (#65) and I try to save red for last when I paint. I painted the top of the ornament Brownish Grey (#40) so they would look silver and darkened the top for a shadow with my fine tip. It didn’t look silver enough, so I then painted it again with “Oyster” Radiant Pearls to give it some shimmer. I painted the antlers with a mixture of Burnt Umber(#54) and Sepia (#45).
Once everything was dry, I used Dr PH Martin’s Bleed Proof White to add snow along my hill line above the blue shadow I had painted at the beginning. I then added snow to the trees and dots in the sky for snowflakes. I added a highlight to each of the red ornaments and stripes to the bottom of the scarf. With my fine point, I added polka dots to the mittens in Taupe (#84) and plaid to the pocket of the coat in Pine Green (#72). I darkened the band on the gloves in Taupe (#84) with my fine point and added detail for the buttons. I also darkened the eyes and eyebrows with the fine tip in Brownish Grey (#40).
Next, I die cut my background with a rectangle die from the Journal Template Set. I added “Winter Wonderland” by stamping it in VersaMark ink with my Stamp Platform and heat embossing it with Ranger Liquid Platinum embossing powder. I framed it with some grey blue card stock and then mounted it on a dark blue snowflake embossed panel. All of this was then glued to a white card base. The last step was to position and glue my snowman in the foreground. I wanted him to be slightly in front of the scene. Once he was glued in place, I then added foreground with white dots using Dr PH Martin’s Bleed Proof White.
I still use Marvy Le Plume markers for my projects. Most of these can be converted to Tombow colors, but choose colors that work for you. These just happen to be some of my go-to colors for any project I work on. (Here is the link for the Tombow conversion chart: https://www.artimpressions.com/shop/art-impressions-most-loved-color-conversion-chart/)

If you don’t have this snowman set, you really should consider it. Each of the three snowmen are truly “Joyful.” As always, I hope you will give this project a try! Don’t forget to enter the Monthly Challenge for a chance to win a free stamp set of your choice!
I am truly thankful for my family, friends, and the blessings that surround us. I hope that each of you have a wonderful Thanksgiving with your families!
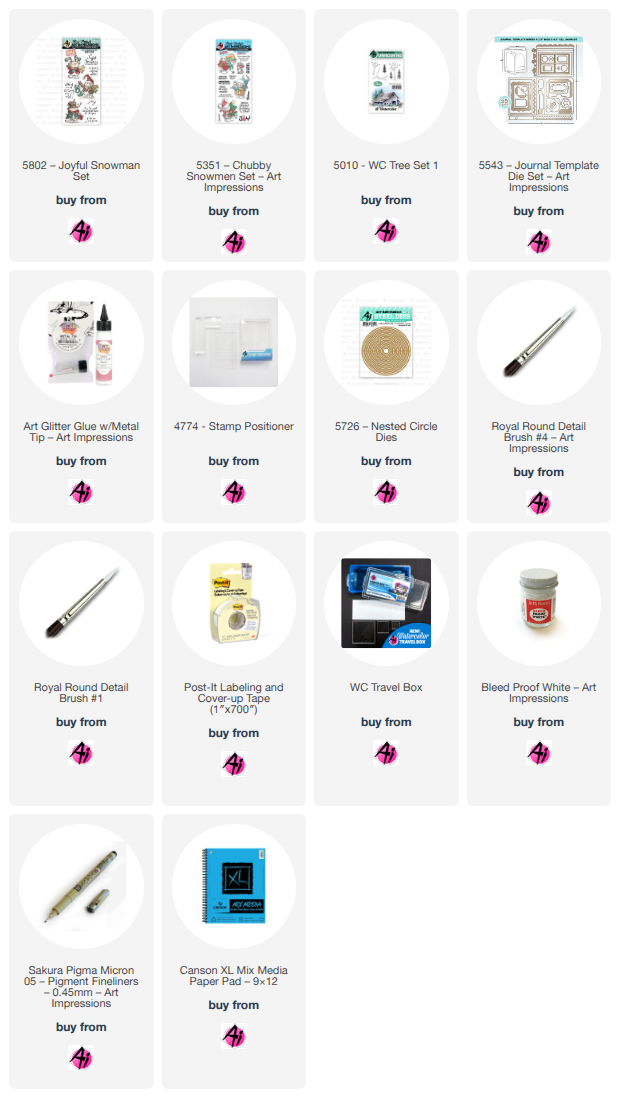
Accessories:
Pumice Stone Distress Ink
Marvy Markers
VersaMark Ink Pad
Ranger Platinum Embossing Powder
Radiant Pearls – Oyster
Tonic Studios Stamping Platform
What a fun, festive Christmas card!
Thank you Debbie.
Now let's see who won our October Monthly challenge.


#4 came up first so Ginger Mc. wins a free stamp set from Art Impressions
Please contact Leah at
Feedback@artimpressions.com
to claim your free stamp set.
Kathy and Kathy (LOL!)