Showing posts with label 6120 Frankenstein Puppet. Show all posts

Saturday, July 18, 2026

Summerween Challenge - Franky by Janet

Are you loving the latest Ai Challenge? It's Summerween. Clever isn't it? I have had the 6120 -  Frankenstein Puppet in my stash but ordered it after the season so I was thrilled to have a reason to break this one out and give it a try. This is a die set and is easy to put together, especially since the packaging indicates what all the pieces are so there's no guesswork.

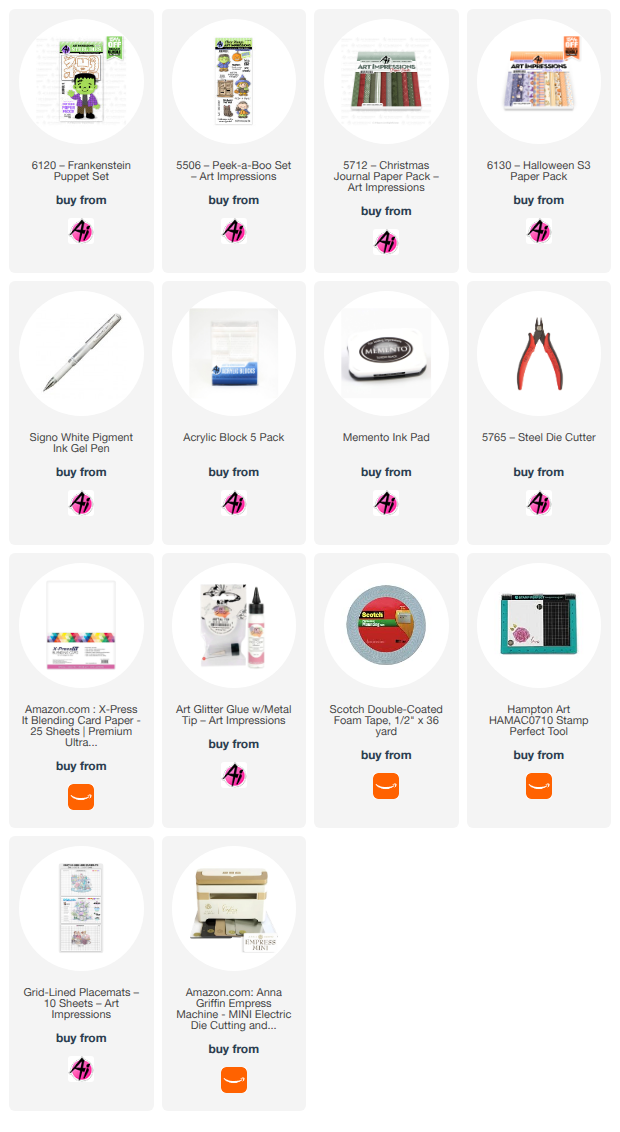
I used a couple of paper packs for this card. The background is a piece from the 6130 Halloween S3 PP. The diamond pattern also comes from this pack. Frank's pants, jacket, shoes and shirt are all cut from the 5712 - Christmas Journal PP. This just shows again how packs that are seasonally themed can be used for so many other occasions and themes. This is because the papers always have several neutrally themed patterns that can be used for anything.

I cut the diamond paper from 5062 - Rounded Rectangle A2 Double Stitched Dies. I matted that on top of my card base which was covered in the pumpkin patterned paper that I had inked the edges on before attaching to the card base. Then I placed an orange mat and the diamond patterned mat on top of that. 

Next I cut and pieced together Franky. This was super fast and easy to do. I used a black paint pen to draw the facial details and a little bit of Signo White Gel Pen on the eyes. I added some green blush with chalk and he was ready! I traced around him on a piece of clear vellum and cut it out. I mounted Franky on foam tape and attached him to the vellum. Then that was glued on to the front of the card. For a sentiment, I stamped the phrase from the 5506 - Peek A Boo Set and trimmed it out with a border before attaching it to Franky. Finally, I added four green glitter enamel dots to two of the corners. 

I hope you enjoyed seeing a little Halloween in the middle of summer! I invite you to join in and enter your Summerween creation in the Ai Challenge. Just link it up to the post for it. Easy peasy! 

Thanks for stopping by and spending time with me and Art Impressions today. Please visit the Ai store to pick up your favorite stamps, dies, papers, accessories, and supplies. 

Happy Crafting!


Tuesday, February 3, 2026

Frank just wants to be loved...by Reneé Matarese

Love, Love Me Do!

I just love the new challenge from Art Impressions.
Anything love related. Pink or red, Valentines, whatever.
I fell in love with the 6120 – Frankenstein Puppet Set when Art Impressions released him for Halloween. But, why should poor Frank be confined to just one holiday? He needs a little love too.


I feel like he could be compared to Elvis, a "greaser" from Grease or maybe a Beatle.
Anyway, I love him! Hind sight is 20/20. As I'm posting this, I'm wishing I put a little bouquet of flowers in his hand. Oh well, maybe next year.


Tuesday, December 23, 2025

Renee's Top 10 of 2025

 Hello Ai fans!

2025 is rapidly coming to a close so it's time for me to share my Top 10
Design Team projects of the year.


These are in no particular order.

Keep your head up


Birdie Betty-Ready for a Round!


Snowflake JOY card for LEON


I Find You Ribbiting


Warmest Wishes


It's been another wonderful year at Art Impressions!

I've enjoyed every new stamp, die, paper, paint and more!

Check back in the new year for new challenges and a new feature!

Thursday, October 30, 2025

Spider Mania by Dori Mendiola

 Happy Thursday AI Friends!

Halloween was never one of my favorite holidays, but now, with all of these cute sets from Art Impressions, it has climbed the ladder to second.  I can't seem to stop creating with all of these images and since Halloween is tomorrow, I thought I'd share two projects.  Both of these were inspired by the "Along Came A Spider" challenge currently on the blog.  

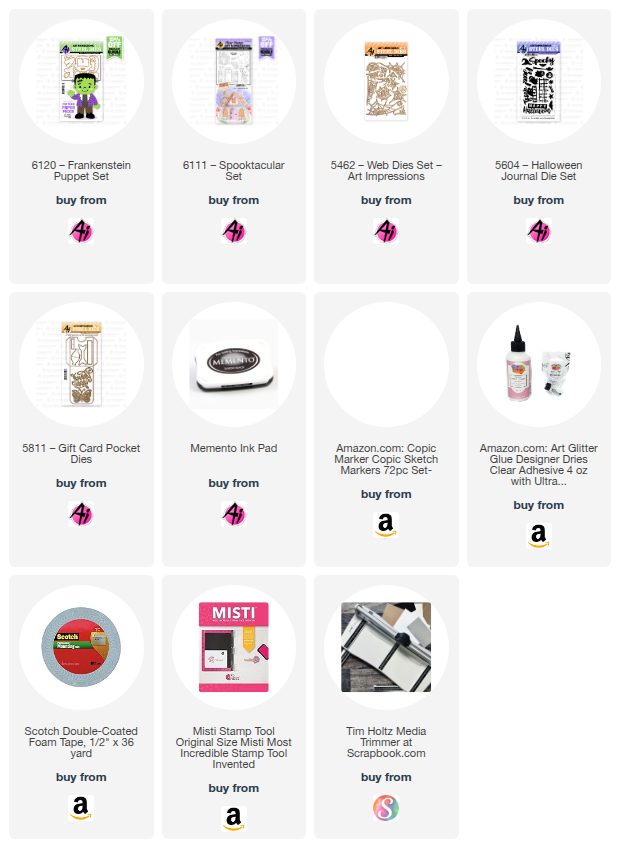
The card below is a pop up frame card.  Push the sides in and the frame pop ups and away from Frankie.  When the sides are pulled out, the card flattens to a 5 x 7 for mailing.  Frankie's legs also wiggle side to side as well as his eyes.  I used #6120 - Frankenstein Puppet, #5604 - Halloween Journal dies and the #5462 - Web dies set to create this card plus added a few sets of wiggle eyes (check out the little spidey on the left).  LOL!

To make the card, cut two pieces of 5 x 7" black cardstock.  Score both pieces at 1/2", 1", 6" and 6 1/2" along the 7" side.  For the front, fold one piece as valley, mountain, mountain and valley (V,M,M,V) and the back piece, fold just the opposite (M,V,V,M).  I recommend you decorate both pieces at this point so you can lay flat to glue decorations securely.  You can place Frankie inside the frame at the end to position him just where you want him.  Glue the front and back ends together with the 1/2" tabs on each side.

To make the dancing Frankie, cut all the pieces with the puppet die set, but hold up on the pants.  You will need to cut an extra shirt piece from scrap cardstock.  For the pants, you will need to stretch his legs.  To do this, you will need to partial cut the legs up to the top of his pants by placing your cutting plate just under the cut line (of the top of the pants) so that it won't cut.  Then free hand cut an additional 1/2" for the top of the pants (see below).  I also rounded off the top corners of his pants.  At the top of the pants (about 1/4" from top), punch a hole big enough for a pop dot to fit through freely.  You may have to snip a little bit of the hole to make it larger.  Place one side of the pop dot to the back of his shirt.  Place the pants with the hole over the pop dot.  Place foam tape onto the back side of the shirt and adhere the extra shirt piece onto the pop dot and foam tape.  The legs should move freely at this point.  Decorate the rest of your Frankie as you desire.  Glue him into place inside your frame card.


To make the ghost tag, I used the scraps from my card above.  This is always a great way to use up your scraps and create an extra tag, card, etc. for future.   I die cut the ghost, spider and banner from the #6111 - Spooktacular set.  The bow from the #5811 - Gift card pocket die set and the spider webs from the #5604 - Halloween Journal die set.  I inked the ghost with black distress oxide ink and glued to a black die cut ghost to use as a shadow.  Decorated her with cute little wiggle eyes and a bow on top of her head.  I die cut two banners (one in black for the shadow) and wrote the word "spider!" across the white one.  I cut the bow from scraps and attached a spider web behind it and placed a spider on top.  Added a few more webs, spiders, ribbon on top and a little red heart and the tag is finished.


I hope you enjoyed my projects today.  Thanks for stopping by!  
Make sure to enter the challenge and show us your creation of "Along Came A Spider".  We love to see what you create!!

Happy Halloween!  Keep on Creating!
Copics used:  R20, T0, T2, T4

Tuesday, October 21, 2025

Meet the Bride of Frankenstein! by Reneé Matarese

Every Frankenstein needs a bride, so...
without further adieu...
Meet the Bride of Frankenstein! 


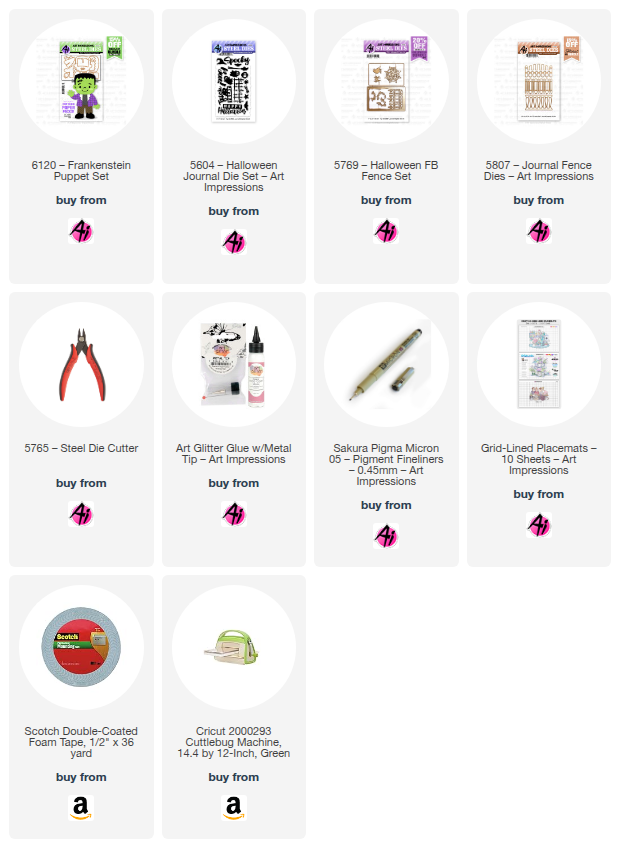
I used the 6120 – Frankenstein Puppet dies and altered them to 
create his "lovely" bride.


I used Frank's pants for sleeves on her gown and then I freehand cut
the rest of her dress. The stitches for the face served to "stitch" up the seams
and create a V on her neckline and stitches on her shoes.
I originally was planning to go with a unibrow that I cut from Frank's
hair but I changed my mind and just drew some on.


The stripe in her hair was cut from Frank's hair.


The fence is from 5807 – Journal Fence Dies

I just love this Frankenstein Puppet so much!
I enjoy that you can personalize him (even turning him into a girl)
and each time he turns out so different.

Here are two other versions that I made.


Thursday, October 16, 2025

Keep it Contained Challenge Week #2

 Hello Ai fans and welcome to week #2 of
our Keep it Contained challenge.

We want to see your handmade projects featuring a container.
These can be (but are not limited to) 
Stamped or die cut containers like vases, pots, crates, barrels etc., repurposed containers, handmade gift boxes, bags, treat holders or gift card holders. Anything that can "contain" something.

Last week, Tasha was our Featured Artist and she shared this adorable
Halloween Gift Card Holder.


Now, as we begin our second week of the challenge, we can share
the other wonderful projects from the rest of our Design Team members.

First up we have Dori.


Janet created this beautiful box using:


Lynn has a fun treat bag.


I created a repurposed vase.


Sharon made this treat box and wobble card.


Our Design Teams work so hard to bring you amazing inspiration week after week.
We hope that you'll join them in creating something for our challenge.
You might be the one to win a free stamp set!

--------------------------------------------------------------------------------------------------------------------

Be sure to enter your creation for the chance to win a free stamp set from Art Impressions. 
We award one Top Spot and one Lucky Random Winner, and each will win a free stamp set from Art Impressions.

✻ Please make a new card or handmade crafty creation. You can make any item you wish; this is not limited to cards! (unless specified)

✻ Limit two submissions per person.
 ✻Please include your first name and last initial on your submission. You may include your entire last name, but it's not necessary.
✻We love to comment on your entries, but keep in mind if you use a private group or a platform that you need to sign up for, we probably won't be able to.
✻ The Ai Challenge is open to everyone, international submissions are welcome!
✻ Include a link back to the Ai Blog or grab our button on the top right of our sidebar!
✻ Share the Ai love if you can, by clicking and commenting on your fellow crafters.
✻ Make sure to get your link up by the deadline to enter your creations.
✻ Good luck and happy stamping! 

You are invited to the Inlinkz link party!

Bobble Head Frankenstein Coffin Treat Box by Dori Mendiola

 Happy Thursday AI Friends!

We have a new challenge going on called "Keep It Contained".  What a fun challenge!  Make sure to check out the tab above for details.

I created a coffin shaped treat box with the new #6120 - Frankenstein Puppet.   His head bobbles so he will entertain the little ones while they enjoy the goodies inside.  😀  


I stamped a few images onto copic friendly paper with Memento black ink and colored with my copic markers listed below.  I punched a hole into the top of several of them and linked them onto a chain and created a dangle for the opening of the treat box.  I tied a "webbie" yarn to the top link and attached to the ghost eyelet at the treat box opening.


The Frankenstein puppet is sooo fun to create and decorate with scrap pieces of paper.  I two-tiered the pants by offsetting slightly and created a small patch piece onto his pants for an added touch.  For his face, I die cut the scar several times and glued into a mouth shape and then added some wiggle eyes for movement when his head bobbles.  To create the bobble head, I die cut an extra shirt piece and extended the length to attach the mini wobble base.  Then I attached the head to the top of the wobble. 

To create the coffin box, I followed a youtube tutorial by Positively Papercraft called "Spooky Coffin Treat Box".  I tweaked her measurements a bit but her tutorial works great and is fairly simple.


Wobble head video:


Thanks for checking out the blog today!  Hope you join in the AI Bi-weekly challenge for a chance to win a free stamp set of your choice.  

Have a great day and keep creating!

          Copics used:  T0, T2, T4, T6
G43, G46 
Y13, Y17 
YR12, YR14, YR16, YR18