Showing posts with label 5604 Halloween Journal Die Set. Show all posts

Wednesday, July 29, 2026

Three Sheets To The Wind by Dori Mendiola

 Happy Wednesday AI Friends!

I have another "Summerween" card for you.  Today is your last day to enter the blog challenge so make sure you enter for a chance to win a free stamp set of your choice.

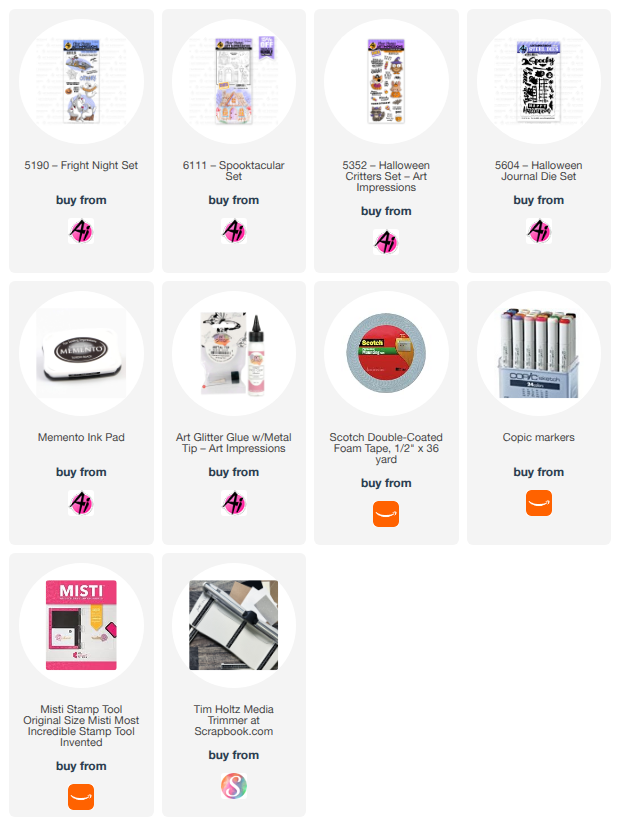
The image for my card is from the #5190 - Fright Night set, one of my favorite sets.  These ghosts look like they are just having a fabulous time!  šŸ˜€


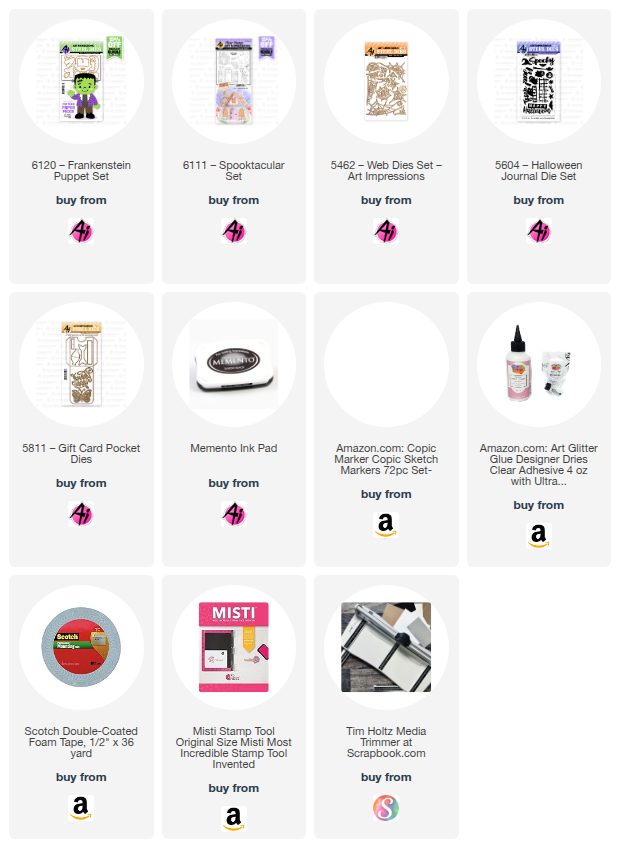
I stamped the images onto copic friendly paper with Memento black ink and colored with my copic markers listed below.  The pumpkin is from the #6111 - Spooktacular set and comes with the coordinating die so makes for a great accessory to the card.  The spider and bat are from the #5604 - Halloween Journal die set.

Thanks for joining me today!  Have a wonderful day!
Keep Creating!
Copics used:  T0, T2, T6     B000
E42, E44, E47
YR20, YR21, YR23
R22, R24, R37, R56
RV32, RV34
G40, G43, G46

Tuesday, July 21, 2026

Happy Fright Night by ReneƩ Matarese

Hello Ai fans!
Welcome to Summerween.

That's when we celebrate Halloween in summer time.


I love Halloween and was excited for this challenge.
I chose to make a tunnel card with three layers.
Though it's a little difficult to see in the photos, my blue
and orange paper are glittery.


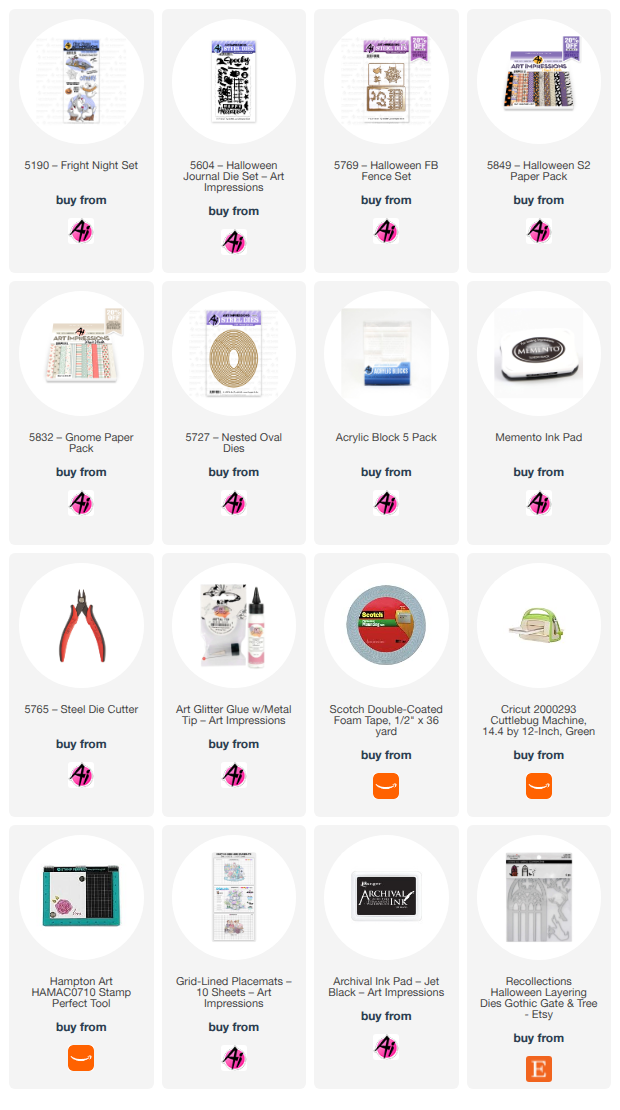
All of the fun little dies are from Art Impressions with the exception of the tree/branch.
I love the character that these dies add to a card. I decorated the inside of my card as 
well. The ovals were left from what I cut out of on the front of the card and the bats
were the piece I trimmed off. I love not wasting anything.


Monday, November 3, 2025

One more Halloween card by Sharon Caudle

 Hello AI Fans!


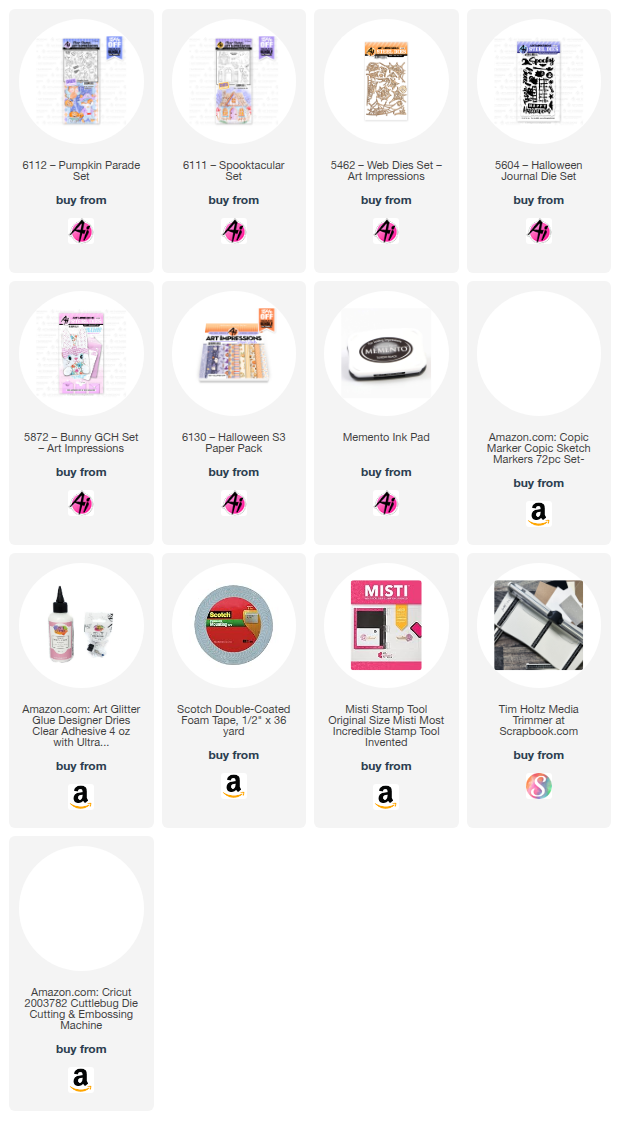
I know Halloween is over, but I have just one more card I want to show you that goes along with our current challenge "Along Came a Spider". You still have a couple of days to enter! I used a fun fold for this one and had it where the right side overlaps the middle panel. I started out with #6112 Pumpkin Parade and colored up the adorable mouse pushing his cart full of candy down the street. To create this very easy scene, I grabbed a piece of paper from #6130 Halloween S3 PP and then used a piece of gray cardstock and drew in sidewalk lines. Couldn't get any easier. Of course I added a little spider hanging from his web up in the corner. Just a little note that I used a set of magnets from Amazon to hold the top down. It's just enough pull to keep it closed until you want to open it up. I simply glued one under the paper of the top flap, and the other one under the paper of the middle flap. It works like a charm!! 


When you open the front flap, it unveils a couple more spiderwebs and a spider with googly eyes. LOL! I just love those little ghosts from #5604 Halloween Journal Die Set. There are so many fun dies in that!! 


Once you open up the final flap, you get to see the cute girl ghost in all her glory telling you how Spook-tacular you are!! She is from #6111 Spooktacular Set, and I got the idea for the bow on her hear from my Bestie Dori! She has so many fangtastic ideas!! Since I wasn't going to use the ghost as a pop up, I just fussy cut it out so it wouldn't have the score lines for the pop up. It was super simple to cut it out. 


So that's it for me today! I hope you grab your paper and glue and play along with our challenge. You just might win a free set of your choice from Art Impressions!! Thanks so much for stopping by for a visit and until next time - stay crafty!!


Thursday, October 30, 2025

Spider Mania by Dori Mendiola

 Happy Thursday AI Friends!

Halloween was never one of my favorite holidays, but now, with all of these cute sets from Art Impressions, it has climbed the ladder to second.  I can't seem to stop creating with all of these images and since Halloween is tomorrow, I thought I'd share two projects.  Both of these were inspired by the "Along Came A Spider" challenge currently on the blog.  

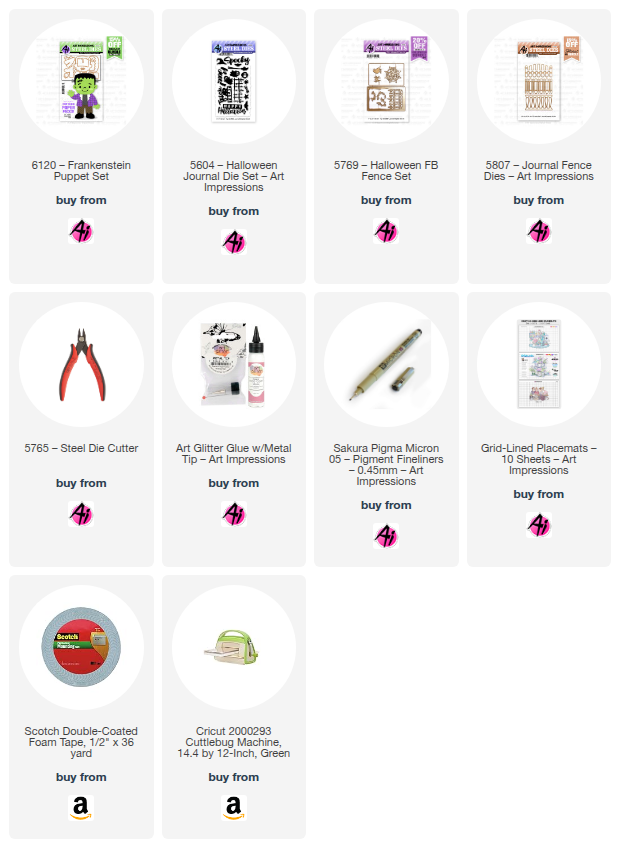
The card below is a pop up frame card.  Push the sides in and the frame pop ups and away from Frankie.  When the sides are pulled out, the card flattens to a 5 x 7 for mailing.  Frankie's legs also wiggle side to side as well as his eyes.  I used #6120 - Frankenstein Puppet, #5604 - Halloween Journal dies and the #5462 - Web dies set to create this card plus added a few sets of wiggle eyes (check out the little spidey on the left).  LOL!

To make the card, cut two pieces of 5 x 7" black cardstock.  Score both pieces at 1/2", 1", 6" and 6 1/2" along the 7" side.  For the front, fold one piece as valley, mountain, mountain and valley (V,M,M,V) and the back piece, fold just the opposite (M,V,V,M).  I recommend you decorate both pieces at this point so you can lay flat to glue decorations securely.  You can place Frankie inside the frame at the end to position him just where you want him.  Glue the front and back ends together with the 1/2" tabs on each side.

To make the dancing Frankie, cut all the pieces with the puppet die set, but hold up on the pants.  You will need to cut an extra shirt piece from scrap cardstock.  For the pants, you will need to stretch his legs.  To do this, you will need to partial cut the legs up to the top of his pants by placing your cutting plate just under the cut line (of the top of the pants) so that it won't cut.  Then free hand cut an additional 1/2" for the top of the pants (see below).  I also rounded off the top corners of his pants.  At the top of the pants (about 1/4" from top), punch a hole big enough for a pop dot to fit through freely.  You may have to snip a little bit of the hole to make it larger.  Place one side of the pop dot to the back of his shirt.  Place the pants with the hole over the pop dot.  Place foam tape onto the back side of the shirt and adhere the extra shirt piece onto the pop dot and foam tape.  The legs should move freely at this point.  Decorate the rest of your Frankie as you desire.  Glue him into place inside your frame card.


To make the ghost tag, I used the scraps from my card above.  This is always a great way to use up your scraps and create an extra tag, card, etc. for future.   I die cut the ghost, spider and banner from the #6111 - Spooktacular set.  The bow from the #5811 - Gift card pocket die set and the spider webs from the #5604 - Halloween Journal die set.  I inked the ghost with black distress oxide ink and glued to a black die cut ghost to use as a shadow.  Decorated her with cute little wiggle eyes and a bow on top of her head.  I die cut two banners (one in black for the shadow) and wrote the word "spider!" across the white one.  I cut the bow from scraps and attached a spider web behind it and placed a spider on top.  Added a few more webs, spiders, ribbon on top and a little red heart and the tag is finished.


I hope you enjoyed my projects today.  Thanks for stopping by!  
Make sure to enter the challenge and show us your creation of "Along Came A Spider".  We love to see what you create!!

Happy Halloween!  Keep on Creating!
Copics used:  R20, T0, T2, T4

Monday, October 27, 2025

Trick or Treat by Sharon Caudle

 Hello AI Fans!! 

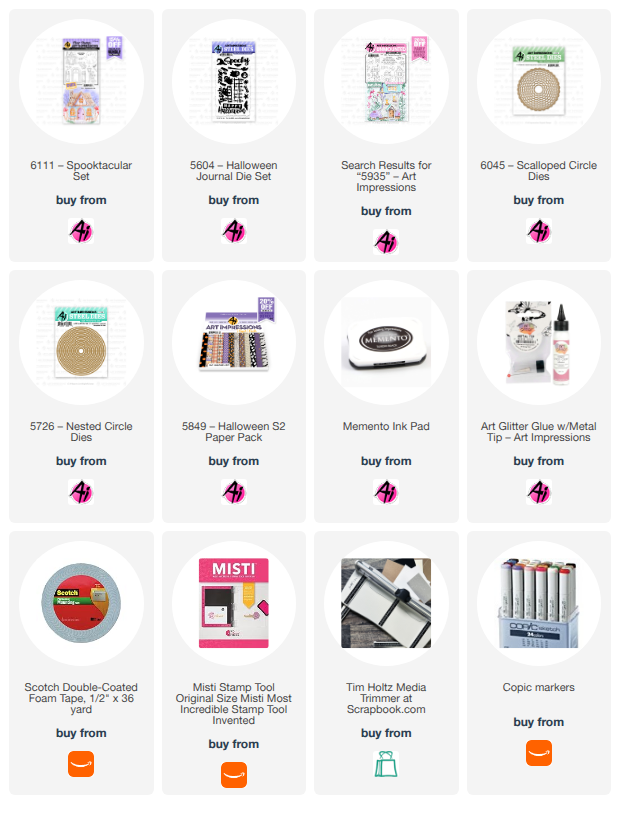
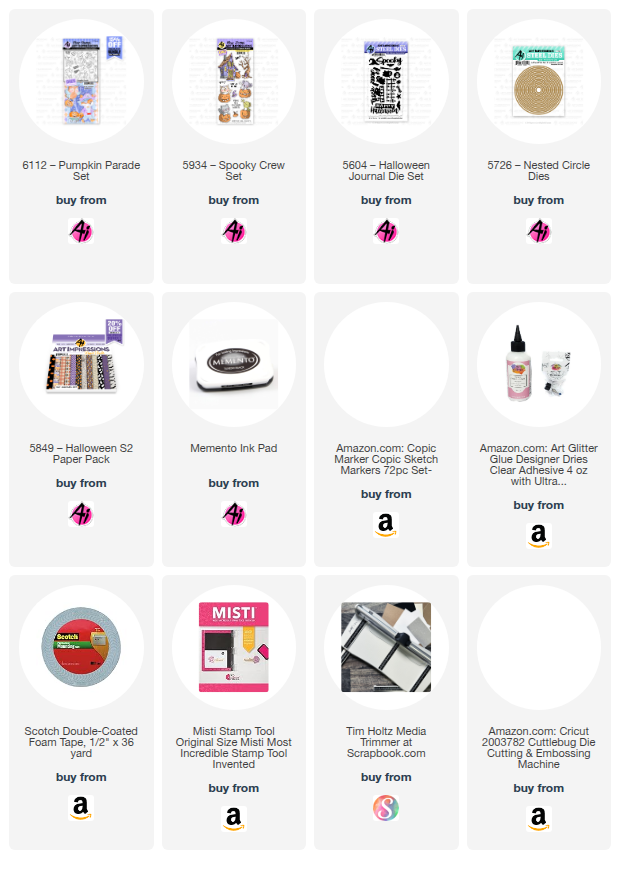
BOO!! Did I scare you? LOL! Halloween is such a fun time of year! I watch spooky tv shows all month long! I've got a fun card to show you today that features the new #6112 Pumpkin Parade and a couple older sets as well. That cute house is from #5934 Spooky Crew Set and the fun ghosts and bat are from #5604 Halloween Journal Die Set. I stamped the images onto a Copic friendly cardstock and then colored them up. I truly do love having the dies to cut the pieces out so it makes it so easy to create a scene like this! The fence in front of the house is also from the Halloween Journal Die Set. For the sidewalk, I just took a scrap piece of gray cardstock and drew in some lines. SUPER easy and grounds our little Trick or Treating fox as he makes his way down the street. For the moon, I simple cut out a piece of cardstock using #5726 Nested Circle Dies. 


So that's it for me today! Thanks so much for stopping by for a visit and I hope to see you again soon! Until next time - stay crafty!!


Tuesday, October 21, 2025

Meet the Bride of Frankenstein! by ReneƩ Matarese

Every Frankenstein needs a bride, so...
without further adieu...
Meet the Bride of Frankenstein! 


I used the 6120 – Frankenstein Puppet dies and altered them to 
create his "lovely" bride.


I used Frank's pants for sleeves on her gown and then I freehand cut
the rest of her dress. The stitches for the face served to "stitch" up the seams
and create a V on her neckline and stitches on her shoes.
I originally was planning to go with a unibrow that I cut from Frank's
hair but I changed my mind and just drew some on.


The stripe in her hair was cut from Frank's hair.


The fence is from 5807 – Journal Fence Dies

I just love this Frankenstein Puppet so much!
I enjoy that you can personalize him (even turning him into a girl)
and each time he turns out so different.

Here are two other versions that I made.


Sunday, October 19, 2025

Pumpkin Parade Matchbook Fun Fold Card and Treat Box by Diane Mason

Hello, and welcome back for Watercolor Weekend! 

Spooky season is here, and Halloween crafting is in full swing with a delightful duo of watercolor projects featuring Art Impressions Sets 6112 – Pumpkin Parade, 6111 – Spooktacular Set, 5604 – Halloween Journal Die Set, and 5805 – Mini Journal Box Dies. This matchbook fun fold card and coordinating treat box are sure to bring a smile to the recipient!

A handmade card and a box

AI-generated content may be incorrect.

Pirate Fox Matchbook Fun Fold Card:

We all love the adorable little Art Impressions matchbook designs that Bonnie has created for us, but for this card, I decided to take things up a notch and create a larger matchbook-style card using the newly released 6112 – Pumpkin Parade Set. The trick-or-treating critters from this set are absolutely adorable!

A card with a fox and a pumpkin

AI-generated content may be incorrect.

Lately, I’ve noticed a lot of online designers making matchbook cards. So of course, I had to try making one too! My card was inspired by Patti Dolan’s (#pspapercrafts) YouTube tutorial. There were many other tutorials to choose from, but I liked hers the best. She even has a link at the end of her tutorial to download a project sheet that includes all the steps and measurements.

A card with a cartoon of a fox

AI-generated content may be incorrect.

This sweet little pirate fox was so much fun to paint. It wouldn’t be Halloween without a splash of orange, purple, and black! I stamped the fox image onto Canson XL watercolor paper inked with Ranger Pebble Beach Archival Ink.

Here is a list of colors I used for this card:

Fox:

  • 947 (head, ears, hands, feet, and tail)
  • 990 (white fur on face)
  • 856 and 837 (bandana and sash)
  • N25 (pirate hat, eye patch, pants, and shirt stripes)
  • 565 (jacket)

Pumpkin Wagon:

  • 993, 933, and 925 (pumpkin), 177 (stem)
  • 977 and 969 (cart and wheels)
  • N25 (handle)

Background and Foreground:

  • 565 (background), shimmery gold and white dots (Gansai Tambi Starry Colors)
  • 565/969 mix, and 565 (foreground)

Once I had my little pirate fox done, I painted the background in a watery mix of 565. When dry, I added starry-like dots with shimmery gold and white paint from the Gansai Tambi Starry Colors palette. For the foreground I mixed 565 and 969 and brushed under the cart and fox. I added a little more 565 to darken the shadow of the cart and fox. For texture, I added a few tiny dots of the 565/969 mix. I painted the teeth white using our friend, Dr. Ph. Martin’s Bleed Proof White. To refine some of the details, I used a brown or black TwinTone marker.

A stapler and a picture of a cat

AI-generated content may be incorrect.

To construct the card, I followed the instructions from the tutorial. The spiderweb background paper is from 5849 – Halloween S2 Paper Pack. I die-cut and matted the image using nested arches dies and mounted it to the card front with foam tape. I used a tiny attacher stapler to staple the bottom flap of the matchbook (making sure the front flap didn’t get stapled). I faced the back of the staples to front, which then is covered with the patterned paper strip.

A card with a purple and white background

AI-generated content may be incorrect.

For the inside of the card, I stamped the sentiment from 5934 – Spooky Crew Set in purple (636) onto white cardstock. The Trick or Treat and Happy Halloween embellishments were die-cut from orange and black cardstock using dies from 5604 – Halloween Journal Die Set. I inlayed the orange and black interior pieces for added interest.

This sweet little matchbook fun fold card is strikingly cute (sorry, I just couldn’t resist - lol!

Halloween Treat Box:

A mouse and pumpkins on a box

AI-generated content may be incorrect.

Who doesn’t love a little sweet Halloween treat? Treat boxes are made easy using the 5805 – Mini Journal Box Dies (of course, it also makes a nice box to store mini journals in too!) For the image on top of the treat box, I inked the trick-or-treating pumpkin mouse from (6112) in Ranger Pebble Beach Archival Ink and stamped on to watercolor paper. The “Trick or Treat” sentiment was inked with Versafine Onyx Black Ink.

Here is a list of colors I used for this treat box:

Mouse:

  • N57 (head, tail, hands and feet)
  • N57 and a touch of 856 (interior of ear, and cheeks)
  • 992 (pants)
  • 526 (shirt sleeve)
  • 993, 933, and 925 (pumpkin costume, hat, and pumpkin pail)
  • 173, 177 (collar and stem)

Pumpkin Treat Cart:

  • 993, 933, and 925 (pumpkin)
  • 947 (cart handle)
  • N25 (wheels), 177 (wheel caps)

Candy:

  • 025, 993, 933, 925, and 565 (candy corn)
  • 173, 177, 933, 925, 636, and 565 (wrapped candy twist)
  • 526,173, and 177 (blue and green gummy worm)
  • 856, 933 (red and orange gummy worm)

Shadow under mouse and treat cart:

  • 969/565 watery mix

To refine some of the details, I used a brown or black TwinTone marker.

A box with a picture of a mouse and pumpkins

AI-generated content may be incorrect.

I die-cut the box from dot embossed orange cardstock using 5604 – Halloween Journal Die and assembled the box. I cut the watercolor image to fit the top of the box and adhered with double sided tape. I also painted another candy corn and wrapped candy twist, die-cut and attached to the flap of the box. I added a hook and loop fastener (5967) to the flap to keep the lid closed.

A white paper with colorful drawings on it

AI-generated content may be incorrect.

For the box interior, I created my own patterned paper by randomly stamping the candy stamps (993, 933, 173, 526, and 636). The sentiments from (6112 and 5934) were inked with 636. I cut the patterned paper into two pieces to line the interior lid and bottom of the box.

A candy in a box

AI-generated content may be incorrect.    A candy in a box

AI-generated content may be incorrect.

BOO! There is a spooky-cute pop-up surprise inside, along with a treat! The delightful pop-up ghost is such a cute surprise feature. The ghost image and pop-up die is from (6111). The ghost is quick and simple to paint. I inked the ghost and flag with Versafine Onyx Black Ink and stamped onto Canson XL Mix Media Paper. I used this because it’s thinner and easier to fold the pop-up. 

I used 565 for the shading on the ghost and 856 for the cheeks. The flag was painted with 933, 925 and the stick with 947. I attached the flag with glue to the ghost’s hand and folded the ghost and applied adhesive to the head portion only. I lined up the fold with the crease of the lid. To allow the ghost to pop-up when the box is opened; I attached a mini glue dot to the underside of the bottom edge of the ghost, placed the candy in the box, folded up the ghost, and shut the lid. The glue dot attached to the candy, and when opened – the ghost pops up! How fun is that?

A box with a ghost cut out of it

AI-generated content may be incorrect.

When the candy is gone, a sweet sentiment remains for the recipient!

A box with a cartoon character on it

AI-generated content may be incorrect.

That’s all for now—thanks so much for stopping by for Watercolor Weekend! I hope you enjoyed today’s Halloween projects. I can’t wait to see what you make!

Until next time, Happy Halloween and Happy Painting!