Showing posts with label 5186-Enjoy the Ride Set. Show all posts

Sunday, August 24, 2025

Fall and Christmas cards by Jami Steiger


Wow! I can't believe it is August already! I am ready for cool days and nights. I love the holidays and look forward to making cards and decorating my home.


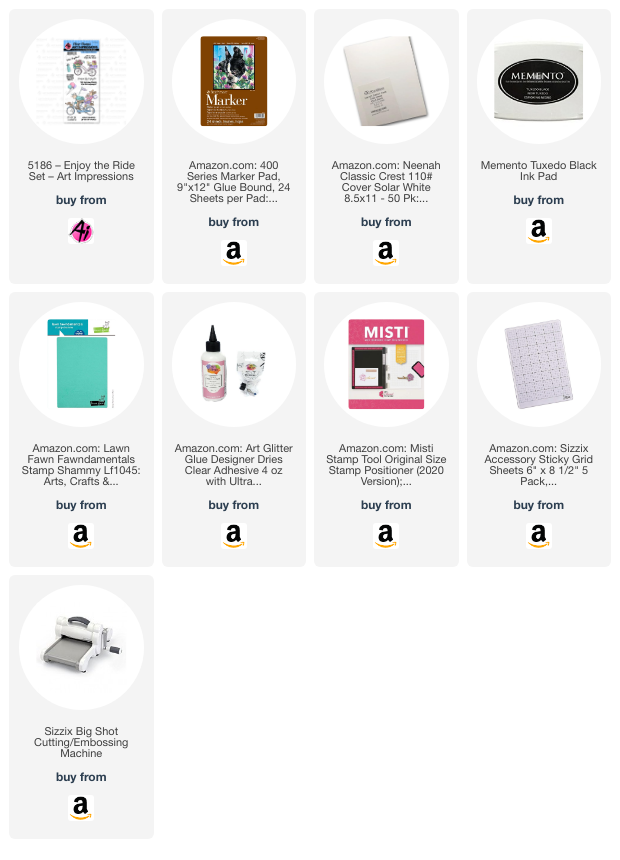
My first card has a fall theme. For this card, I started by stamping the bicycle from set 5186—Enjoy the Ride—and then created a mask for the bike to stamp the tree behind it. When I stamped the bike, I did not stamp the bow on top of the package, so I could change the gift box into a basket and add a pumpkin. For the bow on the front of the bicycle, I used Winsor & Newton gold ink. I stamped a few pumpkins in the foreground to add depth. For final touches, I added a jute knot and popped up the sentiment from the same stamp set. I used paper from the 5973-Fall S2 paper pack.

Tombow markers used:  452, 565, 837, 098, 977, N55, 312,  N35, 993, 946, 177, 992


____________________

For my second card, I couldn't resist painting a vintage Christmas tree! I love the Christmas colors of the 1950s. 

This was an easy card because it only required three stamp sets. I started by stamping a pot from set 4870 - WC Ornate Containers. For the container I stamped, I didn't color the entire stamp, so the container would fit better with the tree. After stamping the container, I lightly drew some lines with a pencil to create a base for where I wanted to stamp the fir branches from set 4960 - WC Fir Trees. I stamped a few branches to get an idea of the shape, then used drawing gum to paint the ornaments where I wanted them on the tree. This allows you to watercolor without affecting the ornaments until you remove the gum and hand-paint them. I used Winsor & Newton gold ink at the top of the ornaments to give them a hanger for the tree. To add shimmer to the ornaments, I used a clear Wink of Stella pen.
 Next, I used Dr. Ph. Martin's bleed-proof white to add highlights and snow to the tree. I then splattered some green and pink ink onto the card. I die-cut the tree into an oval and glued it onto paper from the 6036 - Easter Bunny paper pack. I added a few buttons and a bow to finish the vintage look. 

Tombow Markers used:  565, 772, 526, 969, 312, 177


Saturday, November 9, 2024

Enjoy the Ride - 50th Anniversary Card

Hello everyone!  A couple that I know well is celebrating their 50th wedding anniversary and I wanted to make them something that was fun and casual because that's the kind of people they are. This is guaranteed to be different from any other card they receive. It features a fun-loving couple from the 5186-Enjoy the Ride Set. I created an extra large and exaggerated picket fence background for this card. On top of that is an elongated number 50 that I cut with my Cricut machine. Don't you think the fence and gold number look great as the backdrop to the biking couple? It really reminds me of a scene that might be in an animated movie.

This is a 5 x 7 card. It has an acetate panel in it which provides a clear background for the picket fence. The fence was made free hand and then embossed with a woodgrain embossing folder before being glued in in place. Next was a quick design of the extra large number 50 which I cut out on the Cricut. I glued this on top of the fence. I cut out a grass border with my Cricut and layered that on top of the fifty. The next step was to stamp, color, and cut out the couple on the bike. I mounted it with foam tape at the base of the card on top of the grass layer. I also colored and cut out the balloons and mounted them with foam tape behind the bike.

I stamped the sentiments next and used punches to cut them out. I applied them on the card and added two small gold glitter enamel dots to each one. The last steps were to make a double bow in gold ribbon and attach it to the card. I also added a cream and gold purchased flower to the front. 

  I can't wait to give this card to my friends for their special anniversary. I think they are going to love it! I hope you do too.

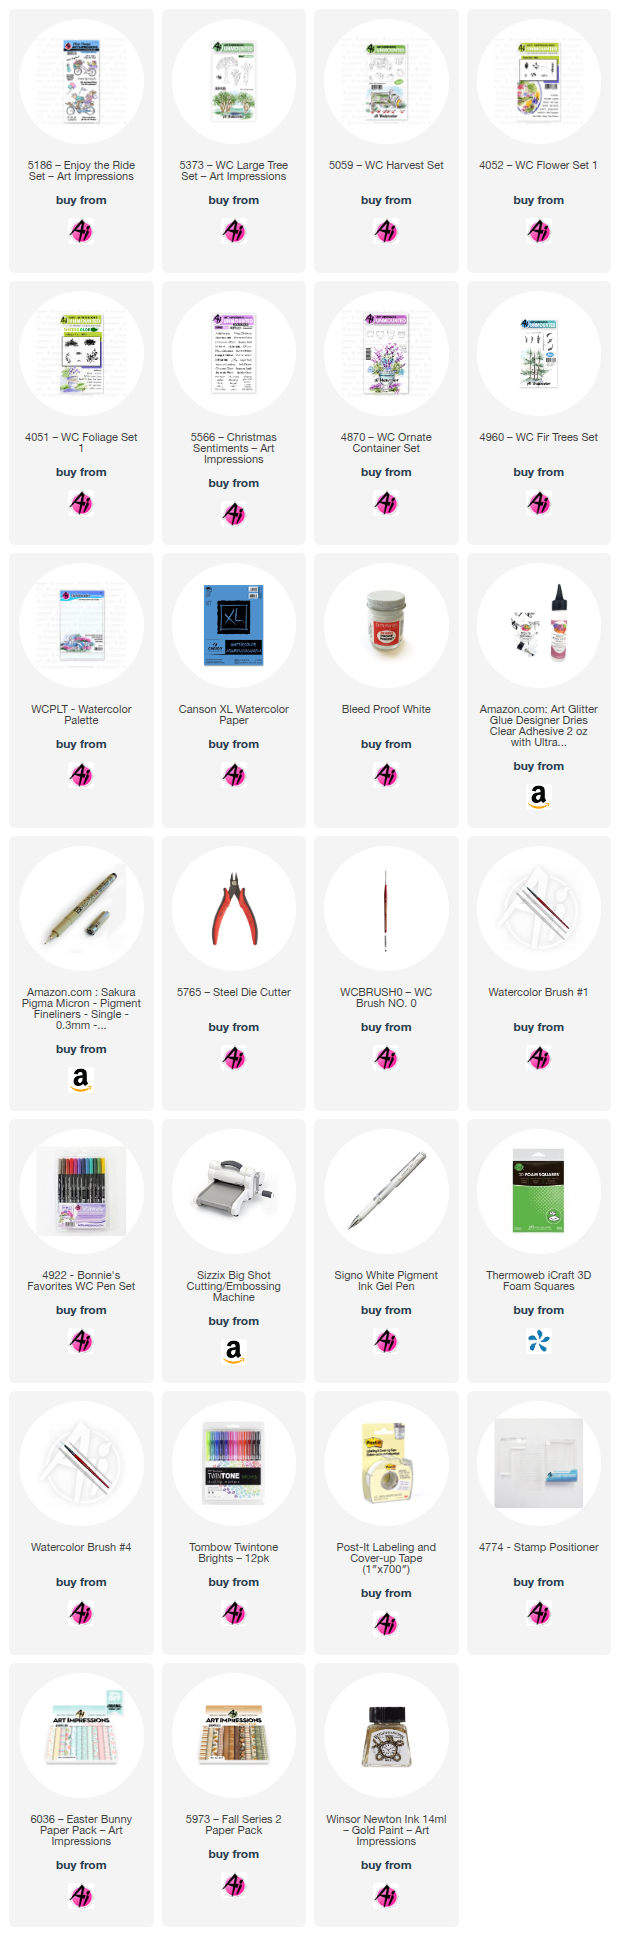
Thanks so much for joining me here at the blog today. Please visit the Ai store for the sets I used and all the things you need for your card, journal, and tag making projects. Happy creating!

Janet YouTube - Blog - Facebook - Instagram - Pinterest