Showing posts with label Jami Steiger. Show all posts

Sunday, August 24, 2025

Fall and Christmas cards by Jami Steiger


Wow! I can't believe it is August already! I am ready for cool days and nights. I love the holidays and look forward to making cards and decorating my home.


My first card has a fall theme. For this card, I started by stamping the bicycle from set 5186—Enjoy the Ride—and then created a mask for the bike to stamp the tree behind it. When I stamped the bike, I did not stamp the bow on top of the package, so I could change the gift box into a basket and add a pumpkin. For the bow on the front of the bicycle, I used Winsor & Newton gold ink. I stamped a few pumpkins in the foreground to add depth. For final touches, I added a jute knot and popped up the sentiment from the same stamp set. I used paper from the 5973-Fall S2 paper pack.

Tombow markers used:  452, 565, 837, 098, 977, N55, 312,  N35, 993, 946, 177, 992


____________________

For my second card, I couldn't resist painting a vintage Christmas tree! I love the Christmas colors of the 1950s. 

This was an easy card because it only required three stamp sets. I started by stamping a pot from set 4870 - WC Ornate Containers. For the container I stamped, I didn't color the entire stamp, so the container would fit better with the tree. After stamping the container, I lightly drew some lines with a pencil to create a base for where I wanted to stamp the fir branches from set 4960 - WC Fir Trees. I stamped a few branches to get an idea of the shape, then used drawing gum to paint the ornaments where I wanted them on the tree. This allows you to watercolor without affecting the ornaments until you remove the gum and hand-paint them. I used Winsor & Newton gold ink at the top of the ornaments to give them a hanger for the tree. To add shimmer to the ornaments, I used a clear Wink of Stella pen.
 Next, I used Dr. Ph. Martin's bleed-proof white to add highlights and snow to the tree. I then splattered some green and pink ink onto the card. I die-cut the tree into an oval and glued it onto paper from the 6036 - Easter Bunny paper pack. I added a few buttons and a bow to finish the vintage look. 

Tombow Markers used:  565, 772, 526, 969, 312, 177


Sunday, July 27, 2025

Christmas in July with Jami Steiger


Good morning, Watercolor friends!  It’s time for more creativity.  

This month, I am having Christmas in July!  The Woodland Critter set 5953 is adorable for so many projects.  I started by making a frame using the Mini Scalloped Frame Dies 5902.  I stamped the squirrel with Tombow markers 565 and 969, stamping off twice.  I watercolored the stamped image using the following Tombow markers: 856, 565, 969, 177, 526, 977, 947, N65, N75, N65, 772 and 025. (I used the same markers on both of my projects.)  After allowing the painting to dry, I added Dr. Ph Martin’s white to the cup of hot chocolate for the whipped cream and added highlights.  I used the Winter Woodland paper pack for the frame.


____________________


For my second project I made my first slimline card.  

The card base is cut 7” x 8 1/2” and scored at 3 1/2”.   I used cream-colored card stock for the base. After stamping my images onto watercolor paper, I painted each image and die-cut it out.  I found a frame die in my stash that I believed would perfectly match the look I wanted to achieve.  I then cut a piece of paper 2” x 8 1/2” from the Winter Woodland cover paper pack.  I punched a charming border on one side.  I glued everything down onto my card base by starting with the scalloped paper, the blue frame and then the animal images.  The deer image was too big to fit the opening, so I used foam dots to pop him up, giving him additional dimension.  For the Joy sentiment, I die cut three images of the word Joy and then glued the three on top of each other to give a 3-D image.  Final additions were gray ribbon and red sequins.  


I hope everyone is having a wonderful weekend and staying cool.

  The heat index is 107 degrees where I am!  That is too hot for me!  I am ready for Christmas weather to return.


Sunday, June 22, 2025

Summer Florals and Vintage Truck by Jami Steiger


Happy morning! It's my weekend with watercolors. Because the Tulip Floral Set 6061 is so lovely, I made extra cards to paint the beautiful flowers, so this month I made more than two cards. I adore the 6066 Classic Truck Foundation. Vintage trucks have always been a favorite of mine. 

Tombow Markers: 403, 126, 565, 969, 856, 947, 679, 177, 899, 515, 817, and 947


I began by taping off the edges of my truck card to ensure that the painting would be 3 by 4. I then die-cut the painting with a stitching die so I could stitch around the edges. I wrapped a thin blue ribbon around the front of the card and mounted it on matching cardstock. The Little Things Sentiment Set 5797 collection includes this sentiment. I die-cut the banner using a die from the Journal Template Die Set 5543 and then embellished it with pearls.


_____________________


Tombow Markers: 158, 098, 177, 228, 603, 673, 401, 553, 062, 025, and 946

The following three cards were all made in the same way. I used the Circle Double Stitched dies 5064 to die-cut each painting after I had finished painting it on watercolor paper. I then used coordinating paper to cut out a circle for each. I used the Fairy Garden paper pack 5939 to make the blue tulip card. The card bases were made using a 3D embossing leaf folder. I finished the cards by adding ribbon and gemstones.


____________________

Yellow Daffodil Card—Harvest Journal Paper Pack 5606


____________________

Purple Iris Card—Fairy Garden Paper Pack 5939


I hope the summer is going great for everyone. As usual, feel free to ask any questions you may have. Hugs! Jami


____________________


Sunday, May 25, 2025

Honey Gnome and Hello Window by Jami Steiger


Happy Watercolor Weekend! Tomorrow is Memorial Day, and I hope everyone is having a great holiday weekend.

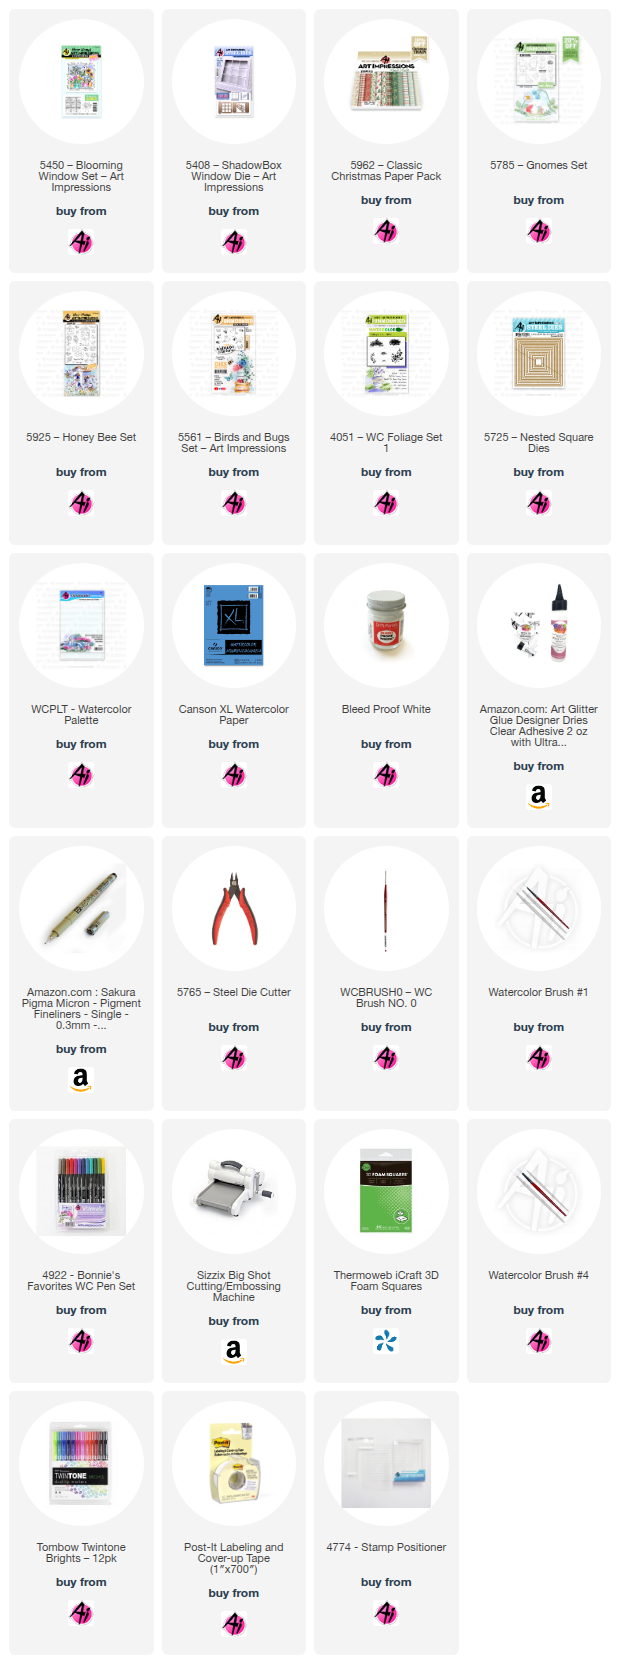
 I have been working on a surprise book for my grandson and daughter-in-law featuring Winnie the Pooh, which makes me invested in all things honey and bees. Consequently, I had to create a card using the Gnomes Set 5785, transforming the flowerpot into a honey pot. I love how the card turned out. If you have honey, you have bees, and the swarm of bees comes from the Birds and Bugs set 5561. I decided to add a bee balloon using a bee from the Honey Bee set 5925. The sentiment also came from the Honey Bee set.


The Tombow markers used are the following: 025, 817, 515, 969, 565, 947, N75, N65, N55, 603, 177, 098


_____________________________


For my second card, I used the Blooming Windows set 5408. 

It is such a beautiful stamp set. I love that the potted tulips have a separate die for added dimension. I used a press plate to add texture to the front piece of cardstock, aiming for a look reminiscent of textured wallpaper. I darkened the edges of the windowsill to create more depth. The green dotted paper came from the Classic Christmas paper 5962. The Art Impressions paper packs are very versatile. I added a die-cut of leaves to the inside of my card to enhance the texture and color. 


The Tombow markers used are the following: 177, N55, 992, 228, 025, 856, 969, 565, 761, 528, 837, 910, 947, 993, 526


____________________________


Sunday, April 27, 2025

Barn with Sheep and Easter Chick Cards


Good morning! I love my turn for Watercolor Weekend. 

_____________________


My first card features an old barn with sheep grazing in the pasture below. I began by stamping the barn using Tombow markers 565 and 969, stamping off twice. Next, I determined the placement of the fences and where the sheep would graze. I stamped the sheep with the Archival Shadow Grey ink pad to preserve the details in the stamps. I added color and texture with the flowers and rocks included in the Fear Not stamp set. Lastly, I hand-drew the mountains in the background. For the final touch, I used Dr. Ph. Martin's Bleed Proof White to add some small flowers and highlights.

Tombow markers used: 856, 969, 565, 177, 269, 977, 992, N45, N55, N65, 761, 817, 515, and 126.


____________________


I know that Easter was last weekend, but I had this card prepared in advance and still wanted to share it with all of you. 

This card took a bit more time, but I love how it turned out. First, I cut out the "Easter" using masking paper and then figured out its placement. Next, I used various flowers to stamp around the masked letters, adding color and texture. After that, I cut out "Easter" again using paper from the 6033 – Inspirational Easter paper pack and attached it with dimensional tape. I turned the eggs in the flowerpot from the 6008 – Bunny Hugs set to the side to create a trail of eggs in the grass. I stamped and painted the chicks, flowers, butterfly, and bee nest. Finally, I cut a purple trim from paper 5849 – Halloween S2 – using the 5972 – BJ Decorative Margin dies. I used dimensional tape to attach the bee and butterfly. As always, I finished with Dr. Ph. Martin's Bleed Proof White to complete the card.


____________________


I hope everyone is having a nice weekend, and I will be here again next month !


Sunday, March 23, 2025

Chicken Coop and Spring Florals by Jami Steiger


__________________________


Happy watercolor weekend! I love pastel spring colors, and I had so much fun making my cards this month.

 I applied the same method to each card. I started by stamping with Tombow markers 565 and 969. Then, I stamped off once onto a scrap piece of watercolor paper and painted all four cards using the same markers. For the chicken coop, I stamped various items from the set onto watercolor paper and painted them with markers. After everything was painted, I die-cut the pieces. I used the polka dot paper from 6009, Basic Green paper pack, for the grass. I utilized various dies from my collection to add details to the card. Once all the die cuts were glued down or popped up, I added some tiny rhinestones to the flowers. This stamp set is so cute, and I adore the tiny chicks!

Tombow markers used for all of the cards are as follows:
969, 992, 565, 025, 623, 723, 195, 817, 401, 491, 177, and 636


_____________________


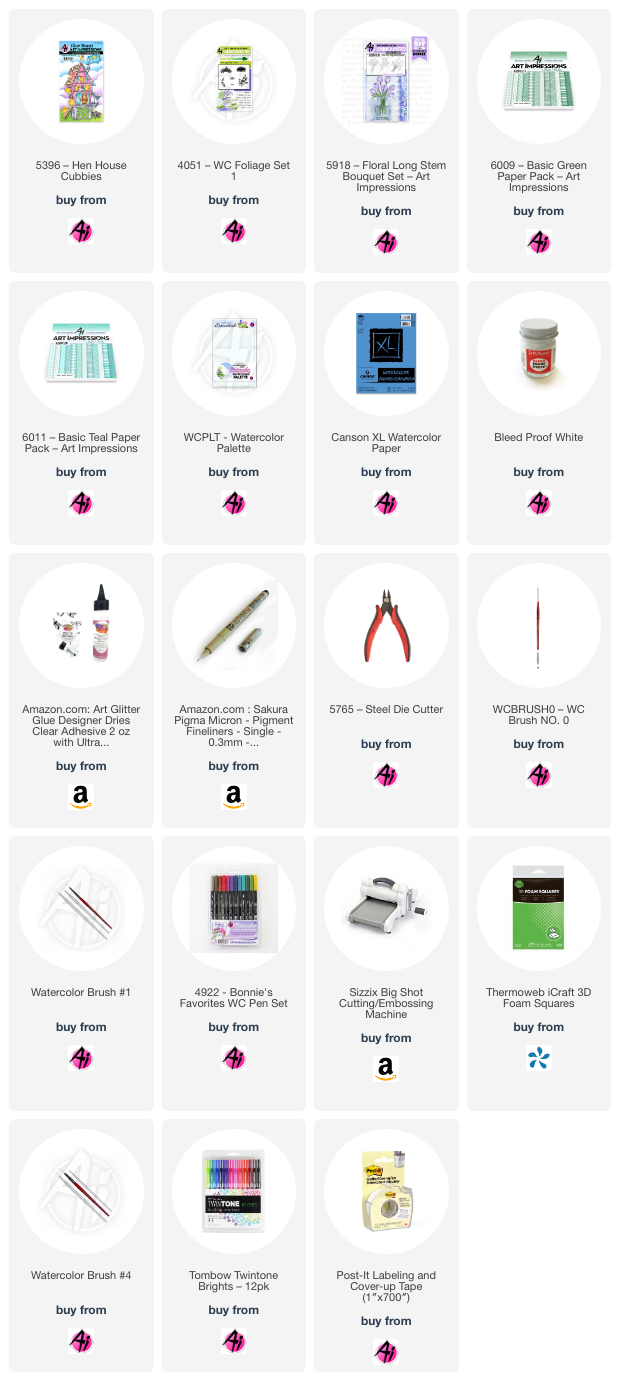
For my next three cards, I used the 5918 Floral Long Stem Bouquet Set. 

The first step I took was to create masks for each of the stamps so I could position them where I wanted without the flowers overlapping. Next, I determined how far apart I wanted the flowers and used masking tape to cover the line indicating where I wanted the flowers to stop. I stamped each flower bouquet and painted them. After painting and removing the masking tape, I cut scraps of paper from the teal paper pack and glued them down. I cut a strip of black cardstock approximately 1/4 inch wide and placed that over the gingham paper. Each card features a unique detail. For the "Love you, friend" card, I created a shadow around the flowers on the right side using a pale blue marker and added white dots with Dr. Ph Martin's Bleed Proof White. For "sending hugs," I added a shadow around all of the flowers using marker 969. Finally, for "happy little moments," I splattered the card with a green marker after covering the flowers with the masks I had made earlier and glued tiny rhinestones onto some of the flowers.


Thank you all for spending your time with me. I hope you enjoy the rest of your day! If you have any questions, please feel free to ask.


Sunday, February 23, 2025

Spring Gnome Wreath and Bunny Garden


Hello, Watercolor Weekend friends! Can you tell by my cards that I am ready for spring weather? I love living in Ohio and enjoying the snow, but it has been very cold, and the snow has lingered long enough! For my first card, I created a sleeping gnome nestled in a spring wreath, with a cute bird helping to decorate it. 

These are the stamp sets I used: 5785 - Gnomes, 5475 - WC Flower Set, 4868 WC Flower Set  2, 4964—WC Branches, 5476—WC Foliage Set 5, 4052—Flower Set, 5274—Easter Bunnies (bluebird)

First, I stamped the wreath and used a stamp positioner to add the sleeping gnome using Tombow markers 565 and 969. I stamped off twice. Next, I incorporated the foliage and flowers. Finally, I stamped the bird and painted a bow. I die-cut the finished artwork using the 5065-Stitched Oval dies. The floral paper is from the adorable 5939-Fairy Garden paper pack. For the purple lace, I used the new 5972-Bible Journaling Decorative Dies. The sentiment comes from the 5867-Mini Easter Sentiment set. I added Dr. Ph. Martin's Bleed Proof White and some embellishments.

The Tombow markers I used are the following:  N75, 837, 025, 606, 177, 817, 565, 910, 946, 977, and 969


_________________


This bunny is from set 4886-Easter Blessings by Kendra Krebs.

 I stamped the bunny in the garden using Archival Ink shadow grey. This was an easy stamped image to watercolor, as no extra stamps were needed. I only used a few Tombow markers, which are the following: 177, 772, 606, 969, 401, and 025. I painted everything once, painting lightly and allowing the ink to dry before painting in the shading. I used 5725-Nested Square Dies to cut out my image. Next, I used the lovely 6012-Basic Yellow paper pack to die-cut a floral background. I then cut some flowers with dies from my stash to complete the garden.


________________________


I sincerely hope that everyone is enjoying their weekend, and I hope to see you all again soon!


_____________________


Sunday, January 26, 2025

Chubby Snowman Card and Lovable Animals Valentine's Cards


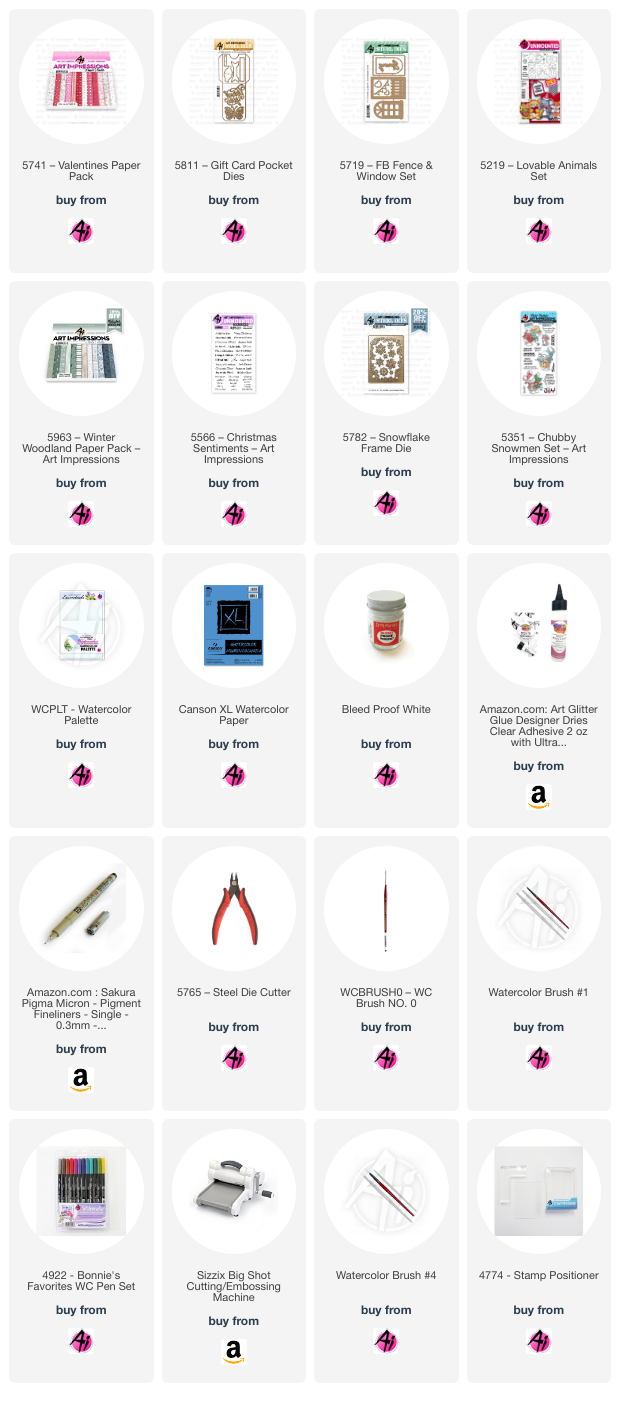
Happy watercolor weekend! For my first card, I stitched a snowflake while visiting my family during Christmas. When I got home, I knew I needed a cute little snowman and smaller snowflakes to go with it. The Chubby Snowman Set (5351) and the Snowflake Frame Set (5782) were perfect choices.

I painted the snowman using Tombow markers in the following colors: 312, 565, 969, 879, 977, 850, 025, 526, 933, 856, N55, and N75. I selected the Winter Woodland collection for the paper inside and outside the card. I die-cut the snowflakes from some silver foil and blue paper. 

I incorporated sentiments from the Christmas Sentiments Set inside the card (5566). To add more detail, I added snowflakes and a decorative edge to the Winter Woodland paper pack. For the final touch, I used Dr. Ph. Martin's Bleed Proof White to add details to the snowman.


For my second card, I wanted to create a cute animal-themed Valentine's card. The Lovable Animals stamp set with dies is perfect for this project! 

To start, I stamped the animals using permanent ink and then painted them with the following Tombow markers: 850, 856, 933, 025, 526, N55, N65, N75, 772, 977, 992, and 177. After that, I cut out all the elements and sponged around the edges of the large hearts and bows with a red stamp pad. I then glued the die cuts to the front of the card.

To make the popup heart inside the card, I cut a piece of matching cardstock measuring 3/4" wide by 3" long. I scored the paper at 1 1/2" in the center and scored each end at 1/4". After folding all the scored lines, I glued the flaps inside the card—one at the top and one at the bottom. You can then attach anything you’d like to pop up. I added a few extra details inside, and my card was finished.

If you have any questions, feel free to ask. Thank you so much!