Showing posts with label 4960 WC Fir Trees Set. Show all posts

Saturday, November 7, 2026

Fall Vibes by Gennette Houghton


Hello, and Welcome to Watercolor Weekend!  I love old barns, they give such a peaceful vibe in a landscape.  Open fields and swaying grass add to that feeling.  

For my 1st card I started by penciling in a wavy horizon line. I wasn’t really sure where I wanted to put the barn, so I used the stamp positioner to help me with that.  I was able to figure out exactly where I wanted to place it this way.  I could see what it would look off to either side, or the center.  I used Distress Ink Pumice Stone on the barn and stamped off twice and then stamped it on my project, slightly off center to the left.  I erased any pencil lines that ran through the barn after my ink was dry.  For the roof I used a mix of 947 and 177, and then adding a little bit of 969.  For the walls I used a mix of 856/969, adding a bit more of 969 in vertical stripes and used 565 for shading on the side and under the roof.  A mix of 565 and 969 was used in the windows and doors.  I then added in the sky, going for a sunset look I started with 055 at the horizon line, then adding in layers I added 025, 993, and a touch of 905.  Before putting in any foliage I added 177 for the ground and 969 for the path. 

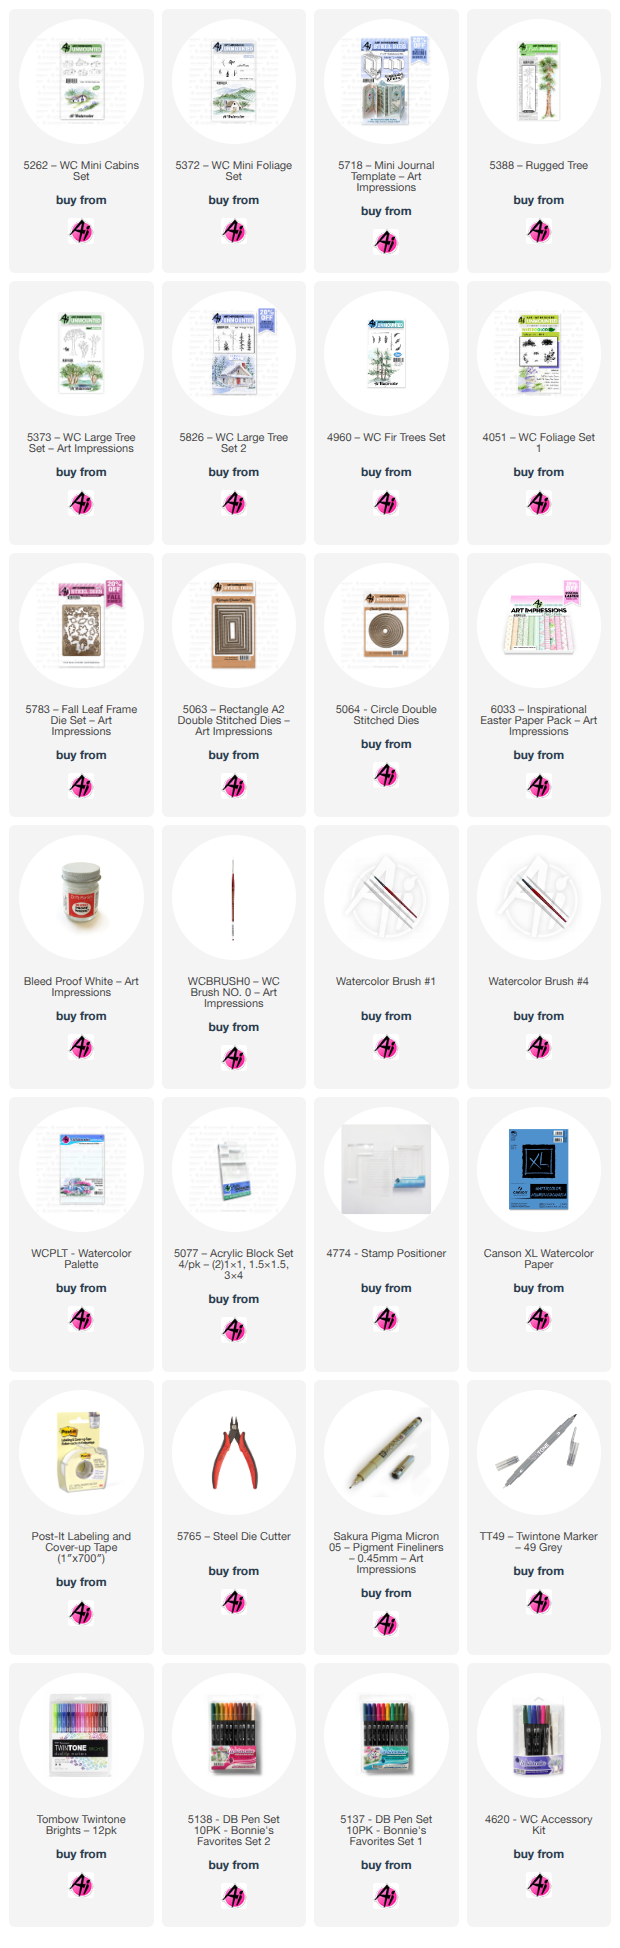
The next 5 stamps all came from 5372 WC Mini Foliage Set, starting with the pine tree in 249.  Then the tree trunks in 969, the tree foliage in 126, adding a bit of 177 on the stamp as well.  I then added in the grass in 177.  After softening everything with a damp brush I added in some 565 along the ground for shadows.  I then added some Bleed Proof White for the flowers.  I also added some highlights to the barn.  I used a die from my stash to cut out the image, and then used a cloud border die to create a mat for it.  I matted my card base with paper from the 6033 Inspirational Easter Paper Pack.  I then decided to add the hello from the 5718 Mini Journal Template Set, which I felt gave it a nice finishing touch to the card. 


For my 2nd card I took some inspiration from Pinterest of a late autumn forest scene.  Unfortunately there wasn’t a link so I wasn’t able to credit the original creator. I started with 5064 Circle Double Stitched Dies, 2nd from largest, tracing around it with pencil for a guide.  I will also use this die to cut out the image when I am done.  Using Distress Ink in Fossilized Amber, Wild Honey, Rusty Hinge, and Vintage photo.  I ink blended the background, utilizing a wedge cut from a piece of paper for light rays.  Starting with the largest tree first, I then used a stamp positioner to help place the other trees working back to the smallest.   The trees and colors are as follows….

5388 Rugged Tree – 899

5373 WC Large Tree Set – 969

5826 WC Large Tree Set 2 – larger tree – 977, smaller tree – 098

4960 WC Fir Tree Set – 076

I added more color into each tree as needed, going lighter in color the farther back they went.  4051 Foliage Set 1, large foliage was used for the ground cover, using the same colors to match the colors of the trees or the background.  076, 098, 977, 969, 899, 026, and 025, I then softened everything with a damp brush.  I then used some Bleed Proof White for some light beams, I tried to soften them a bit but the color saturated background was a problem so I left them the way they were. After cutting out my image, I then matted my card base with a solid brown.  Using the same color paper and a texture die for the 2nd piece, I then used 5063 Rectangle A2 Double Stitched Dies, 2nd from largest to cut out my center piece.  I then attached a ribbon to the panel before popping it up on foam tape and placing it on the card base.   I also popped up my circle image with foam tape and placed it over the ribbon.  I then used 3 leaves from 5783 Fall Leaf Frame Set and colored the die cuts with a mixture of 025, 026, 098, and 933. I finished off the card by gluing 2 in one corner and 1 in the opposite corner.  Thank you for joining me today, and I hope you enjoyed my cards!  Until next time!  Create….Share….Inspire!


Saturday, October 3, 2026

Cabin in the Woods by Patty Sprague

Hello Ai fans!

We have a Guest Designer today and next Saturday.

We're so excited to share the art of Patty Sprague with you.

Take a look at the wonderful masculine scene she created to inspire you!


For the card I am sharing today, I chose to create a hunting scene—you can never have enough masculine cards in your stash. I used the 6069 Outdoorsmen set for the main theme and added a rustic cabin.  As hunting season approaches, it felt like the perfect time for this project, and I kept the sentiment generic so it can be used for any occasion.


Outdoorsmen Card Details:


Colors & Supplies:

  - Paper: Canson XL Watercolor Paper, White A2 Card base, Green Matte
  - Brushes: No. 4 round brush, No. 1 round brush, 18/0 script liner
  - Stamps & Dies:
      - 6069 – Outdoorsmen
      - 4962 – WC Rustic Cabins Set
      - 5131 – Stone Path Set
      - 5388 – Rugged Tree
      - 4960 – WC Fir Trees Set
      - 5059 – WC Harvest Set
      - 5196 – WC Desert Set
      - 5372 – WC Mini Foliage
      - 4051 – Foliage Set
      - 5735 – Birthday Sentiments Set
  - Ink for Stamped Images: Ranger Archival Ink in Shadow Grey
  - Tombow Dual Brush Pens: 027, 098, 177, 228, 249, 528, 555, 565, 899, 912,  942, 947, 969, N49
  - Other: Post-it Tape, Brown TwinTone Marker, Micron 005 Black Archival Ink

Stamping:
To begin, I cut a 4.25" x 5.5" piece of Canson XL Watercolor Paper. Using a stamping platform, I stamped the Hunter (6069) in Shadow Grey, the Tree and Lake (6069) in 565/969, the Rustic Cabin (4962) in Shadow Grey, and the Rugged Tree (5388) in 565/969. I then stamped the sign (5131) in 969 using a stamping block.

Behind the house, I added the Fir Trees (4960) inked in 899 with branches in 249. I added additional branches to the trees in 249 and foliage (5372) around the house in 228. For the grass along the back of the lake, I used the teeny tiny grass from (4051) stamped in 027 and 098, with small twigs (5059) in 969. For the foreground of the lake, I used tall grass (5196) in 027 and 098, and the branches (5196) in 969.

Painting:
I painted the sky using a watery mix of 555, and the lake with a mix of 177, 249, 528, 555, used the brown TwinTone marker and bllack Micron 005 to add fine details where needed.

Assembly:
I used rectangle dies to cut the painted panel and the green matte. Finally, I layered the painting onto the green matte and attached them to the A2 card base.

Best,
Patty

Sunday, August 24, 2025

Fall and Christmas cards by Jami Steiger


Wow! I can't believe it is August already! I am ready for cool days and nights. I love the holidays and look forward to making cards and decorating my home.


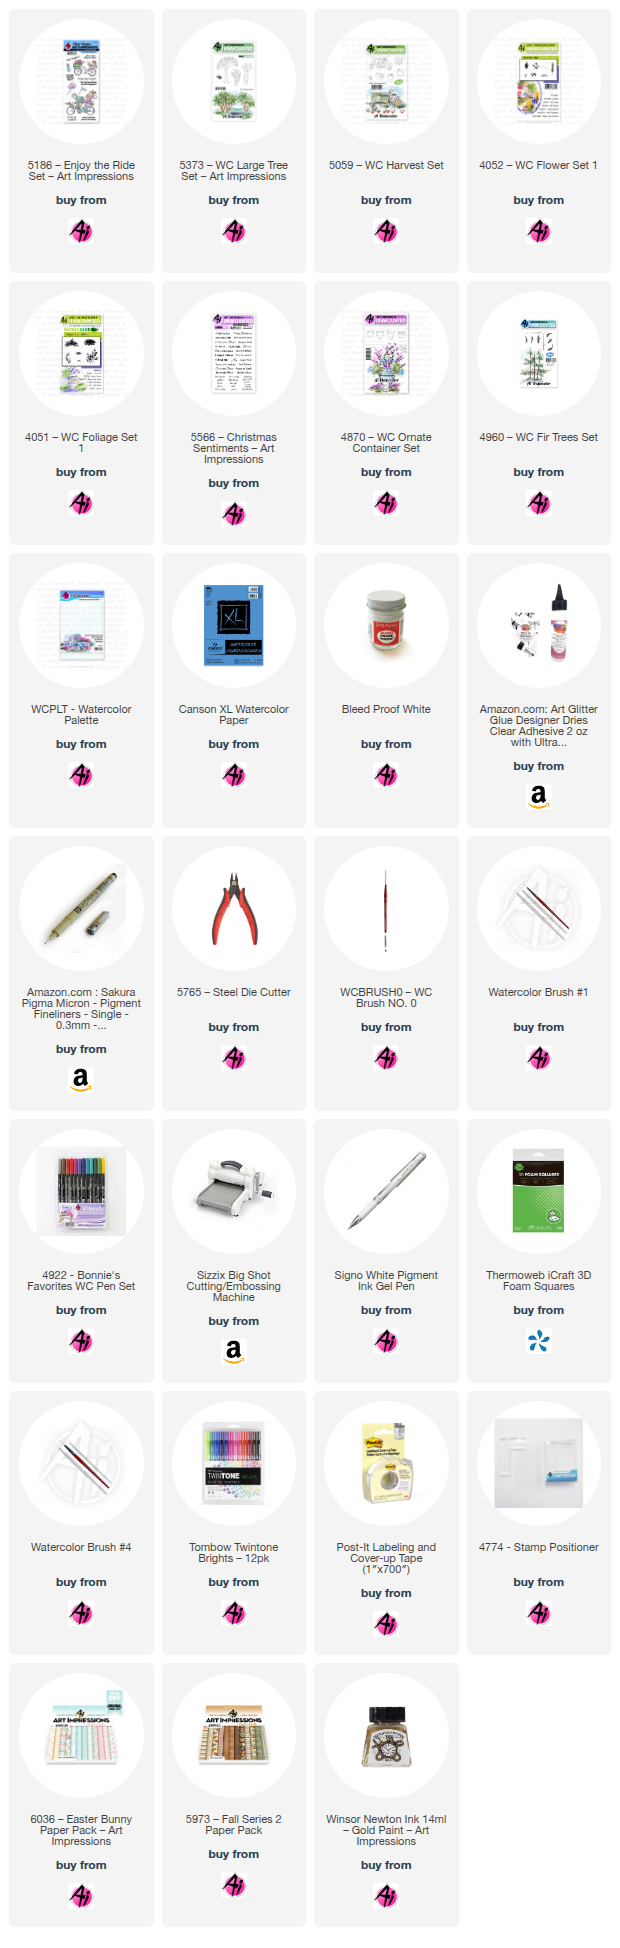
My first card has a fall theme. For this card, I started by stamping the bicycle from set 5186—Enjoy the Ride—and then created a mask for the bike to stamp the tree behind it. When I stamped the bike, I did not stamp the bow on top of the package, so I could change the gift box into a basket and add a pumpkin. For the bow on the front of the bicycle, I used Winsor & Newton gold ink. I stamped a few pumpkins in the foreground to add depth. For final touches, I added a jute knot and popped up the sentiment from the same stamp set. I used paper from the 5973-Fall S2 paper pack.

Tombow markers used:  452, 565, 837, 098, 977, N55, 312,  N35, 993, 946, 177, 992


____________________

For my second card, I couldn't resist painting a vintage Christmas tree! I love the Christmas colors of the 1950s. 

This was an easy card because it only required three stamp sets. I started by stamping a pot from set 4870 - WC Ornate Containers. For the container I stamped, I didn't color the entire stamp, so the container would fit better with the tree. After stamping the container, I lightly drew some lines with a pencil to create a base for where I wanted to stamp the fir branches from set 4960 - WC Fir Trees. I stamped a few branches to get an idea of the shape, then used drawing gum to paint the ornaments where I wanted them on the tree. This allows you to watercolor without affecting the ornaments until you remove the gum and hand-paint them. I used Winsor & Newton gold ink at the top of the ornaments to give them a hanger for the tree. To add shimmer to the ornaments, I used a clear Wink of Stella pen.
 Next, I used Dr. Ph. Martin's bleed-proof white to add highlights and snow to the tree. I then splattered some green and pink ink onto the card. I die-cut the tree into an oval and glued it onto paper from the 6036 - Easter Bunny paper pack. I added a few buttons and a bow to finish the vintage look. 

Tombow Markers used:  565, 772, 526, 969, 312, 177


Friday, June 13, 2025

For the Beary Best Dad! card by Tasha

 Happy Friday, Art Impressions friends!

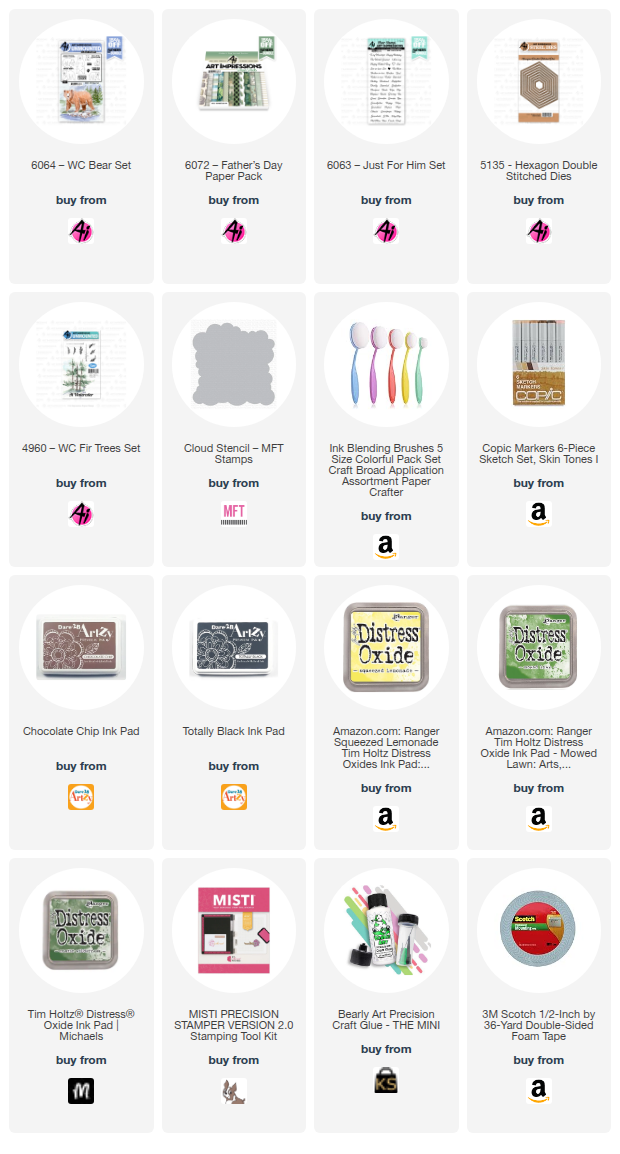
Tasha here, and I’m excited to share a beary sweet Father’s Day card using the adorable new 6064-WC Bear Set and 6063-Just For Him Set; just in time for Sunday!

For this card, I started by stamping the baby bear first, then masked him off so Papa Bear could stand behind him; just like a big bear hug moment! With both bears masked, I brought the background to life using the 4960-WC Fir Trees Set(these trees are one of my favorites!). I stenciled yellow clouds and added yellow ink to the trees to give the effect of sunshine streaming through; so warm and cheerful!


To frame the scene, I used the 5135-Hexagon Double Stitched Dies for a fun focal point. The sentiment “Dad, You’re the Beary Best!” combines a greeting from the Bear Set and the word “Dad” from the Just For Him Set; plus a cute little paw print for extra charm!

I finished the card with layers of green, white, and gray cardstock and a fun tree print from the new 6072-Father’s Day Paper Pack.

Hope you all have a wonderful day!