Hello and welcome to Watercolor Weekend! Inspirations are everywhere, and I do mean everywhere. My first card today was inspired by a painting I saw in the Doctor’s office, an old world villa painted in rich earthy tones, deep flower hues and a sense of viewing a past era.

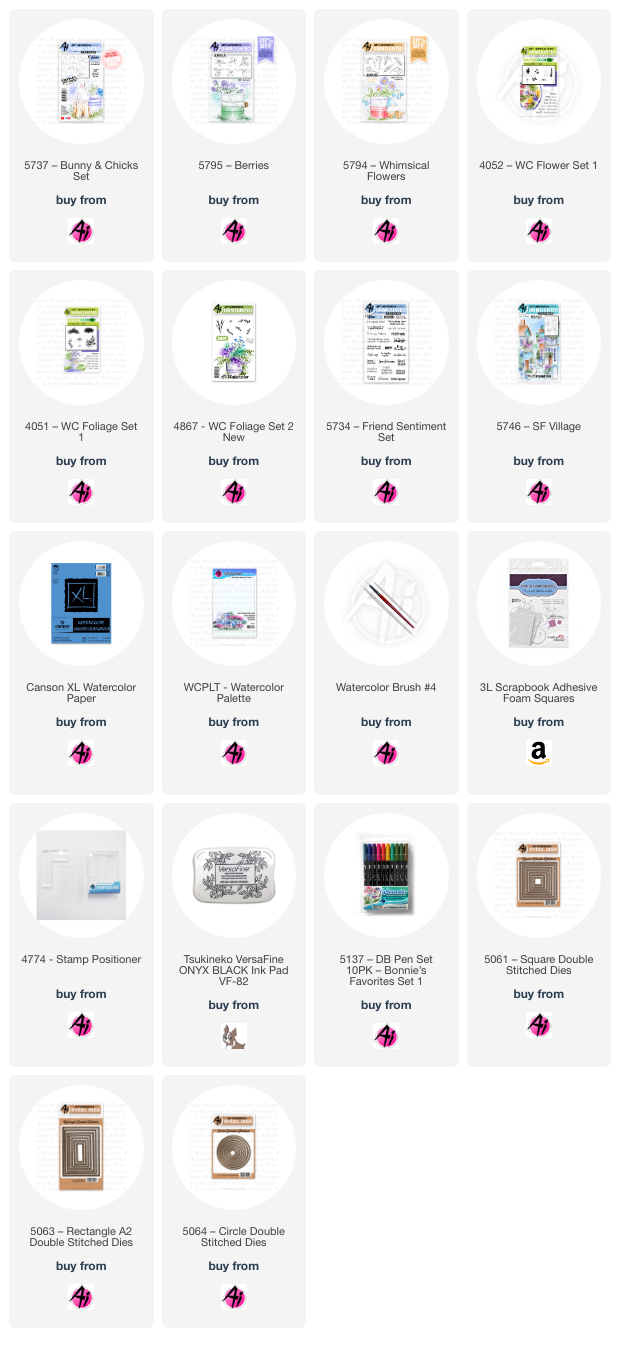
I went for a vintage journal page themed card with the 5746 SF Village that I stamped in 969 and stamped off once. Lightly pulling the color out of the lines in the areas that are shaded, I then added more of the 969 to the roofs and used the #1 brush to add additional details on the roofs and gables (the triangle piece under the roof). The chimneys and the walls of the buildings I added 947 adding more in the shaded areas leaving the more exposed parts lighter. I also used 565 to darken the shadows even more and added just a touch of 403 on parts of the ledges. I started working on the shadows for the window boxes and awnings, and added 526 to the top of the awnings, keeping in mind that I still needed to put in the foliage and flowers, so not too dark. The windows I used a mix of 565 and N25, just a touch of the black helps tone down the more purple hues of the 565. The doors are 969 and the shadowed areas were done with the same mixture I used on the windows. Using 126 I placed some green on the building in areas to give an appearance of moss, aging the building even more. I then used 526 to put in the sky and 249 for the distant background greenery giving a slight look of trees and filling the gap between the buildings. The ground level pots I left white adding in 565 for shadows on the pots and on the ground, a bit of the 947 onto the sidewalk to blend with the buildings a little bit. The chalkboard was done with 969 and N25 with Bleed Proof White for the Hello. I edged the sidewalk with 969 to give depth and 565 to add shadows on the road.

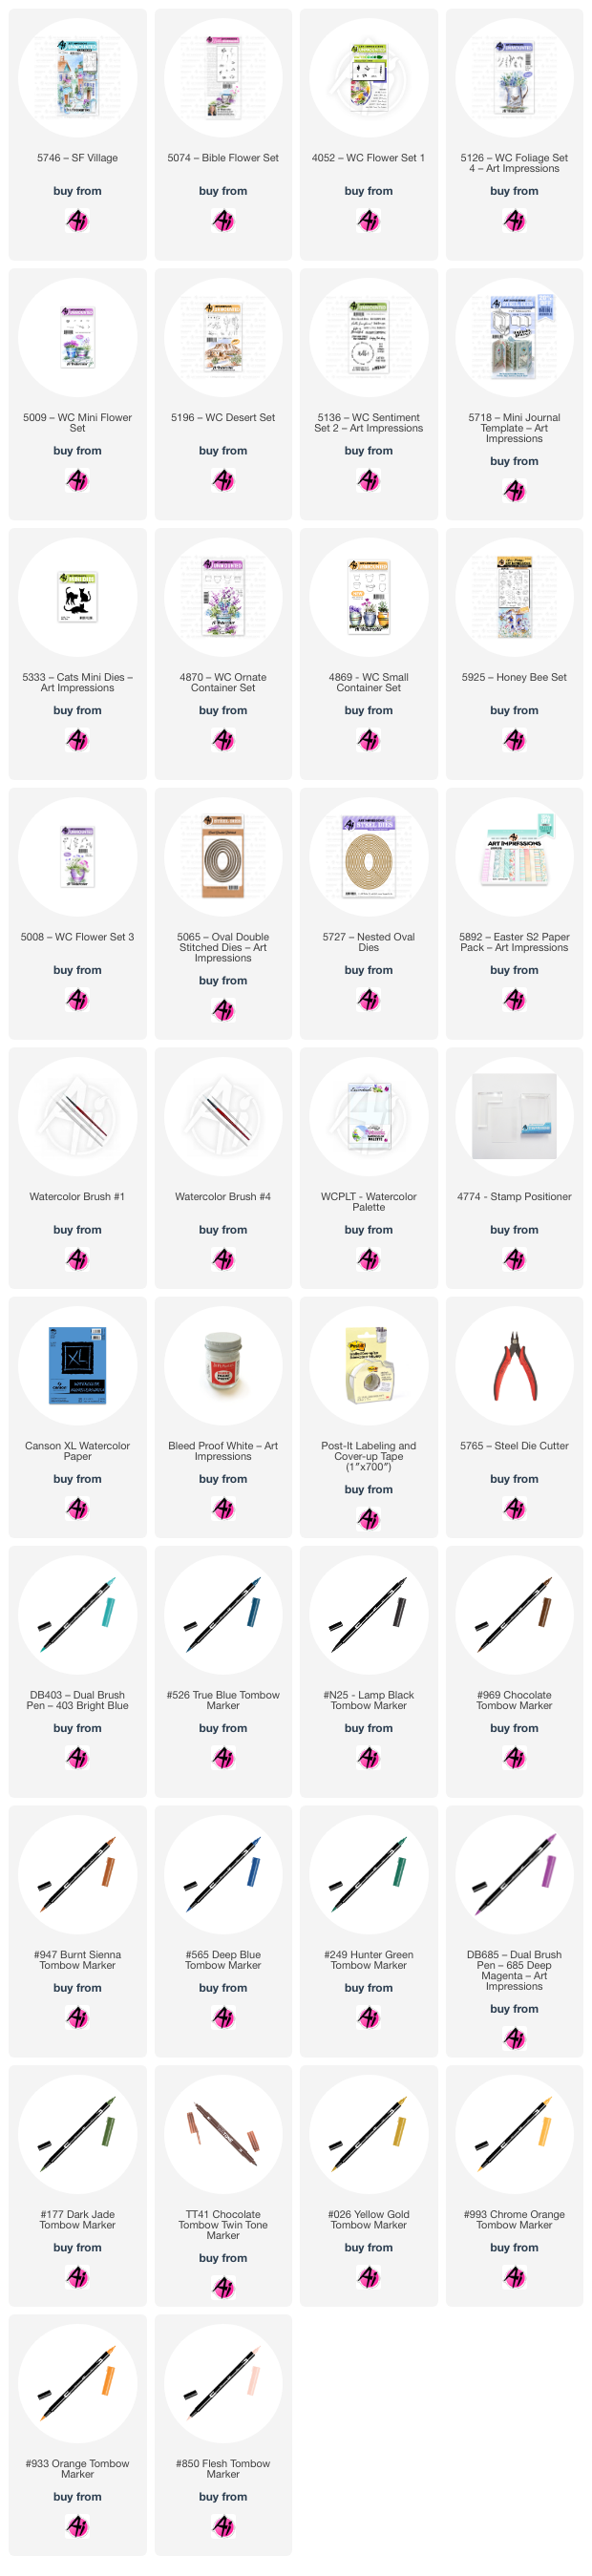
That leaves the foliage and flowers. For the white pots I used the larger “dot” filler flower from the 5074 Bible Flower Set (you can also use 4052 Flower Set 1), separately I used 126 and 026, stamping just a couple of times for each pot and then using 177 over the top of those two colors and adding water to blend the 3 colors together. For the flower boxes, the top of the one awning, and the vine growing up the building I used 5126 Foliage Set 4, inking just the tip of the small vine with 177. The small “dot” filler flower from 5074 Bible Flower Set (you can also use 5009 Mini Flower Set) was used for the flowers, 403 for the vine, and 685 for the window boxes/awning, adding just a little bit of water to blend them out. Bleed Proof White flowers were also added. The grass from 5196 Desert set in 177 was used in the back left pot. Brown Twintone marker was used on the small sign to give a suggestion of writing and for putting in the panes on the windows and anywhere else I felt needed a little more definition. I used the small frame from 5718 Mini Journal Template for the sentiment from 5136 Sentiment Set 2 and stamped the leaf cluster from 5126 Foliage set 4 in 133 with a line drawn up the branch through the leaves with 177. I also added a die cut cat colored with 947, shaded with 565 from 5333 Cat Mini Dies and popped up with foam tape.

My next card was inspired by a Gnome made out of painted terra cotta pots, I seriously want to recreate this in real life, but for now I will use my stamps. Like I said, you can find inspiration literally anywhere, even a craft show that my daughter in law went to. (Wink) The Gnome is made out of two sets of containers, 4869 Small Container Set and 4870 Ornate Container set. All pots were stamped in 565 and 969 and stamped off twice.

Using the small pot, I stamped this one first. I then used the pot from the ornate set, inking only the bottom of the top rings and the main sides, leaving the saucer off of the bottom. I used the stamp positioner and centered it under the first pot with about a ¼ inch gap. I extended the lines up with a pencil to create the “hat”. Using the same stamp from the ornate set, inking the edges of the top to leave room for the beard and just the sides, I masked the pot above and again using the stamp positioner created the “body”. After pulling the color out, I added 565 for shadows on the top 2 pots. I then sketched in the nose, beard, and feet with a pencil. I used N25 for the feet, 403 for the body. 850 and 910 for the nose. Using the stamp positioner and one of the flowers from the new 5925 Honey Bee Set inked in 565 and 969, stamped off twice and positioned it onto the “hat”. I used post-it tape to mask off to the right side to keep from stamping off of the pot. I used 177 and 403 to color in the flower, keeping in the details of the pot. I then added the single flower coming out of the top pot from set 5008 Flower Set 3 with 177 and 993, from my palette I added just a touch of 933. I used a ruler and pencil to create the background boards, then with a touch of 565 to give a bit of detail to the underside and edges of the boards for some dimension. 969 was used on the floor, adding a darker layer for the shadow under the pot. I then used a mixture of 565 and 969 to create the shadow behind the pots and the flower. Finishing off with the brown twintone to add lines back in. The flowers and colors were chosen to match with the paper from 5892 Easter S2 PP. I cut out my image with the 5065 Oval Double Stitched Dies and the mat I cut out with the 5727 Nested Oval Dies. Thank you for joining me today, I sincerely hope you enjoyed my tutorial, until next time, Create…Share…Inspire!


.jpg)
.jpg)
.jpg)
.jpg)
.jpg)
.jpg)