Hello Ai fans and welcome to Watercolor Weekend!

Today we have our second Guest Designer for April in place of Diane who
needed some personal time off.
Please give a warm welcome to Julie Worthing and enjoy her BEAUTIFUL creations.
Julie Worthing

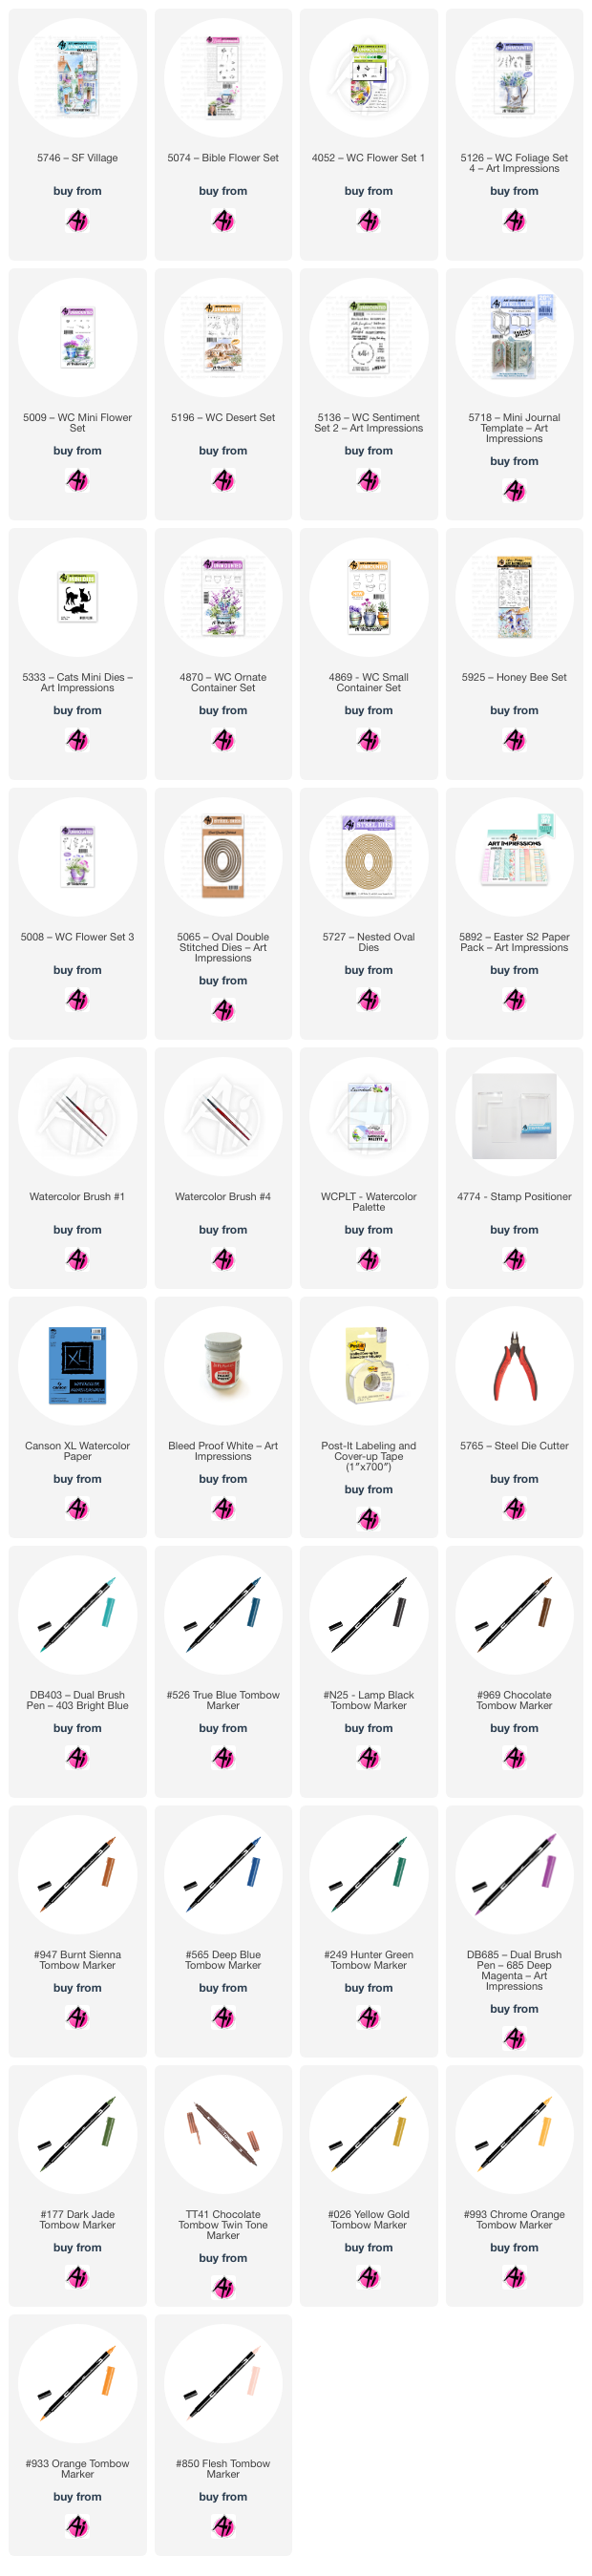
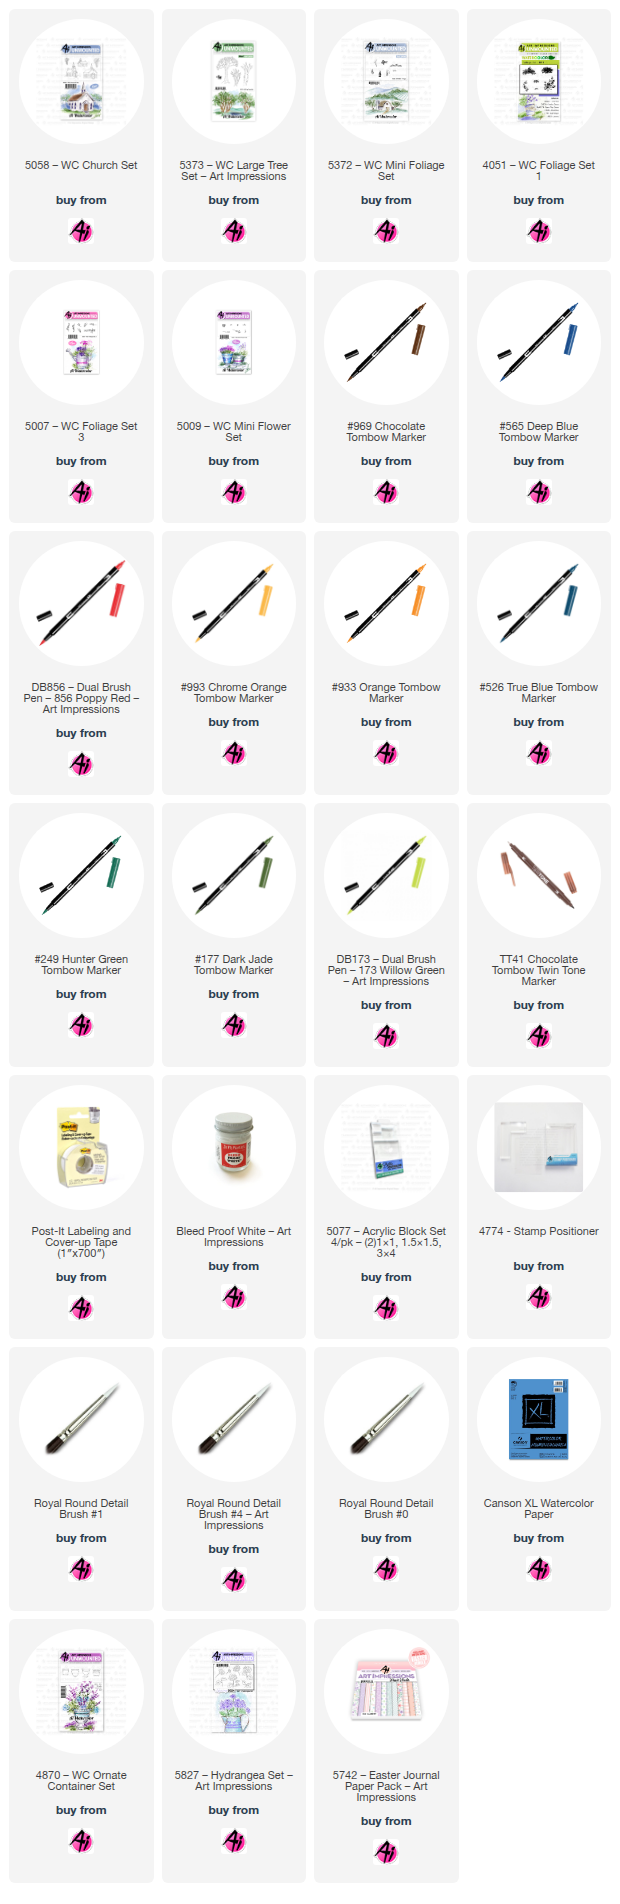
I was honored to be asked to create a card for the Guest Designer series. Today I created a beautiful scene focusing on a stamp from the Church set. The list of stamps and supplies used are as follows:
5058 - Church Set
5009 - WC Mini Flower set
5007 - Foliage Set 3 - tall grass
4051 - Original Foliage set - Large grass
5372 - WC Mini Foliage Set - Hedge, small grass and Tree
5373 - WC Large Tree Set - Leaves
Pens & Other accessories:
Dr. PH Martins
Pencil
Post it Tape - 3 1/2 by 3 3/4
Tombow Dual Brush Pens
173
177
249
526
533
565
856
933
969
993
Brown Twin Tone

First I used Post it Tape to make a frame for the painting. Next I stamped the church first using 565, then 969 and stamped off twice as the stamp is rubber.
Then I free handed the mountain line and greenway on either side of the church. Next I pulled color from the church lines and then water colored it with 565 and 969 mixed together for the roof and steeple. I used 565 on the window and then used Dr PH Martins for the panes. Next I painted the mountains with a blend of 565 and 553.
Then I stamped the small trees using the mini foliage set and the hedges. For the larger tree I used the leaves from the large tree set. Then used water to dab all trees and hedges and pulled some of the green down to create a slope. Next I used the grass from the mini foliage and stamped with 177 at the base of the church and after dabbing it with water, I added 249 off my palette as well as adding a little 249 and 177 to the trees.
After that I used various greens (177, 249, 177), orange (933) and yellow (993) to create the field base. I used the tall grass (5007) in the field and the large grass (4051) at the base of the card.
For flowers I used the tiny dots from the mini flower set with red (856) at the base of the Church and scattered in the field. I also used the yellow (993) with the mini stamp in the field. I then used Dr Ph Martin to create daisies and after drying, added yellow (993) to the center. The also used the white paint to added small dots in the field and next to the Church.
For the sky I used 569, 533, 993, 856, and 933 and a small amount of diluted Ph Martins.
Lastly, I added the cross on the top of the steeple with the brown Twintone and accented with the Twintone where I thought would enhance the picture and 565 for o
I removed the post it tape and then cut edges about 1/4 inch to crate a border.
For my second card I made a lilac colored Hydrangea floral arrangement.
Sets used:
4870 - WC Ornate Container Set
5827 - Hydrangea Set
5742 - Easter Journal Paper Pack
5742 - Easter Journal Paper Pack

I hope you enjoy my little paintings and thank you Renee for asking me to help out!
-----------------------------------------------------------------------------------------------------------
Thank you so much to Julie for helping out this month.
We hope you enjoyed her inspiration on this Watercolor Weekend.
See you tomorrow for more wonderful paintings from Jami.
Julie Worthing

.jpg)

.jpg)