Showing posts with label 4869 Small Container Set. Show all posts

Sunday, July 12, 2026

A Peaceful Bench by Neema


Hello my Art Impressions Friends

Before sharing my projects for this watercolor weekend, I want to thank you all for your support and encouragement. I can't believe July is already here! This is my second post, and I am so excited!!!

Also, I would love to invite you to check out my new series for World Watercolor Month on my YouTube channel, Crafts and Designs by Neema. Throughout July, I will be posting a new video every day featuring Art Impressions stamps. If you haven't had the chance to join me in Instagram @Neema_197 please do so, I share a picture of the watercolor painting for the day and many other projects. 

Now let's talk about Watercolor Weekend...

For my first project, I made an A6 card (4.5 x 6.25 inches) using a stamp from the Bible Journaling 5066-Light to My Path Set. I love this stamp; it always transports me to a place of peace and serenity.

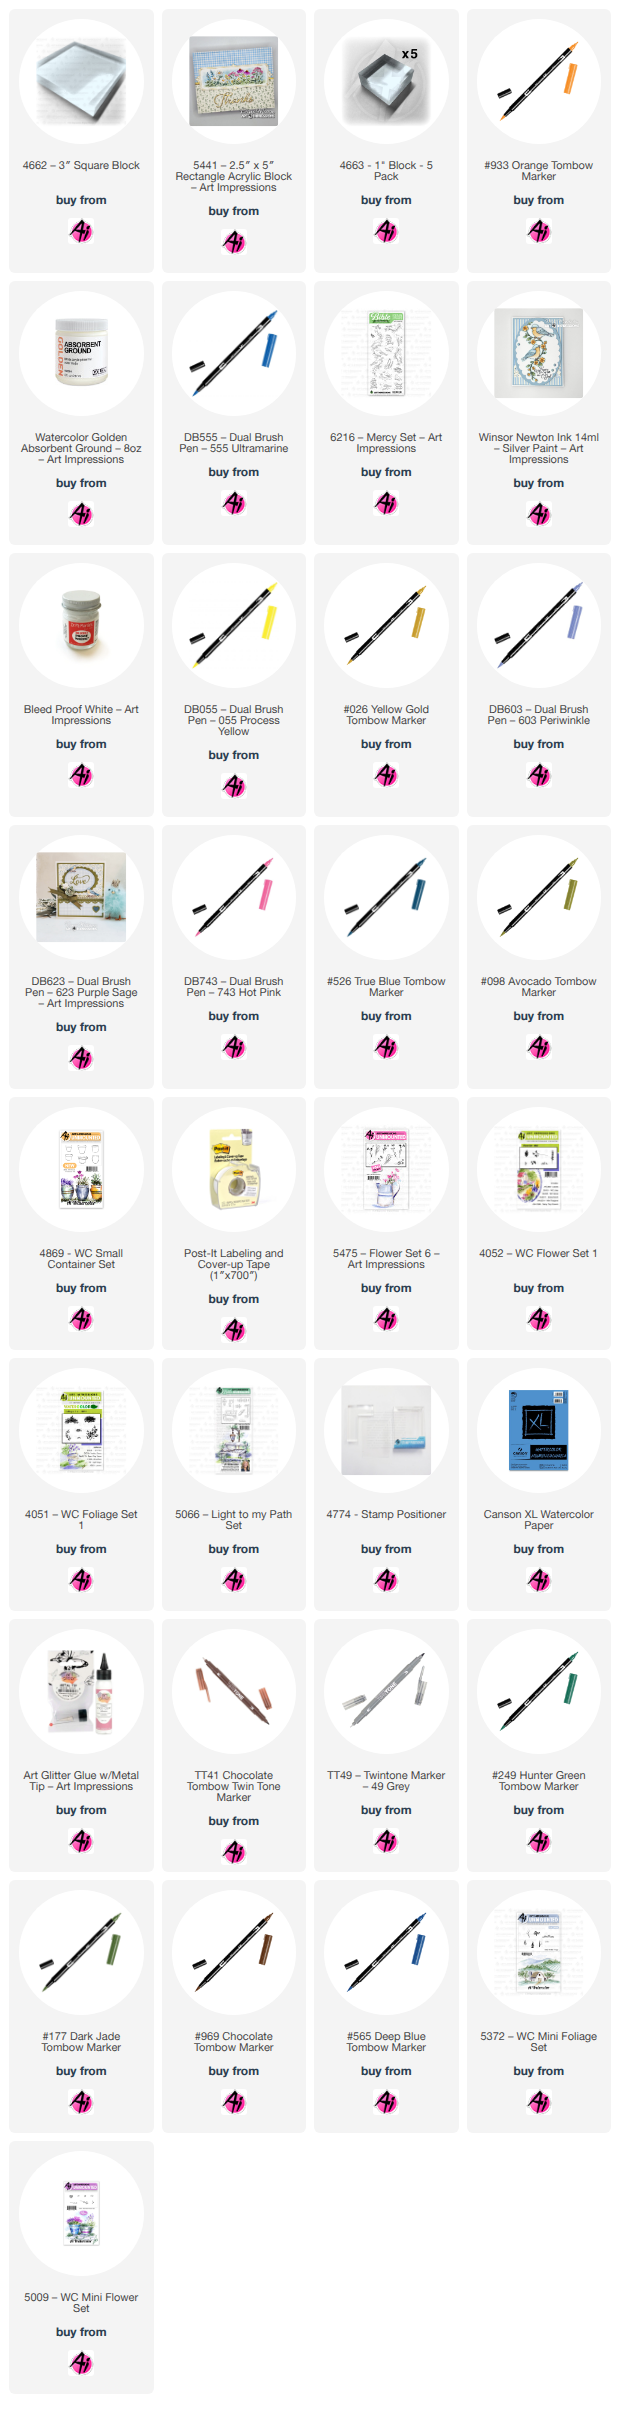
I added a small pot from the 4869-WC Small Containers set. I stamped the images using Tombow markers 969 and 565, then pulled the colors from the stamp.  


I used brown t tones to paint the bench, and for the lamp post I used a mix of gray and lilac. I built up the glow in the lamp by adding layers of yellow. 


Once the base colors were set, I added foliage and the flowers, which I believe are carnations (I used pink because pink carnations were my mom's favorite). I put them on both sides of the bench. I also added small flowers from the 4052 set using the same blue as the pot. 


For the background, I used light brushstrokes of green, pink, and yellow, and finished with white flowers using Bleed Proof White.

Cutting the painting is always the hardest part for me, so I usually use the entire picture. However, I found a great multi-size frame that is perfect for layering. I cut the largest frame in light green, mounted it over a panel embossed with a leaf pattern, and wrapped a ribbon between the painting and the green layer. 

Inside, I added a sentiment using Versafine Clair pigment ink, and stamped a Bible and a few leaves from the 4051 Foliage Set to complete the card. Using the new silver (Sorry if it's hard to see it) I painted a few lines on the sides of the Bible and added some dots around, just for fun!


And finally, here is my completed card, YAY!...


For my second project, I tried something I've been thinking about for a long time. I usually paint rocks using acrylics, but this time I used a stamp and watercolors on a Santorini rock from my local nursery. Make sure you use a flat rock, it makes the stamping step easier. First, I applied Golden Absorbent Ground. Once dry, I used Versafine Clair to stamp two birds from the Mercy Set 6216 and colored them with Tombow markers. After letting it sit for 24 hours, I sealed the project twice, first with Distress Glaze from Tim Hortz, only over the painted areas, and after a few hours I sprayed a thin coat of Krylon Gallery series matte finish. My husband makes the wooden bases for my rocks so they can stand, but they can also be used as a paperweight. 


Sorry if this post if this post is a bit long, as I'm still figuring out how to bring this blog to life. 
I hope you enjoy these projects!

Have a wonderful watercolor weekend!

Neema


Saturday, June 20, 2026

Furry Friends by Gennette Houghton


Hello, and Welcome to Watercolor Weekend!  I always love painting the animals that are in the Art Impressions line.  There are definitely some cute ones, yes mice are cute! LOL! (Well they are!) I also love all things rustic, which is where I went with my first card.  

I started out with a piece of watercolor paper and stamped in the pitcher from 5123 WC Decorative Jar Set, with Distress Ink in Pumice Stone, I also used this on the pot and mouse.  Being that this set is rubber, I stamped off twice first.  I then masked the pitcher before stamping in the 4869 WC Small Container Set, I also stamped this one off twice before using my stamp positioner to put on my project. I then added the mouse from 5599 Mini Mice & Squirrel Set, this one I only stamped off once and also used the positioner.  For the pitcher I used a mix of 565 and 969 to put in the base color leaving a highlight in the middle, then a put a light wash of 249 in for a bit of patina.  947 is my go to for rust, and I put this in various places, darkening some spots.  If you want a more deteriorated look add a bit of 969 to make it look like the rust is eating through the metal.   I also used 947 on the little pot and shaded with 969, this was also used to create the crack in the rim.  For the little mouse I started with N79 as the base and shaded with N57, I then added a light wash of 969 to get the variation in his coat.  I used a black micron on his eye and added a bit on his nose.  I then put in some 177 on the ground, darkening it around the pitcher and pot and I used 403 for the sky.  

I masked off the pitcher again to put in the foliage and flowers.  I started with 5919 Long Stem Floral Set and my stamp positioner.  I also stamped these in Pumice Stone and stamped off twice.  I then used masking fluid on the flowers because I wanted them to stand out when I was done.  6055 Water of Life Set has some long grasses that I used in 192, using my brush I added curls to the ends of some of the blades.  I then put in the long purple flowers from 4052 Flower Set 1 in 676.  I added a small leaf sprig from 5007 WC Foliage Set 3 darker towards the base and stamped the lighter ones towards the top. I also added them on either side of the pot and pitcher in 177.  I blended some of the foliage and flowers a bit to fill in the white spaces, adding extra color as needed so the Bleed Proof White would show.  I then rubbed off the liquid mask and put 055 and 025 in the centers of the 3 flowers and added 407 to the petals and 126 to the leaves.  I then added the BPW in various sizes.  I matted my card base with 5939 Fairy Garden Paper Pack and cut out a purple frame with a die from my stash.  I traced this die over my image, on both the inside and outside so I knew where I needed to cut this down to fit behind the frame and glued these 2 pieces together before mounting on my card.    


For my second card I tried channeling my inner Michelle, IYKYK.  If you don’t know, Michelle H. is an extremely talented artist and has a knack for whimsy.  I came up with this idea from a picture I had seen on Pinterest, if you ever struggle for ideas, the internet can be a good source of inspiration.  With the exception of the foliage, I used Distress Ink in Pumice stone, stamping each one off first before stamping onto my watercolor paper.  5465 WC Cliffs Set was used first, leaving the top back line off.  I then used a stamp positioner to put in the cat from 4873 WC Cats Set, and the left wings of the butterfly from 5200 Butterfly Set.  The 4th from largest in the 5063 Rectangle A2 Double Stitched Dies was used as a guide around my project.  I started with the rocks using a mix of 565 and 969.  I then added in touches of 969, 565, 526, 676, and 725.  For the side of the cliff I used 969, darkening areas for dimension.  For the ground and top of the cliff I used 177, darkening the areas that would be in shadow.  

For the cat I shaded her with 565, and used a black micron on the eyes and nose.  Adding a bit of 772 in the ear with some Bleed Proof White for a little bit of hair coming up in front of the ear.  I played around quite a bit with colors for the wings, I ended up using 850 for the base, contouring with 703, and shading with 725.  I also used 725 to create a bit of scrollwork in the wing that I went over with a bit of Wink of Stella, I also added this to the 2 purple areas in the rocks.  I added in 403 for the sky, and then used 5007 WC Foliage Set 3 for both the vine and the grasses, both in 177.  

I touched the leaves with a damp brush to soften and pulled some of the color up out of the grass.  I erased my guidelines and used the same die to cut out my project.  I matted this with a dark burgundy cardstock that I also used to mat the piece I ran through an embossing folder.  I matted my card base with paper from 6082 Bible Journaling S1 Paper Pack.  I popped up the image with foam tape over the embossed panel, to finish off my card.  I hope you enjoyed my projects today, thank you for joining me.  Until next time.  Create….Share….Inspire!


Sunday, July 14, 2024

Inspiration Everywhere by Gennette Houghton


Hello and welcome to Watercolor Weekend! Inspirations are everywhere, and I do mean everywhere. My first card today was inspired by a painting I saw in the Doctor’s office, an old world villa painted in rich earthy tones, deep flower hues and a sense of viewing a past era.

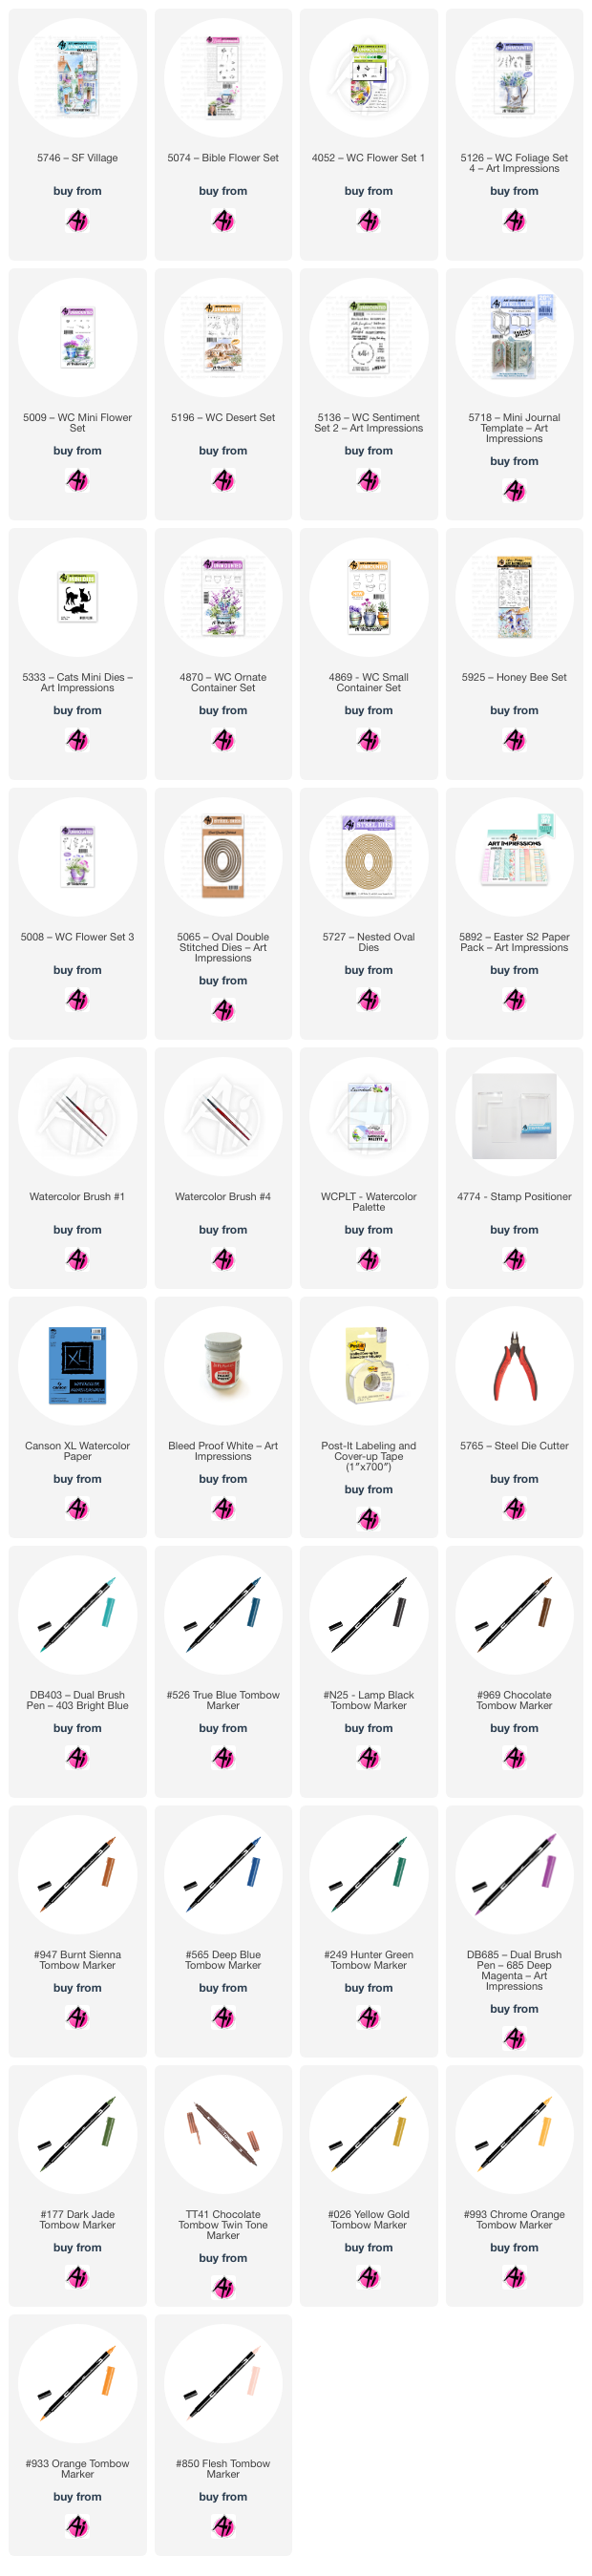
I went for a vintage journal page themed card with the 5746 SF Village that I stamped in 969 and stamped off once. Lightly pulling the color out of the lines in the areas that are shaded, I then added more of the 969 to the roofs and used the #1 brush to add additional details on the roofs and gables (the triangle piece under the roof).  The chimneys and the walls of the buildings I added 947 adding more in the shaded areas leaving the more exposed parts lighter. I also used 565 to darken the shadows even more and added just a touch of 403 on parts of the ledges. I started working on the shadows for the window boxes and awnings, and added 526 to the top of the awnings, keeping in mind that I still needed to put in the foliage and flowers, so not too dark. The windows I used a mix of 565 and N25, just a touch of the black helps tone down the more purple hues of the 565. The doors are 969 and the shadowed areas were done with the same mixture I used on the windows. Using 126 I placed some green on the building in areas to give an appearance of moss, aging the building even more.  I then used 526 to put in the sky and 249 for the distant background greenery giving a slight look of trees and filling the gap between the buildings.  The ground level pots I left white adding in 565 for shadows on the pots and on the ground, a bit of the 947 onto the sidewalk to blend with the buildings a little bit. The chalkboard was done with 969 and N25 with Bleed Proof White for the Hello. I edged the sidewalk with 969 to give depth and 565 to add shadows on the road. 

That leaves the foliage and flowers. For the white pots I used the larger “dot” filler flower from the 5074 Bible Flower Set (you can also use 4052 Flower Set 1), separately I used 126 and 026, stamping just a couple of times for each pot and then using 177 over the top of those two colors and adding water to blend the 3 colors together. For the flower boxes, the top of the one awning, and the vine growing up the building I used 5126 Foliage Set 4, inking just the tip of the small vine with 177. The small “dot” filler flower from 5074 Bible Flower Set (you can also use 5009 Mini Flower Set) was used for the flowers, 403 for the vine, and 685 for the window boxes/awning, adding just a little bit of water to blend them out.  Bleed Proof White flowers were also added. The grass from 5196 Desert set in 177 was used in the back left pot. Brown Twintone marker was used on the small sign to give a suggestion of writing and for putting in the panes on the windows and anywhere else I felt needed a little more definition. I used the small frame from 5718 Mini Journal Template for the sentiment from 5136 Sentiment Set 2 and stamped the leaf cluster from 5126 Foliage set 4 in 133 with a line drawn up the branch through the leaves with 177. I also added a die cut cat colored with 947, shaded with 565 from 5333 Cat Mini Dies and popped up with foam tape. 

My next card was inspired by a Gnome made out of painted terra cotta pots, I seriously want to recreate this in real life, but for now I will use my stamps. Like I said, you can find inspiration literally anywhere, even a craft show that my daughter in law went to. (Wink) The Gnome is made out of two sets of containers, 4869 Small Container Set and 4870 Ornate Container set. All pots were stamped in 565 and 969 and stamped off twice. 

Using the small pot, I stamped this one first. I then used the pot from the ornate set, inking only the bottom of the top rings and the main sides, leaving the saucer off of the bottom. I used the stamp positioner and centered it under the first pot with about a ¼ inch gap.  I extended the lines up with a pencil to create the “hat”.  Using the same stamp from the ornate set, inking the edges of the top to leave room for the beard and just the sides, I masked the pot above and again using the stamp positioner created the “body”. After pulling the color out, I added 565 for shadows on the top 2 pots. I then sketched in the nose, beard, and feet with a pencil.  I used N25 for the feet, 403 for the body. 850 and 910 for the nose.  Using the stamp positioner and one of the flowers from the new 5925 Honey Bee Set inked in 565 and 969, stamped off twice and positioned it onto the “hat”. I used post-it tape to mask off to the right side to keep from stamping off of the pot.  I used 177 and 403 to color in the flower, keeping in the details of the pot.  I then added the single flower coming out of the top pot from set 5008 Flower Set 3 with 177 and 993, from my palette I added just a touch of 933.  I used a ruler and pencil to create the background boards, then with a touch of 565 to give a bit of detail to the underside and edges of the boards for some dimension.  969 was used on the floor, adding a darker layer for the shadow under the pot. I then used a mixture of 565 and 969 to create the shadow behind the pots and the flower.  Finishing off with the brown twintone to add lines back in.  The flowers and colors were chosen to match with the paper from 5892 Easter S2 PP. I cut out my image with the 5065 Oval Double Stitched Dies and the mat I cut out with the 5727 Nested Oval Dies.  Thank you for joining me today, I sincerely hope you enjoyed my tutorial, until next time, Create…Share…Inspire!