Showing posts with label 5791 Snowglobe Set. Show all posts

Sunday, October 8, 2023

Snow Globe & Rustic Bird House by Tricia


Hi Watercolor Fans - Welcome to Art Impressions Watercolor Weekend...and our NEW format!  I am just loving it and am so excited to be showcasing two cards that I made from the most recent new Watercolor Releases. Bonnie has outdone herself AGAIN.  Here are my cards (make sure you scroll to the end) for this Sunday.

Up First - The Snow Globe

I knew I wanted this snow globe to be sitting in the window of someone's house.  Using the new snow globe stamp set, I traced around the outside of the circle die with my paintbrush loaded with light blue paint. I added water to keep it really light and to blend the lines. Be careful to remain really close to the sides of the glass, we can build the color up after we stamp our images.

For the base, I inked it up using 969 and stamped it beneath the globe.  I added additional color from my palette. You want to follow the artist drawn lines when you paint in the base (if you are doing wood).  By keeping dark shadows on the sides and underneath the globe, it gives a three dimensional illusion.

Next, I planned out my runner and window using a pencil.  I added some color to the wood around the window and the window runner.  I added some 569 and 969 from my palette with a lot of water to add grays and blues to the window.  TIP: To differentiate the window from the globe glass, use downward strokes on the window and rounded strokes for the globe.  Also varying the color of the blues to each, I used 569 & 969 (gray) and 493 light blue to the window and water, while using 565 and 569 to the globe with hints of 493 for reflection.

I stamped a couple of the trees from the set using 249 into the background while it was dry and some while it was wet for that blurred effect.  I inked up the snowman from the set with 569 and then used 969 where I wanted a mix of color (hat, arms, face, buttons, scarf).  I stamped him into the left third of the globe.  Next, I masked him off and using some 569 and 606 stamped in the house and trees (stamped off several times).  I used a little water to blur it.  Using my palette, I added some additional color to his shadows, scarf, arms and hat.  I also added some snow beneath him.

As soon as that was done and completely dry, I added a really light wash of color, inside the glass, extending the wall, window and some of the runner reflection into the globe. I also added some darker color to spots making sure everything was blended.  I added a bit of wink of stella for some shine.

Once I signed and dated it, I cut this out with my rectangle dies and the new banner die from the Decorative Journal Pages 1.  I added some 249 and wink of stella to give it some color :)  I added these to a patterned background.

.

Next - Rustic Bird House


This one is quick and easy but has a huge impact.  It would be easy to mass produce this one for Christmas Cards.

I started off by inking up the bird house with 569.  I generally start with 569 when painting snow so that it doesn't get dirtied up (unless that is the look I am going for).  I added some 969 to the house and to the posts. Using clean water, I pulled the color from the roof and beneath the house (snowy areas).  

TIP: to make a snow mound, turn your paper upside down, run the brush and water along the line to create a highlight.  When it dries this will give the illusion of a tall mound of snow - Bonnie has lots of winter videos - check out the Art Impressions Winter Watercolors Playlist.

I added some additional color to the house and snow.  Remember to leave lots of white space and build your color slowly. To mimic snow mounds (which I am desperately praying for this year) I added some 606 as a shadow under the house.  By inking up only the very top of the trees with 249, it gives the appearance they are buried it snow.  Same with the small tree inked with 969.  

For the cardinal, I inked it with 969, in hindsight I would stamp it off once or twice for a lighter image.  Build up your red so you don't lose your highlights and shadows.  I added some really light blue to either side of the image (don't go above the top of the birds head or below the house).

I placed this in my MISTI and stamped Joy from the Christmas Sentiments stamp set.  I cut it out and glued it behind the Snowflake Frame Die (cut out of white paper 3 times for strength).  This was added to a mat cut from the new Christmas PP using the Decorative Journal Page 1 die set, matted on another piece of patterned paper from that pack.

And that is it, two Christmas Cards done!  I hope you share what you are making with us on Instagram or Facebook. Thank you so much for stopping by and spending a little of your very valuable time with me.  I really appreciate it and you. I love all of your work and feel inspired and thankful everyday to be a part of such a beautiful community of creative souls!  Have a wonderful Sunday!

SUPPLIES:

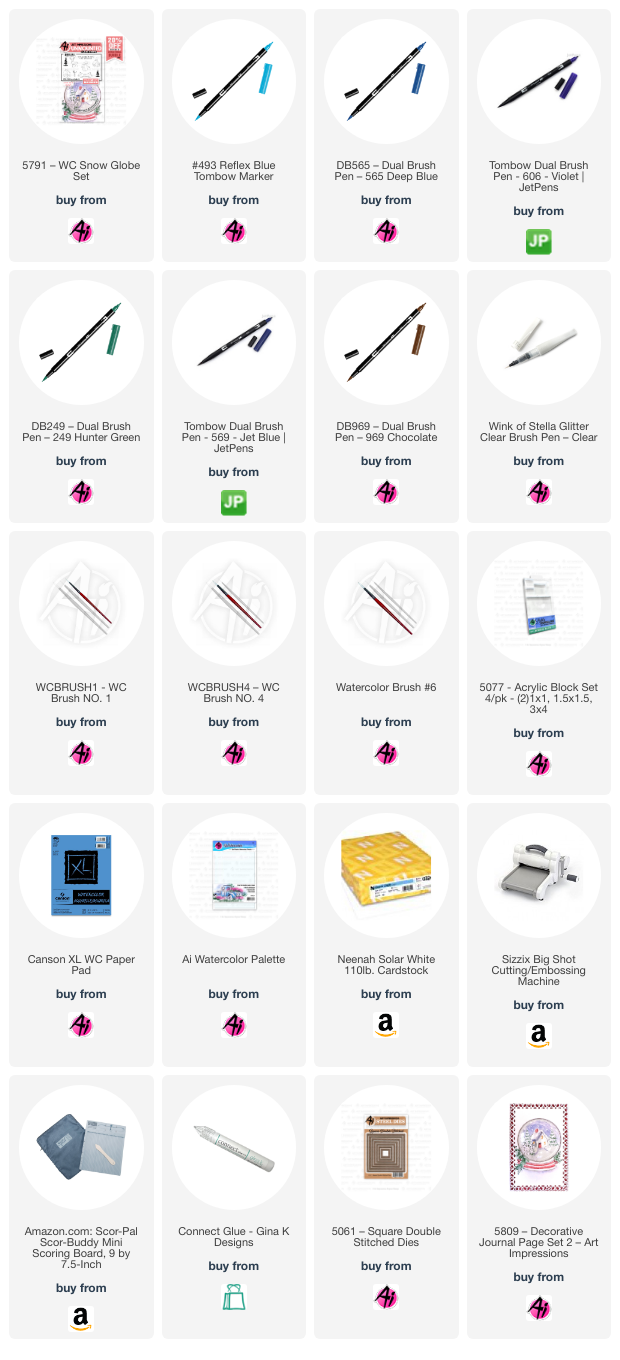
Snow Globe


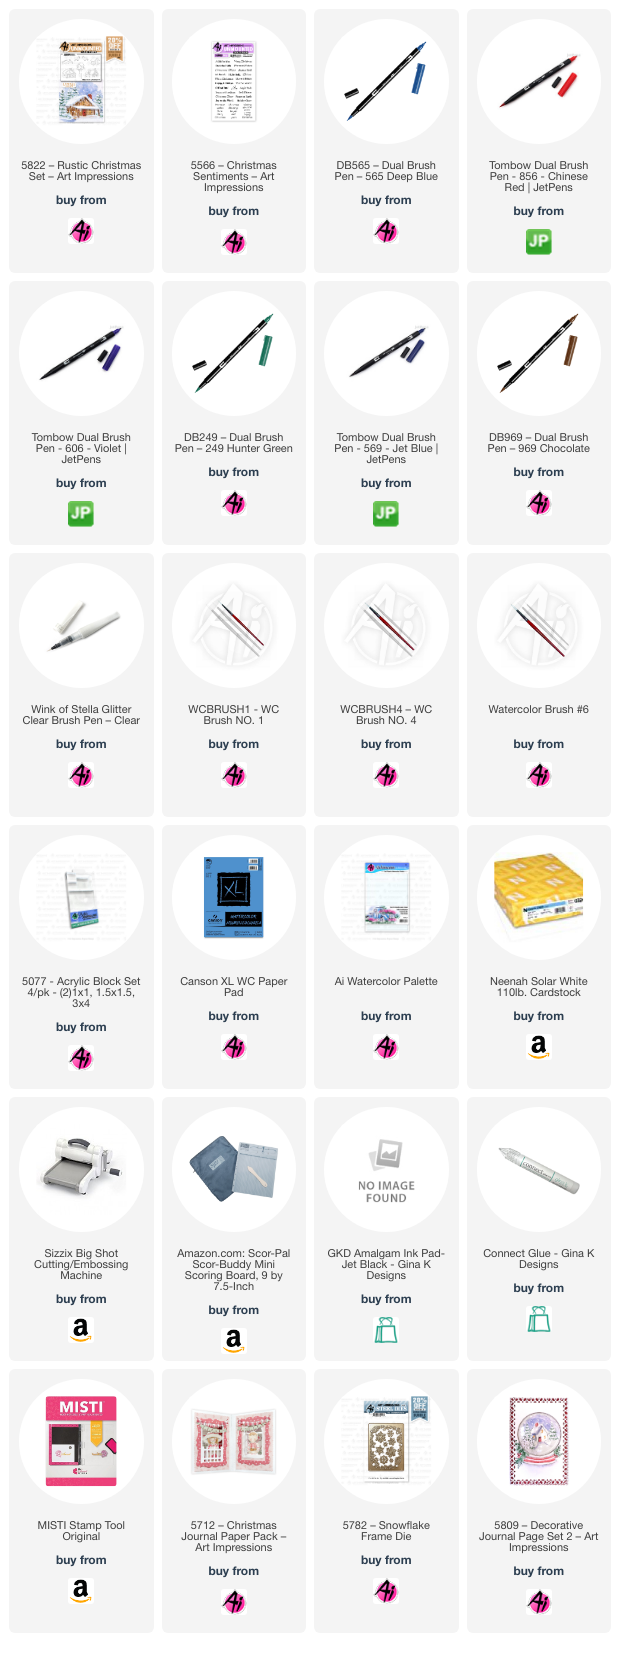
Bird House


Sunday, October 1, 2023

Boo Y'all & a Shaker! - by Karen Day

Hello Ai Watercolour fans!


We're changing up how the Watercolour Weekend posts are going to be going forward.  Each of the Watercolour Team Designers will take turns featuring two projects every Sunday, and I'm kicking it off for October with all kinds of photos, info, and even a video!  Lots to see, so keep scrolling.

First, I have a fun Halloween card, using a mix of old & new products:

I stamped the house from 5602 - Spooky House & Post Set and 5778 - FB Frog Costume onto Canson XL Watercolour Paper using Tombow #969/565.  I used one of the Ai Nested Circle dies to draw in the moon behind the house, and then started painting!  For the house, I've used #676 & 606, with 346 for the shutters, and N55 for the grey bits, adding several layers where it needed to be darker.  Using the marker directly on the paper, I added the glowing window panes with #991.  I also used #991 for the moon, washing it out towards the center, and adding an extra layer of colour around the rim to make it darker.
The grass and frog costume were painted in #126, with #158 added to make some areas darker, and #346 was used for his shoes.  #850 became his skintone, with rosy cheeks added with Copic marker.  The frog comes with coordinating dies, so I was able to quickly cut him out.  *Since he is a Front & Back stamp, I had painted up the back image as well, and intended to have the grassy bank on a hinge that would open up to reveal the sentiment, but I ended up just using the front.  The pumpkin was started with #933, and layers of 905 and 969 were added to the underside to create deeper tones.  I used a Black Twintone marker to darken the pumpkin face, and all the details on the frog costume as well.  A wash of #526 was painted in as the sky, with darker layers of colour farther away from the moon.

To assemble my card, I used the purple starry sky paper from the new 5849 - Halloween S2 Paper Pack as the base.  I die cut my scene with a 5063 Rectangle A2 Double Stitched Die, then I created another grassy bank that I die cut and adhered to the base with 3D Foam Adhesive to have it stand out.  I cut out the 3 bats from the new 5769 - Halloween FB Fence Set and two pieces from the 4967 - WC Fence Dies in black cardstock.  The fence was glued onto the grassy bank, and the bats were adhered to the sky, some with 3D foam.  My Trick-or-Treater was glued onto the foreground, with some foam adhesive under his head.  The sentiment is from 5603 - Halloween Sentiments Set, stamped in Versafine Onyx Black ink.

Snowglobe Shaker Card

My second card is using several of the just-released holiday products!  Be sure to scroll all the way to the bottom of my post to see a video of the shaker in action:

I like to use Ranger Watercolour Cardstock when I'm painting snow, as it's a lovely bright white colour, so I cut it into a 4" x 3" piece, and stamped out my scene.  Using Tombows #969/565 for all my images, I started with the deer from the 5791 - WC Snowglobe Set, and then covered him with a mask.  I stamped the 5378 - WC Stone Creek Scene, leaving a space for the church, and eliminating the row of rocks that are farther back (I thought they would compete with the deer image).  This was the perfect background for my scene!  Masking the church, I coloured the smaller pine tree in the set in #249, and stamped it just behind, and then repeated them behind one of the hillsides, to look like the trees were farther away.  I also used the small leafless tree to put a few around the church as well.

Now I began to pull out the colour with a damp brush, being strategic of which direction I pulled it, making sure it was where the shadows would fall, or to simply highlight a hillside.  I went over these areas with a mixture of #565/605 - as I wanted my snow to have a more bluish hue, and I painted in areas where there would be shadows.

For the deer, I used #947 & 969, keeping it lighter on top, and adding more layers of colour to the shadowy underside.  I added a little #N55 to his hooves and antlers, and also painted this onto the door and spire of the church.  To give the rocks a little colour, I dabbed on touches of N55, 947 and 565, as I like them to have a mottled, multi-coloured look.

I softened the pine trees by going over them with a damp brush, and once dry - added touches of Dr. P.H. Martin's white paint to put some snow on the branches, and did the same to the other trees.  It's hard to see, but I added Stickles to the rocks, trees and roof of the church for a little sparkle.  I used tones of #443/565 for both the stream and the sky, keeping the edges a little bit darker.  I adhered my scene onto my card base, matted with some glitter paper.  

To create the shaker, I cut the new 5782 Snowflake Frame Die in white cardstock, as well as some white fun foam.  I glued the fun foam over my scene, then added glitter and sequins in the middle.  I added a rectangle of clear acetate over this, then glued on my cardstock frame - and my shaker was complete!  Here's a slo-mo video so that you can see the shaker in action:


Thanks for joining me today!  Don't forget to look for the Watercolour Design Team with two projects every Sunday here on the blog and other Social Media sites.  See you next month!


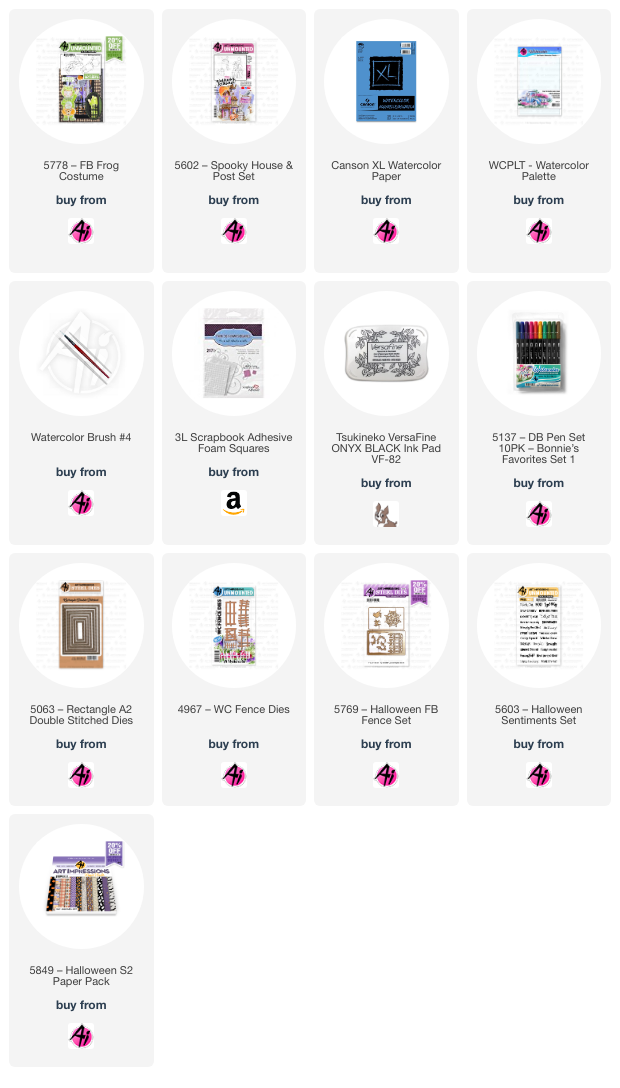
For the Boo Y'all card:

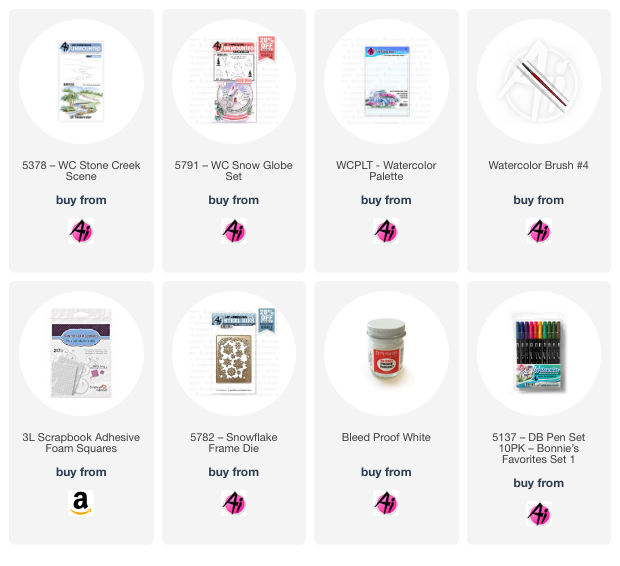
For the Snowglobe Shaker card: