Showing posts with label 5990 Dwelling Accessory Set. Show all posts

Sunday, July 13, 2025

Glass Flowers and Birds and Bicycle Shop by Gennette Houghton


Hello, and Welcome to Watercolor Weekend!! I love playing with random ideas, it’s even better when they turn out the way you want them too! Ever since I started with the watercolor line, I have found myself seeing inspiration everywhere. The versatility of these stamps leave endless possibilities. The idea for my first card actually came from an embossing folder, I just added birds into the mix.  

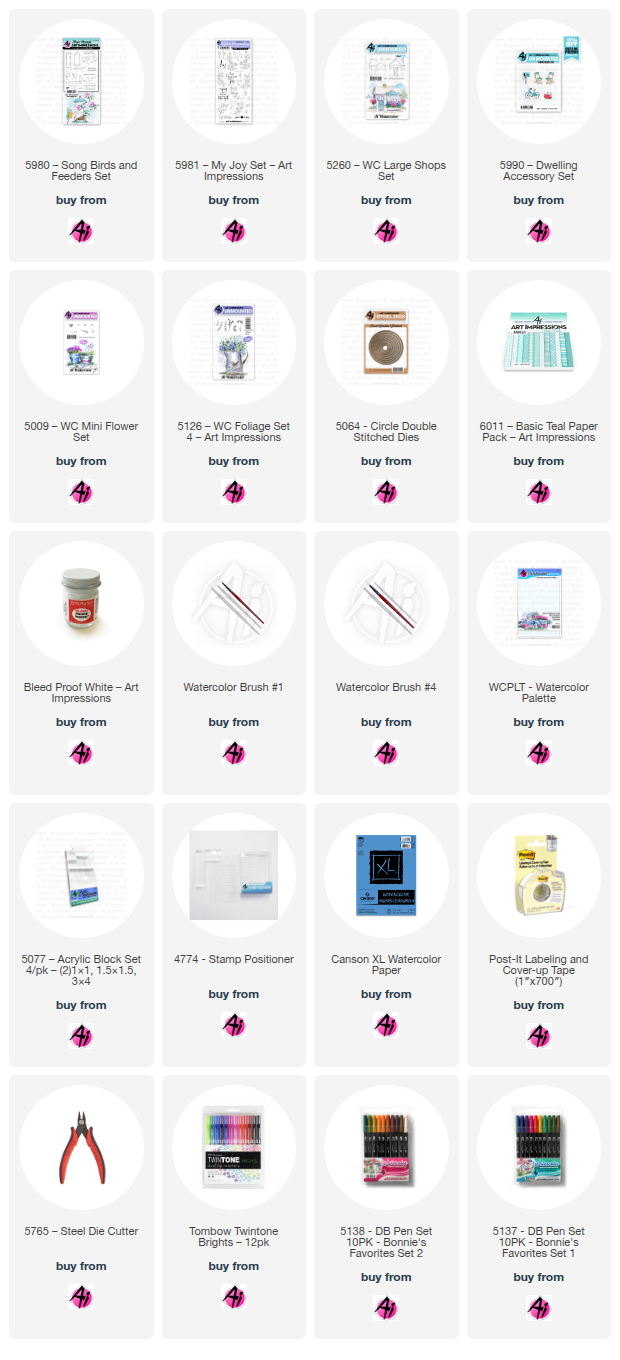
I started out using the acrylic piece from the stamp positioner set, and traced around it to give me a guide on watercolor paper.  I then masked the sides off with post-it tape.  Stamping in 3 of the birds from Kim’s set 5980 KH Song Birds and Feeders in N49 and stamping off once.  I then created masks for each of the birds. Taking two of the flowers from 5981 My Joy Set, using both the left and right, and stamped them in N49 after stamping off once. Turning my paper in different directions as I was stamping them in. 

I wasn’t fully decided yet on where I was going with this, so I started with 569 for the background. I knew I wanted the design to be lighter, so I focused more color around the images to help them pop. Sometimes making decisions about what color to use can be hard. I used my stamp off piece to figure out the colors I wanted to go with, trying several different variations before I settled on a combo that almost made the images look like glass. Before painting the images, I used a pencil on the eyes and legs of the birds. Starting out with N52, which is a beautiful blueish grey, giving some depth to the center areas of the flowers, and using it to define the leaves and birds. I also used this color for any areas that would be shadowed. I then went back over it again with the N52, but focused the color around the centers of the flowers and darkening up any shadowed areas. I then used 526 to add a touch of color over the images, trying to keep it a bit subtle. I then matted my card with an embossed design, cut down my image leaving a bit of a white border and matted the image with a dark blue paper. Popping the image up with foam tape and offset the image on the card base. 

For my 2nd card, I created a bike shop using 5260 WC Large Shop Set. On watercolor paper, I first stamped the bicycle from 5990 Dwelling Accessory Set and created a mask, the size of this bicycle was absolutely perfect!! I used the stamp positioner to help me place the shop exactly where I wanted it. I wanted to try out the new ink pad that is now available, Archival Ink in Shadow Grey, so that is what I used for both images.  I did, however, use a mix of 565/969 to add a bit of dimension to the building, just like you would if you were pulling the color out.

I then took a pencil and ruler to sketch in some details that I wanted on the roof, windows, and the sign.  Creating the roof tiles, I offset them and rounded the bottoms, using the pencil lines as a guide.  Using the largest circle from the Double Stitched dies, I also traced a guideline around my image.

373 is what I used on the roof, door, and trim, I also used that color on the canopies, after I had sketched in some lines on them later.  For the walls on the building I started with 090, I was going for a soft cream color, but next to the teal it almost had a green tint to it, so I lightly went over it with 990 to tone it down.  I played a little bit with the window panes, I wanted a look of an idea that there was a bunch of stuff in the shop. So in different sized blocks I used 565, 912, 055, 133, and 676.  I used 565 to shadow the door, canopies, roof peak, and also the window boxes.  I used 947 on the chimney, sign, and door knob, with a touch of 969 for the shadows. A little bit of 947 was also used on the tiles to create spaces with a little more dimension.  I also used 565 behind the sign for a shadow and at the base of it. For the bike I used 969 on the seat and handles, darkening the underside of both with the same color.  The frame of the bike was painted with 912, adding more in the shadowed areas. The pedal I used N15, and the tires a mix of 565/969.  I then masked off the bike again and each of the window boxes. The flower bunch from 5009, inked with 177 and 676, for the flower boxes.  As you can see, none of the green made it into the scene, but my masks are a lovely green! LOL! I then used the small vines from 5126 WC Foliage Set 4, inking just the tip in 177.  Stamping in multiples to create a bush under the boxes on each side, and creating a vine going up on the left side.  It was at this point I wished I had thought to add a light from 5263 WC Lamp Post Set, but I already had too much color in to do so.  Just throwing that idea out in case you wish to try.   Softening both the flowers and vines with a touch of water.  After they were dry I added in little dots of Dr. Ph. Martin’s Bleed Proof White.  I still felt the building needed something, so I decided to add bricks with 947, to give it some texture.  Some more of 565 was used to add a bit more shadows in the door well and behind the bike tires.  I used 526 for the sky, and a mix of 565/969 for the ground.  I then used 5064 Circle Double Stitch Dies, using the largest to cut out my image, and matted it onto a dark teal die cut from my stash.  I then matted my card base with paper from 6011 Basic Teal Paper Pack.  I really love how this came out.  Thank you for joining me today, and I hope you enjoyed my cards! Until next time!  Create….Share….Inspire!!


Sunday, March 16, 2025

Have a Magical Day and Joyous Easter Cards

Hello, and welcome back for Watercolor Weekend!


Hello, AI Watercolor Friends, I hope you are having a wonderful weekend! 


Today I have two spring-inspired cards to share with you. The first card is a “Just Because” or “Thinking of You” card featuring elements from the new Dwellings Sets (5989, 5990, and 5992). The second is a sweet Easter card featuring 5433 – WC Foundations Door.

Art Impressions recently released seven new 2025 Limited Edition Freebie stamps! With a purchase of $30 or more, you can choose one Freebie stamp while supplies last. These adorable new stamps showcase a variety of dwellings. Additionally, four add-on accessory sets are available for purchase, designed to complement the dwellings and enhance your scene-building!

For my “Have a Magical Day Card”, I used several stamps from the add-on sets to build my scene. The tiny gnome is from 5992 - Dwelling Animal Set 2 and the mailbox is from 5990 – Dwelling Accessory Set. The path and foliage are from 5989 – Dwelling Foliage Set. While the exclusive 5999 – Stump House Freebie would have made an adorable home for my little gnome friend, I decided to use a different type of home. I chose the coffee pot house from 5935 - Fairy Tale Houses Set. This house worked perfectly with the add-on images and helped me to create the blue-speckled enamelware coffee pot I had envisioned. The fence, bee, and Blacked-eyed Susan images are also from 5935.


Using a pencil, I traced a rectangle die onto my Canson XL watercolor paper and placed it into my stamp platform. I arranged each image stamp within the rectangle to decide where each would be placed. Since the gnome and mailbox overlapped the coffee pot I knew they would need to be stamped first. I carefully pressed the door of my stamp platform onto the stamps and then removed all the stamps except for the gnome and mailbox. All of the images (except for the large flower) were stamped with Ranger Archival Ink Shadow Grey, stamping off once on scrap watercolor paper before stamping onto my painting. I then made masks for the gnome and mailbox before stamping the coffee pot in place. With the masks still in place, I stamped in the path. I placed a piece of Post-It tape along the edges of the house and stamped the fences. I masked the top of the spout and inked the flower stamp in 993 for the petals and 177 for the leaves and stem, and stamped into place.

I sketched some hills and a road with a pencil. I used a watery mix of 526 for the sky, being careful to avoid touching the flower. For the hillside in the background I used 177, 249 for the area in front of the house, and 977 for the dirt road.

The blue-speckled coffee pot was painted in 555 and a little 565 for shadows. All the windows were painted with 565. I used N52 for the chimney and N45 for the bricks. I pulled the color from the flower and added 969 to the center. Using a #0 round brush, I painted in vertical lines with N52 on the white part of the house, shutters, and door.


I stamped in a row of bushes on the back hill, inking the stamp from 5372 WC Mini Foliage in 177. I used foliage stamps from 5989, inked in 249 and stamped around the house and fence posts. I also added tiny grass from 5372 inked in 249 along the fence, house, mailbox, and road. I used the bullet tip of 993 to dot in some tiny yellow flower bunches and dabbed with a damp brush.

I pulled color from my palette to paint the stones of the path. The mailbox was painted with N45, 856 for the flag, and 977 for the post. For our little gnome friend, I used 856 for the hat, 993 for the shirt, 249 for the pants, 910 and 912 for the hands and nose, 977 for the boots, and wisps of N45 for the beard.

I painted the windowpane frames with Dr. Ph. Martin’s Bleed Proof White. I also used the white paint to dab in the flowers and add speckles to the coffee pot. I used a Strawberry Red TwinTone marker to draw stripes on the hat and add centers to the white flowers. Where needed, a brown or gray TwinTone was used to add details.

I matted my blue card base with a yellow patterned paper from 6012 – Basic Yellow Paper Pack. The painting was popped up with foam tape. I felt like the painting was missing something, so I stamped and die-cut the little bee from set 5935 and added it to the painting. N45, 993, and N52 were used to paint the bee, and a touch of 725 to dot the cheeks.


For the interior of the card, I stamped the “Have a magical day!” sentiment from 5935 in blue and the tiny bee in black. I used a gray TwinTone to draw the flight trail.


Next up is my Easter card using the 5433 – WC Foundations Door. I have had this stamp forever and decided it was finally time to paint something with it. For inspiration, I watched this fabulous tutorial on YouTube by Bonnie Krebs for this set https://www.youtube.com/watch?v=0lAYlNatAW4&t=1637s. Her tutorial was mostly a spring painting, but I wanted to decorate my door and porch for Easter.


I placed the door stamp into my stamp platform, inked it with 969/565, and stamped it off a few times before stamping it onto my watercolor paper. When I inked the stamp, I left off some of the lines on the bottom step so I could stamp in my chicks without having to mask them. The little chicks are from 5737 - Bunny & Chicks Set and were inked in N52. I placed Post-It tape on the edges of the pots, stamped in the bunny from 5737 and eggs from 5738 - Easter Egg House Set in N52. The cute little door sign is from 5488 - Front Porch Easter Set and was also inked in N52. I used a pencil to sketch the top of the step, behind the chicks. Next, I used a damp brush to pull out some color from the lines of the foundation stamp to create shadows and contours.


I won’t be going into detail on how to paint the door, pots, flowers, and vines. Bonnie’s tutorial does an excellent job of explaining how to paint those. Below is a list of stamps and colors I used to paint the stamped images.

Vines, flowers, foliage, and branches:

  • 4052 – Daisy bunch (526 and 636)
  • 5008 – Spiked flowers (526) and tall stemmed flowers (725)
  • 5126 – Vines (249) and leafy branch (177)
  • 4051 – Teeny tiny grass and vine (177)
  • 4964 – Branches (177)
  • 5009 – Dotted flowers (526)

Flower pots and Watering can:

  • Hanging pot – shaded with 565 and 636 for the stripes
  • Terracotta Pots – 947
  • Pot with Easter eggs – 565 (additional color came from the flowers and leaves of the pot below)
  • Pot with pink flowers – 565, 526 for the stripes
  • Watering can – 565, 565/969 mix, and N52

Door:

  • Hinges and knob – 969
  • Windows – 565
  • Sign – 526

Easter Eggs, Bunny and Chicks:

  • Eggs: 925, 173, 725, 526, 993
  • Bunny: N52, 703, 565
  • Chicks: 993, 947, 925

Once all the images were painted, I used Bleed Proof White to dot the flower centers, a tiny flower bunch, and designs on the eggs. TwinTone markers in brown, gray, turquoise, and orange were used to add detail. I used a Silver Signo pen for the wires on the hanging pot.

For the background, color was pulled from the flowering vine. Additional color for the background was added from my palette. 177 and 249 were used for the grassy areas near the pots and chicks.


Since there was so much detail on the front of the card, I decided to keep the interior simple. The sentiment from 5733 – Easter Sentiments Set was inked in purple.


Thank you for stopping by for Watercolor Weekend. I hope you will give these cards a try, they were lots of fun to create. Until next time, Happy Painting!