Showing posts with label 5989 Dwelling Foliage Set. Show all posts

Saturday, October 11, 2025

Bible Art - Bookmark by Janet

Today I stepped a little out of my comfort zone to try a bite-sized project using watercolor painting the Ai way! I'm not half as skilled as our WC Design Team but when your art is as little as on this bookmark, having perfect skills don't matter. It's just an element and not the primary focus of the project.

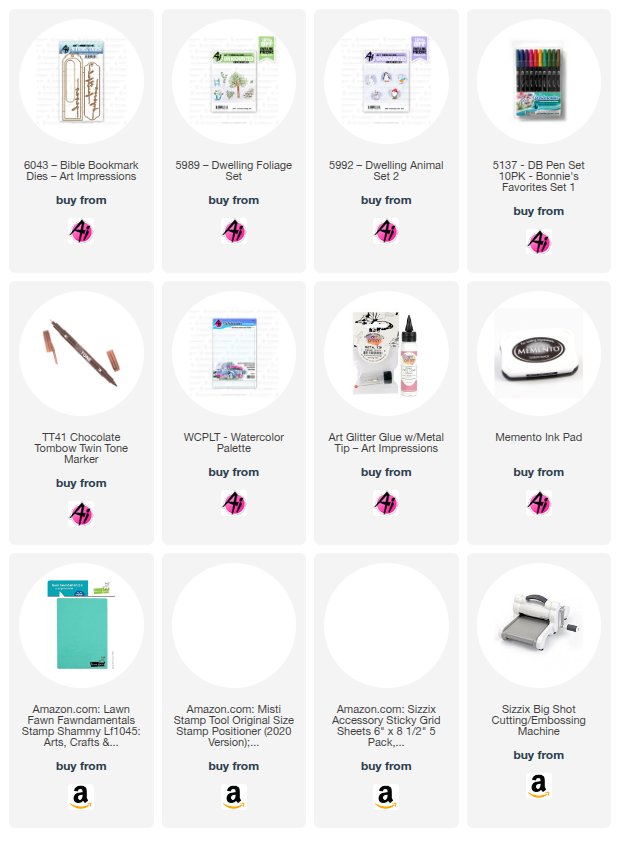
The bookmark is created using the 6043 - Bible Bookmark Dies. The set includes three scripty words of faith and I chose to use Jesus on the bookmark. There are many pieces in the set so you can use your own creativity to give these your perfect touch. At the bottom of mine, I stamped the bird from the 5992 - Dwelling Animal Set 2 and the tree is from 5989 - Dwelling Foliage Set. The stamps in the Dwelling sets are so perfect as little accents and their size makes them simple to paint using Tombow markers, water and a brush. 

After completing the bookmark, I made the tassel for it out of baker's twine. I haven't made one in decades so I had to really think about it. It turned out well and is perfect attached to the bookmark.

I liked using this die set so much, I immediately made another bookmark and I think these will be great little gifts tucked into Christmas packages this year or inside a card. They'll fit nicely into bibles and other books. What do you think? Would these make good gifts for the book lovers in your life?

Thanks for joining me here today. As always, don't forget to find your favorite stamps, dies, papers, and accessories at the Ai Store! You'll always find something that calls to you. 

Happy Crafting!

Janet YouTube - Blog - Facebook - Instagram - Pinterest 

Wednesday, October 1, 2025

October 2025 Monthly Challenge with Simone Carr

 Hello Ai fans!

Welcome to our October Monthly Challenge.

This month we have Simone Carr as our Guest Designer.


Hey there, I’ve got a fresh project that’s perfect for the season to share with you.


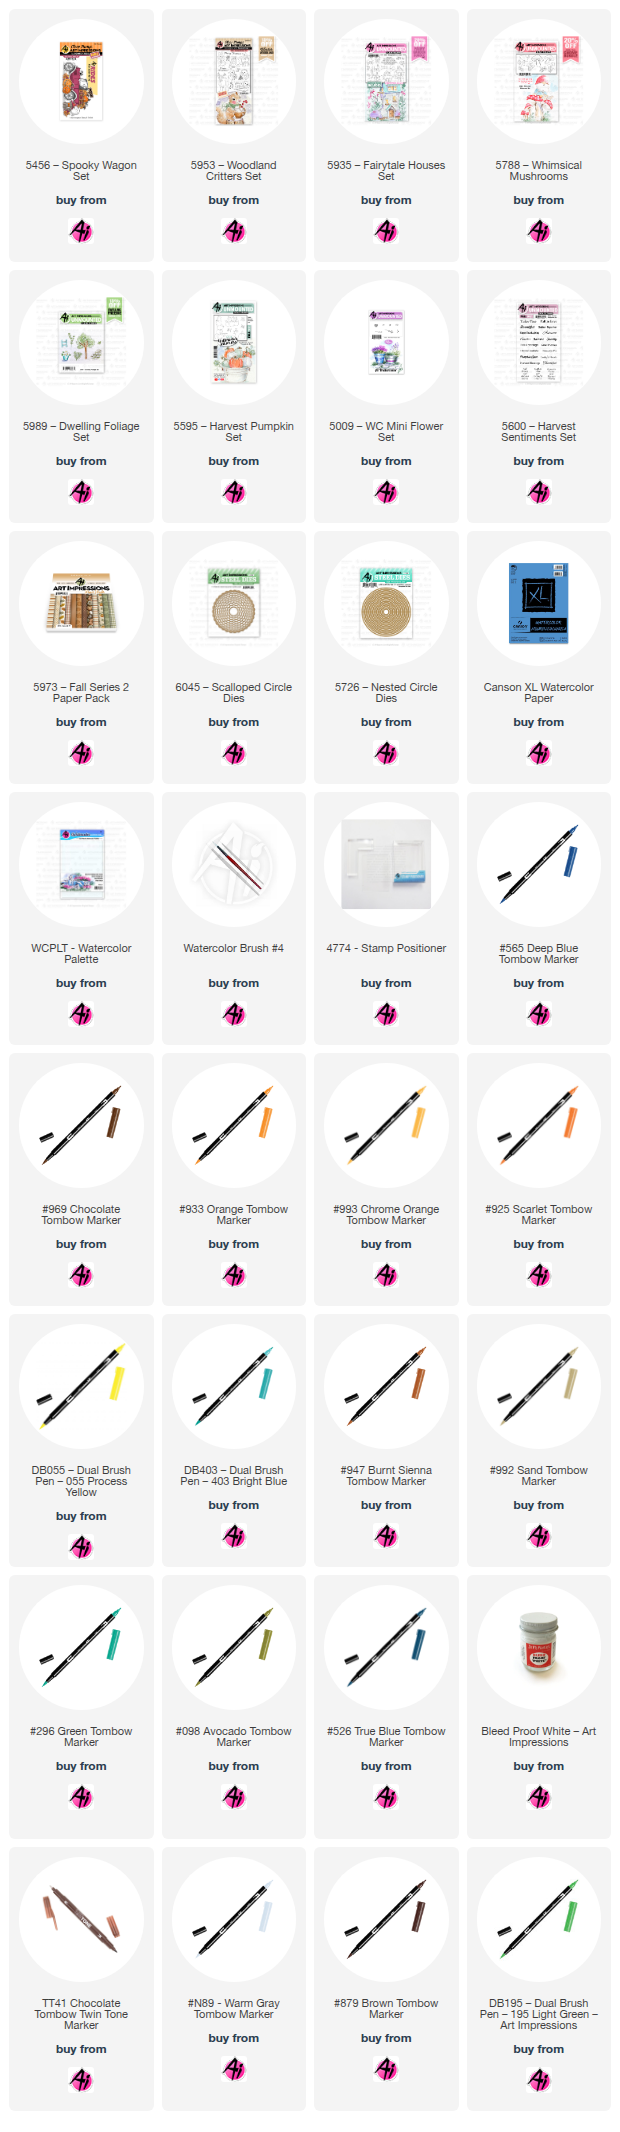
On watercolor paper, I stamped the stump from the Woodland Critters Set (using the squirrel stamp) in Tombow 565 + 969, using my stamp positioner for precise placement. I then stamped the teapot from the Fairytale Houses Set with the same ink combo. To add a whimsical touch, I positioned the ladder from the Dwelling Foliage Set against the stump, again using the stamp positioner to get it just right.

Once the main elements were in place and stamped, I began coloring. After that, I stamped in the mushrooms from the Whimsical Mushroom Set and brushed in a soft blue sky using Tombow 526. To complete the scene, I stamped the pumpkin foliage and grass from the Harvest Pumpkin Set and Foliage Set 3, and finished with flowers from the Mini Flower Set. I saved the flowers for last to layer in extra detail and color.

For the card design, I die cut the scene with the 4th largest Nested Circle die and layered it on a scalloped circle die cut for a polished frame.

Materials Used

Stamps:

5600 Harvest Sentiments Set

5788 Whimsical Mushroom Set – Small Mushrooms

5595 Harvest Pumpkin Set – Leaves

5007 Foliage Set 3 – Grass

5009 Mini Flower Set

5989 Dwelling Foliage Set – Ladder

5953 Woodland Critters Set – Stump (Squirrel)

5935 Fairytale Houses Set – Teapot

Dies:

5726 Nested Circle Set – 4th Largest

6045 Scalloped Circle 3

Paper:

5973 Fall S2 PP

Canson Watercolor Paper

Inks & Markers:

Tombow: 565 + 969, 933, 993, 925, 905, 055, 403, 947, 117, 992 (teapot), 296 + 992 (mushrooms), 839 (flowers), 098 (grass), 526 (sky)

Bleed Proof White

TwinTone Brown


For my second card I chose to make a Halloween card.


I started by cutting a 2" circle from masking tape to use as a moon mask. To create the background, I placed a stencil measuring 3 ¼" x 4 ¾" over a 4 ¼" x 5 ½" piece of cardstock and taped it down so it wouldn’t shift. With the moon mask in place, I began ink blending—first with Twisted Citron around the moon, then layering Lucky Clover across the panel while leaving a glowing halo around the moon. To deepen the night sky, I blended Chipped Sapphire around the edges.

After blending the background, I watered down Bleed Proof White and then splattered it across the panel for stars, finishing with a mist of Fossil Amber Distress Spritz to add a soft, magical glow. Once everything was dry, I removed the moon mask and placed a moon stencil to add subtle texture with Lost Shadow ink. I then set the panel aside to dry completely.

Next, I stamped all my images from the Spooky Wagon Set (5456) onto Bristol Smooth cardstock using Shadow Grey Archival Ink. I colored them with Tombow markers, then die cut each piece. To assemble, I layered a frame die from my stash (cut twice for extra dimension) over the blended background, arranged my stamped elements, and popped them up with thin foam tape. Everything fits perfectly on an A2 card base (5 ½" x 4 ¼").

The end result is a playful Halloween scene with a glowing sky that makes the spooky wagon really stand out!

Materials Used

Stamps:

Spooky Wagon Set (5456)

Inks:

Distress Inks: Twisted Citron, Lucky Clover, Chipped Sapphire, Lost Shadow

Fossil Amber Distress Spritz

Shadow Grey Archival Ink

Markers:

Tombow: N55, N45, N35 (Truck & Cat); N89 (Ghost); 020, 991 (Truck); 969, 879, 947 (Truck, Sign, Pumpkins); 933, 195 (Hat); 933, 946, 925, 905, 055 (Pumpkins)

TwinTone: Black, Brown

Paper:

Bristol Smooth Cardstock

Glitter Cardstock

Other:

Bleed Proof White

2" Circle Mask (for Moon)

Stencil (3 ¼" x 4 ¾")

Frame Die (from stash)

Foam Tape

Card Base (5 ½" x 4 ¼")

----------------------------------------------------------------------------------------------------------------------------------

WOW! What adorable cards from Simone!
We're sure you're going to be inspired by these.

We hope you'll add your creations to our challenge. Remember, even though Simone created Fall themed cards, our Monthly Challenges have no theme. You may enter ANY crafty project as long as you use some Art Impressions products on what you create.

See below for all the details.

You are invited to the Inlinkz link party!

Click here to enter

Thursday, August 7, 2025

Gnome Frame by Dori Mendiola

Happy Thursday AI Friends!

Today I have a cute little frame that fits right in with the current blog challenge called "Stitches and Scallops".  I love this little #5902 - Mini Scallop Frame set.  It makes the cutest little display card for a desk, mantel, shelf or anywhere for that matter.  This one with the gnomes brings a smile to my face.
        

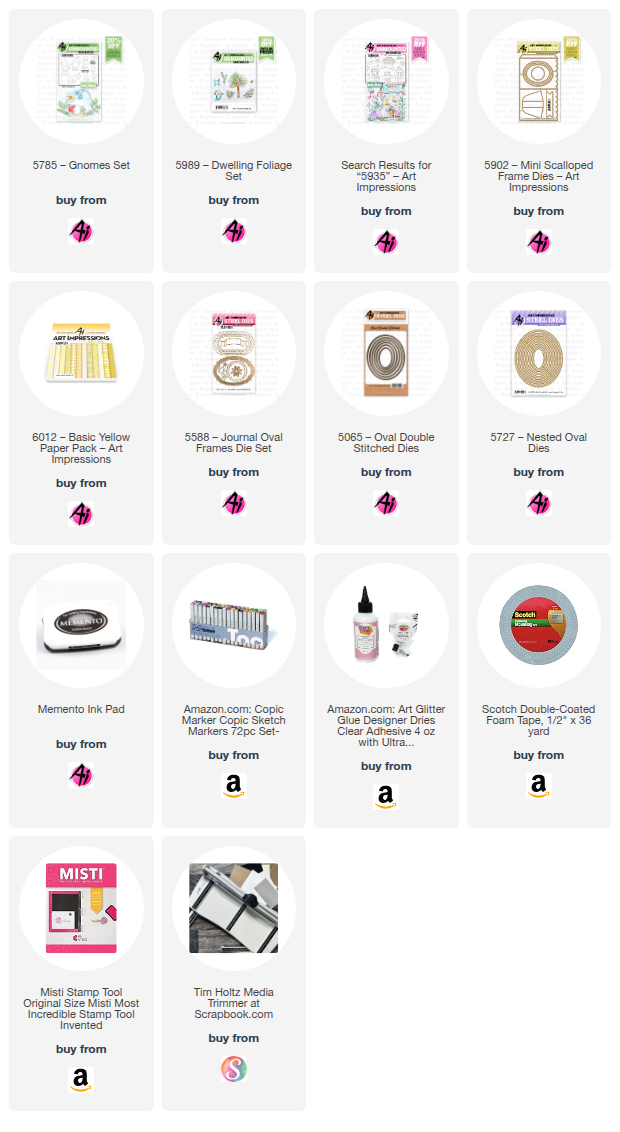
I began by stamping the images onto copic friendly paper with Memento black ink and coloring with my copic markers listed below.  The gnomes (5785 - Gnomes set) and the bees (5935 - Fairytale Houses) were cut using their corresponding dies that are included in these sets.  
The scene was stamped onto a 3 x 2 1/2" piece of copic friendly paper.  The tree stump is from the 2025 freebies part 1 - #5999 - Exclusive Stump House (still available, just request in the note section on your order).  If you don't have that freebie, you can use the stump from the KH5951 - Foxes set and draw in the door and window.  I colored, free hand, the walkway and the grass.  Don't look too close because they are pretty rough.  šŸ˜ž  The leaves were stamped with Memento black ink using the 5989 - Dwelling Foliage set and colored with my copic markers.

I die cut the frame from a piece of striped paper from the 6012 - Basic Yellow PP using the #5902 - Mini Scallop Frame die.  I also die cut the oval opening using the #5727 Nested Oval die.  I then die cut a stitched oval frame to place on the outside of the oval opening using the #5065 - Oval Double Stitch die with a slightly larger nested oval from the #5727 - Nested Oval dies.

I popped the gnomes up on foam tape and adhered one to the top of the stump and the other to the outer side of the stitched oval frame.  I adhered one bee directly to the image and the other to the outer frame.  Lastly, I cut the sentiment banner from the #5588 - Journal Oval Frame set and stamped the sentiment from the #5785 Gnomes set onto the center of the banner.  

Oops, almost forgot the easel.  Make sure to die cut one from the #5902 - Mini Scallop Frame die and adhere to the backside of the scallop frame so that it stands nicely.


That's it for me today.  Hope you play along and enter the challenge "Stitches and Scallops" to win a free stamp set of your choice.  It's easy and so fun (especially if you win). 😁

Have a great weekend and keep creating but make sure to share because we love inspiration!

Copics used:  E01, E11, E21, E23, E25
W0, W1, W3, W5
Y15, Y17
B32, B34
G40, G43

Sunday, March 16, 2025

Have a Magical Day and Joyous Easter Cards

Hello, and welcome back for Watercolor Weekend!


Hello, AI Watercolor Friends, I hope you are having a wonderful weekend! 


Today I have two spring-inspired cards to share with you. The first card is a “Just Because” or “Thinking of You” card featuring elements from the new Dwellings Sets (5989, 5990, and 5992). The second is a sweet Easter card featuring 5433 – WC Foundations Door.

Art Impressions recently released seven new 2025 Limited Edition Freebie stamps! With a purchase of $30 or more, you can choose one Freebie stamp while supplies last. These adorable new stamps showcase a variety of dwellings. Additionally, four add-on accessory sets are available for purchase, designed to complement the dwellings and enhance your scene-building!

For my “Have a Magical Day Card”, I used several stamps from the add-on sets to build my scene. The tiny gnome is from 5992 - Dwelling Animal Set 2 and the mailbox is from 5990 – Dwelling Accessory Set. The path and foliage are from 5989 – Dwelling Foliage Set. While the exclusive 5999 – Stump House Freebie would have made an adorable home for my little gnome friend, I decided to use a different type of home. I chose the coffee pot house from 5935 - Fairy Tale Houses Set. This house worked perfectly with the add-on images and helped me to create the blue-speckled enamelware coffee pot I had envisioned. The fence, bee, and Blacked-eyed Susan images are also from 5935.


Using a pencil, I traced a rectangle die onto my Canson XL watercolor paper and placed it into my stamp platform. I arranged each image stamp within the rectangle to decide where each would be placed. Since the gnome and mailbox overlapped the coffee pot I knew they would need to be stamped first. I carefully pressed the door of my stamp platform onto the stamps and then removed all the stamps except for the gnome and mailbox. All of the images (except for the large flower) were stamped with Ranger Archival Ink Shadow Grey, stamping off once on scrap watercolor paper before stamping onto my painting. I then made masks for the gnome and mailbox before stamping the coffee pot in place. With the masks still in place, I stamped in the path. I placed a piece of Post-It tape along the edges of the house and stamped the fences. I masked the top of the spout and inked the flower stamp in 993 for the petals and 177 for the leaves and stem, and stamped into place.

I sketched some hills and a road with a pencil. I used a watery mix of 526 for the sky, being careful to avoid touching the flower. For the hillside in the background I used 177, 249 for the area in front of the house, and 977 for the dirt road.

The blue-speckled coffee pot was painted in 555 and a little 565 for shadows. All the windows were painted with 565. I used N52 for the chimney and N45 for the bricks. I pulled the color from the flower and added 969 to the center. Using a #0 round brush, I painted in vertical lines with N52 on the white part of the house, shutters, and door.


I stamped in a row of bushes on the back hill, inking the stamp from 5372 WC Mini Foliage in 177. I used foliage stamps from 5989, inked in 249 and stamped around the house and fence posts. I also added tiny grass from 5372 inked in 249 along the fence, house, mailbox, and road. I used the bullet tip of 993 to dot in some tiny yellow flower bunches and dabbed with a damp brush.

I pulled color from my palette to paint the stones of the path. The mailbox was painted with N45, 856 for the flag, and 977 for the post. For our little gnome friend, I used 856 for the hat, 993 for the shirt, 249 for the pants, 910 and 912 for the hands and nose, 977 for the boots, and wisps of N45 for the beard.

I painted the windowpane frames with Dr. Ph. Martin’s Bleed Proof White. I also used the white paint to dab in the flowers and add speckles to the coffee pot. I used a Strawberry Red TwinTone marker to draw stripes on the hat and add centers to the white flowers. Where needed, a brown or gray TwinTone was used to add details.

I matted my blue card base with a yellow patterned paper from 6012 – Basic Yellow Paper Pack. The painting was popped up with foam tape. I felt like the painting was missing something, so I stamped and die-cut the little bee from set 5935 and added it to the painting. N45, 993, and N52 were used to paint the bee, and a touch of 725 to dot the cheeks.


For the interior of the card, I stamped the “Have a magical day!” sentiment from 5935 in blue and the tiny bee in black. I used a gray TwinTone to draw the flight trail.


Next up is my Easter card using the 5433 – WC Foundations Door. I have had this stamp forever and decided it was finally time to paint something with it. For inspiration, I watched this fabulous tutorial on YouTube by Bonnie Krebs for this set https://www.youtube.com/watch?v=0lAYlNatAW4&t=1637s. Her tutorial was mostly a spring painting, but I wanted to decorate my door and porch for Easter.


I placed the door stamp into my stamp platform, inked it with 969/565, and stamped it off a few times before stamping it onto my watercolor paper. When I inked the stamp, I left off some of the lines on the bottom step so I could stamp in my chicks without having to mask them. The little chicks are from 5737 - Bunny & Chicks Set and were inked in N52. I placed Post-It tape on the edges of the pots, stamped in the bunny from 5737 and eggs from 5738 - Easter Egg House Set in N52. The cute little door sign is from 5488 - Front Porch Easter Set and was also inked in N52. I used a pencil to sketch the top of the step, behind the chicks. Next, I used a damp brush to pull out some color from the lines of the foundation stamp to create shadows and contours.


I won’t be going into detail on how to paint the door, pots, flowers, and vines. Bonnie’s tutorial does an excellent job of explaining how to paint those. Below is a list of stamps and colors I used to paint the stamped images.

Vines, flowers, foliage, and branches:

  • 4052 – Daisy bunch (526 and 636)
  • 5008 – Spiked flowers (526) and tall stemmed flowers (725)
  • 5126 – Vines (249) and leafy branch (177)
  • 4051 – Teeny tiny grass and vine (177)
  • 4964 – Branches (177)
  • 5009 – Dotted flowers (526)

Flower pots and Watering can:

  • Hanging pot – shaded with 565 and 636 for the stripes
  • Terracotta Pots – 947
  • Pot with Easter eggs – 565 (additional color came from the flowers and leaves of the pot below)
  • Pot with pink flowers – 565, 526 for the stripes
  • Watering can – 565, 565/969 mix, and N52

Door:

  • Hinges and knob – 969
  • Windows – 565
  • Sign – 526

Easter Eggs, Bunny and Chicks:

  • Eggs: 925, 173, 725, 526, 993
  • Bunny: N52, 703, 565
  • Chicks: 993, 947, 925

Once all the images were painted, I used Bleed Proof White to dot the flower centers, a tiny flower bunch, and designs on the eggs. TwinTone markers in brown, gray, turquoise, and orange were used to add detail. I used a Silver Signo pen for the wires on the hanging pot.

For the background, color was pulled from the flowering vine. Additional color for the background was added from my palette. 177 and 249 were used for the grassy areas near the pots and chicks.


Since there was so much detail on the front of the card, I decided to keep the interior simple. The sentiment from 5733 – Easter Sentiments Set was inked in purple.


Thank you for stopping by for Watercolor Weekend. I hope you will give these cards a try, they were lots of fun to create. Until next time, Happy Painting!